

Why would you need a network attached storage (NAS) server at home?
- Automatic backup of smartphone data
- Manage and share data on the Internet
- Stream saved videos
- Download and manage Torrents on a smartphone
- Host a personal blog
- Enable SSL for security
Required components:
- Internet service
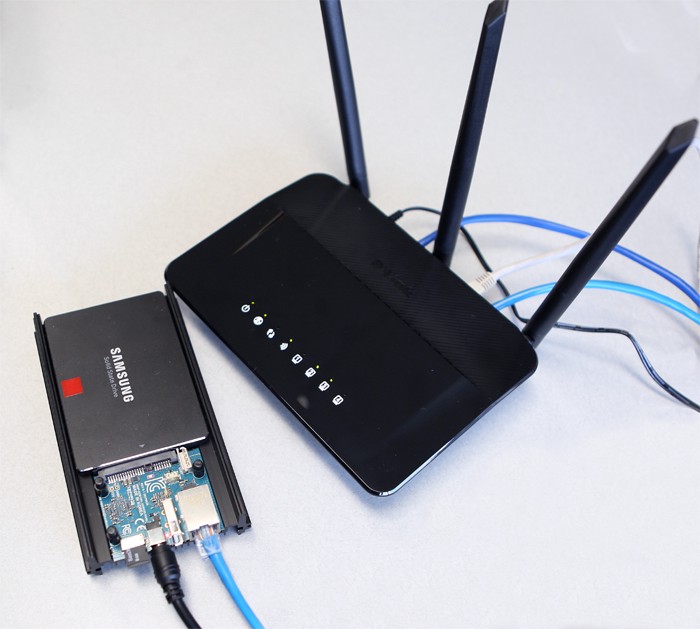
- A WiFi router
- A typical computer or a laptop, such as a MacBook Pro
- ODROID-HC1 and its power supply
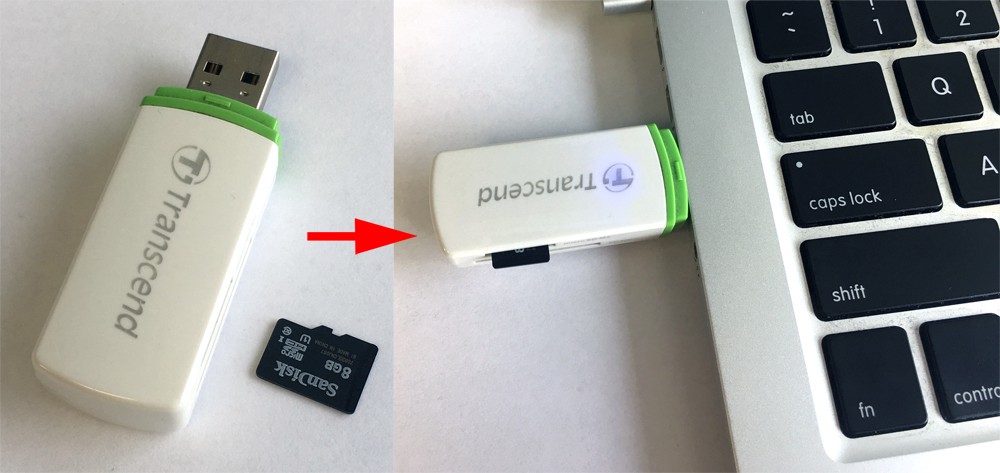
- MicroSD card for the operating system
- LAN cable to connect between WiFi router and ODROID-HC1
- Hard Disk Drive (2.5inch) for my multimedia data
You also need a little bit of understanding of the operating system as well as Open Media Vault (www.openmediavault.org), which will allow everyone to install and administrate a Network Attached Storage without deeper knowledge.
Preparation
First, download Open Media Vault (OMV) for ODROID-HC1 from http://bit.ly/2xogExP to your computer. Refer to the readme.txt file for the username and password.
web interface username = admin web interface password = openmediavault
console/ssh username = root console/ssh password (3.0.75+) = openmediavault
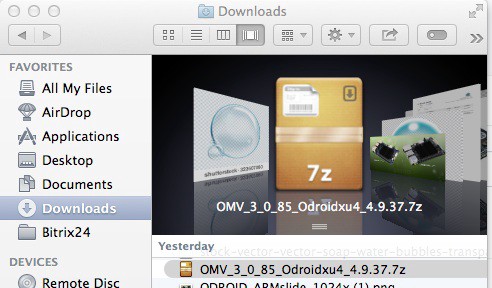
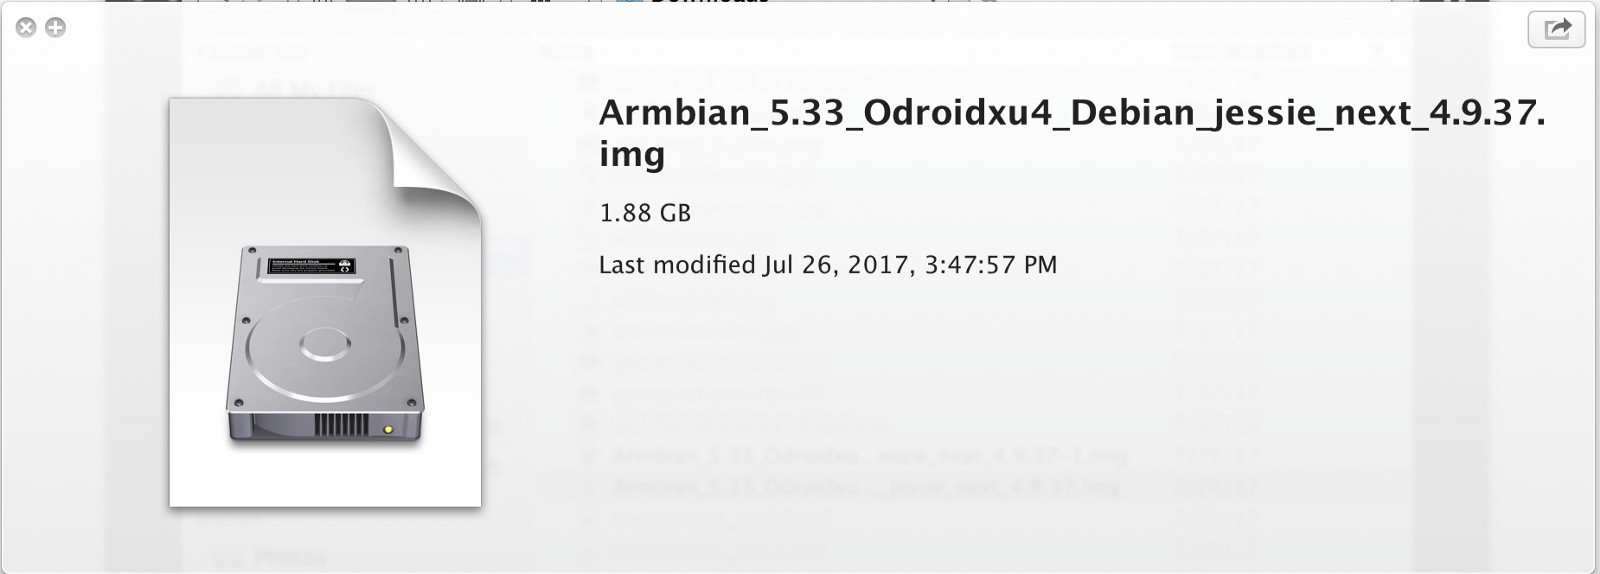
Next, use a USB adapter with an 8GB microSD card, then open Etcher (etcher.io) to flash the operating system, as shown in Figure 3. Make sure to unzip the .7z file before selecting it in Etcher.
General configuration
Insert the completed Open Media Vault image into the ODROID-HC1, then slide and insert the hard disk drive to the SATA connector. Connect the LAN cable from the WiFi router to HC1 and plug the power supply to turn it on. It will take approximately 10 minutes for the first boot. With another LAN cable, connect the computer to the same WiFi router which is connected to the HC1.
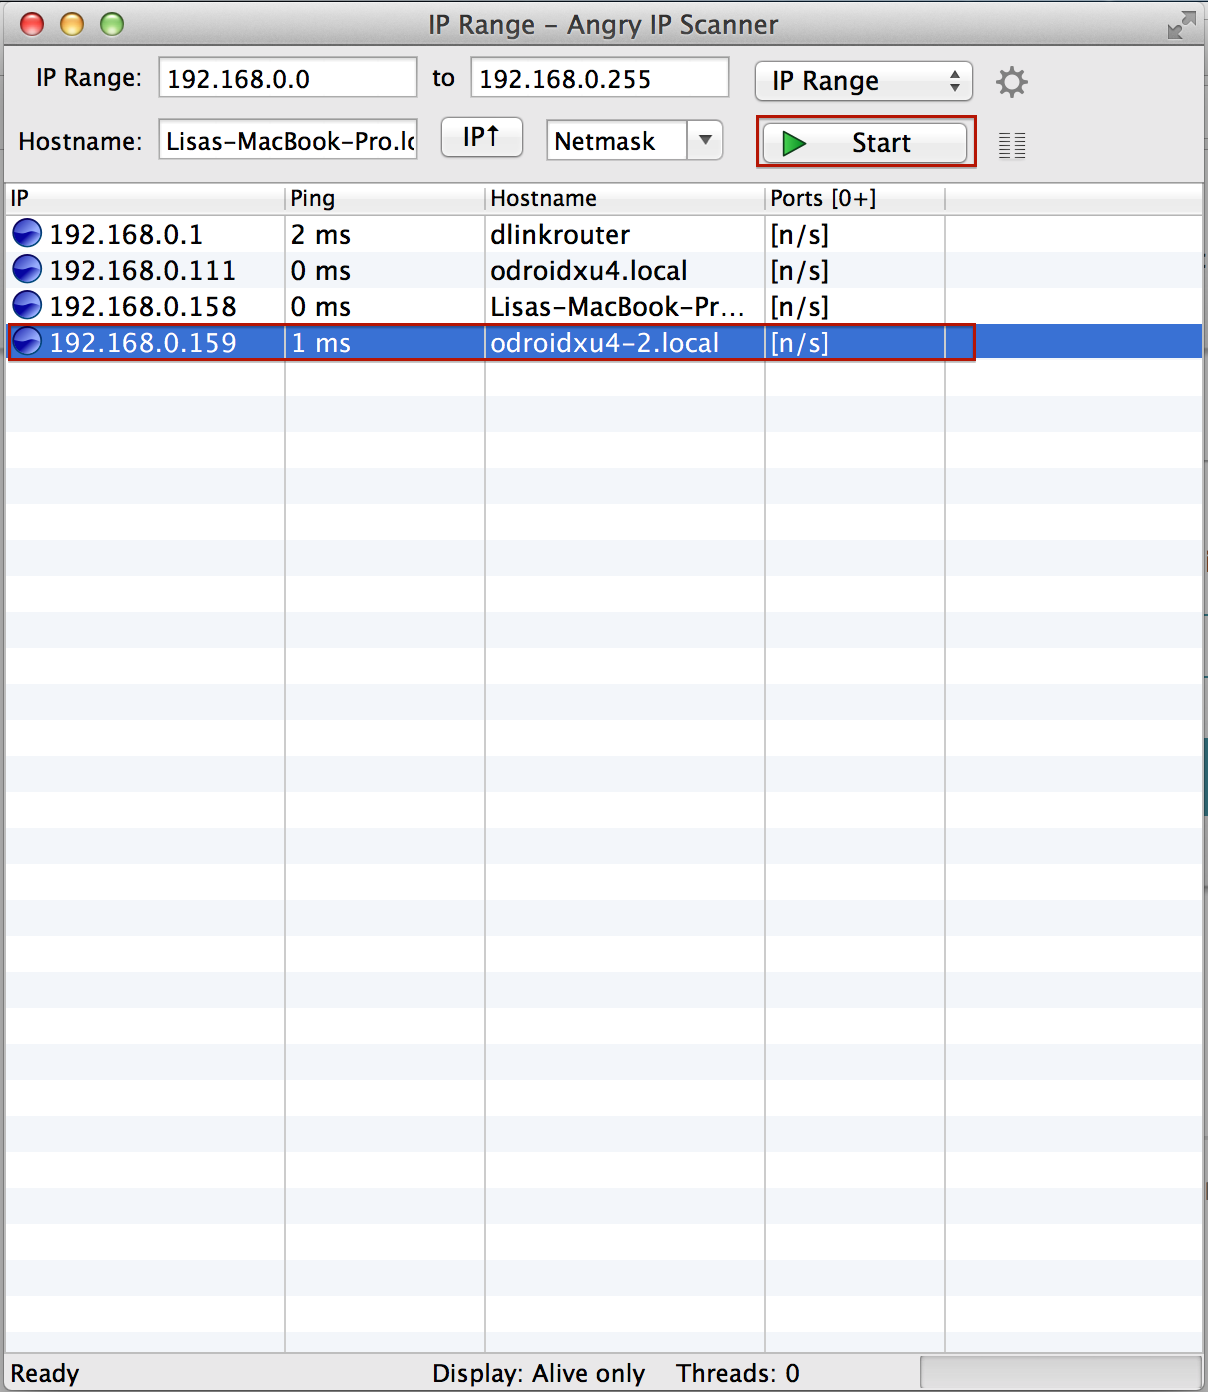
Next, download and install Angry IP Scanner (http://bit.ly/2wCMeII) and scan the IP addresses of the connected devices. The Hostname is shown as odroidxu4.local. Open a browser and enter the ODROID-HC1 address.
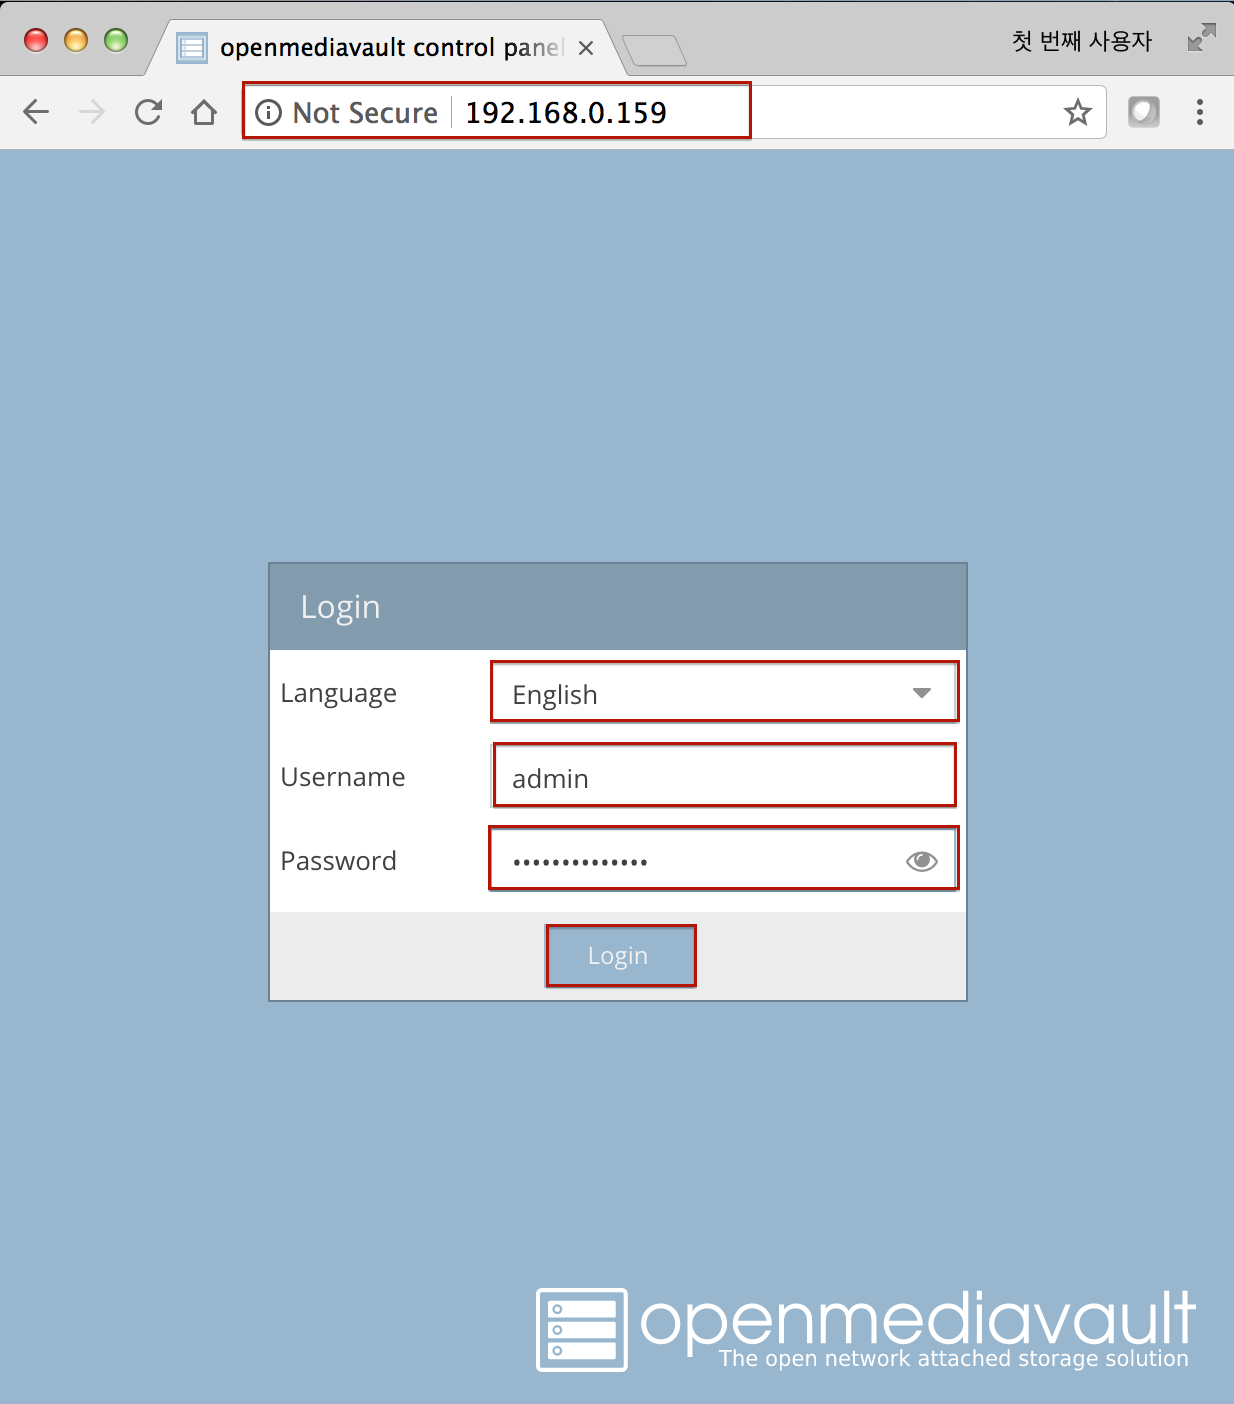
As mentioned above, the default username and password is in the readme.txt at http://bit.ly/2xogExP.
web interface username = admin web interface password = openmediavault
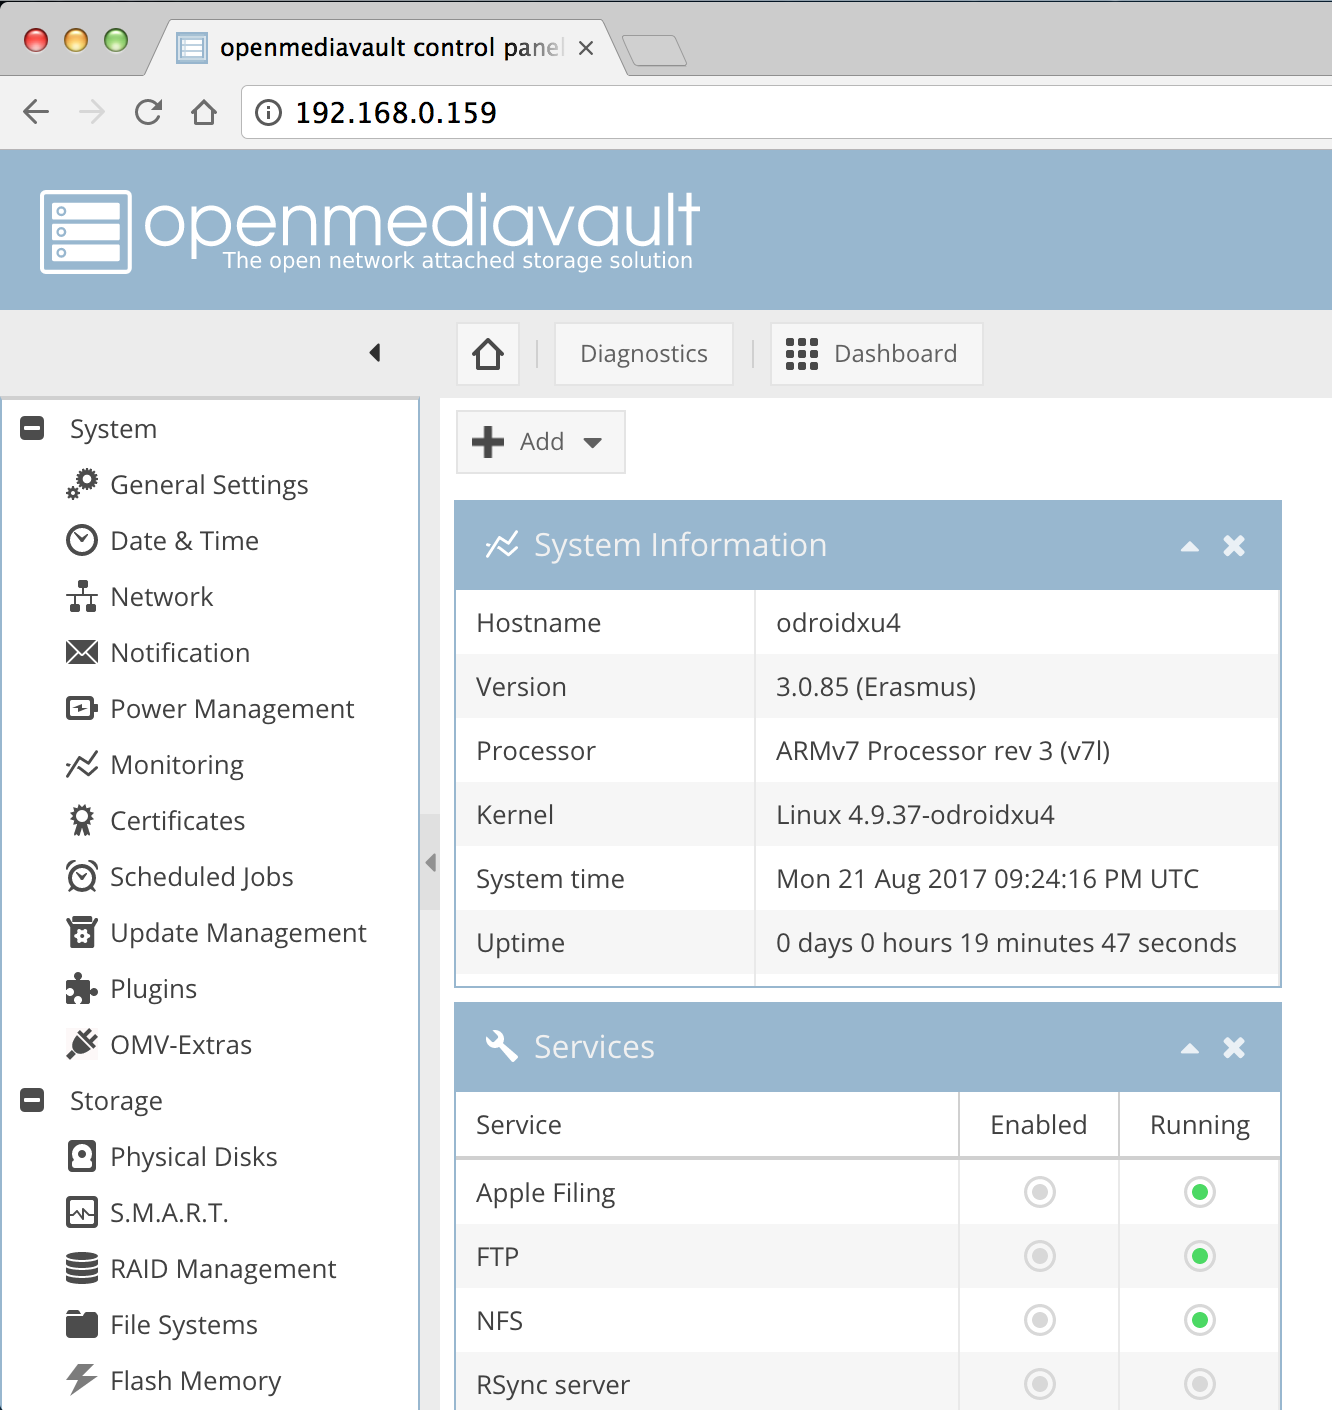
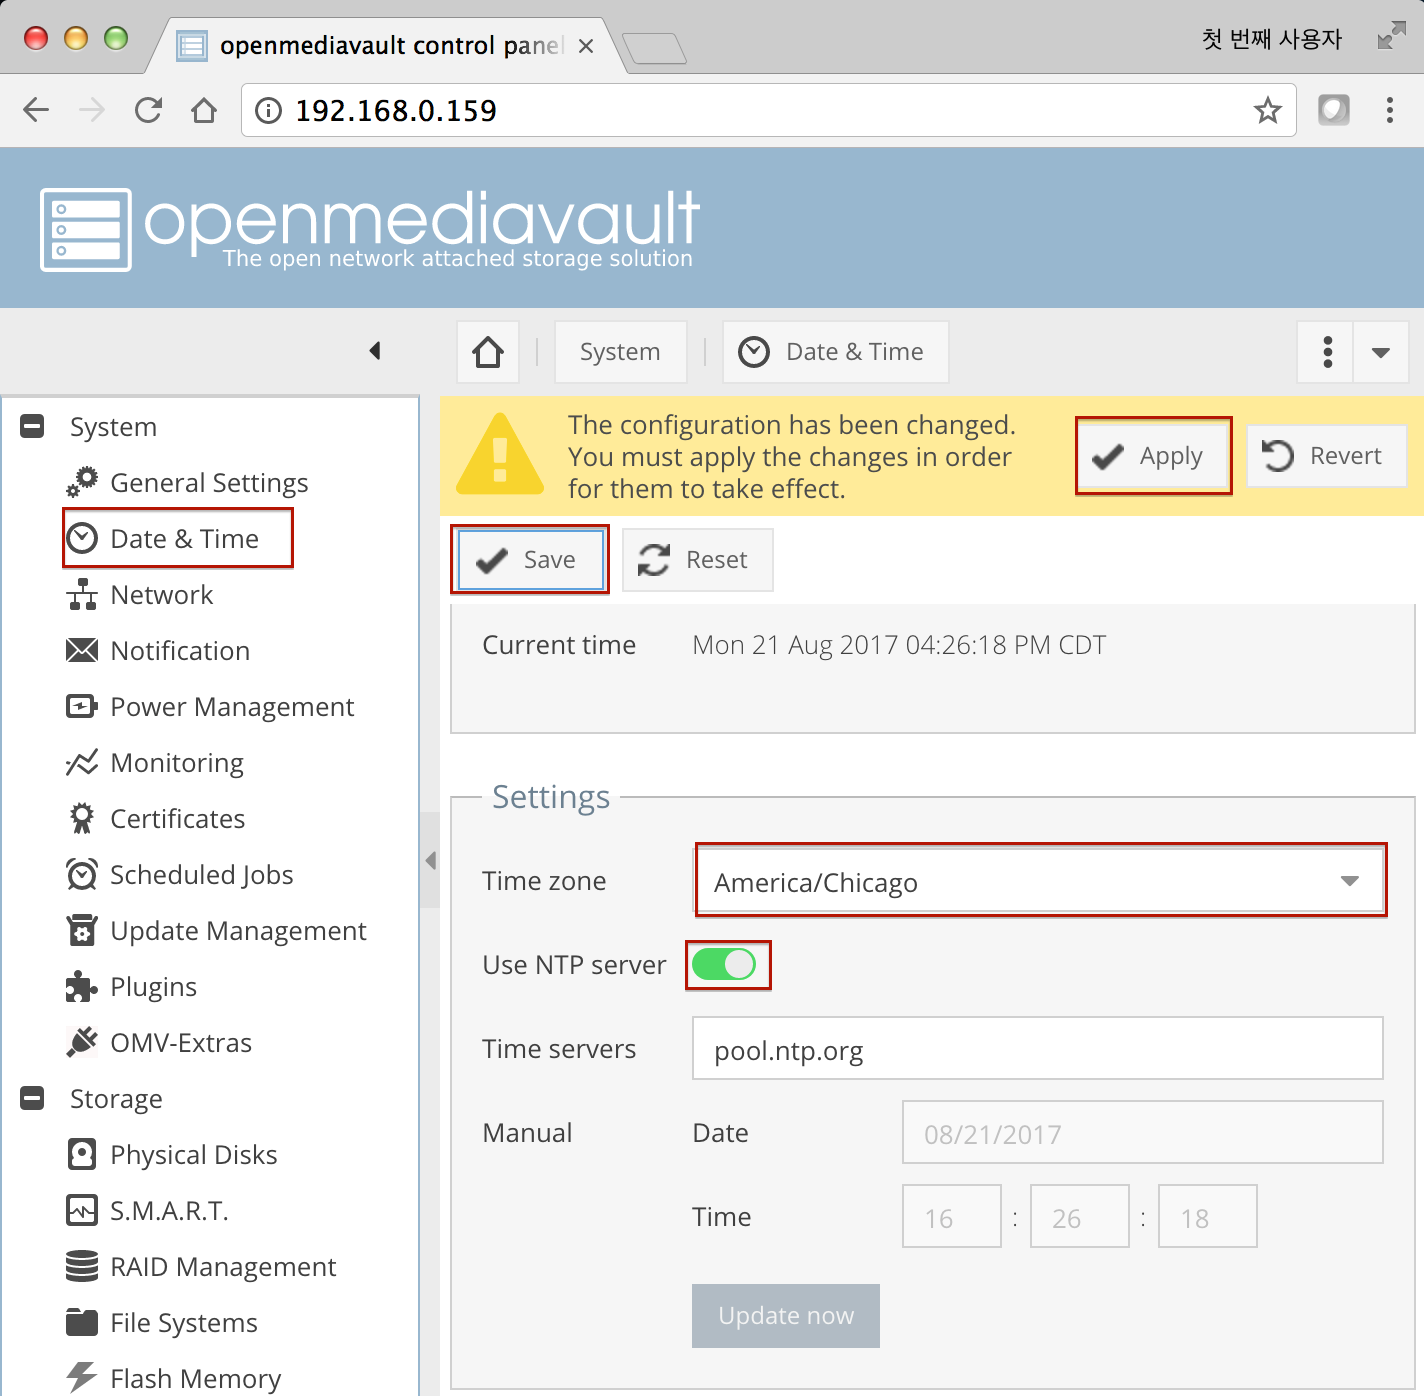
Go to “System -> Date & Time” and change the timezone to your current location, then press “Activate [Use NTP server] -> Save -> Apply”.
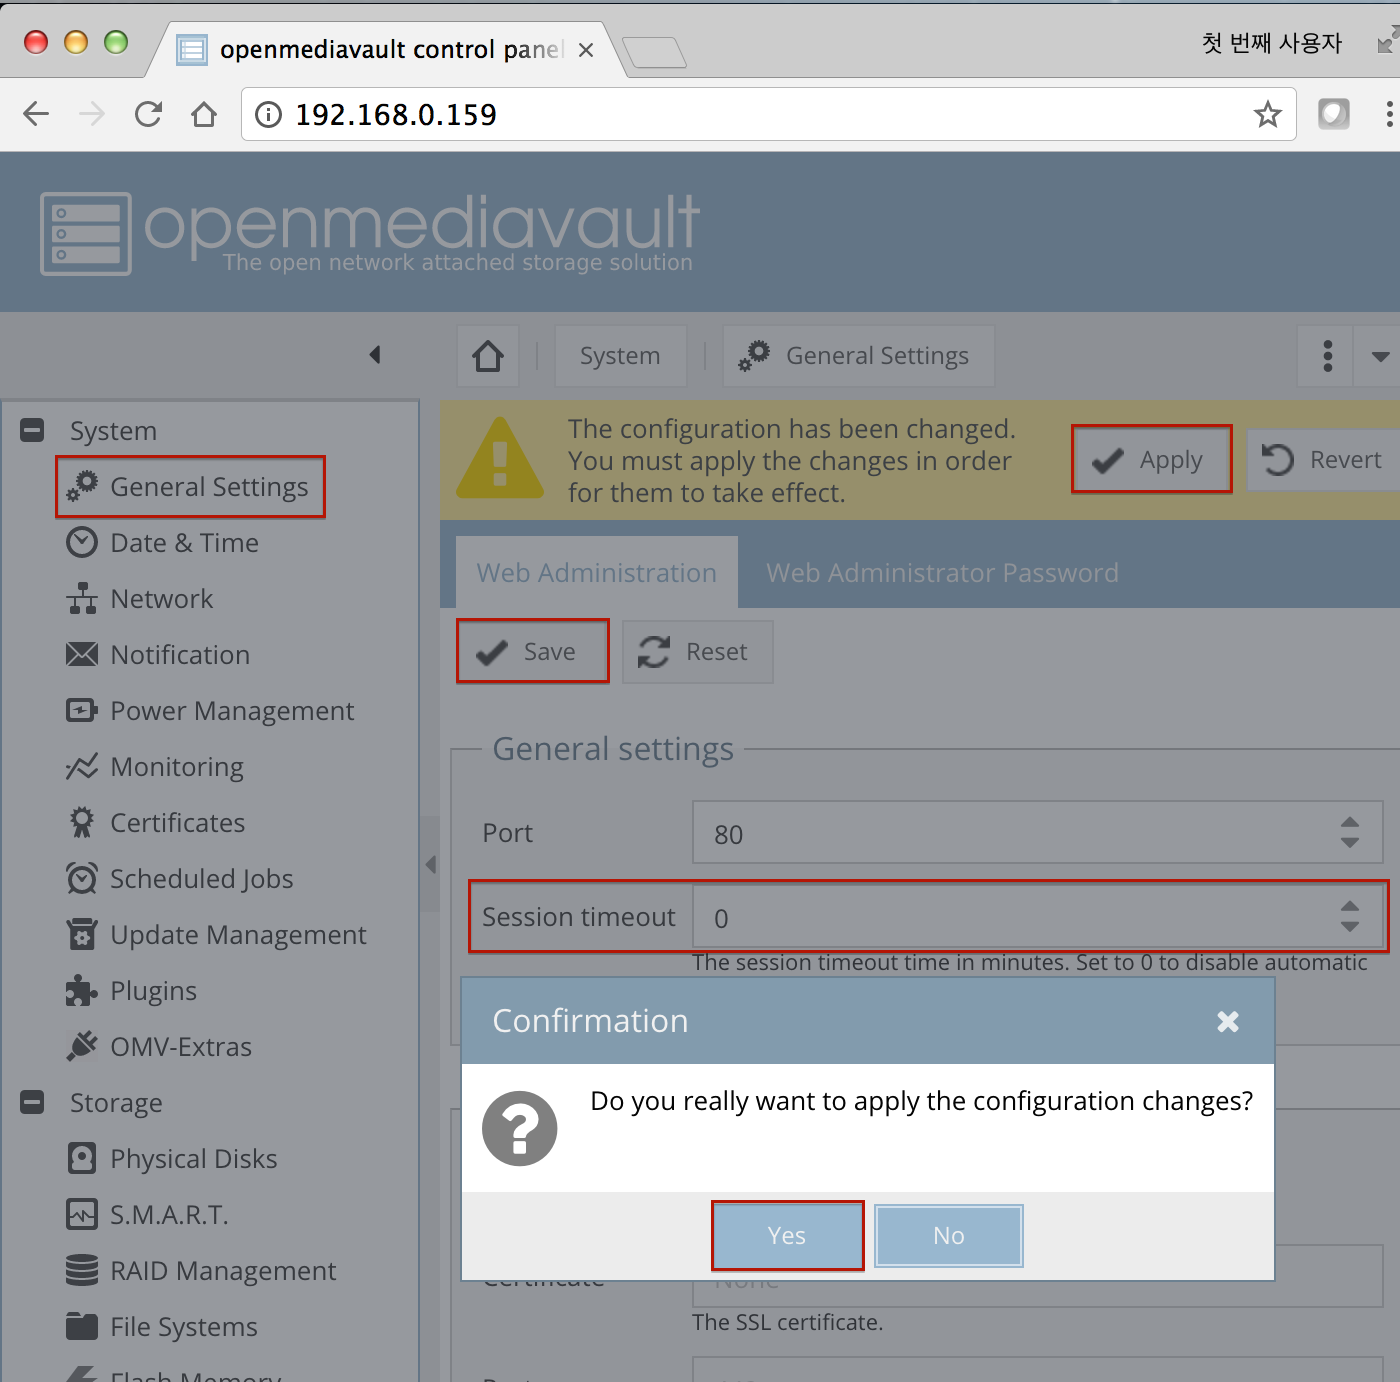
You can also change the session timeout to “0” in order not to be logged out after a certain amount of idle time by selecting “General Settings -> Session timeout -> 0 -> Save -> Apply -> Yes”.
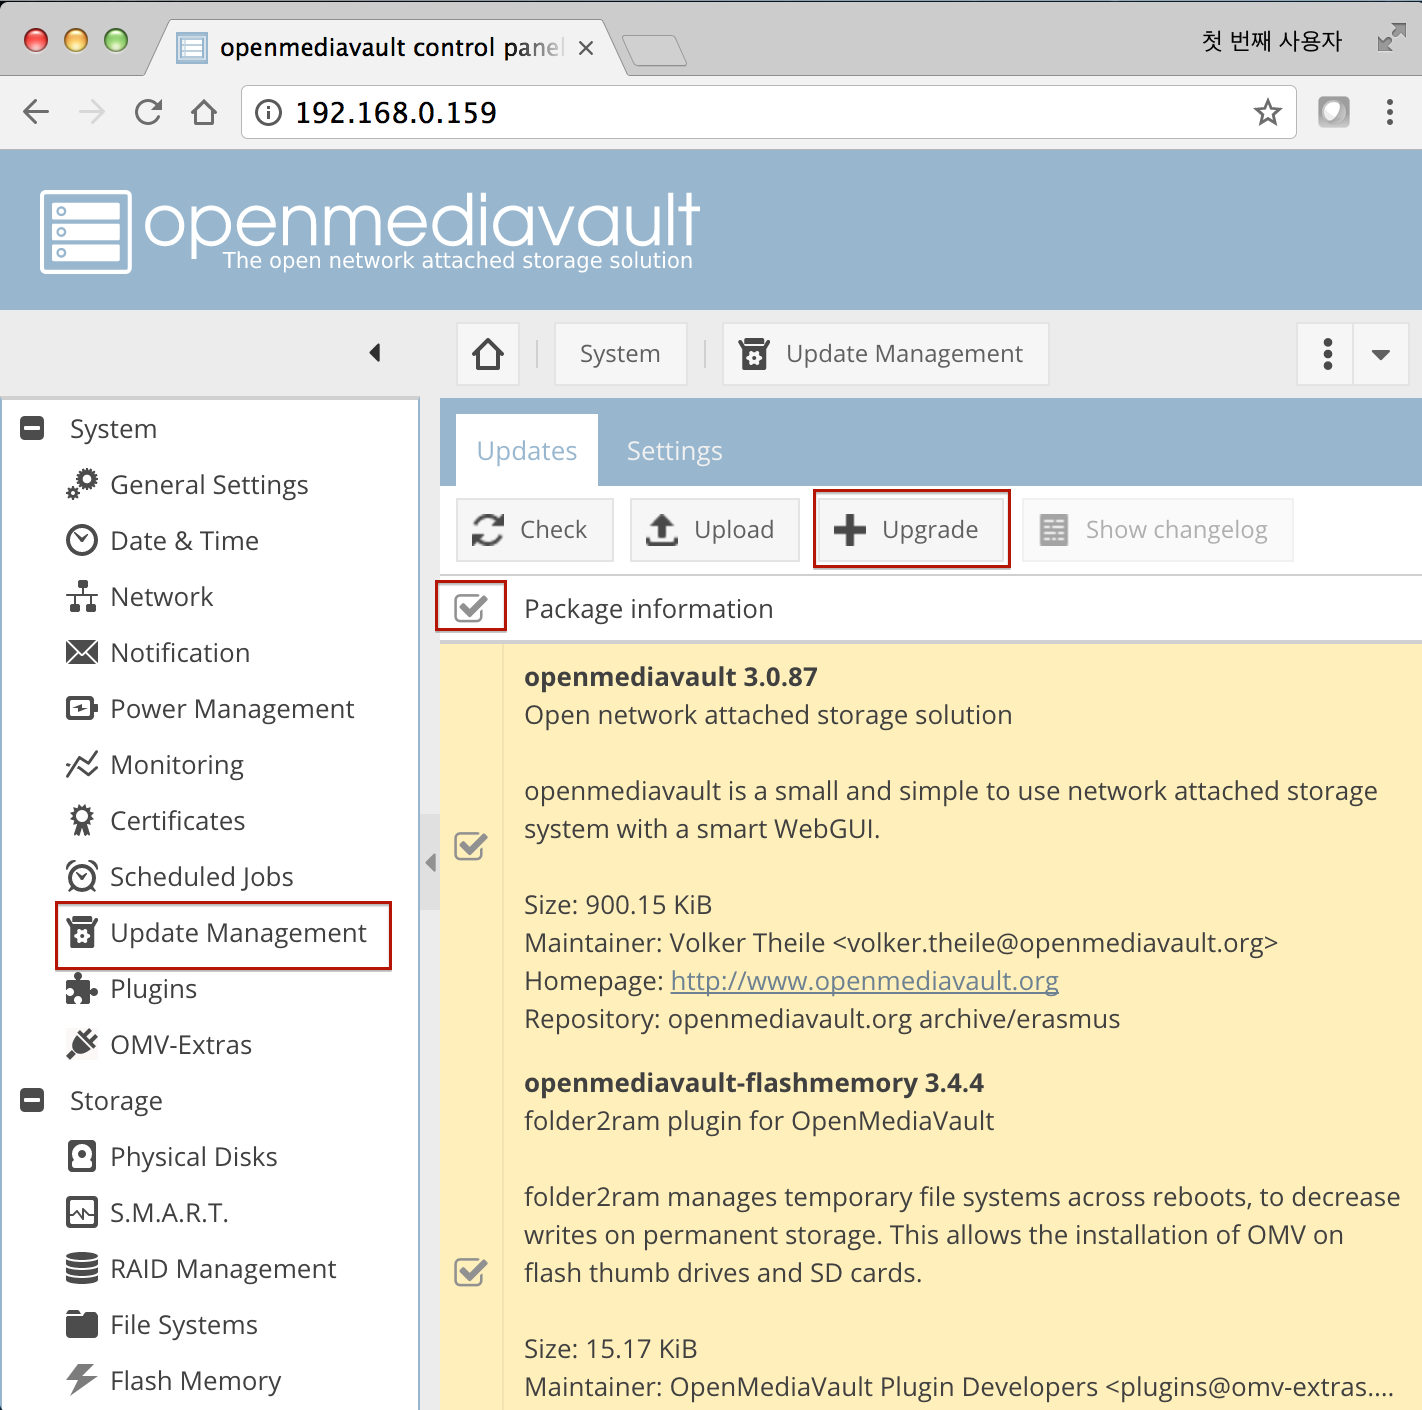
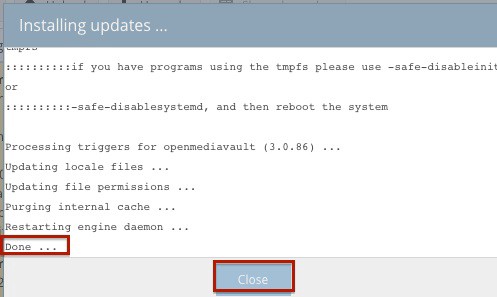
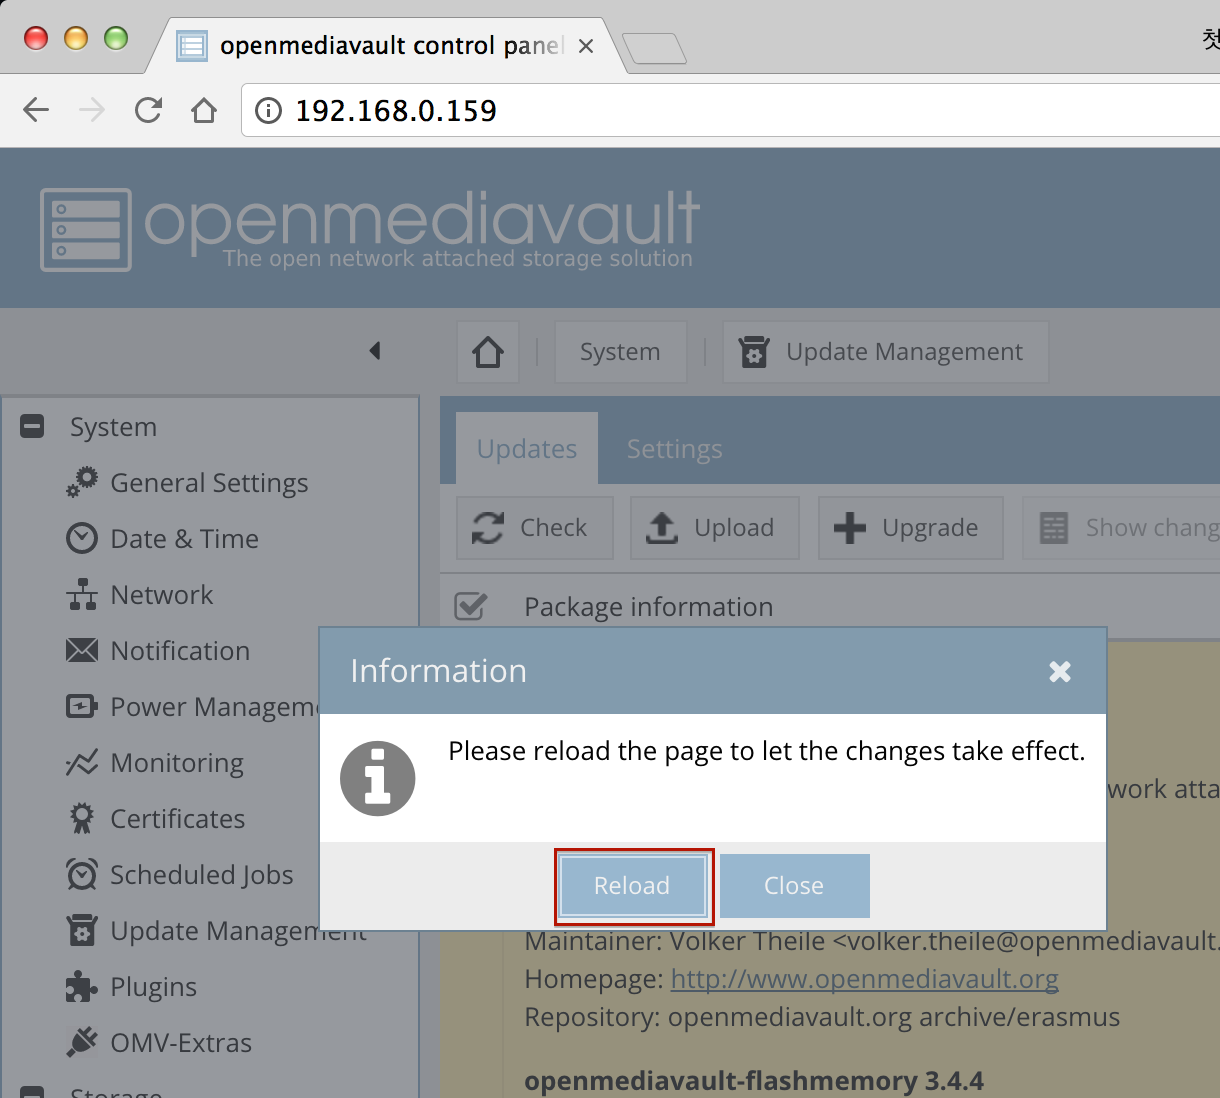
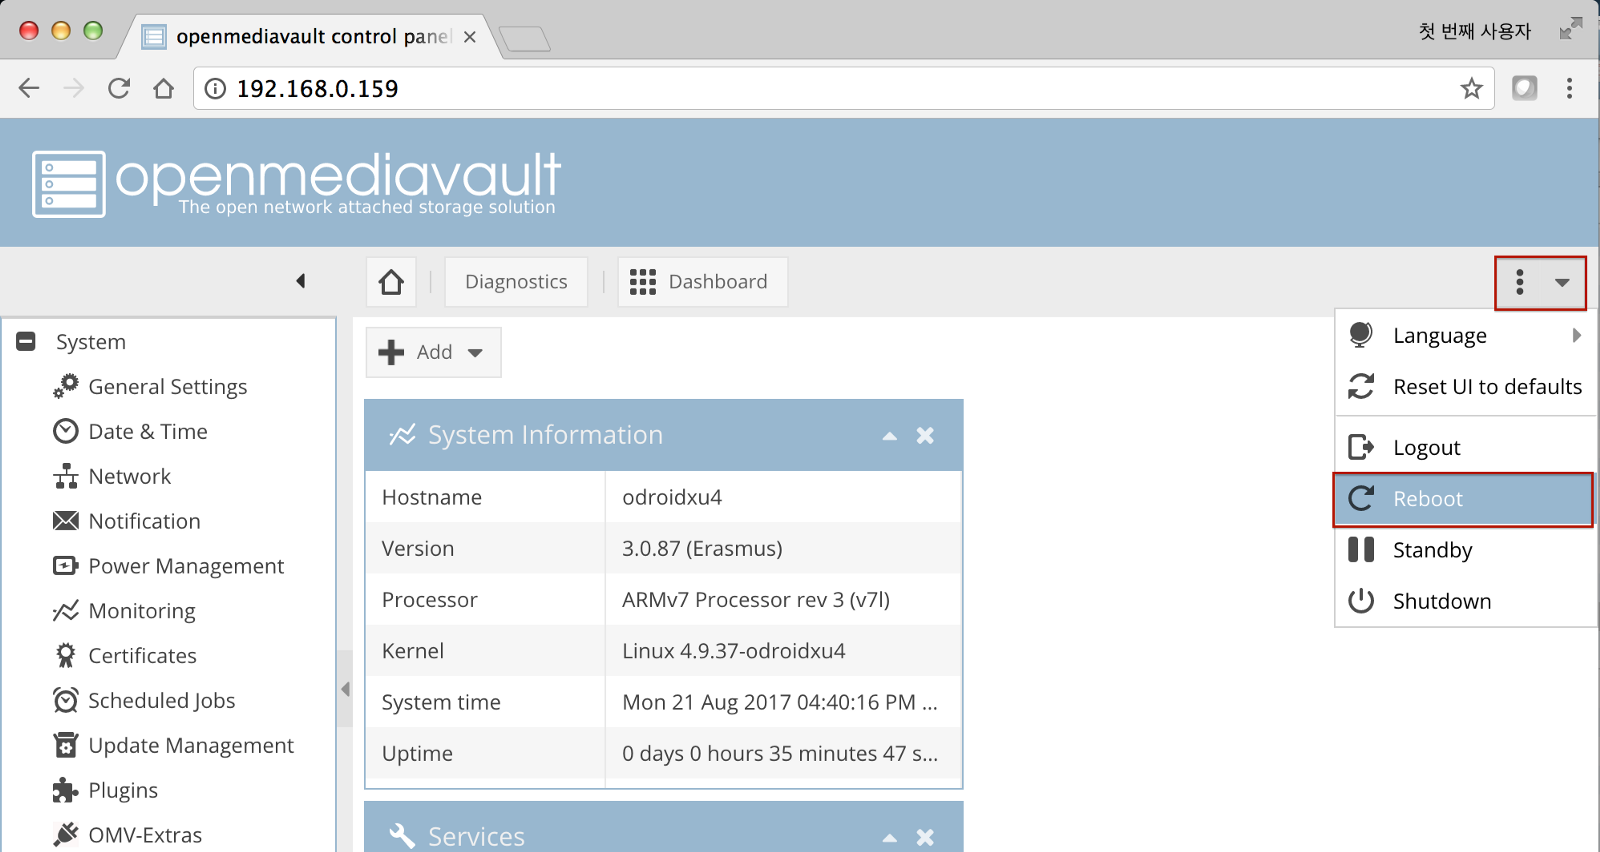
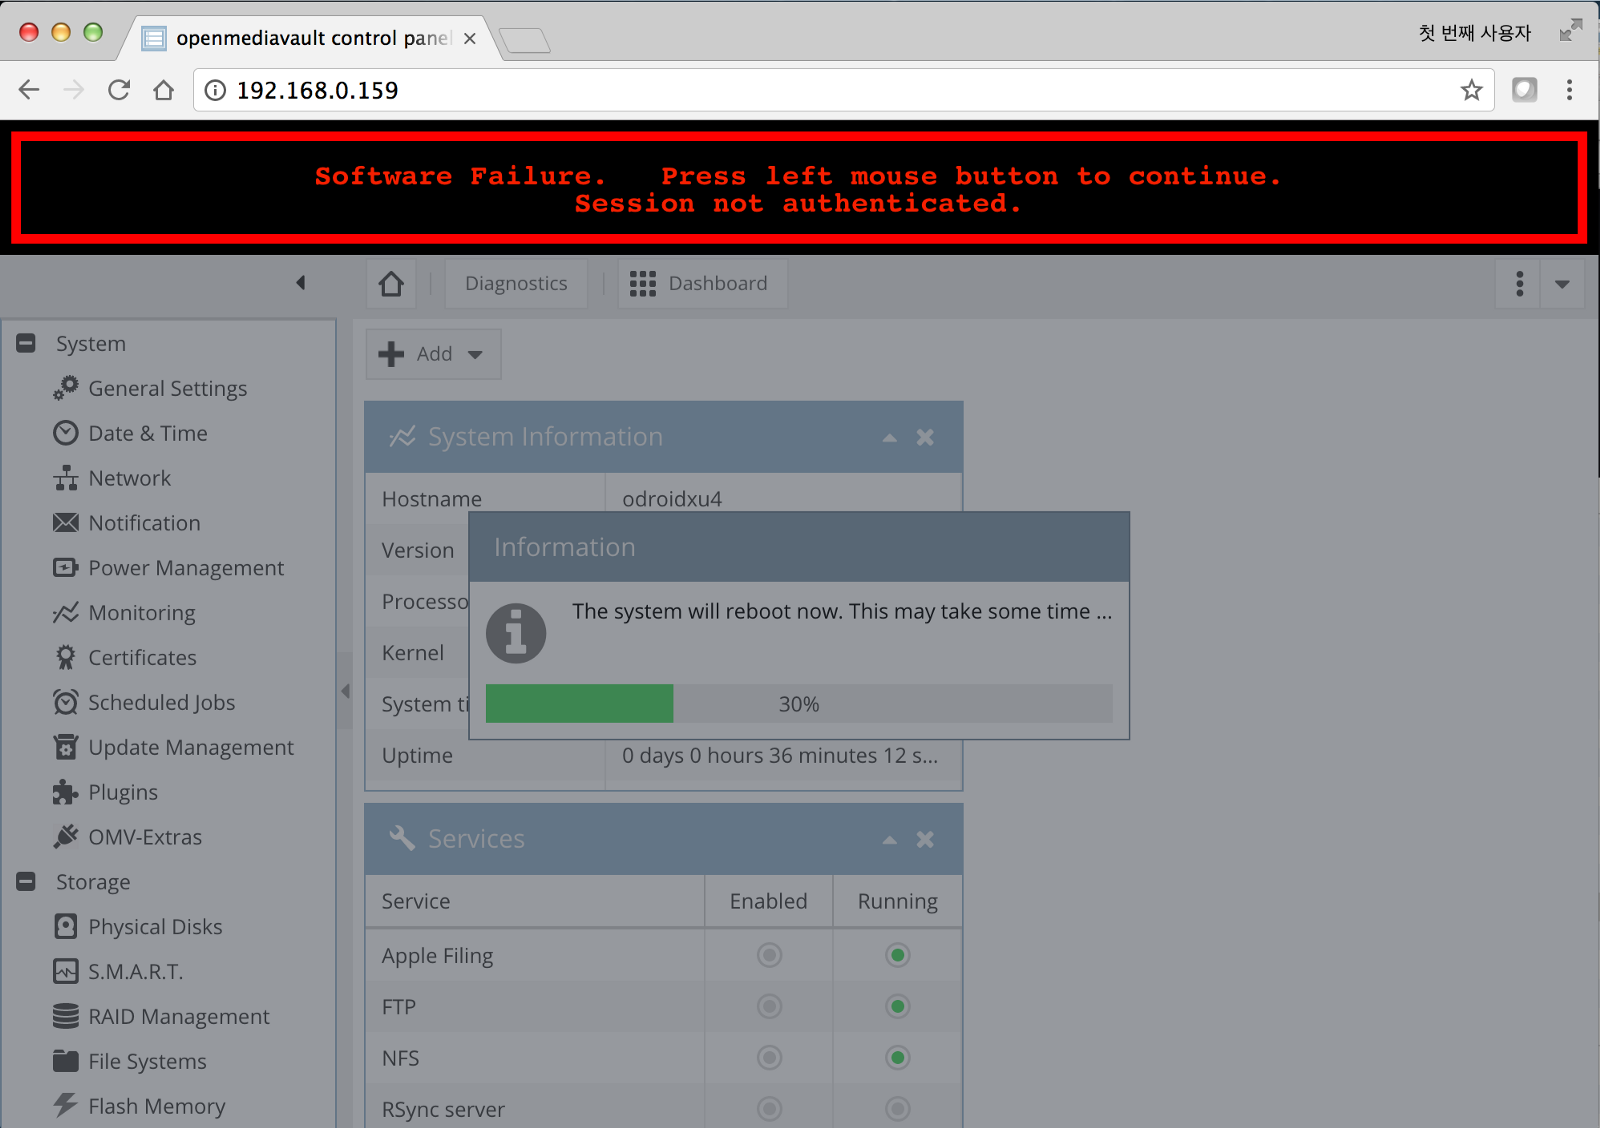
Next, update the system to the latest version by selecting “Update Management -> Check Package information -> Upgrade”, reload the page after the update completes, then reboot the ODROID-HC1 using the “Reboot” option in the Open Media Vault web interface.

Setting permissions
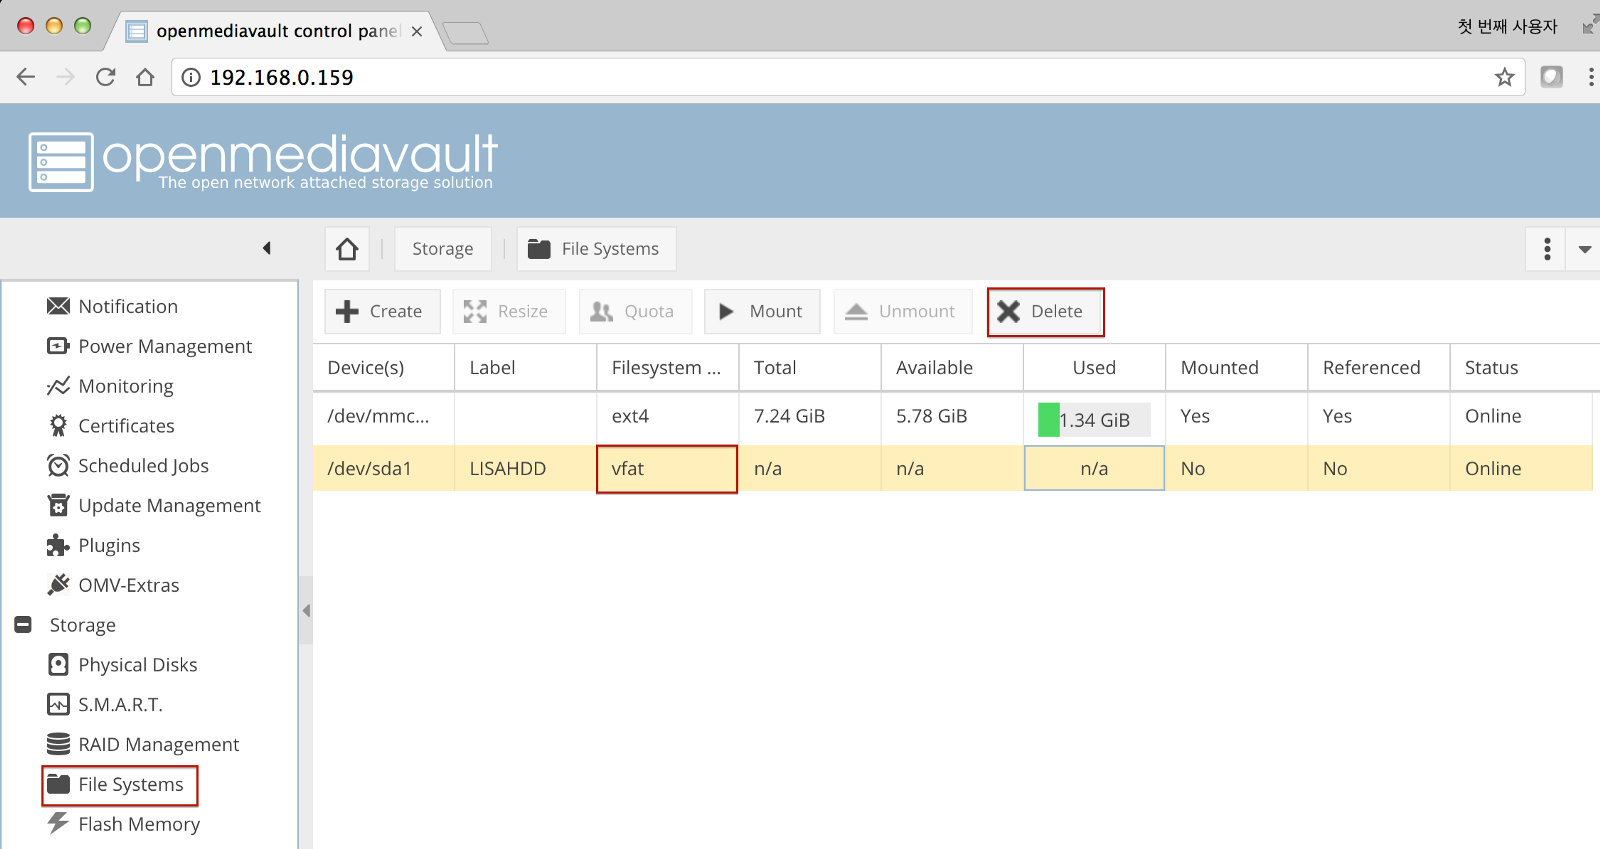
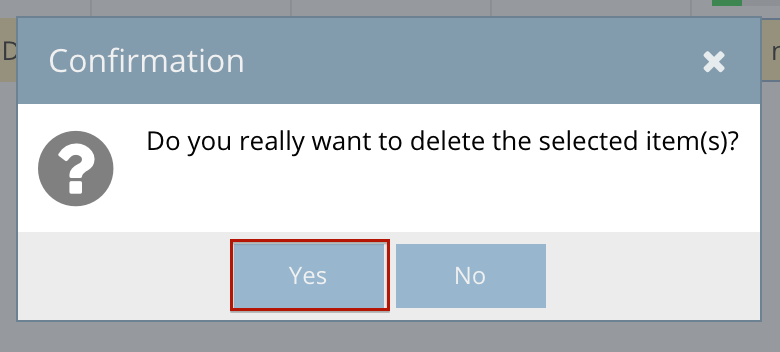
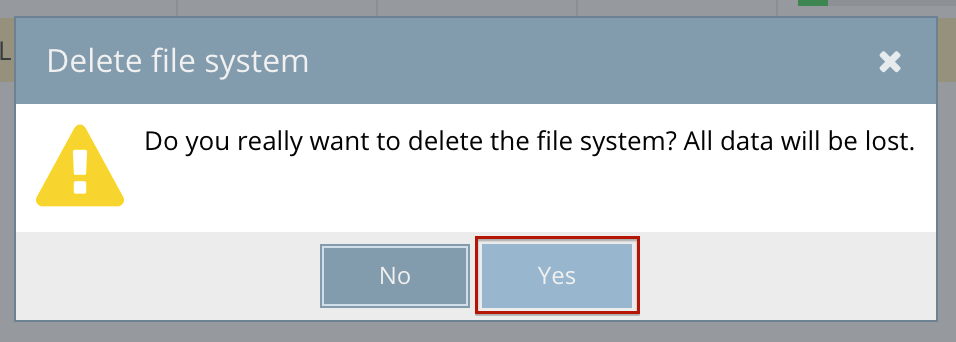
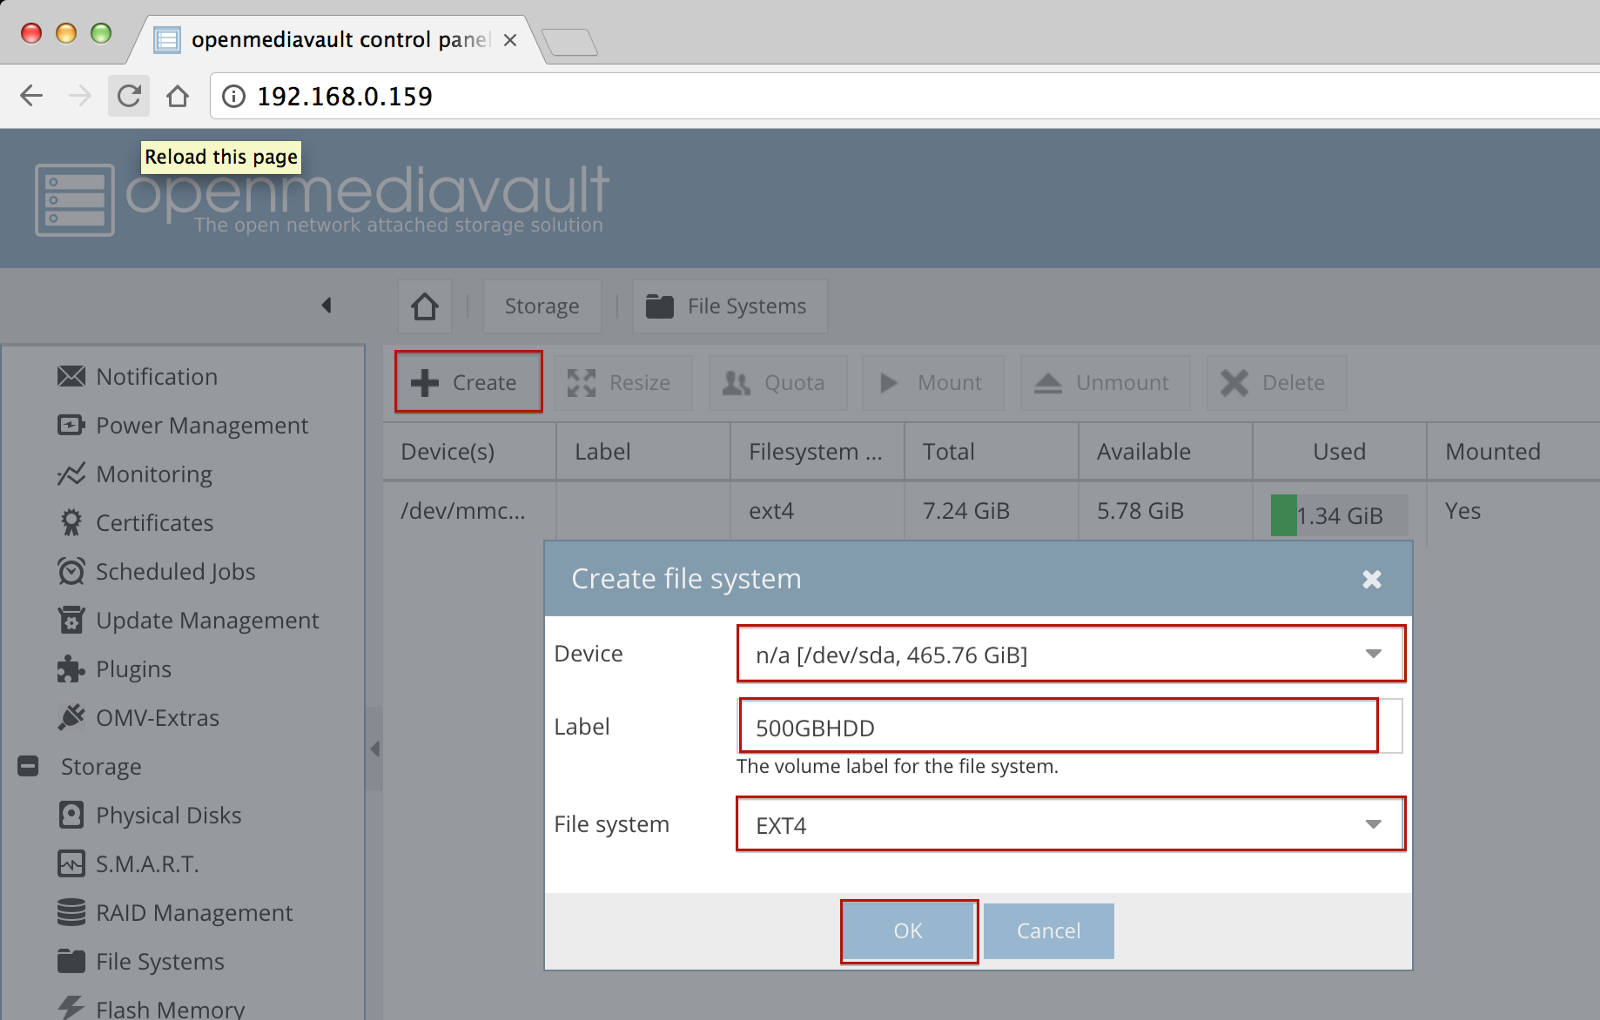
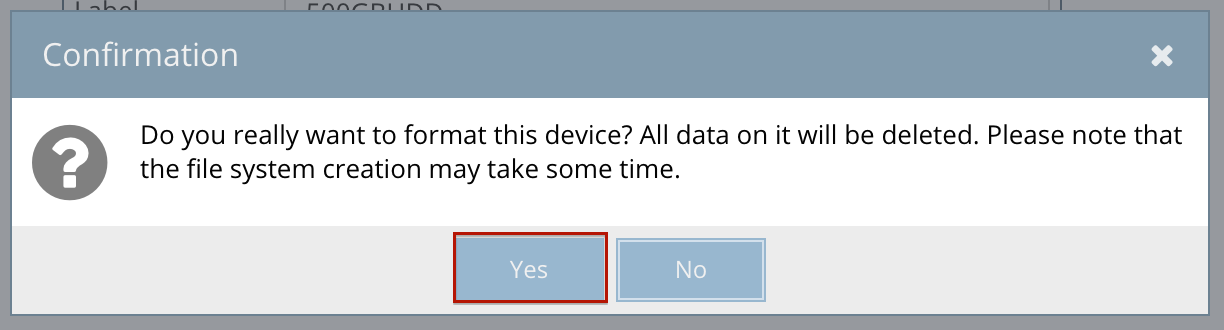
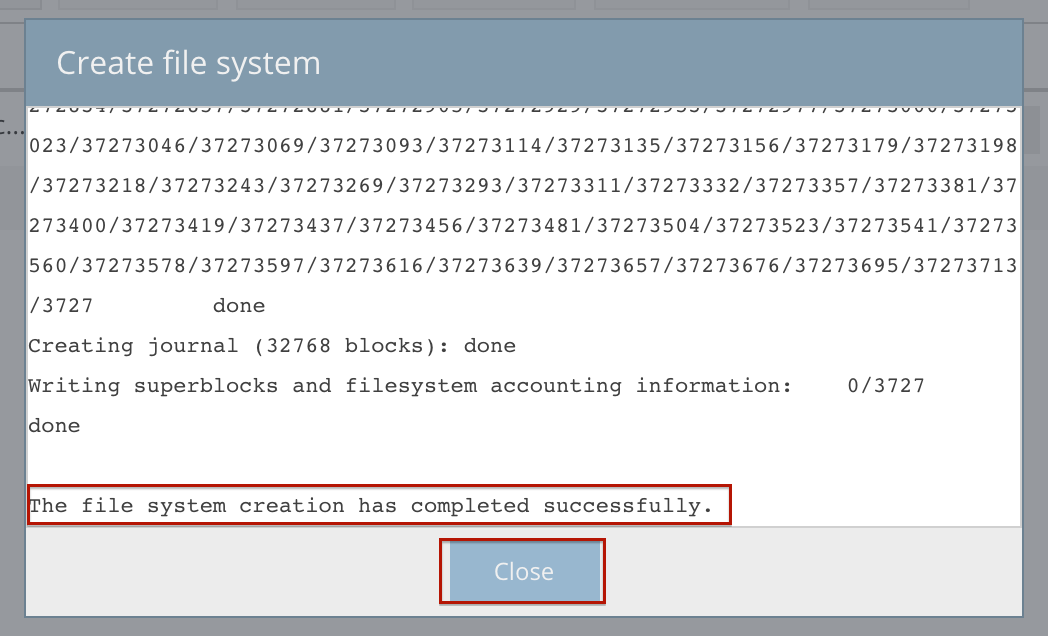
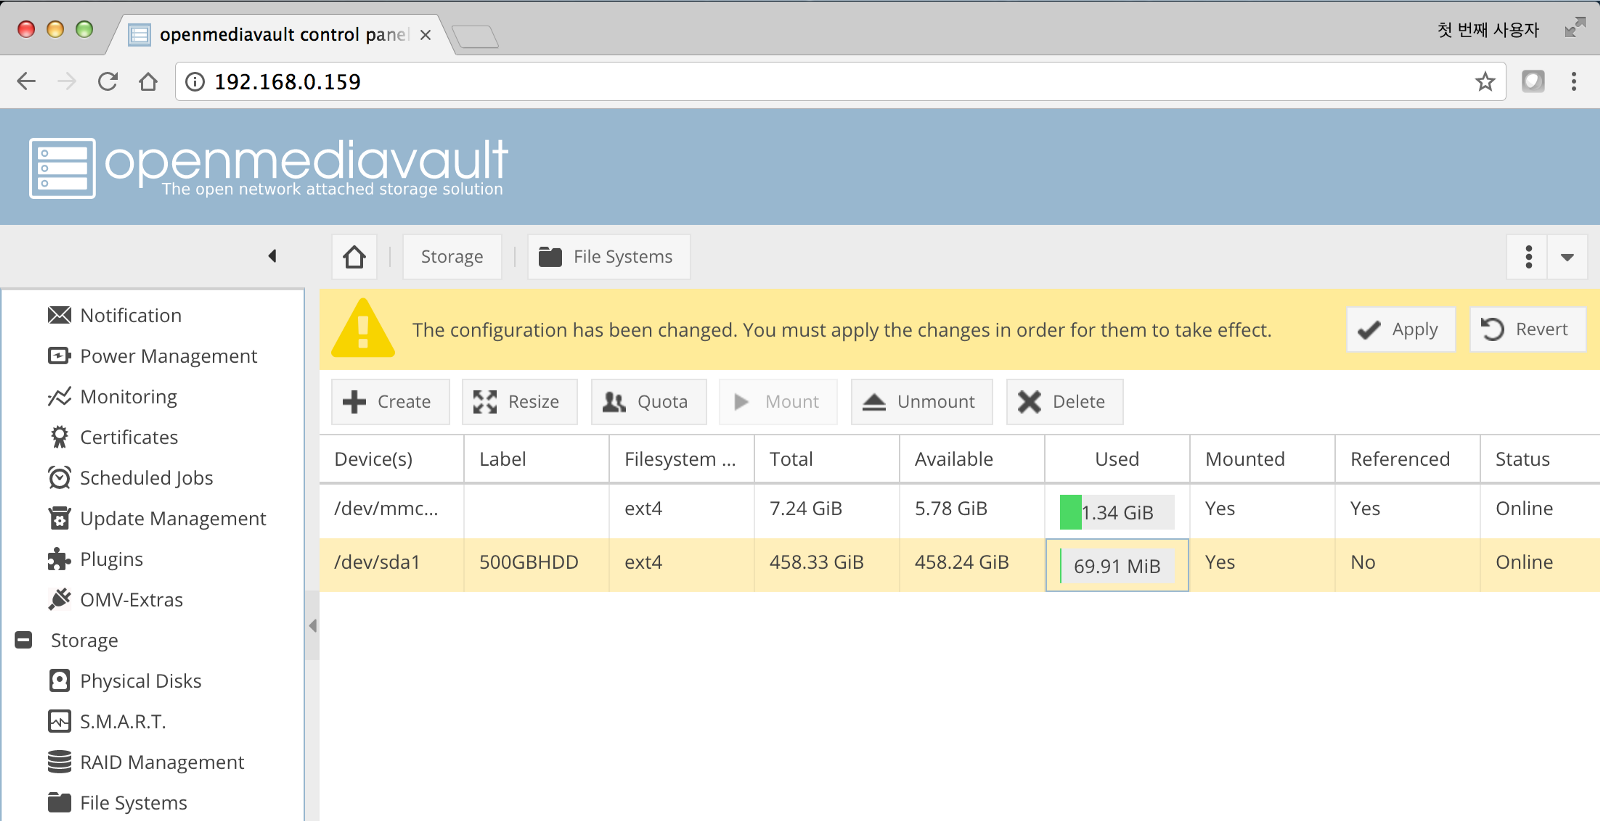
The hard drive needs to be in ext4 format in order to be compatible with Open Media Vault. If the file system of the hard drive is not ext4, you will need to create a new file system, as shown in Figure 17)

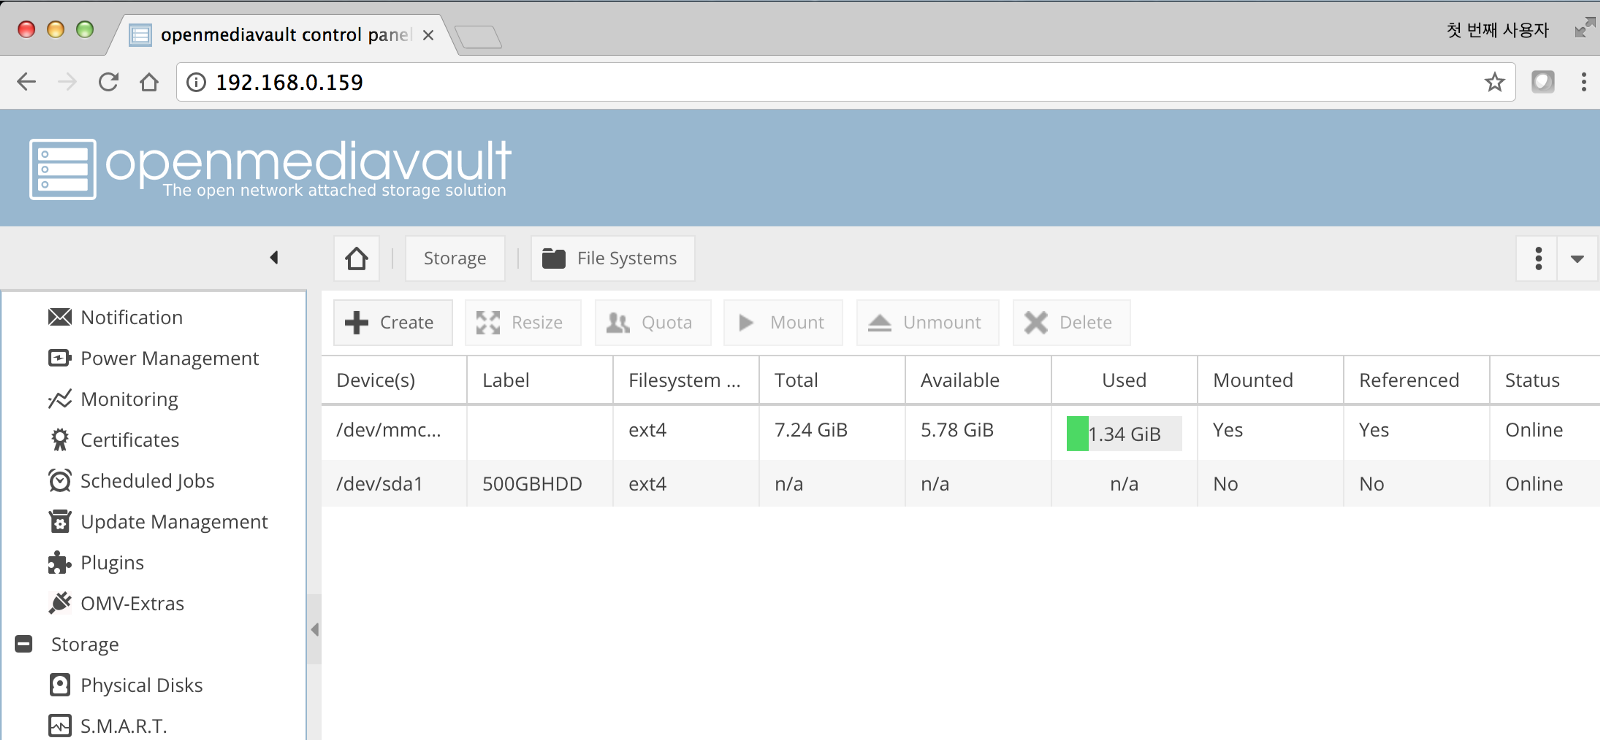
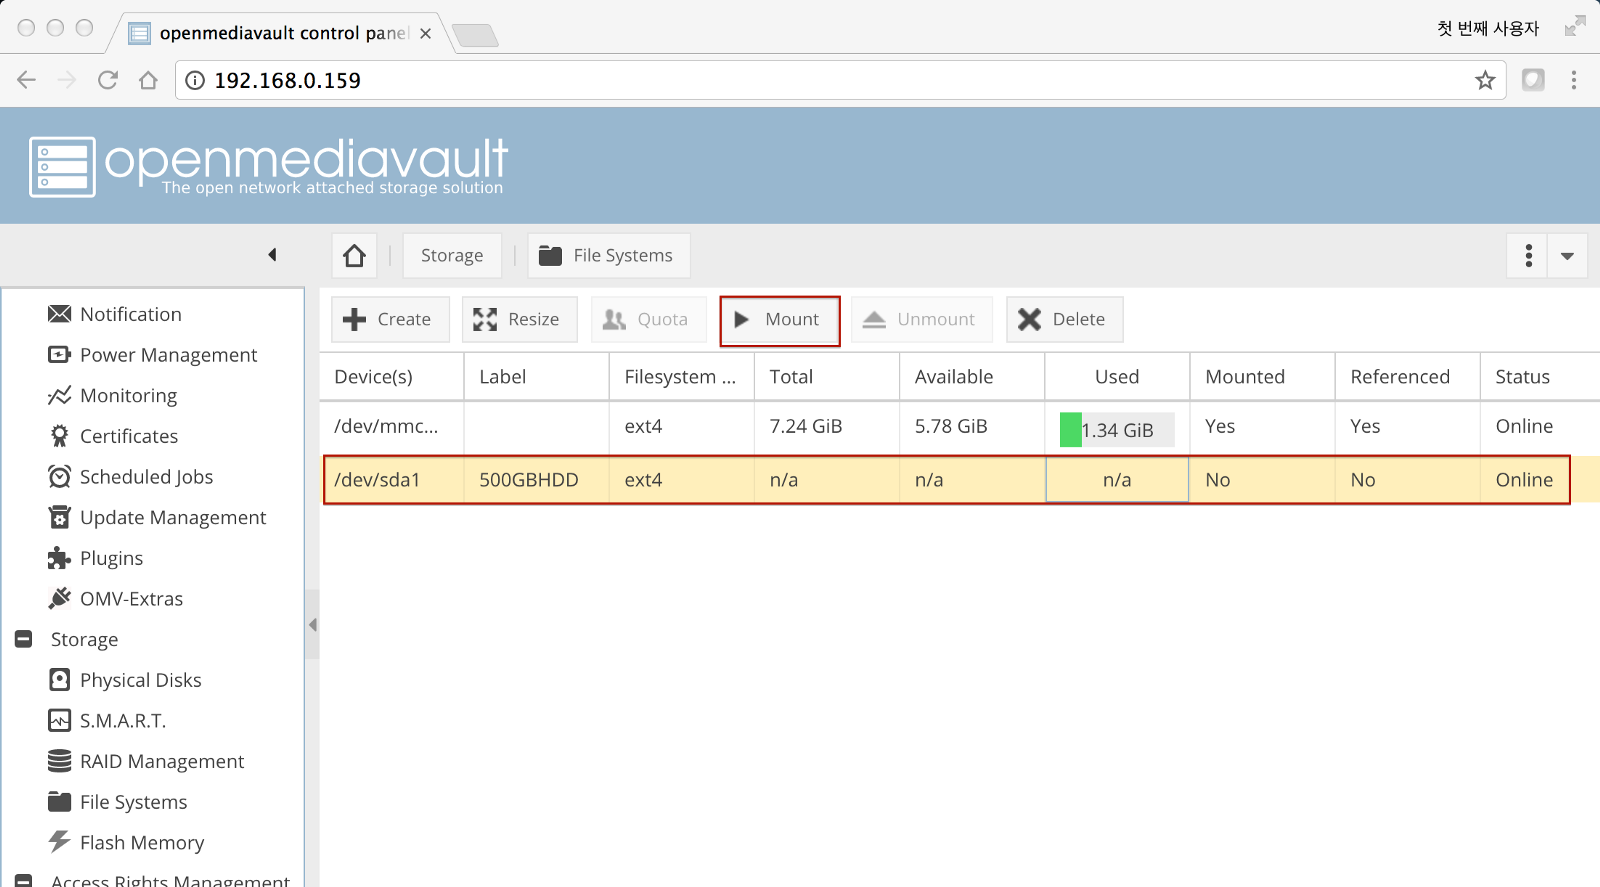
After the format has completed, select “Mount” as shown in Figures 19 and 20.
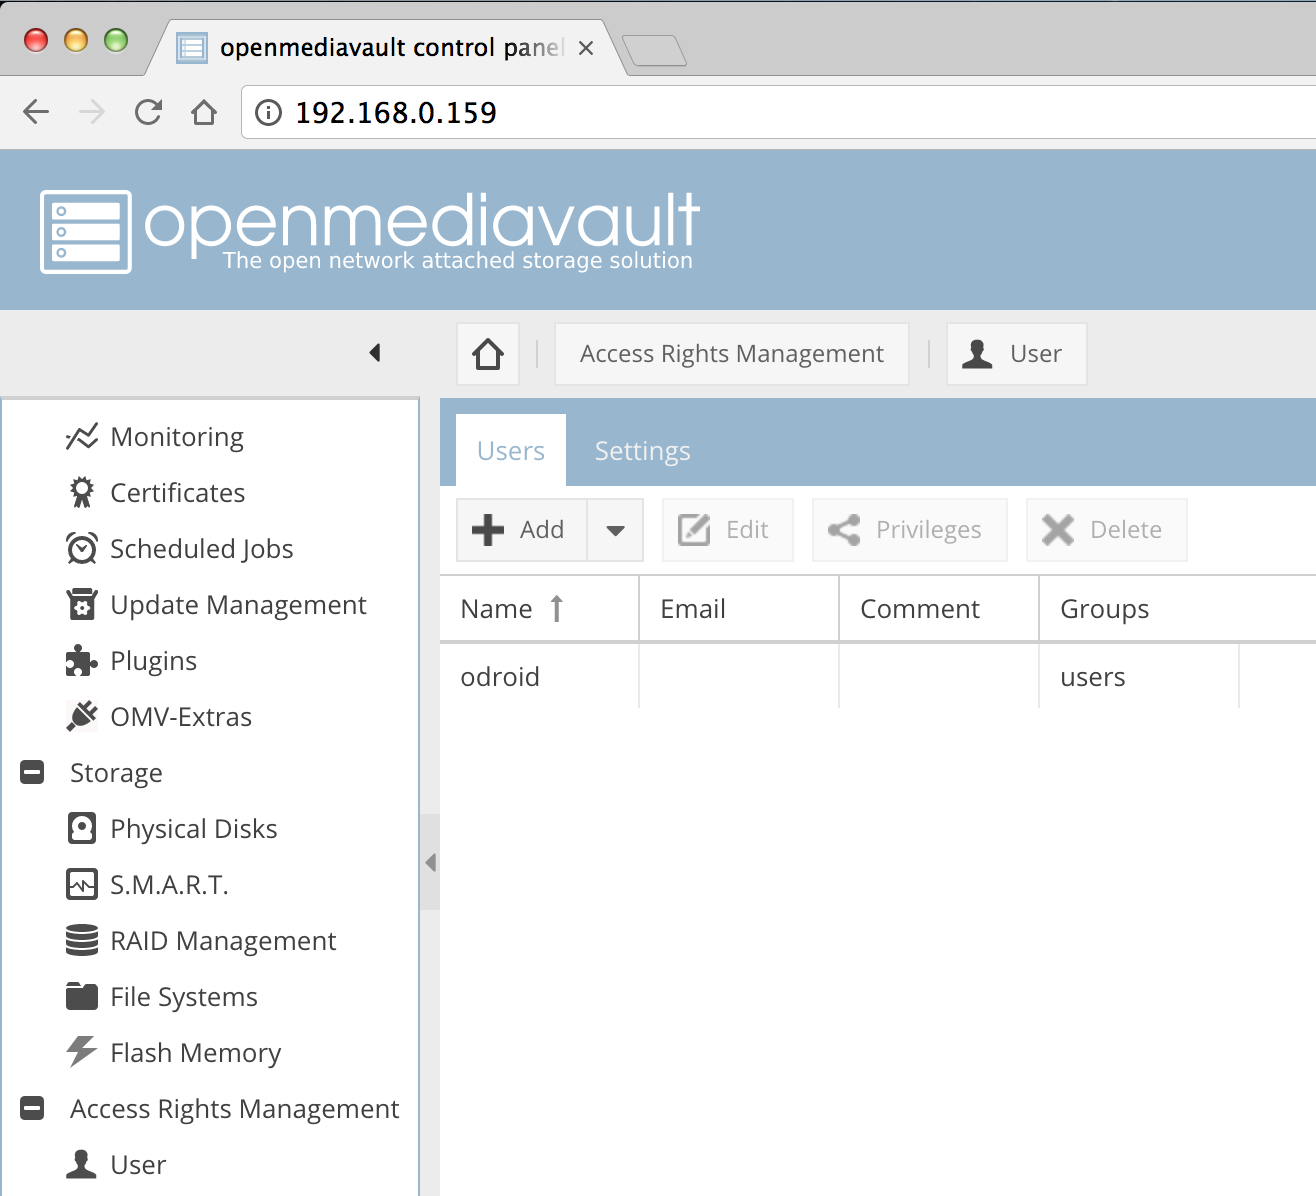
The next step is to register users who have permissions to transfer data to/from the server.

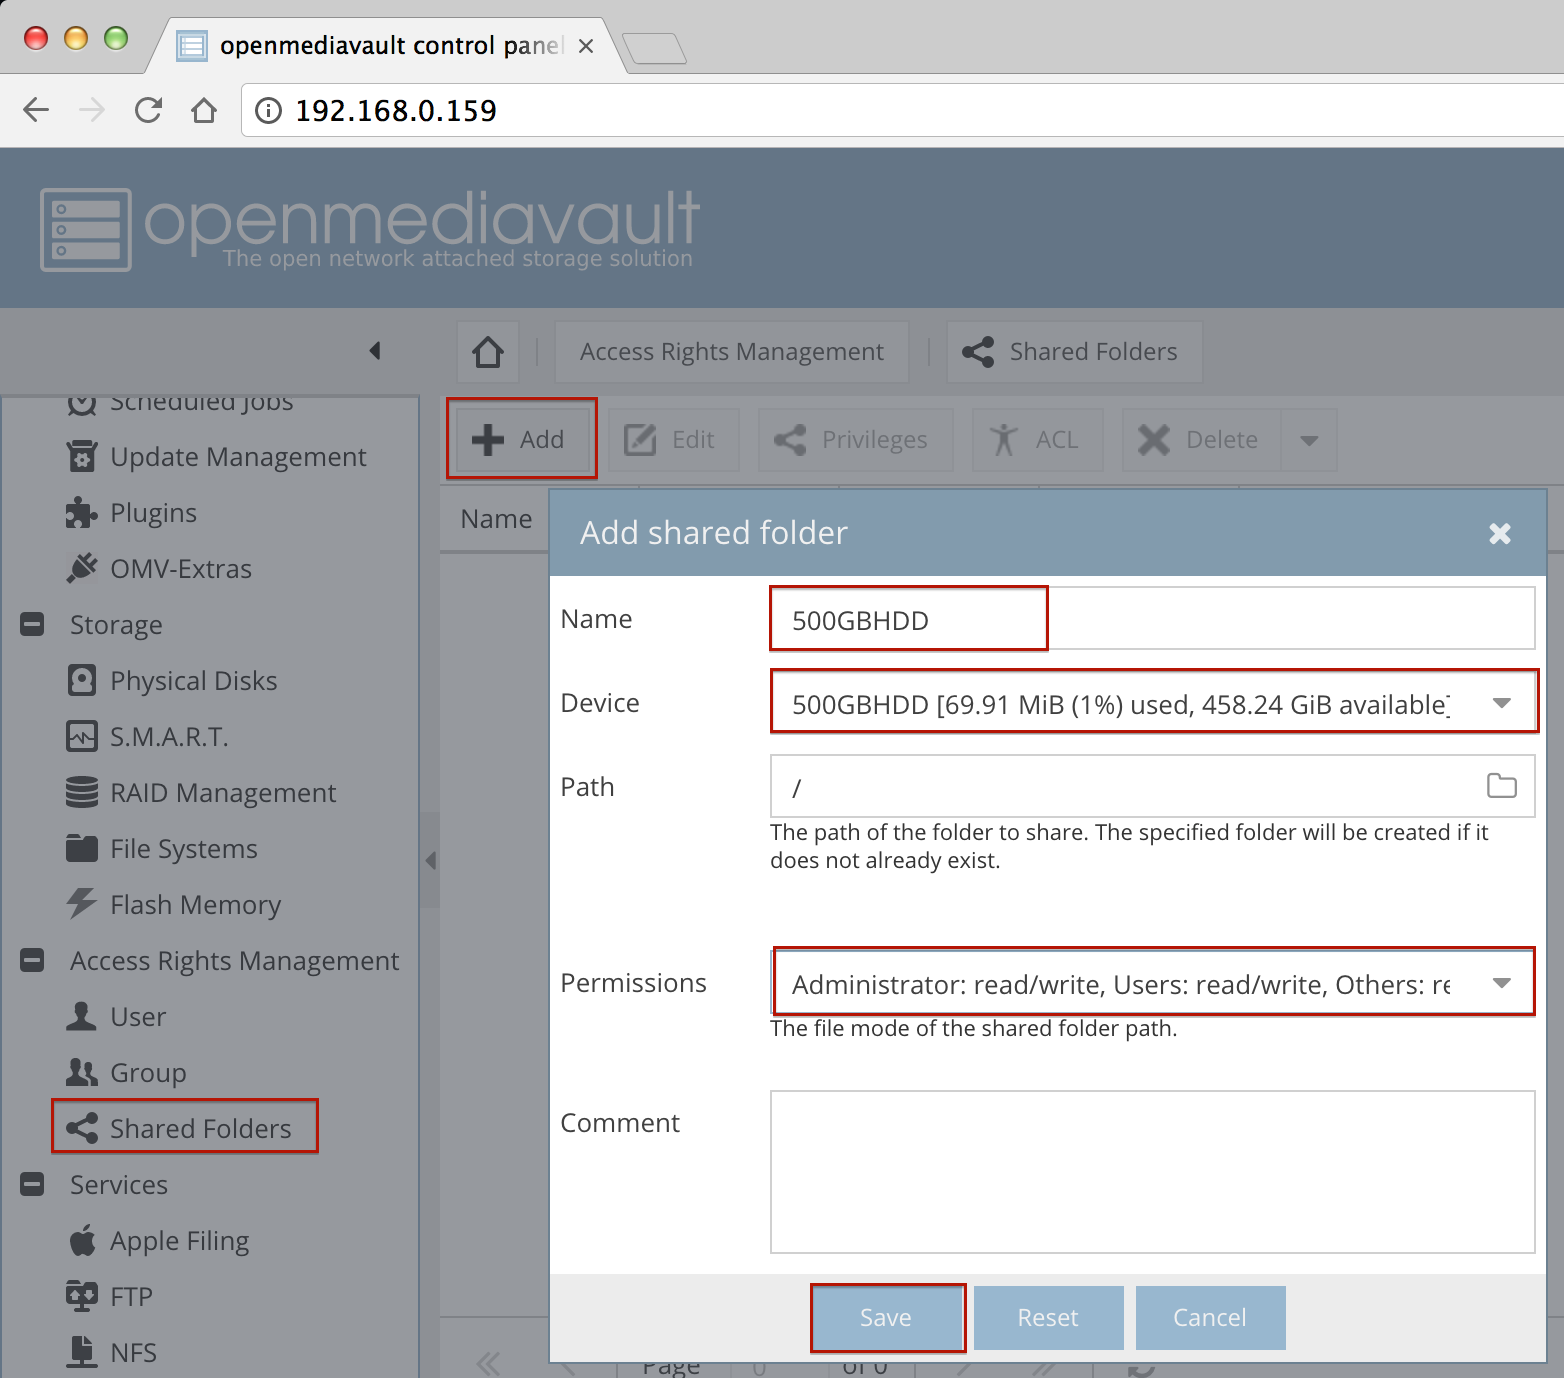
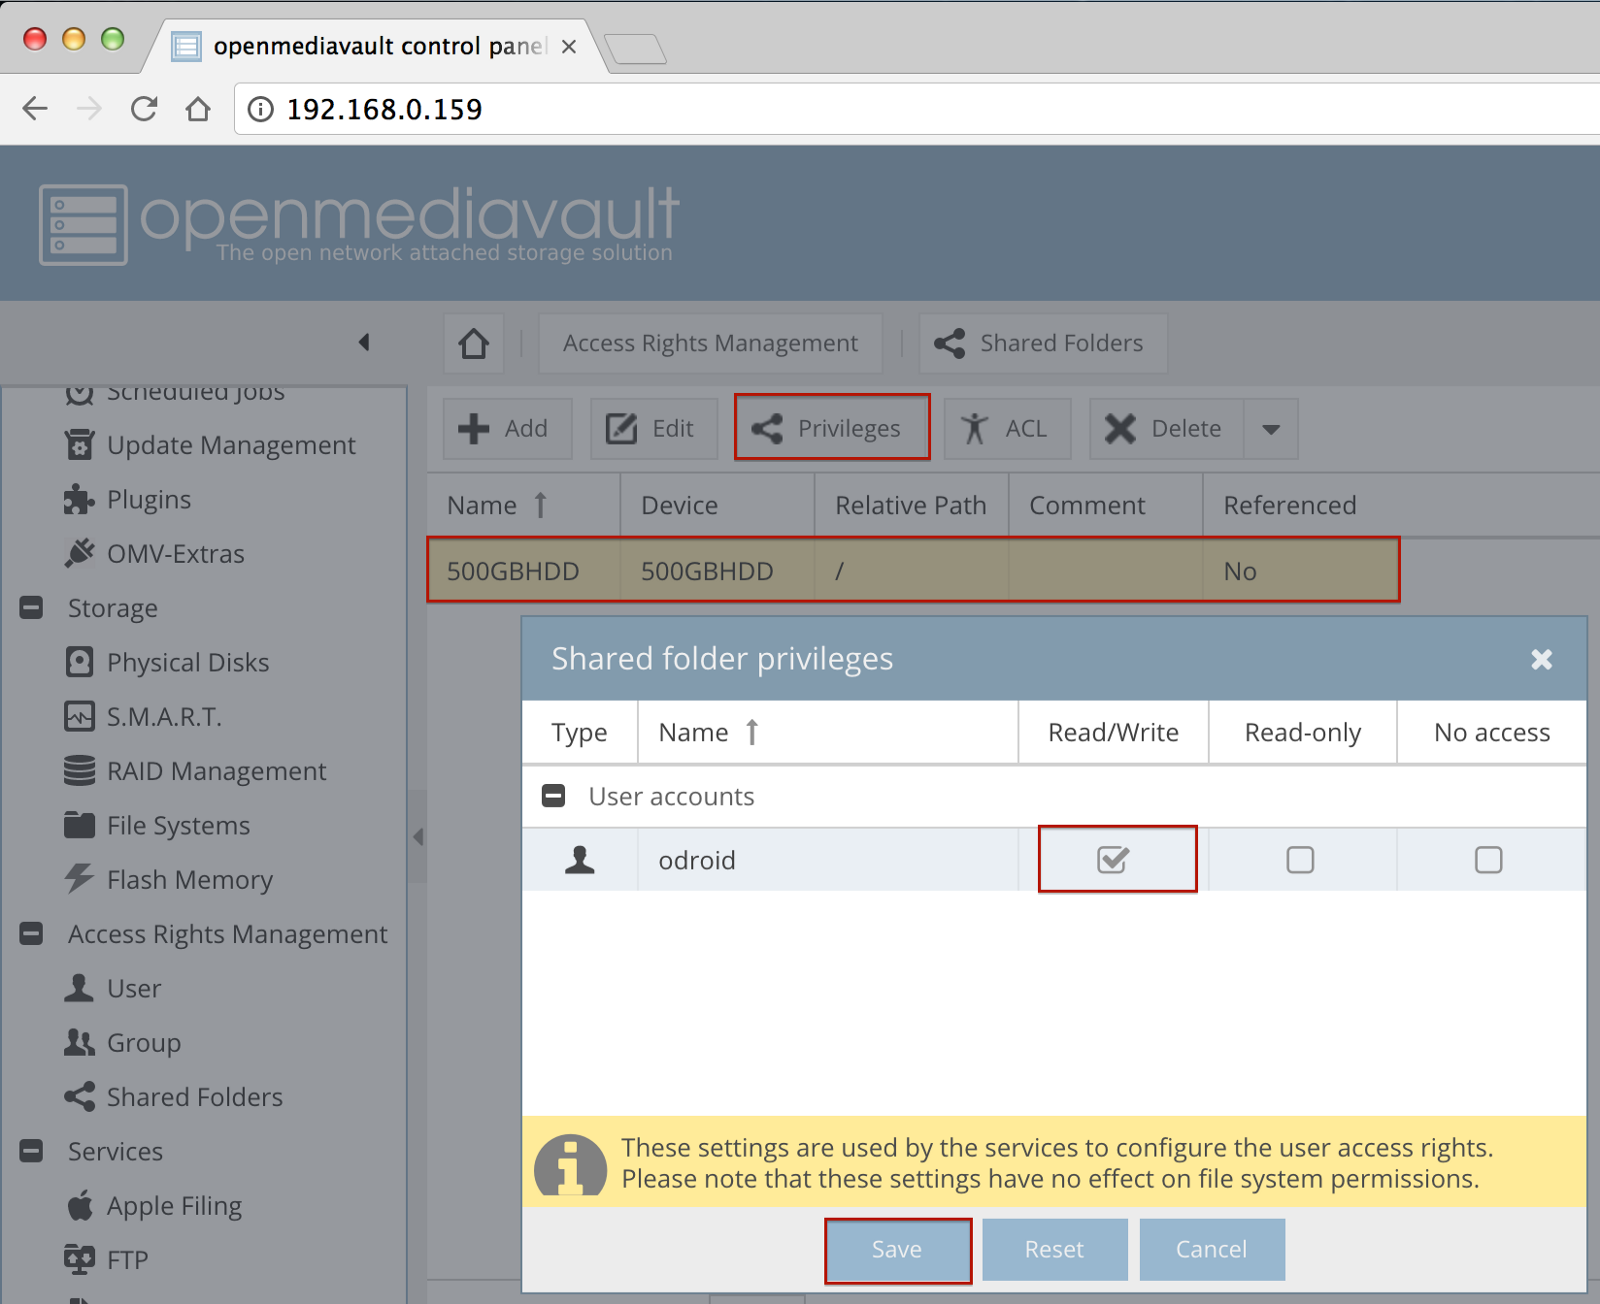
After the user has been created, create a shared folder by selecting “Shared Folders -> Add -> Name -> Select Device -> Set Permissions -> Save”. Each user then needs to be granted privileges. Grant the user “odroid” shared read/write folder privileges and save the settings.
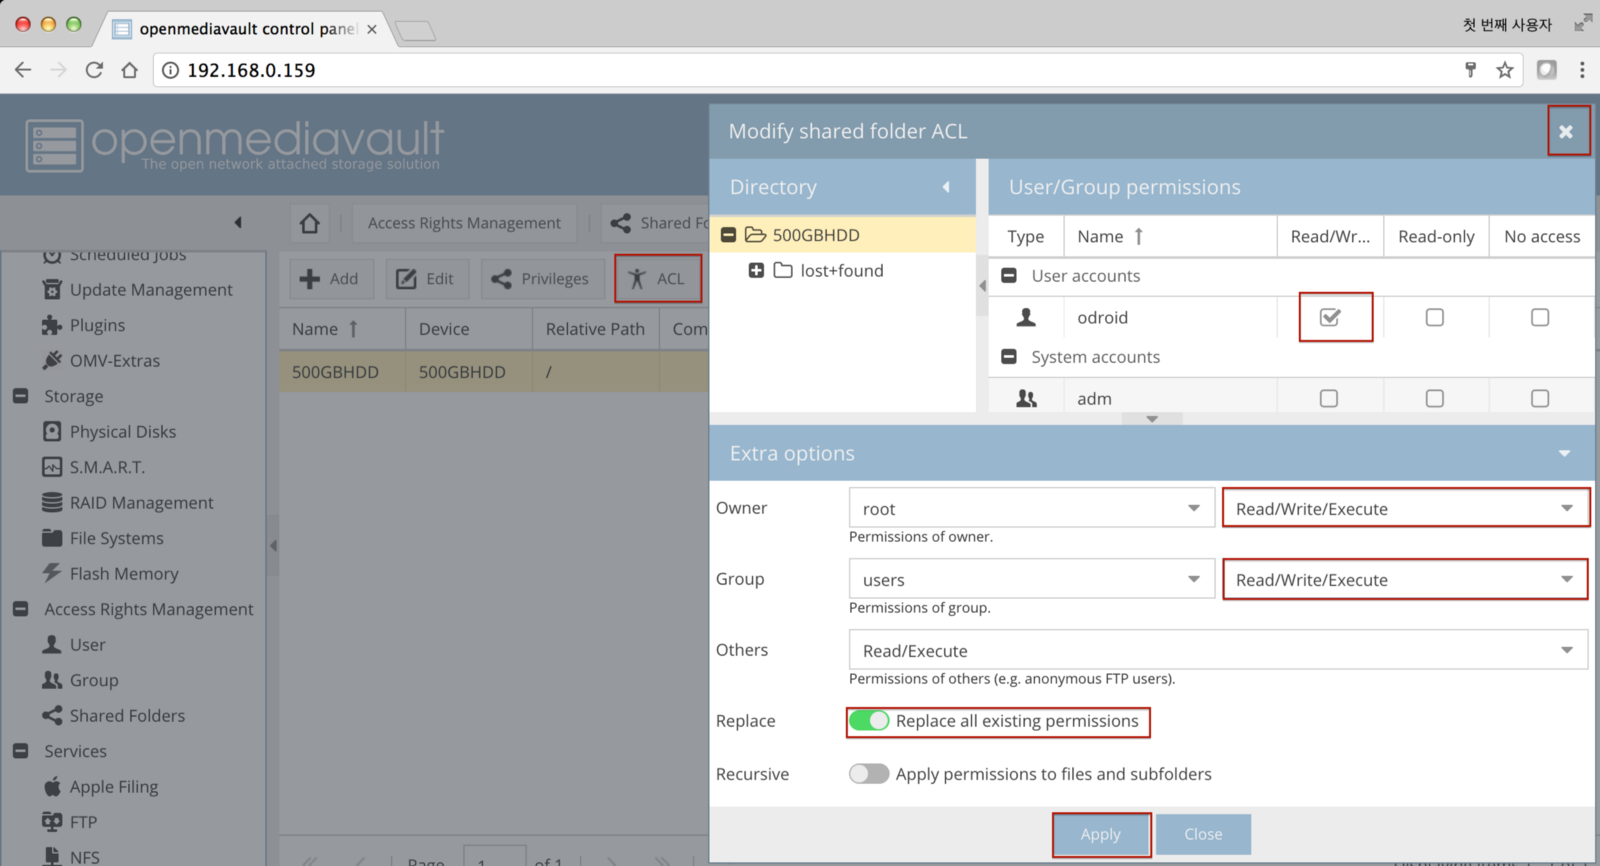
ACL is another type of permission that needs to be granted, as described at http://bit.ly/2xn98sb. The user “odroid” needs read/write/execute permissions, and other users can be given permissions as needed.
Data transfer using Samba
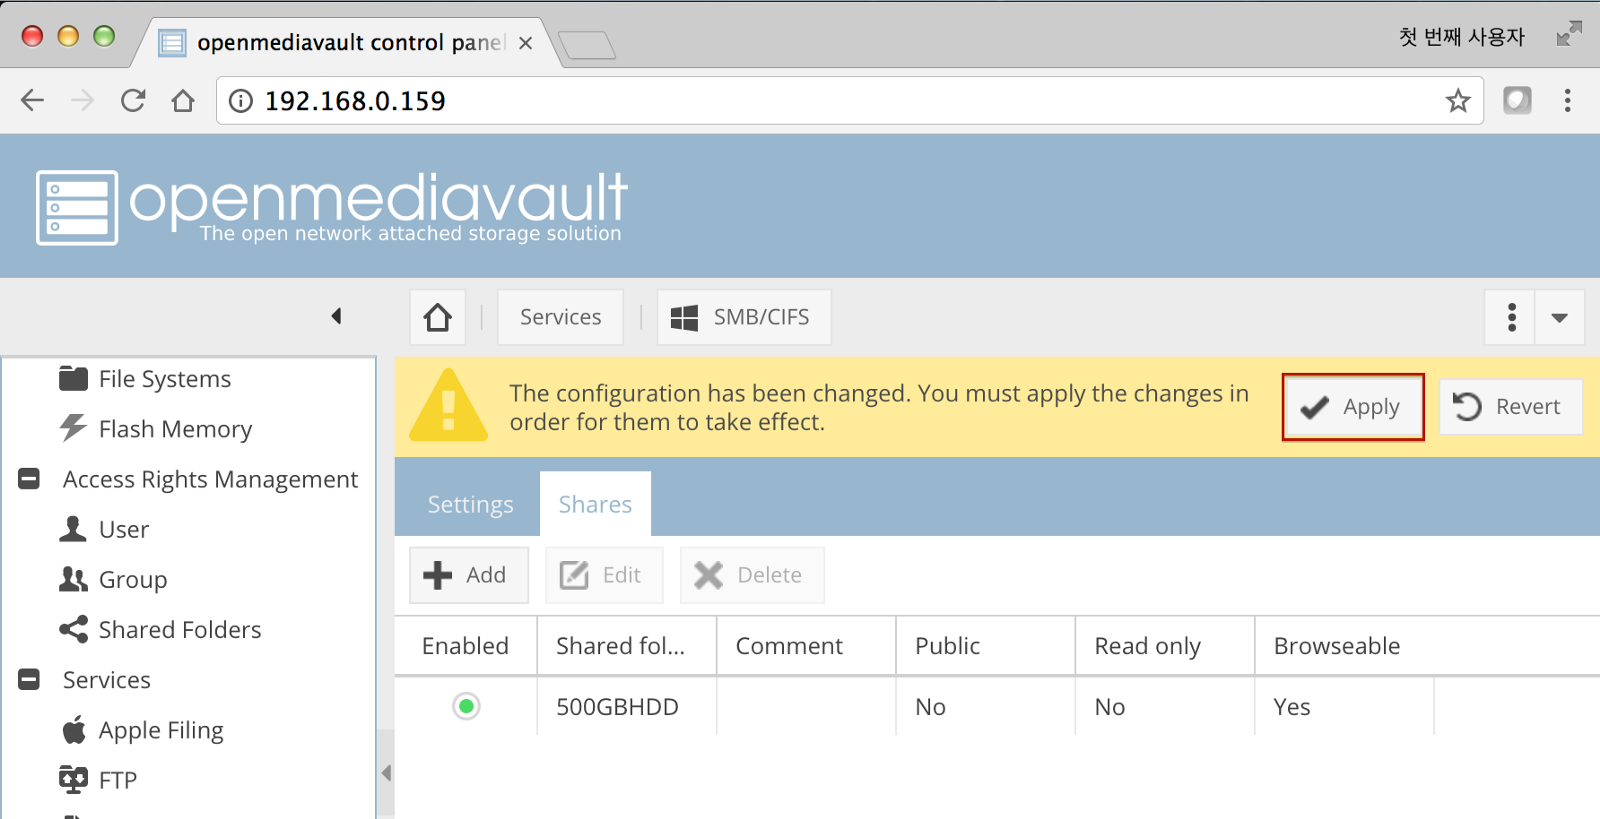
The server can be shared with the workgroup using Samba (SMB). Click “Apply” to see the shared folder.
Note that if you have two or more of the same shared devices or folders, your computer may rename one for you. For example, if you have two ODROID-HC1s attached to the router, it will recognize the first as odroidxu4 and name the second one, odroidxu4–2, to differentiate the two. If you do not see the two automatically, try rebooting your computer.
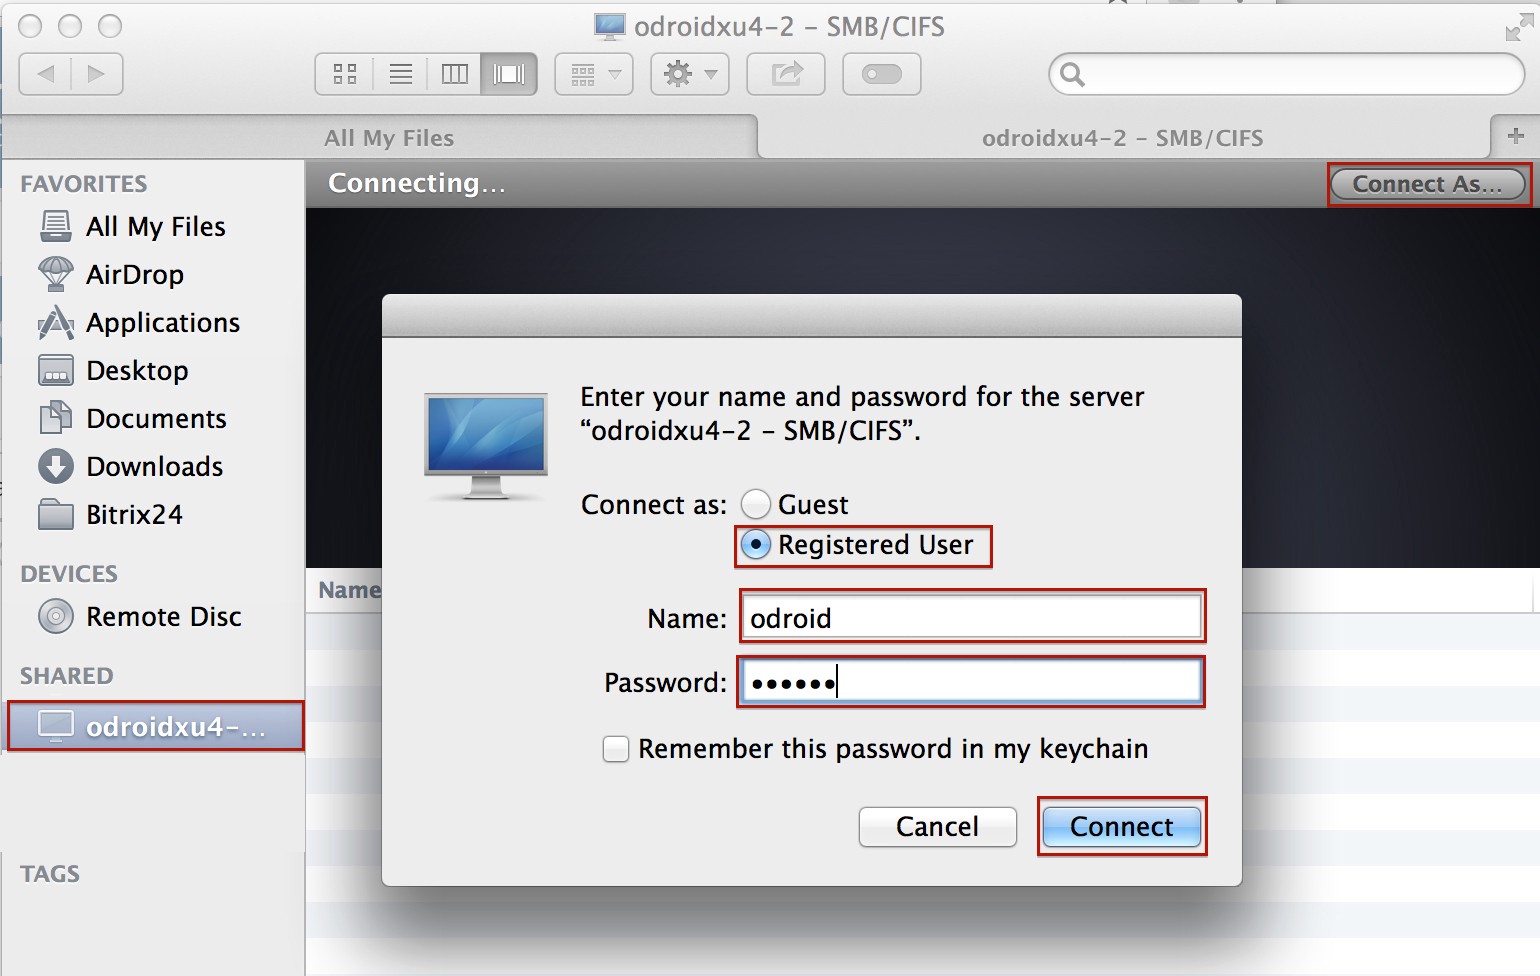
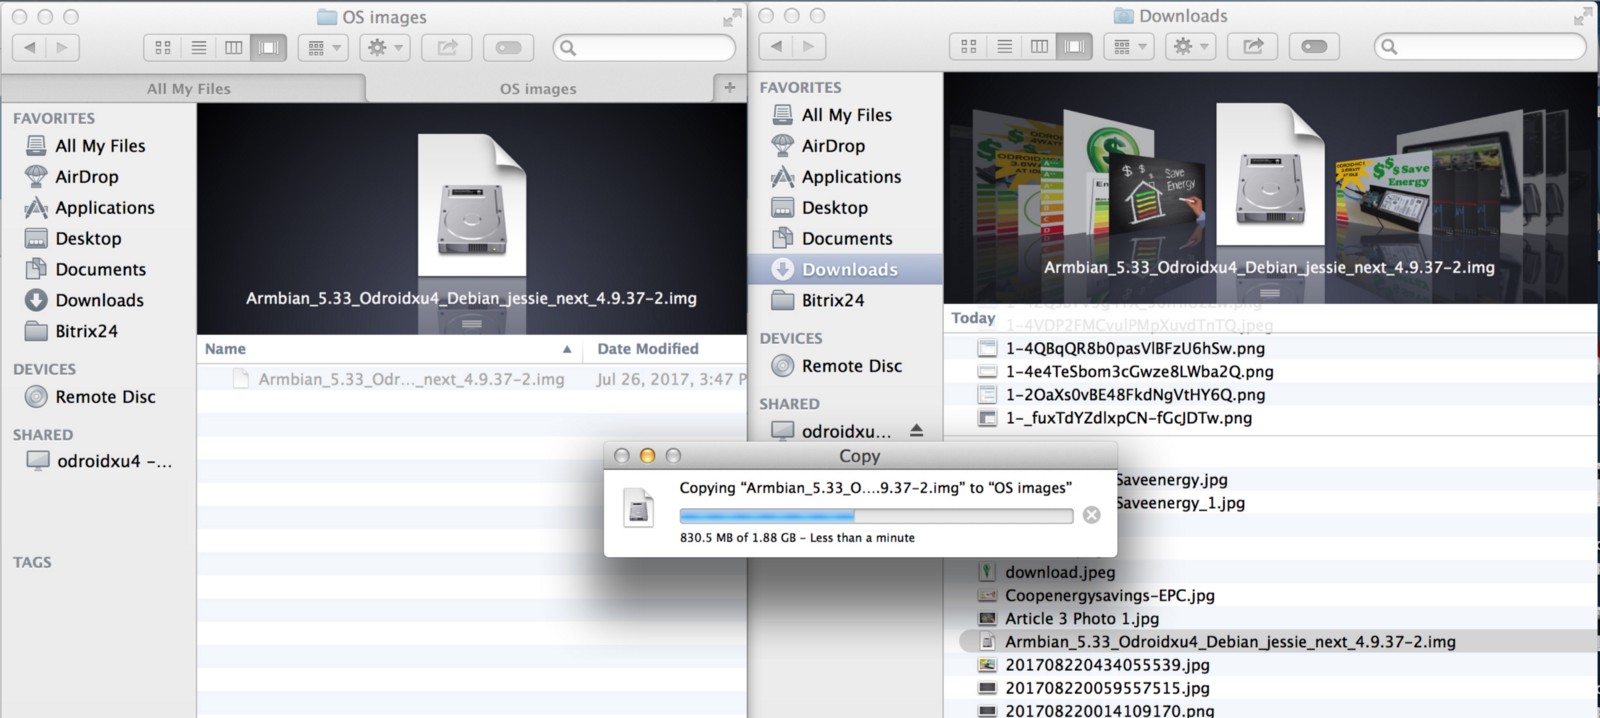
Open Finder and check “Shared” to see the odroidxu4 shared server, which is the ODROID-HC1. Click “Connect As” and enter the name and password which matches the username and password that was created on the server. After connecting, files and folders can be transferred to and from the ODROID-HC1 server.
Data transfer using FTP
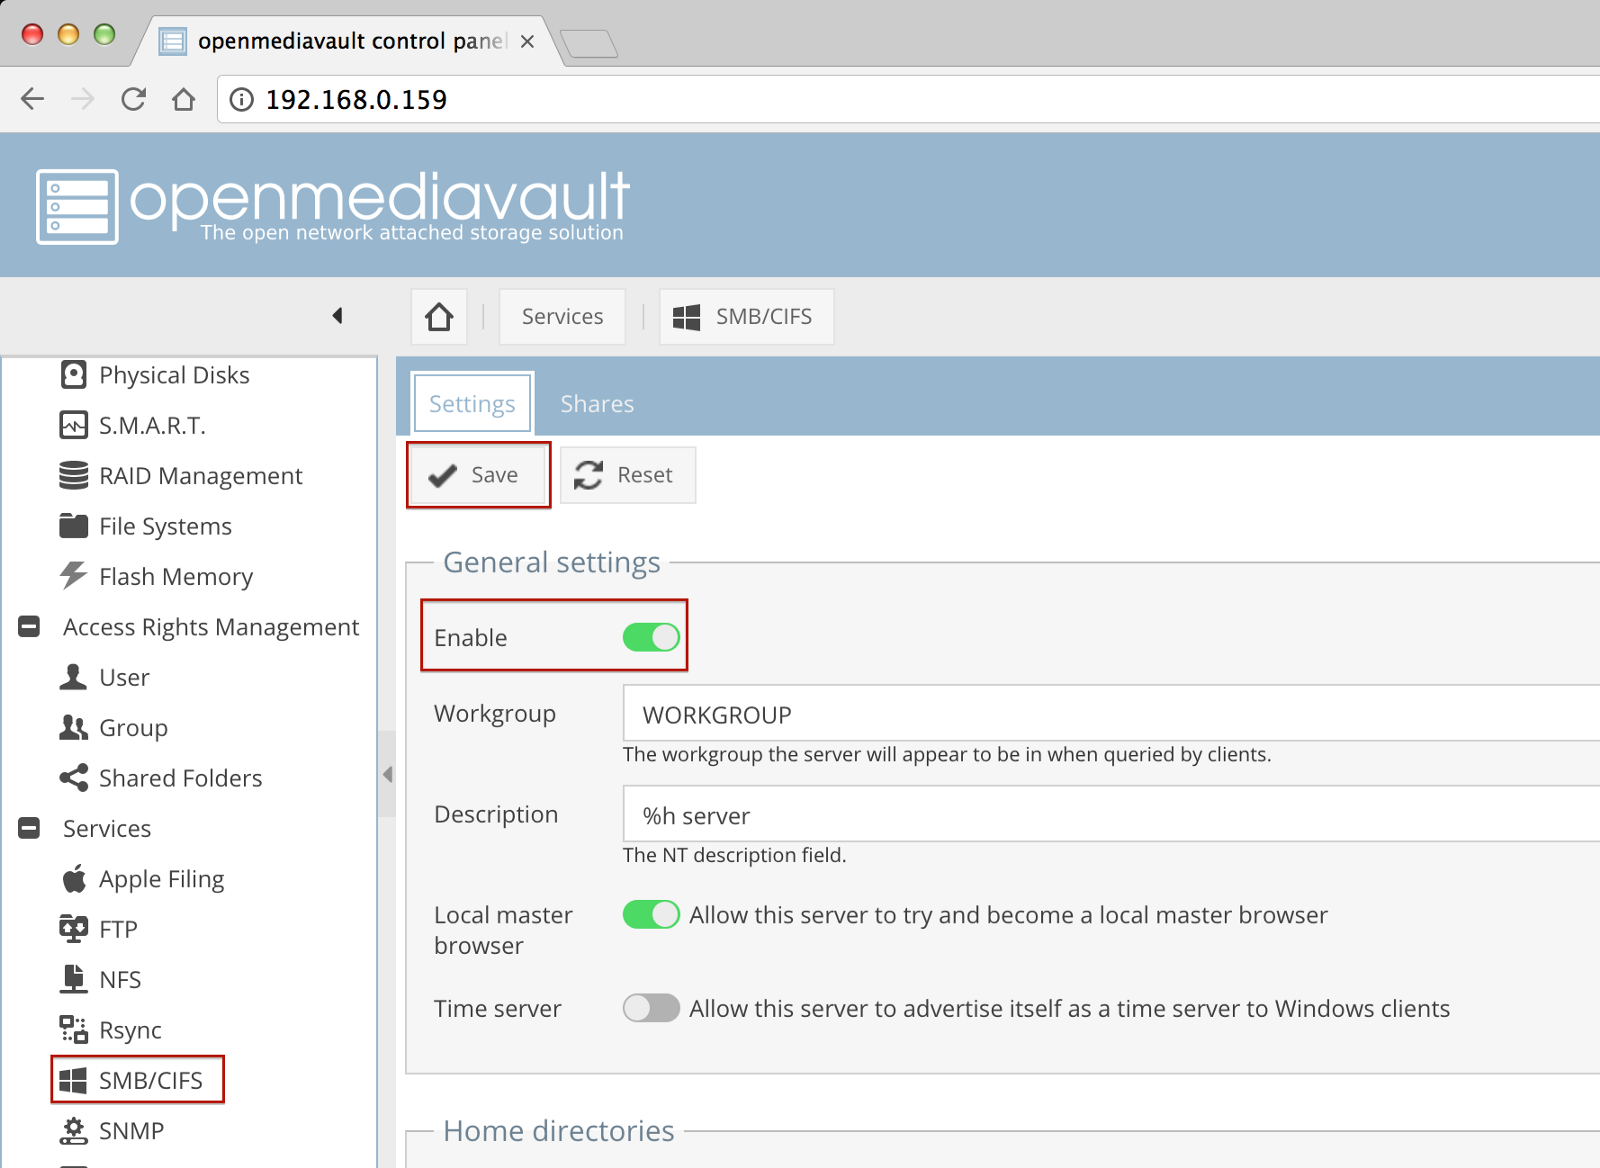
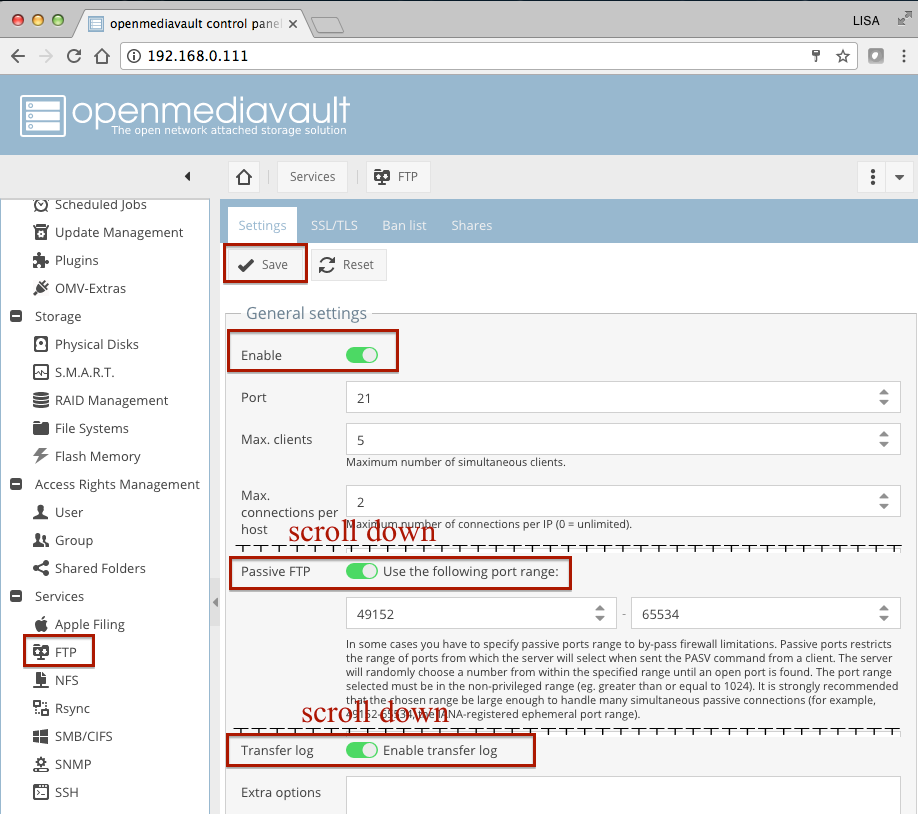
File Transfer Protocol (FTP) is a standard network protocol used for the transfer of coputer files between a client and server on a computer network. First, enable FTP on Open Media Vault as shown in Figure 38.
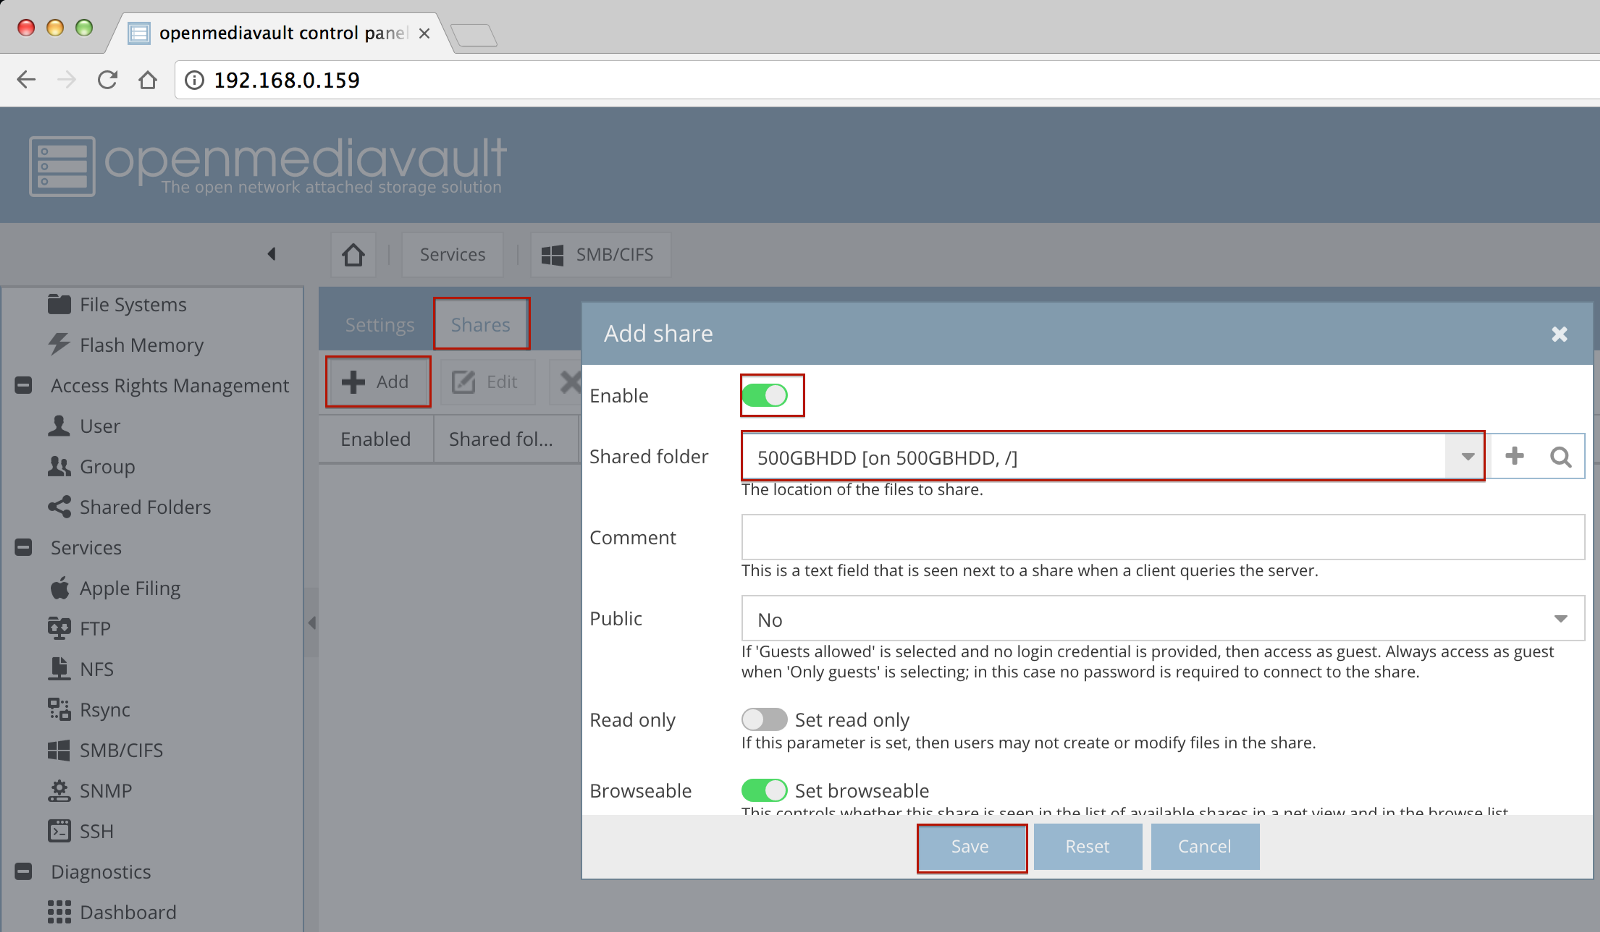
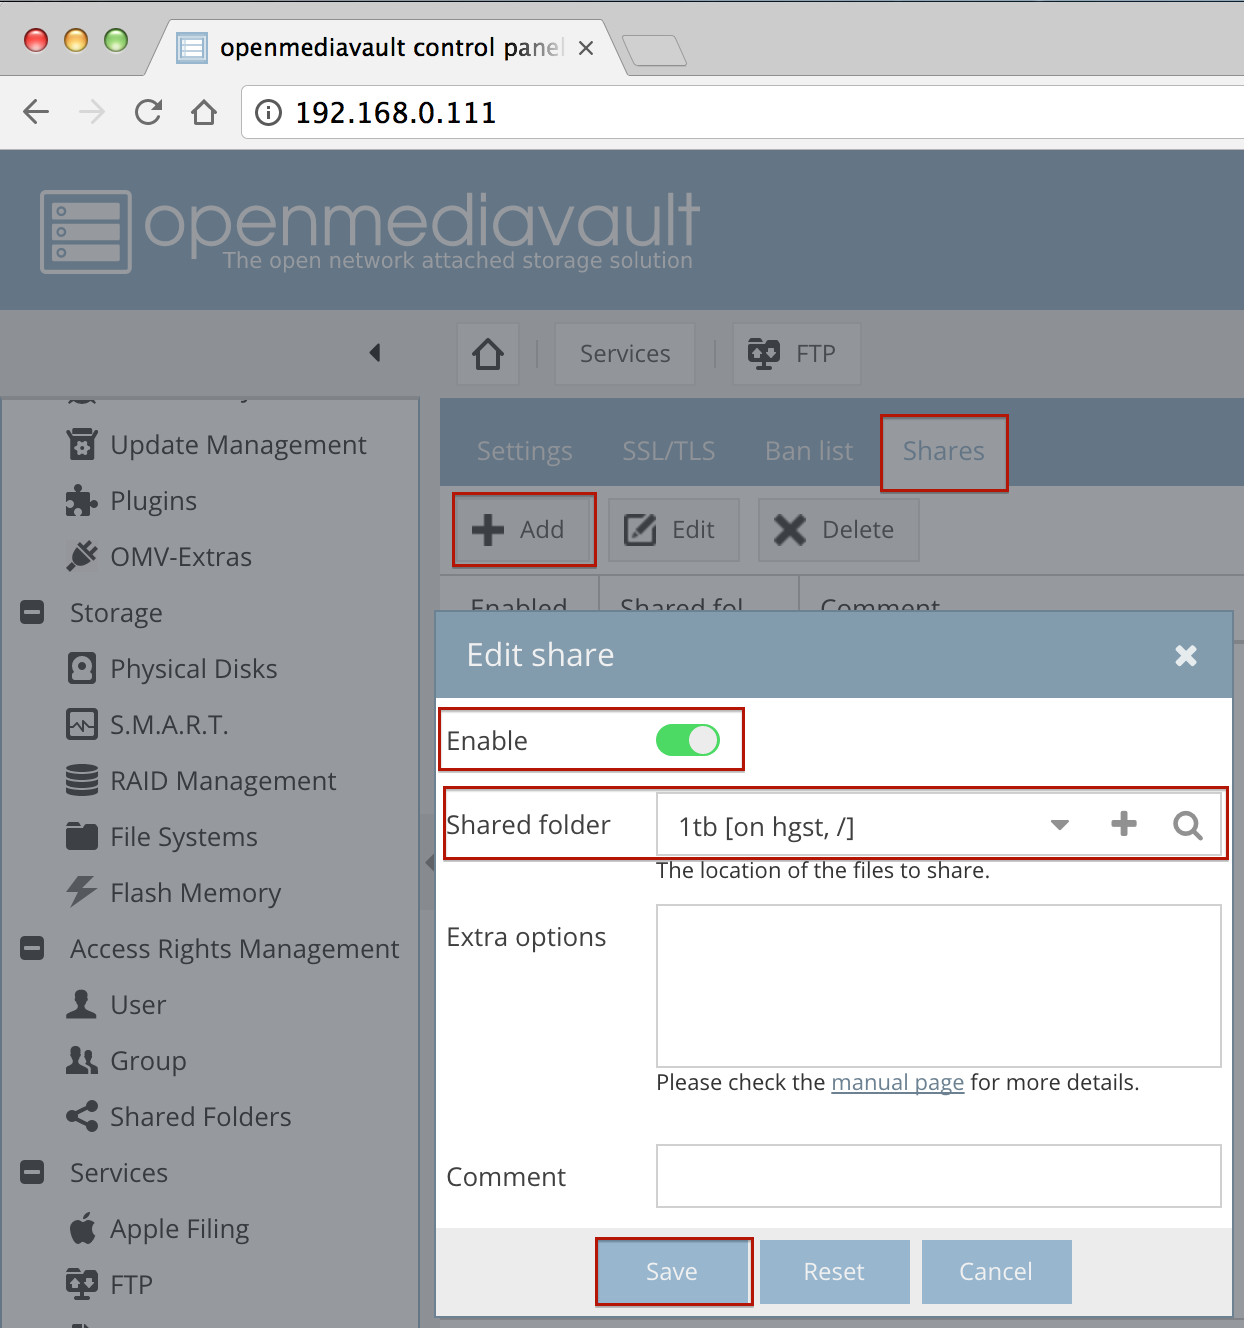
Next, enable the shared folder by selecting “Services -> FTP -> Shares -> Add -> Enable -> select Shared folder -> Save”.
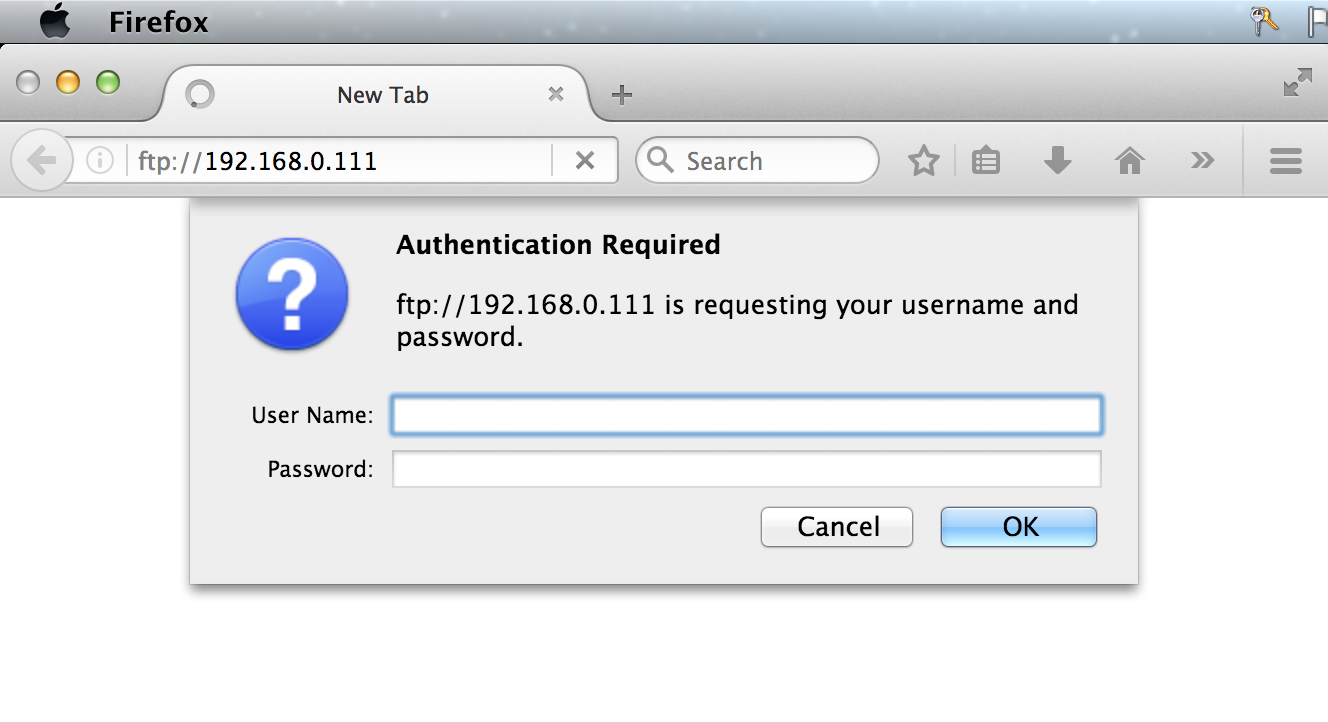
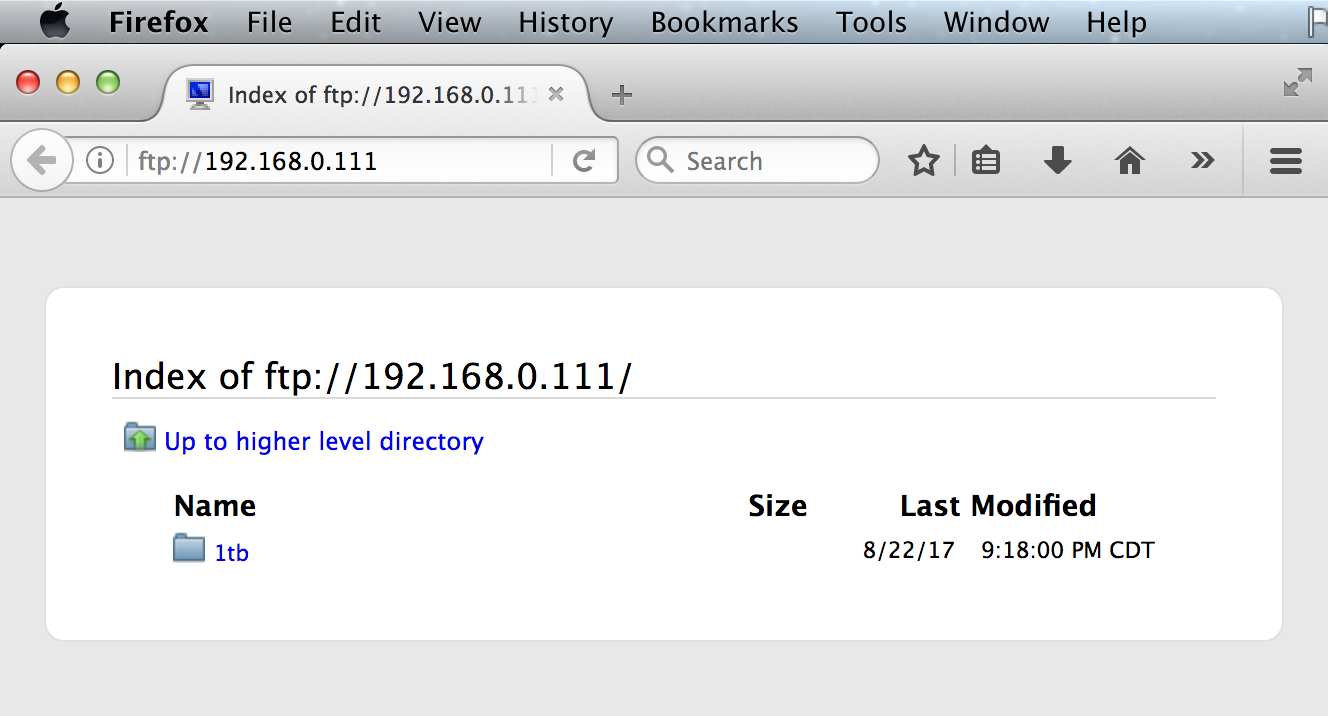
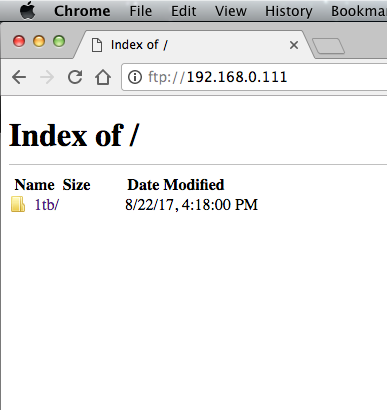
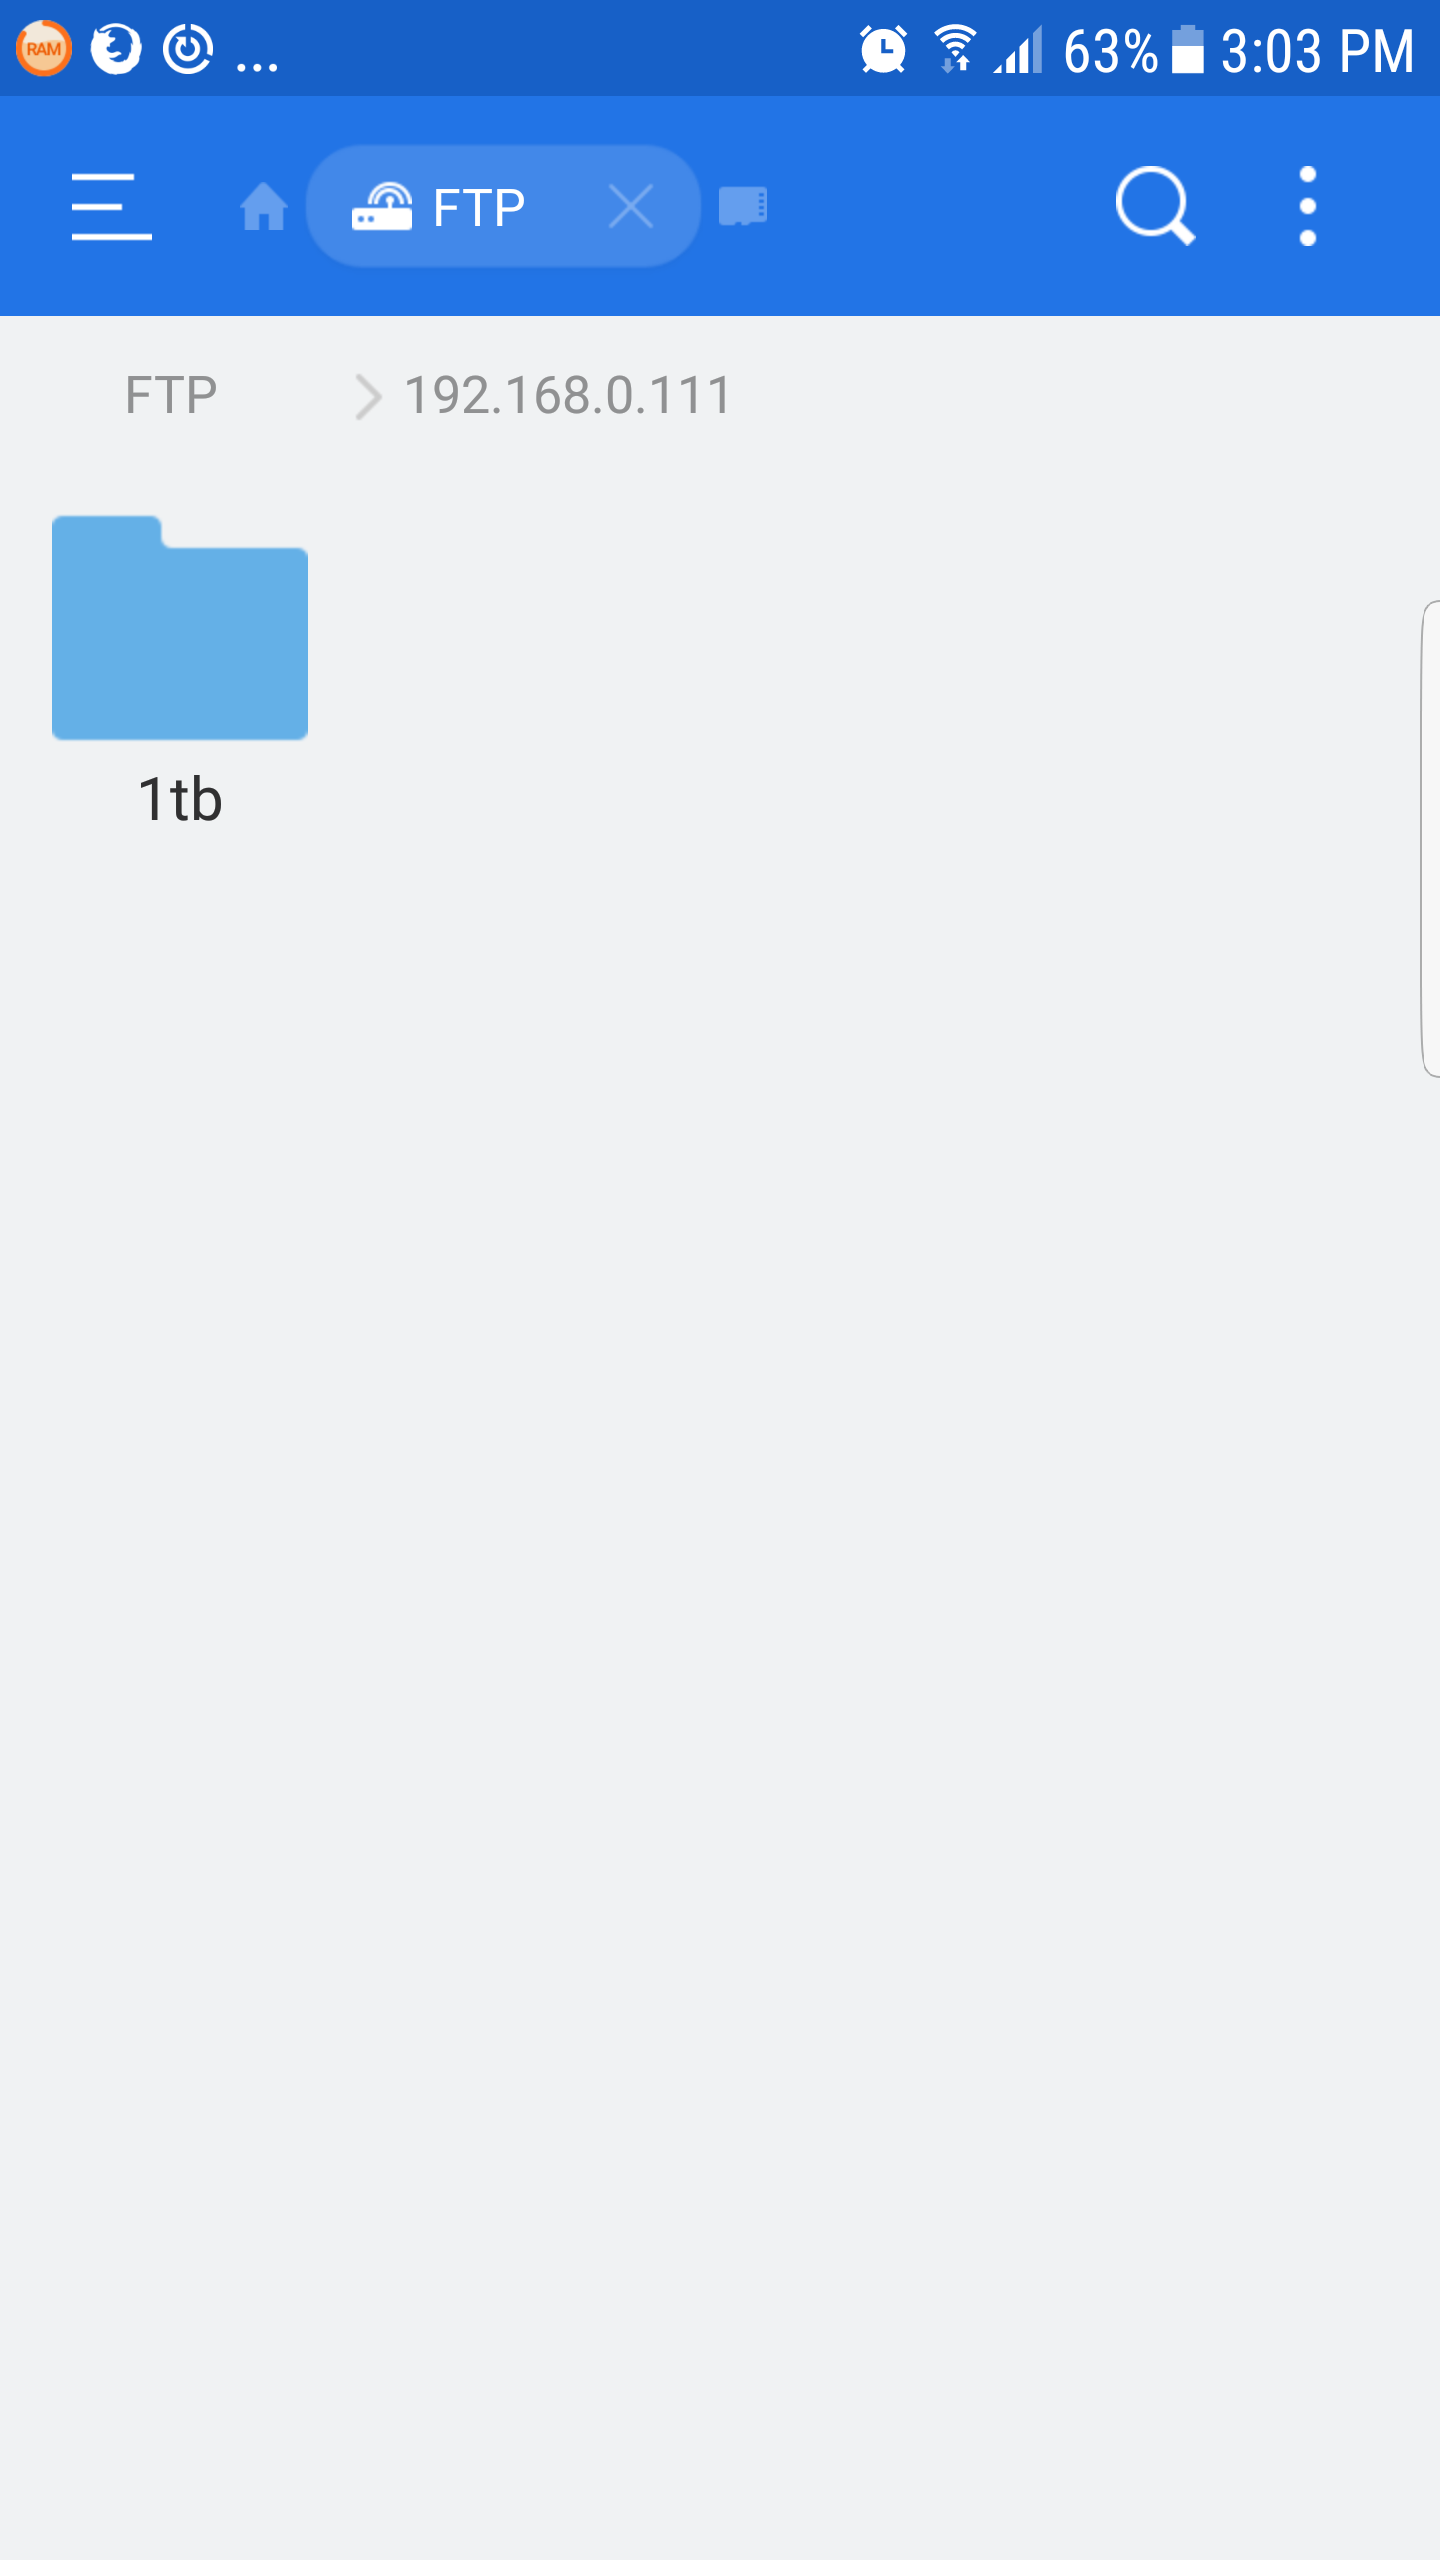
After FTP is enabled, files can be transferred to/from the server by visiting ftp://192.168.0.111 in a browser, using the address of the ODROID-HC1 server in place of 192.168.0.111.
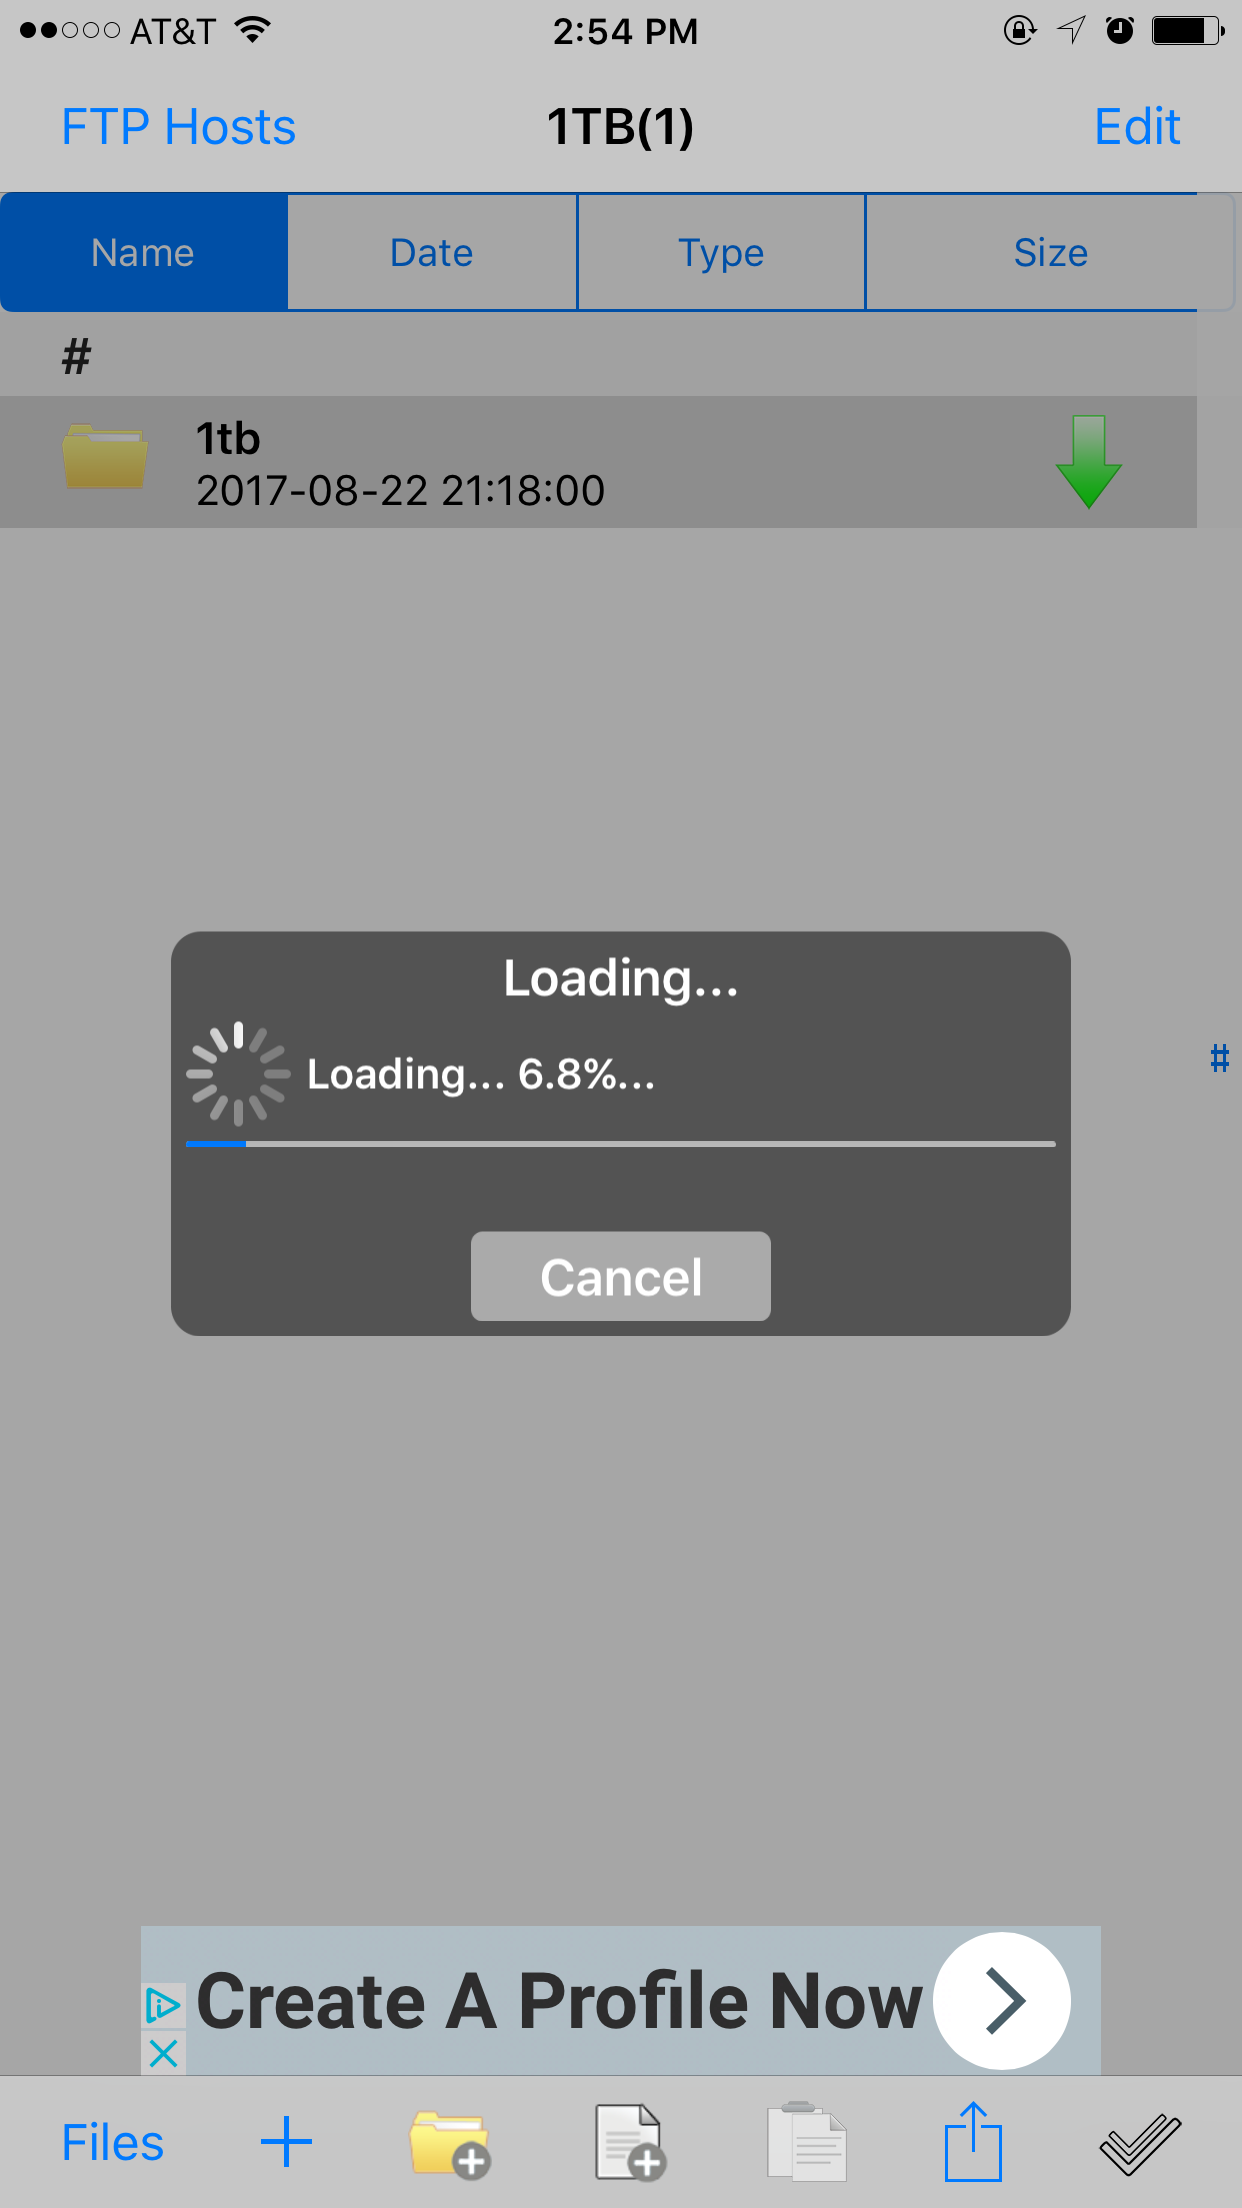
Next, install FTP on your smartphone, using an app such as FTP Sprite for iPhone, or ES File Explorer for Android.
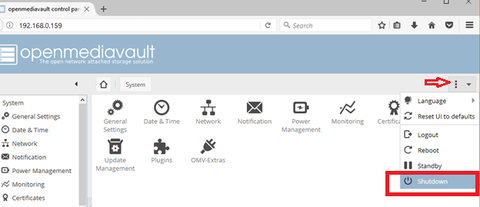
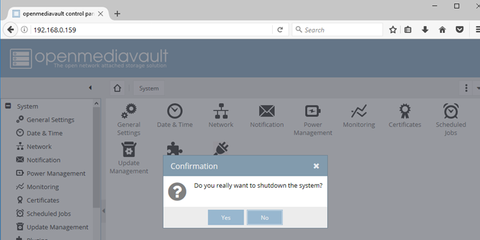
Shutdown
On your Open Media Vault web interface, below the banner, click the three vertical dots on the right, and select “Shutdown”.
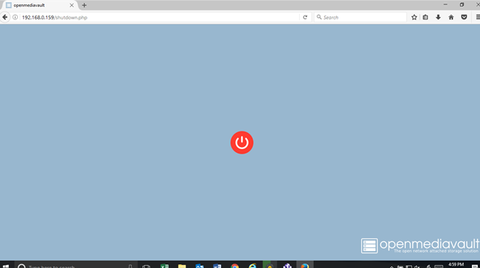
When the screen shown in Figure 47 appears, your operating system has stopped running, and the blue blinking LED should be off on the ODROID-HC1. A this point, you can unplug the power supply and remove the microSD card. Follow this shutdown procedure anytime you need to change the hard drive, update the operating system on the microSD card, or unplug the power. This will help avoid damaging the ODROID-HC1.
For comments, questions, or suggestions, please visit the original article at https://medium.com/p/6a3771d9172.
Be the first to comment