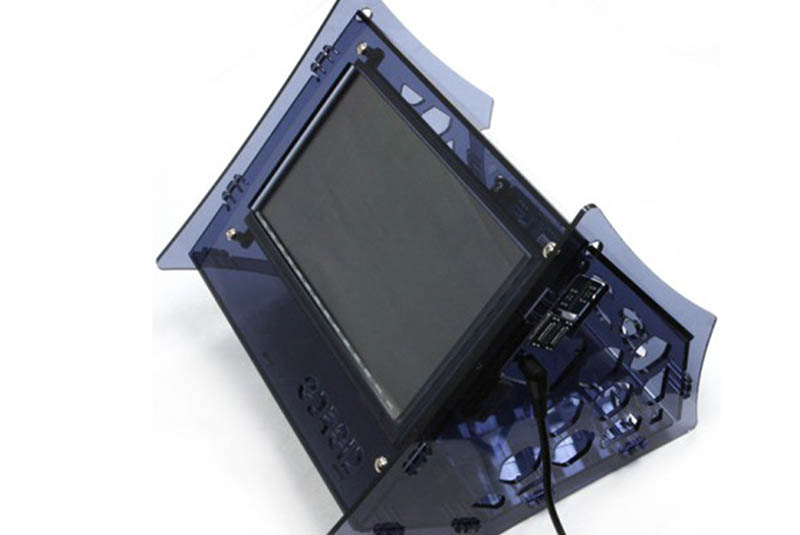
Hardkernel has done a great job with releasing new hardware recently. I saw an opportunity to create my own mobile entertainment system using a few components available through Hardkernel. This Linux gaming project is rather easy and well-suited for beginners, even children.
What you will need
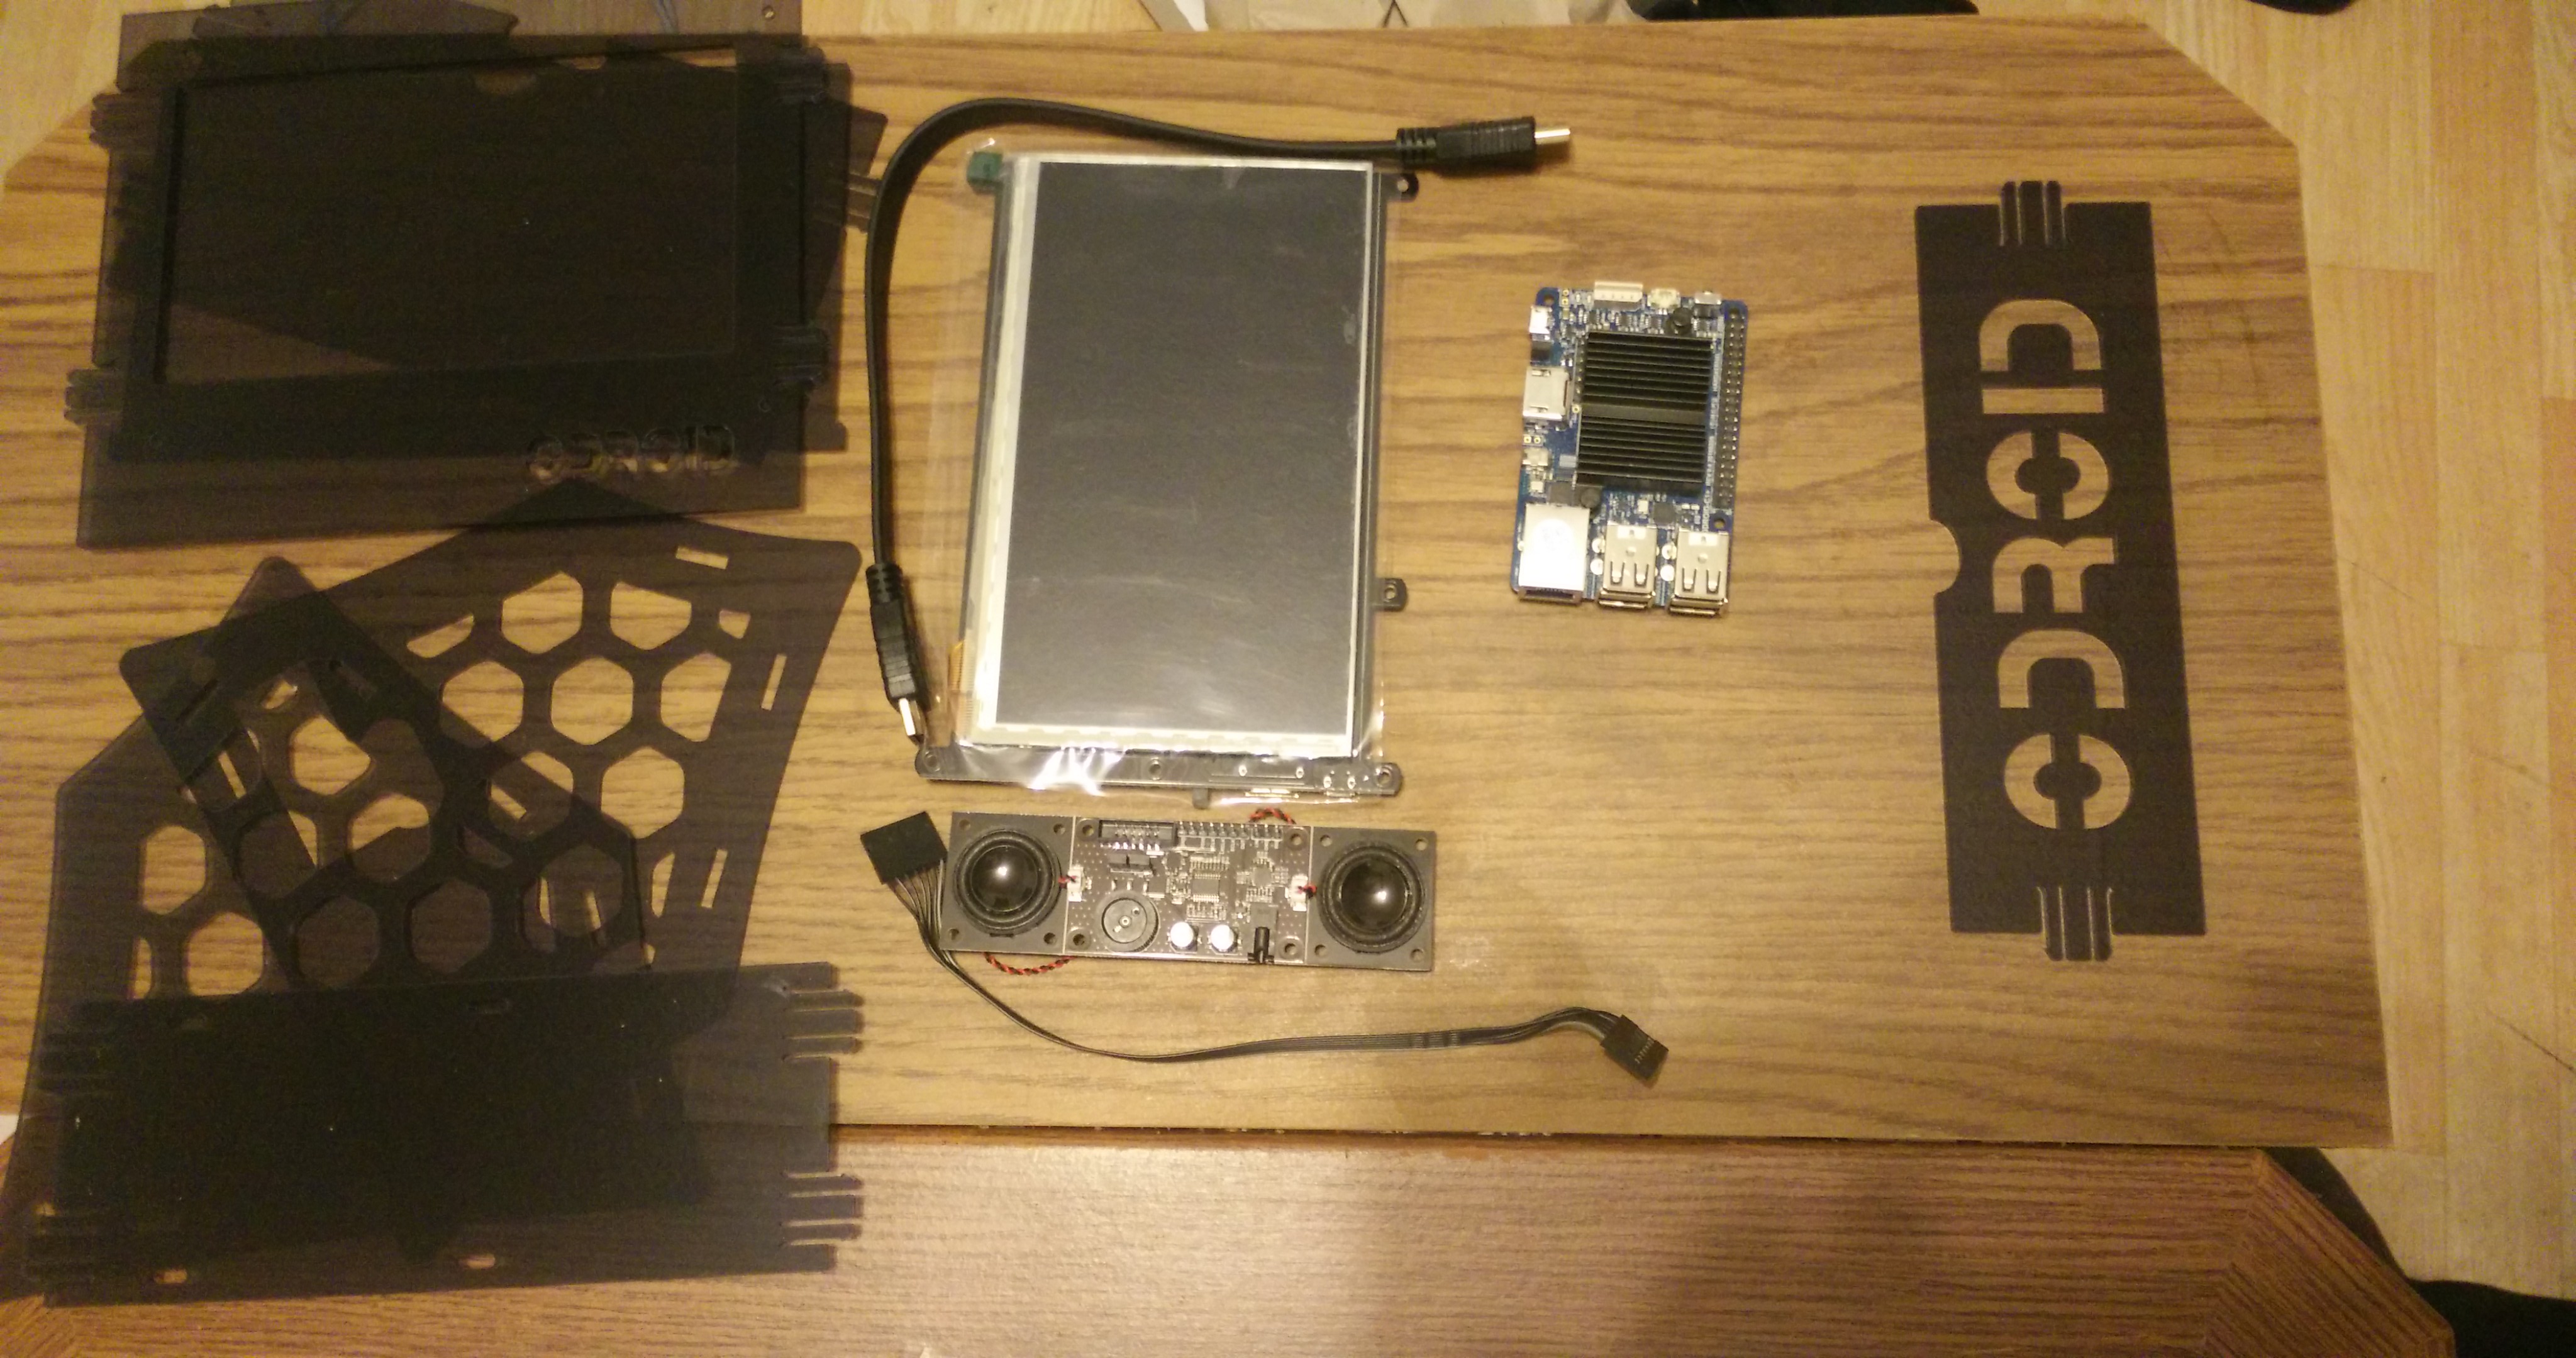
This project is based on the VuShell and components that can be fit inside the case. In fact, there’s quite a bit of space in this case, allowing for a variety of different layouts. For now, I’ll focus on the layout I’m using, but if you want try this project you can exchange or add components as you see fit.
ODROID-VuShell (http://bit.ly/2b8lk6a) As the case for our project, this is an absolute must-have!
ODROID-VU7 Plus (http://bit.ly/2cmKyuN) You could also use the ODROID-VU7 instead (http://bit.ly/1NWxgDx) if you want to save a few dollars or use a screen with slightly less power consumption.
ODROID-C1+ (http://bit.ly/1Upx5yI) You can also use an ODROID-C2 or XU4. Unfortunately, the C1 and XU3 won’t work, as they don’t have the necessary I2S connectors.
The C1+ is probably your best choice, since it uses very little power and allows you to use a battery pack. The board powers the VU7 over the USB 2.0 OTG connector, so only one power plug is needed.
Stereo Boom Bonnet (http://bit.ly/2wbKkyE) As we want to have sound in our project, to be truly mobile, this is a must-have.
5V/2A PSU If you use an ODROID XU4, you’ll need an additional 5V/4A PSU.
SD card with 8MB or more storage You could also use an eMMC module, but once assembled you will no longer be able to reach the eMMC module, making corrections impossible without disassembling everything. The SD card, on the other hand, will still be accessible with tweezers.
Spacers I got my spacers from other ODROID products I had laying around, but they can also be bought cheaply on Amazon (http://amzn.to/2yj4OG8).
Keyboard, Mouse After the initial setup, these may no longer be needed.
Following the list above, your costs should come to around $160 (not including your keyboard and mouse, or shipping).
There are a couple of other components you might want to get, but these are completely up to you:
Gamepad (for a better gaming experience) I suggest a wireless XBox 360 controller with a Wireless PC Adapter, since one adapter supports up to four controllers, meaning you won’t have to deal with any cables.
External storage (for storing large amounts of data) For example, you may want to use a USB thumb drive or external HDD to store movies or games. If you use a large SD card (32GB or bigger) you don’t necessarily need one, but they’re probably easier to exchange than a SD card if you find you need extra storage.
WLAN Module If you want to connect to a wireless network, you will need one of these.
UPS3 or any other Battery Pack A power bank for your cellphone or tablet will also do. This way, you can make the system entirely mobile so that you don’t need to have a power plug nearby. A decent power bank should give you somewhere between 3-5 hours runtime for the entire system.
Micro USB-DC Power Bridge Board (http://bit.ly/2wbWQ1e) If you use an ODROID-XU4, this will make sure the power for the display is constant.
IR Remote Controller (http://bit.ly/1M6UGiR) or any other IR Remote The C1+ and C2 come with a IR receiver. If you want to use it in Kodi, that’s something you can do as well.
Solder Set This is recommended for advanced users wanting “real” stereo sound
Software
Before you start to assemble the components, you should setup your ODROID, install the operating system (I used my own image ODROID GameStation Turbo for the ODROID-C1 Series), prepare the boot.ini, and, if you want to, put games, movies, and whatever on your board. It’s better to do this up front, as it may be difficult to do at a later point if you don’t have a network connection.
Make sure to set the options for the VU7 or VU7 Plus (depending on your choice of LCD screen) on your boot.ini:
$ setenv m "1024x600p60hz" # 1024x600

$ # HDMI DVI Mode Configuration
$ # setenv vout_mode "hdmi"
$ setenv vout_mode "dvi"
$ # setenv vout_mode "vga"
You can also configure the system to load the modules required for the Stereo Boom Bonnet.
Open a terminal and type the following commands:
$ su -
$ echo "snd-soc-pcm5102 snd-soc-odroid-dac" >> /etc/modules
After that, you can copy over the games or movies you want to use, and configure EmulationStation, Kodi, and any other additions to your liking, or you can do this later once the system is assembled. You will definitely need the boot.ini configuration at absolute minimum, or else you won’t see anything on your screen later.
Assembly
Assembling is rather easy, just follow the step from Hardkernel on how to assemble the VuShell (http://bit.ly/2b8lk6a) with some slight modifications.
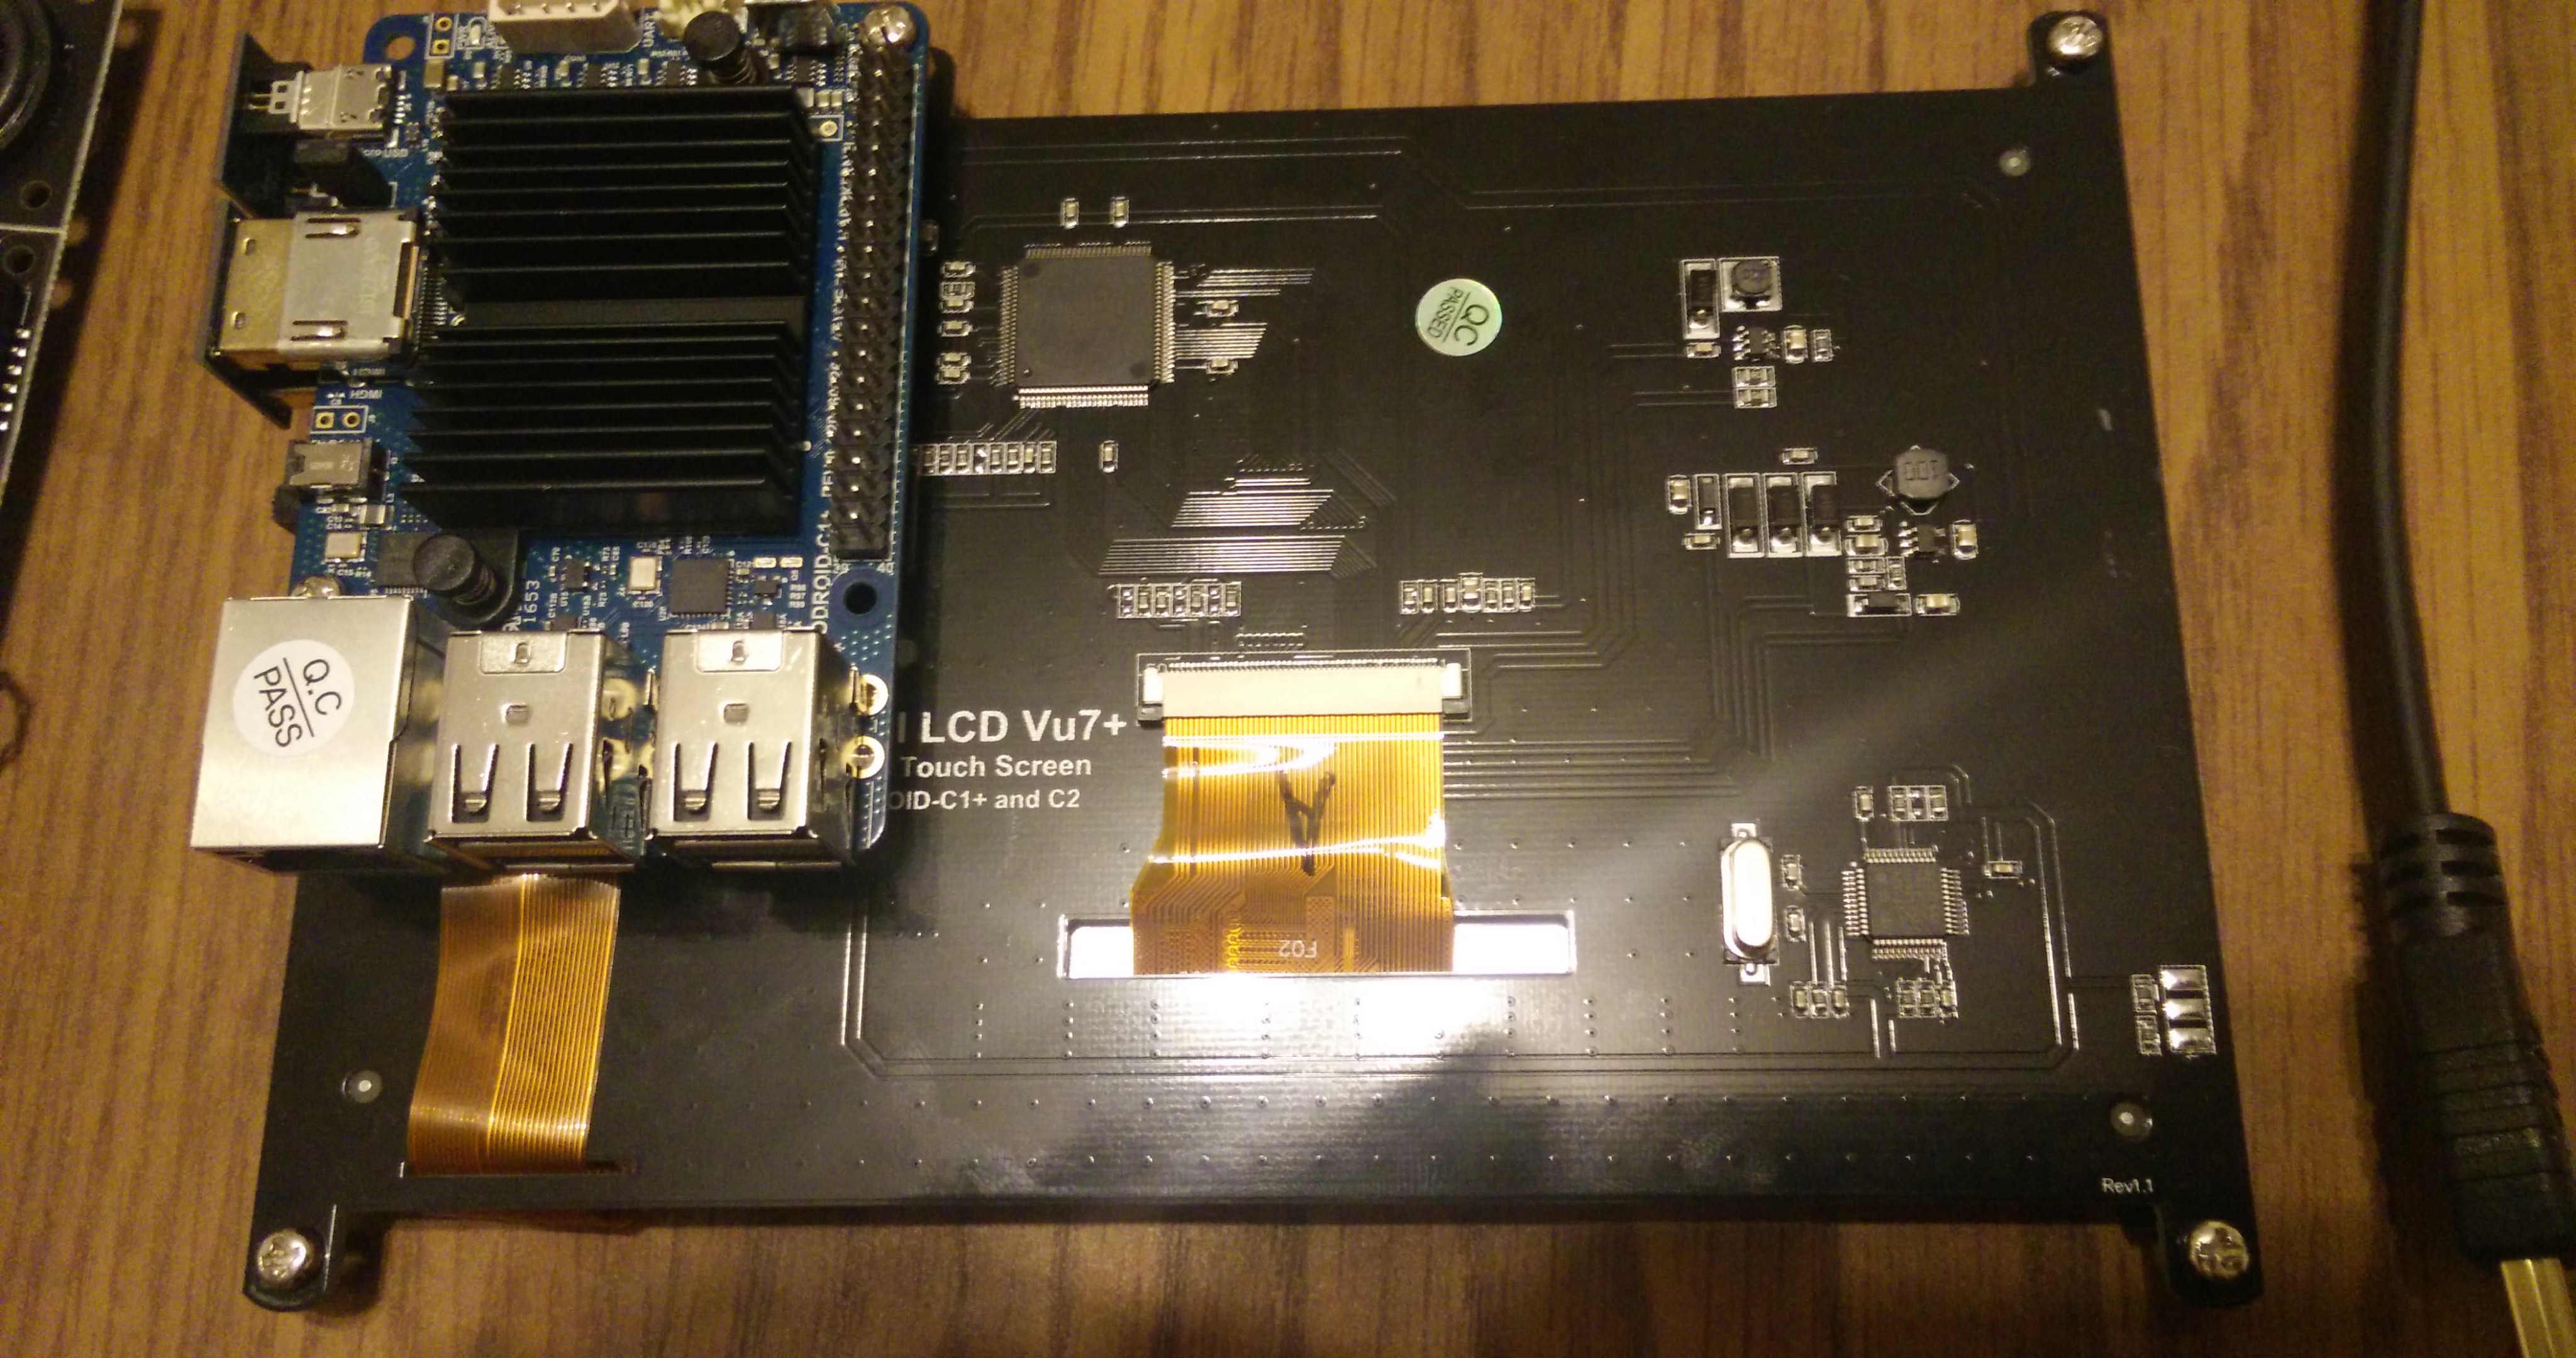
Once you attach the screen to the front and add the first side on the board (Step 7) it’s time for some modifications. First, connect the Stereo Boom Bonnet with the board. To do this, gently bend the parts that hold the speakers until they come apart and you have the board and the speaker separated. Unplug the cable for the speakers. It’s best to connect the cable of the Stereo Boom Bonnet before you assemble it. Refer to the guide from Hardkernel to make sure you put the cable on the the correct way (http://bit.ly/2xuWVjA).
Remove the screw that was added in Step 3 of the VuShell assembly on the side of the VU7 Plus and replace it with a couple of spacers. Place the Stereo Boom Bonnet upside down on top of the spacers. Use the screw you originally removed to fasten the Stereo Boom Bonnet. Use (4) M3 20mm spacers to lift up the Stereo Boom Bonnet so the volume slider aligns with one of the holes of the VuShell, which will later allow you to regulate the volume.
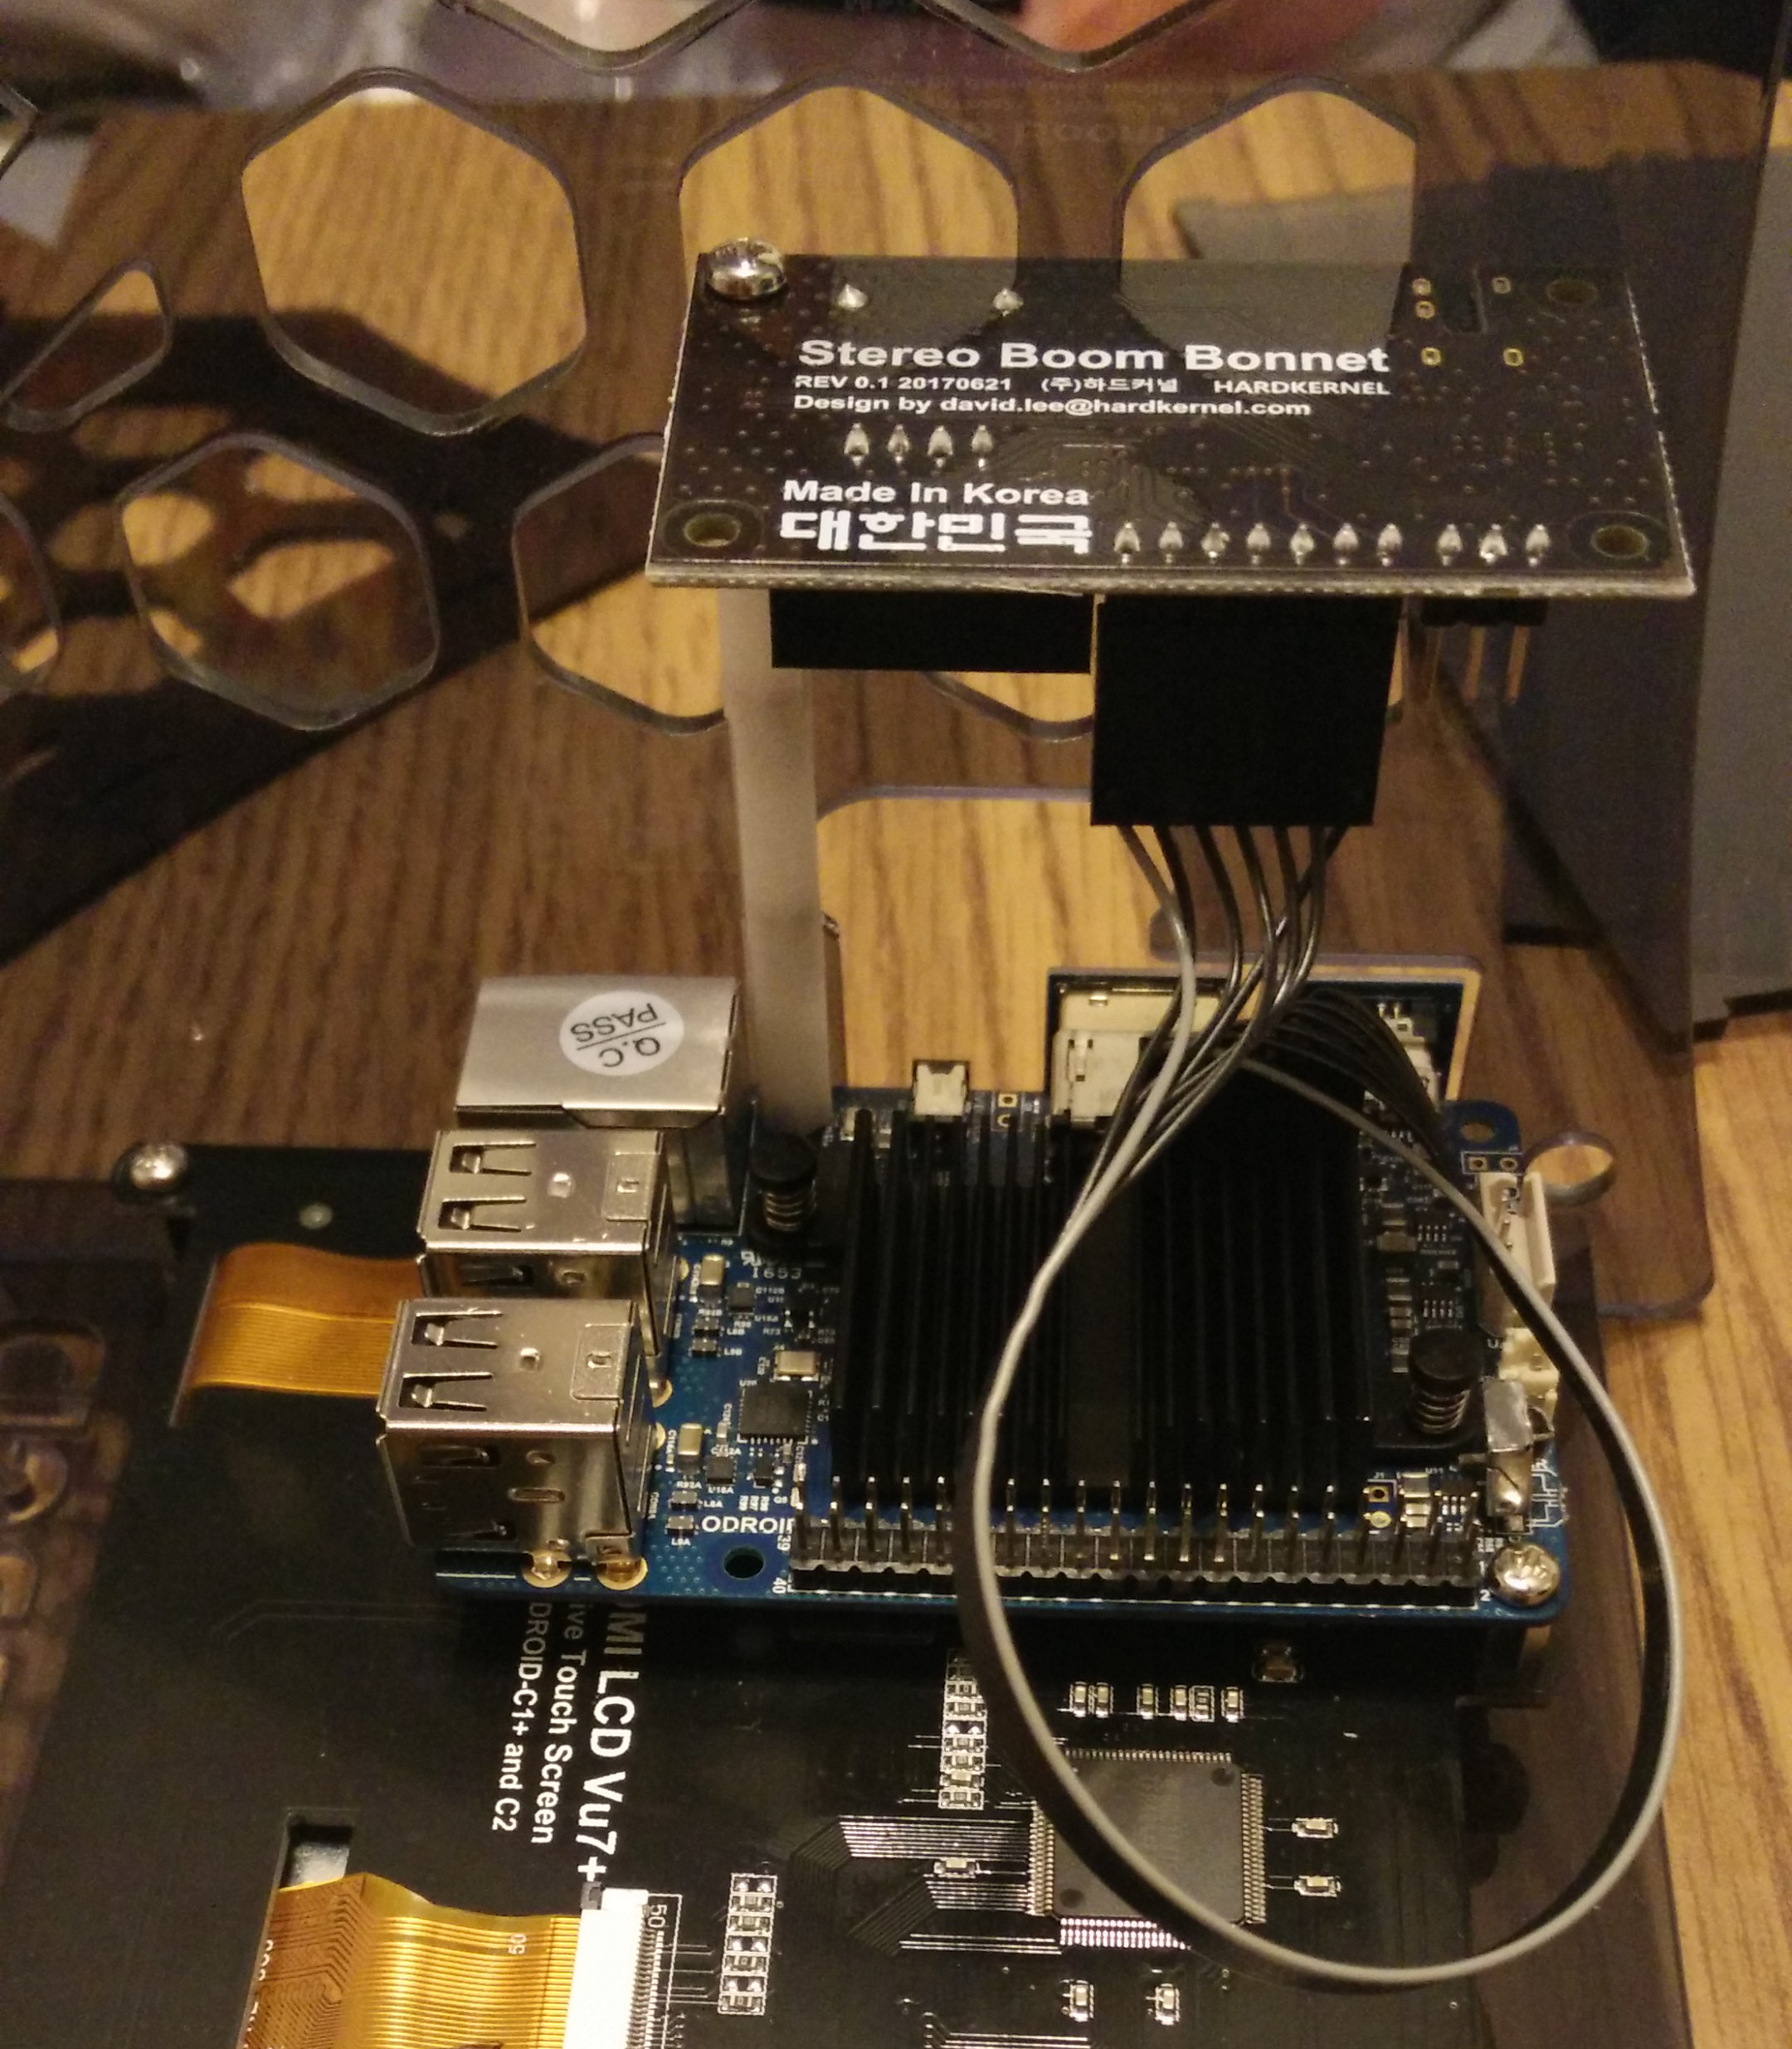
After you connect the first side, you can do the same to the other side. Please note that the top hole of the C1+ is normally not connected to the case, as can be seen in Step 5 of assembling the VuShell. If you put a spacer in here, don’t worry if they are not screwed into a socket. It will work fine without it. Once the second line of spacers is assembled to the C1+ and the Stereo Boom Bonnet, you can connect the first speaker that came with the Stereo Boom Bonnet.
Align the speaker to one of the holes in the VuShell case. I used transparent sticky tape to fasten the speaker to the case for my first test. Later, you can super-glue it to the case. Technically, one speaker is enough to have some rather good sound, but if you choose, you can connect the second speaker to one of the other holes on the same side.
If you want real stereo sound, you’ll need to lengthen the cable on the second speaker so it can be connected to the other side of the VuShell. Please note that some soldering is required, so although it’s rather easy, it should be done with care, and children should be supervised by an adult.
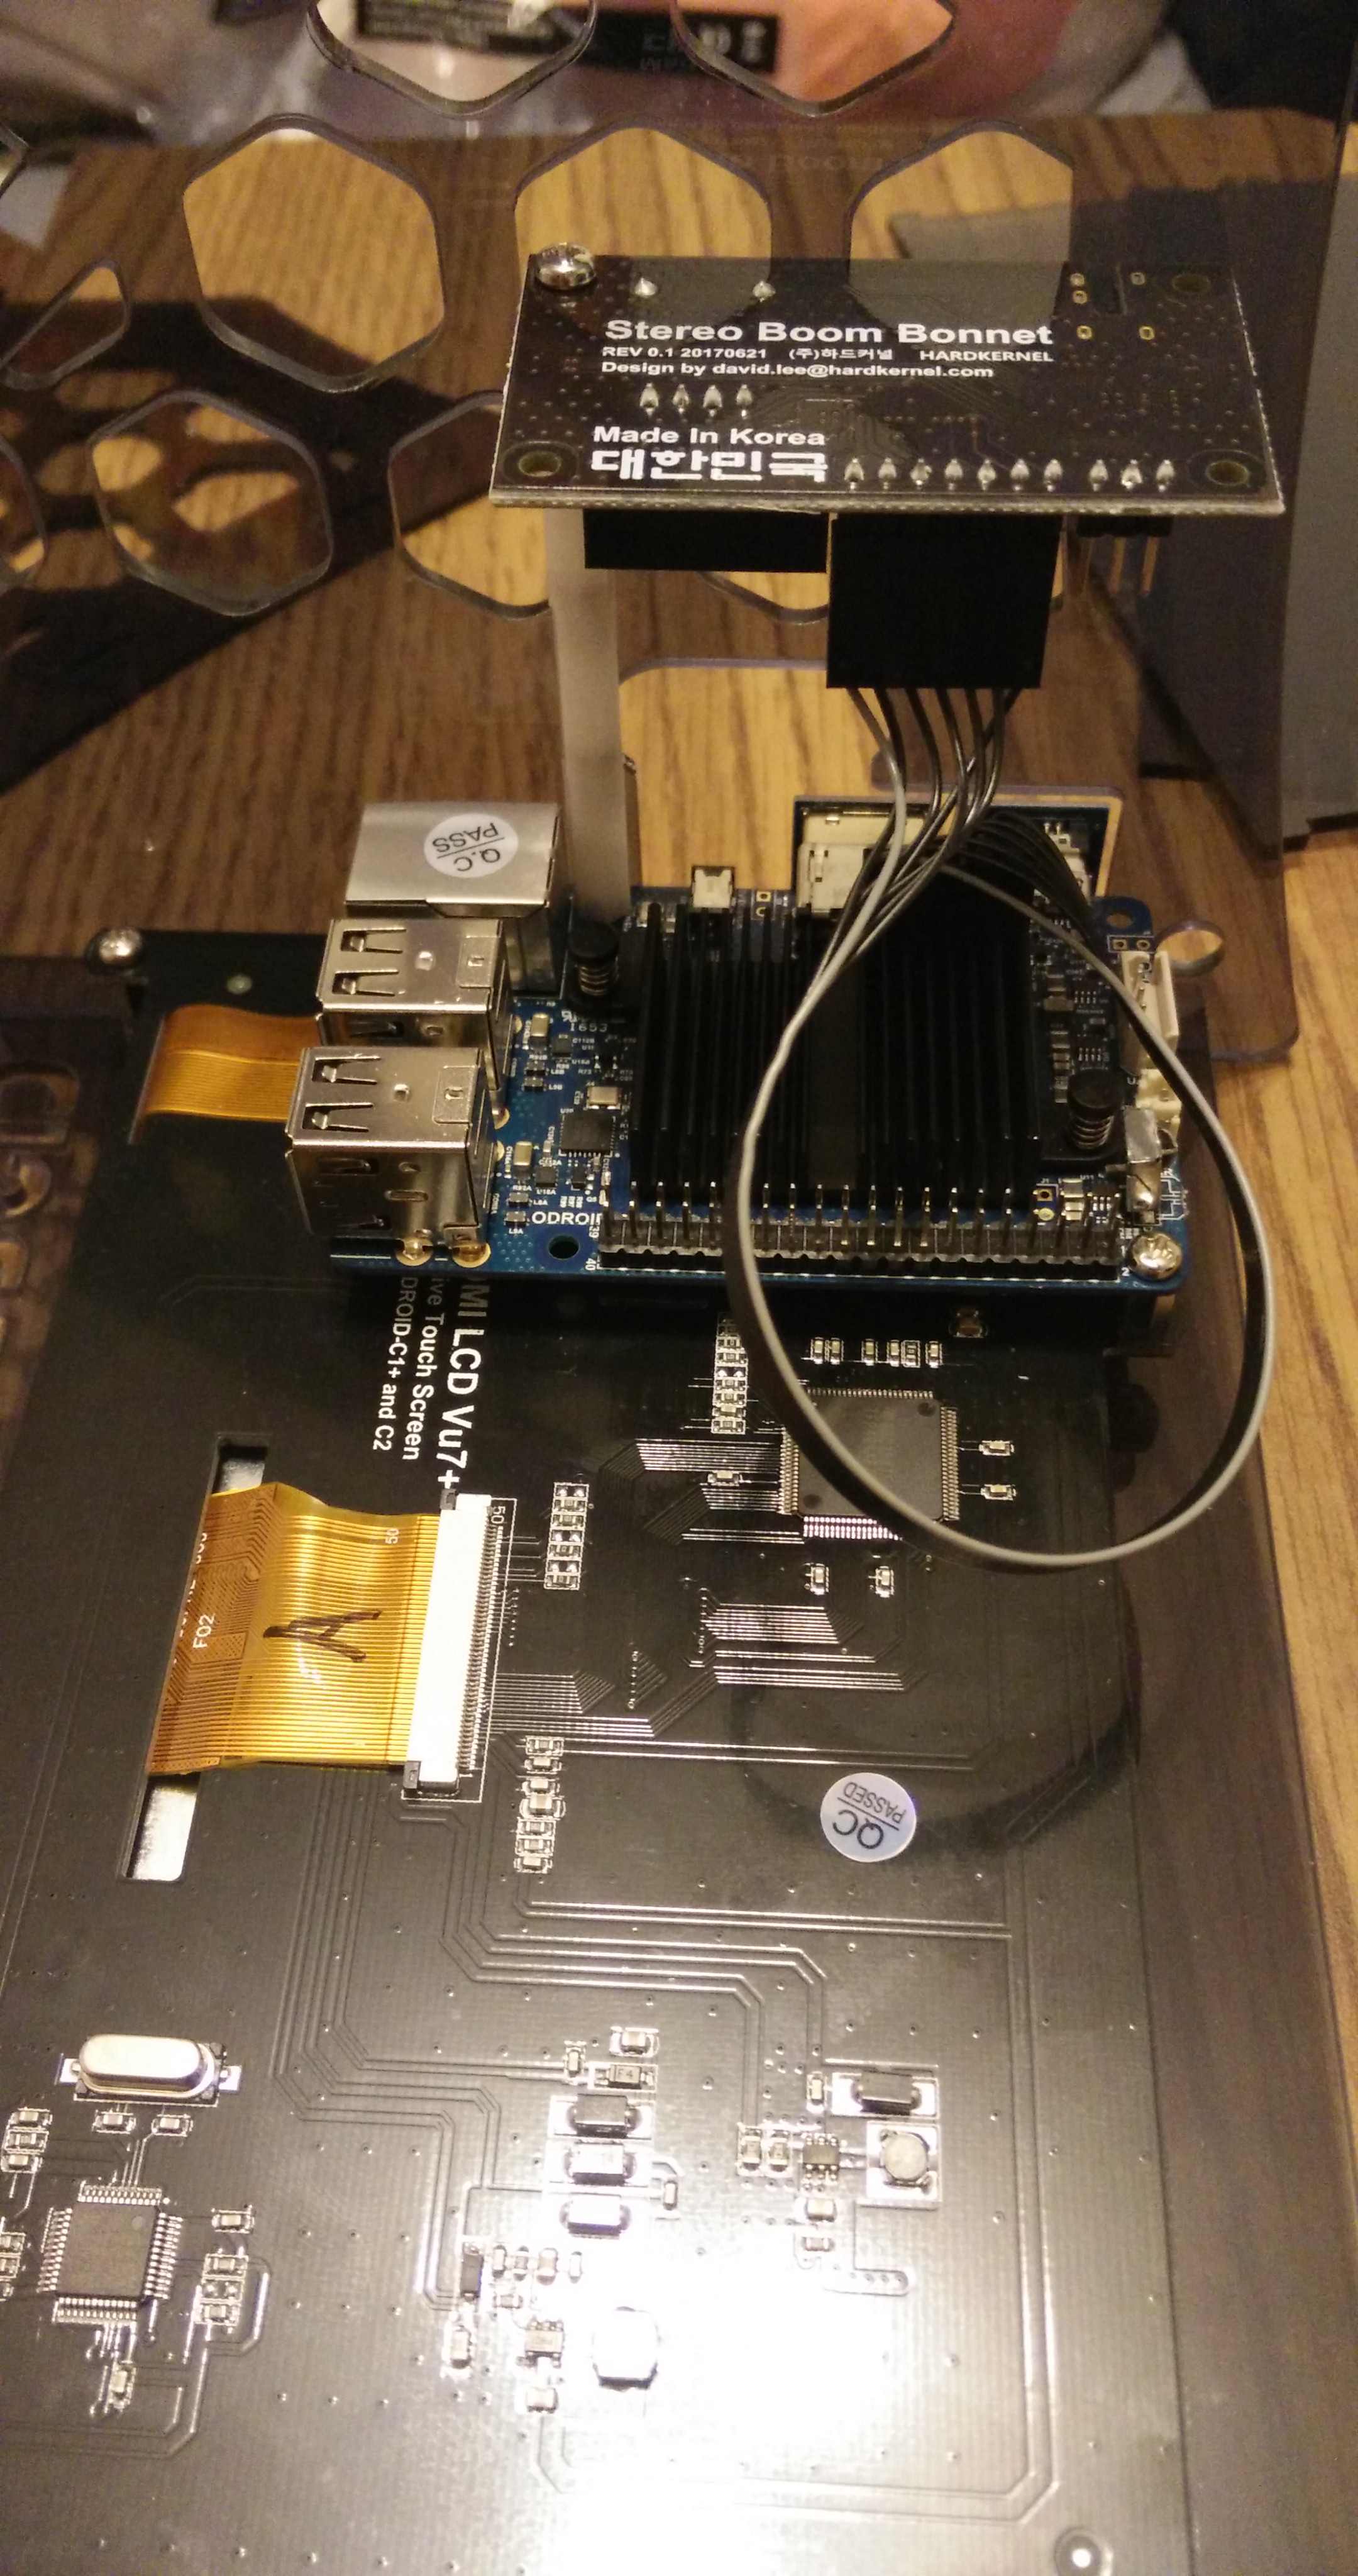

Even with just one speaker attached, the sound should be good enough to watch movies or play games. I made a video where I tested video playback with ffmpeg http://bit.ly/2xox1wb. In this video, I turn the volume up and down using the slider that is easy to reach thanks to the spacers. After that, I also tried some good old 8-bit sounds by starting Cave Story from within EmulationStation (http://bit.ly/2xlDxGo). This also worked perfectly. Only having one speaker connected was really no big deal.
Advanced Assembly
As you may have noticed, the cable of the second speaker is too short to reach the other end of the VuShell. Therefore, I needed to lengthen the cable to be able to reach the other side of the case. This process is fairly easy and can probably even be done by children, but only with adult supervision.
You will need some basic soldering equipment. Mainly just extra wire, soldering tin, and some heat shrink wire wrap (http://amzn.to/2wH9edI) if you have it. Unfortunately, I didn’t have these. It works without it, but it’s better to have the heat shrink wrap in order to protect the cables once they’re soldered. You will also need something to cut the wire. A wire/cable cutter will do nicely, and since the cables are rather thin, a pair of scissors or even a knife would probably do as well.
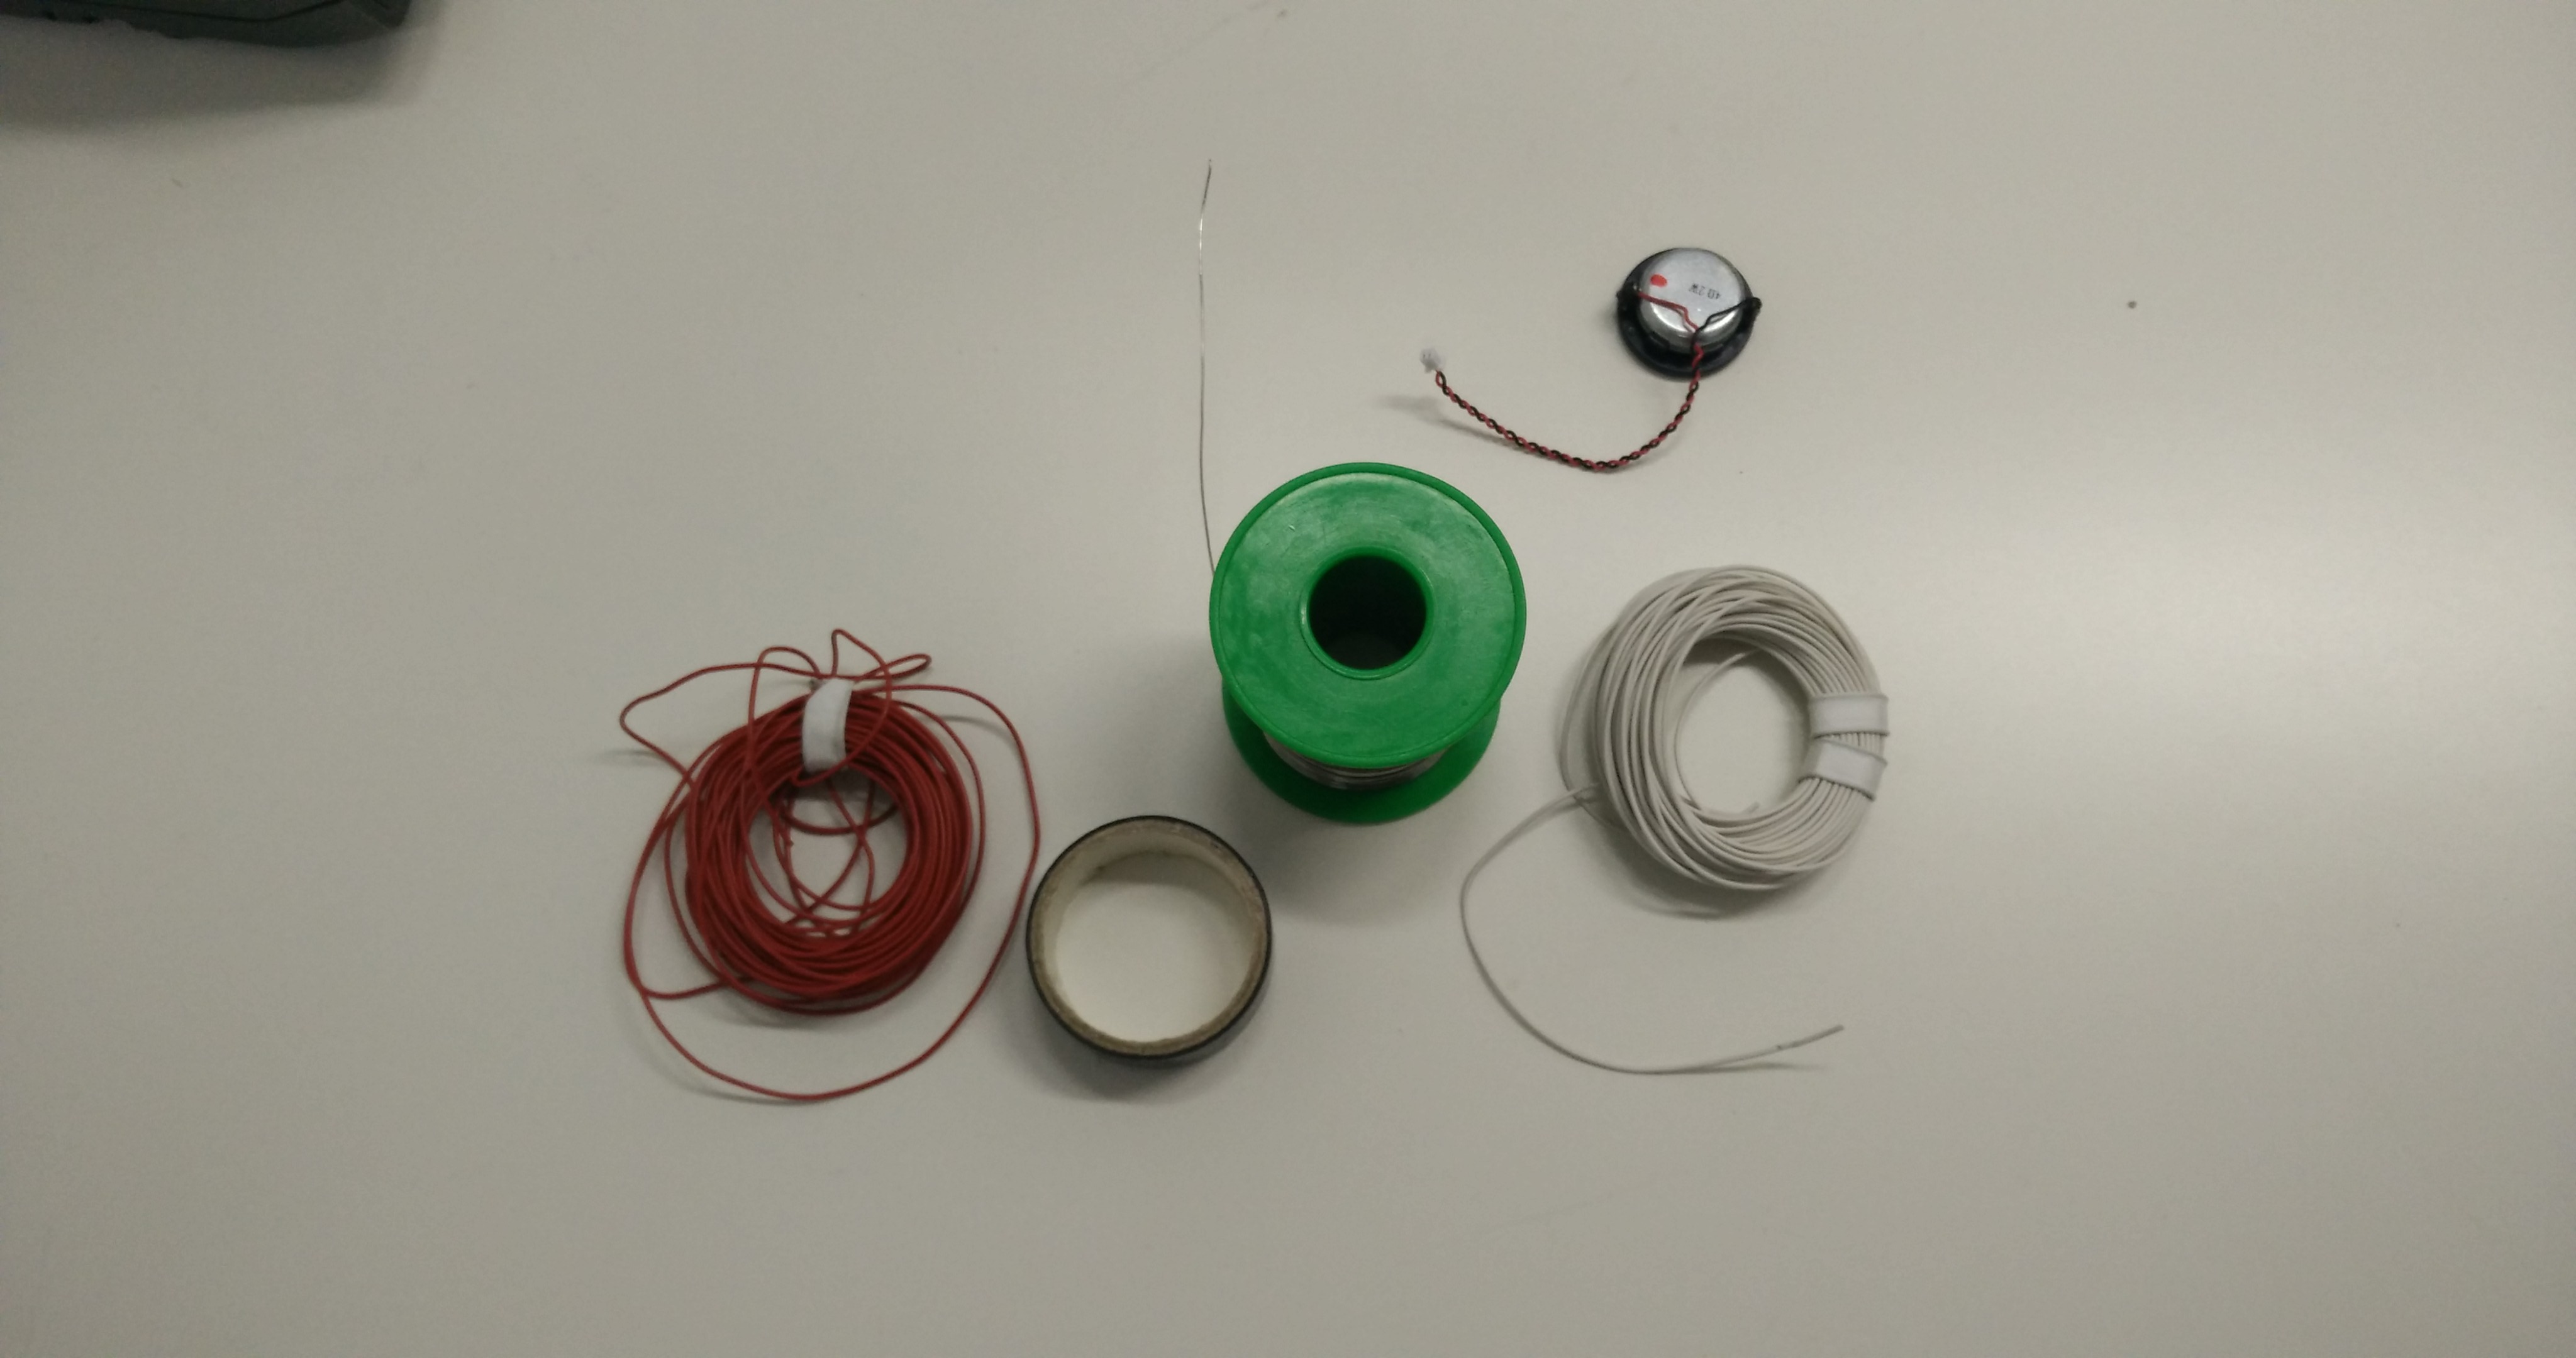
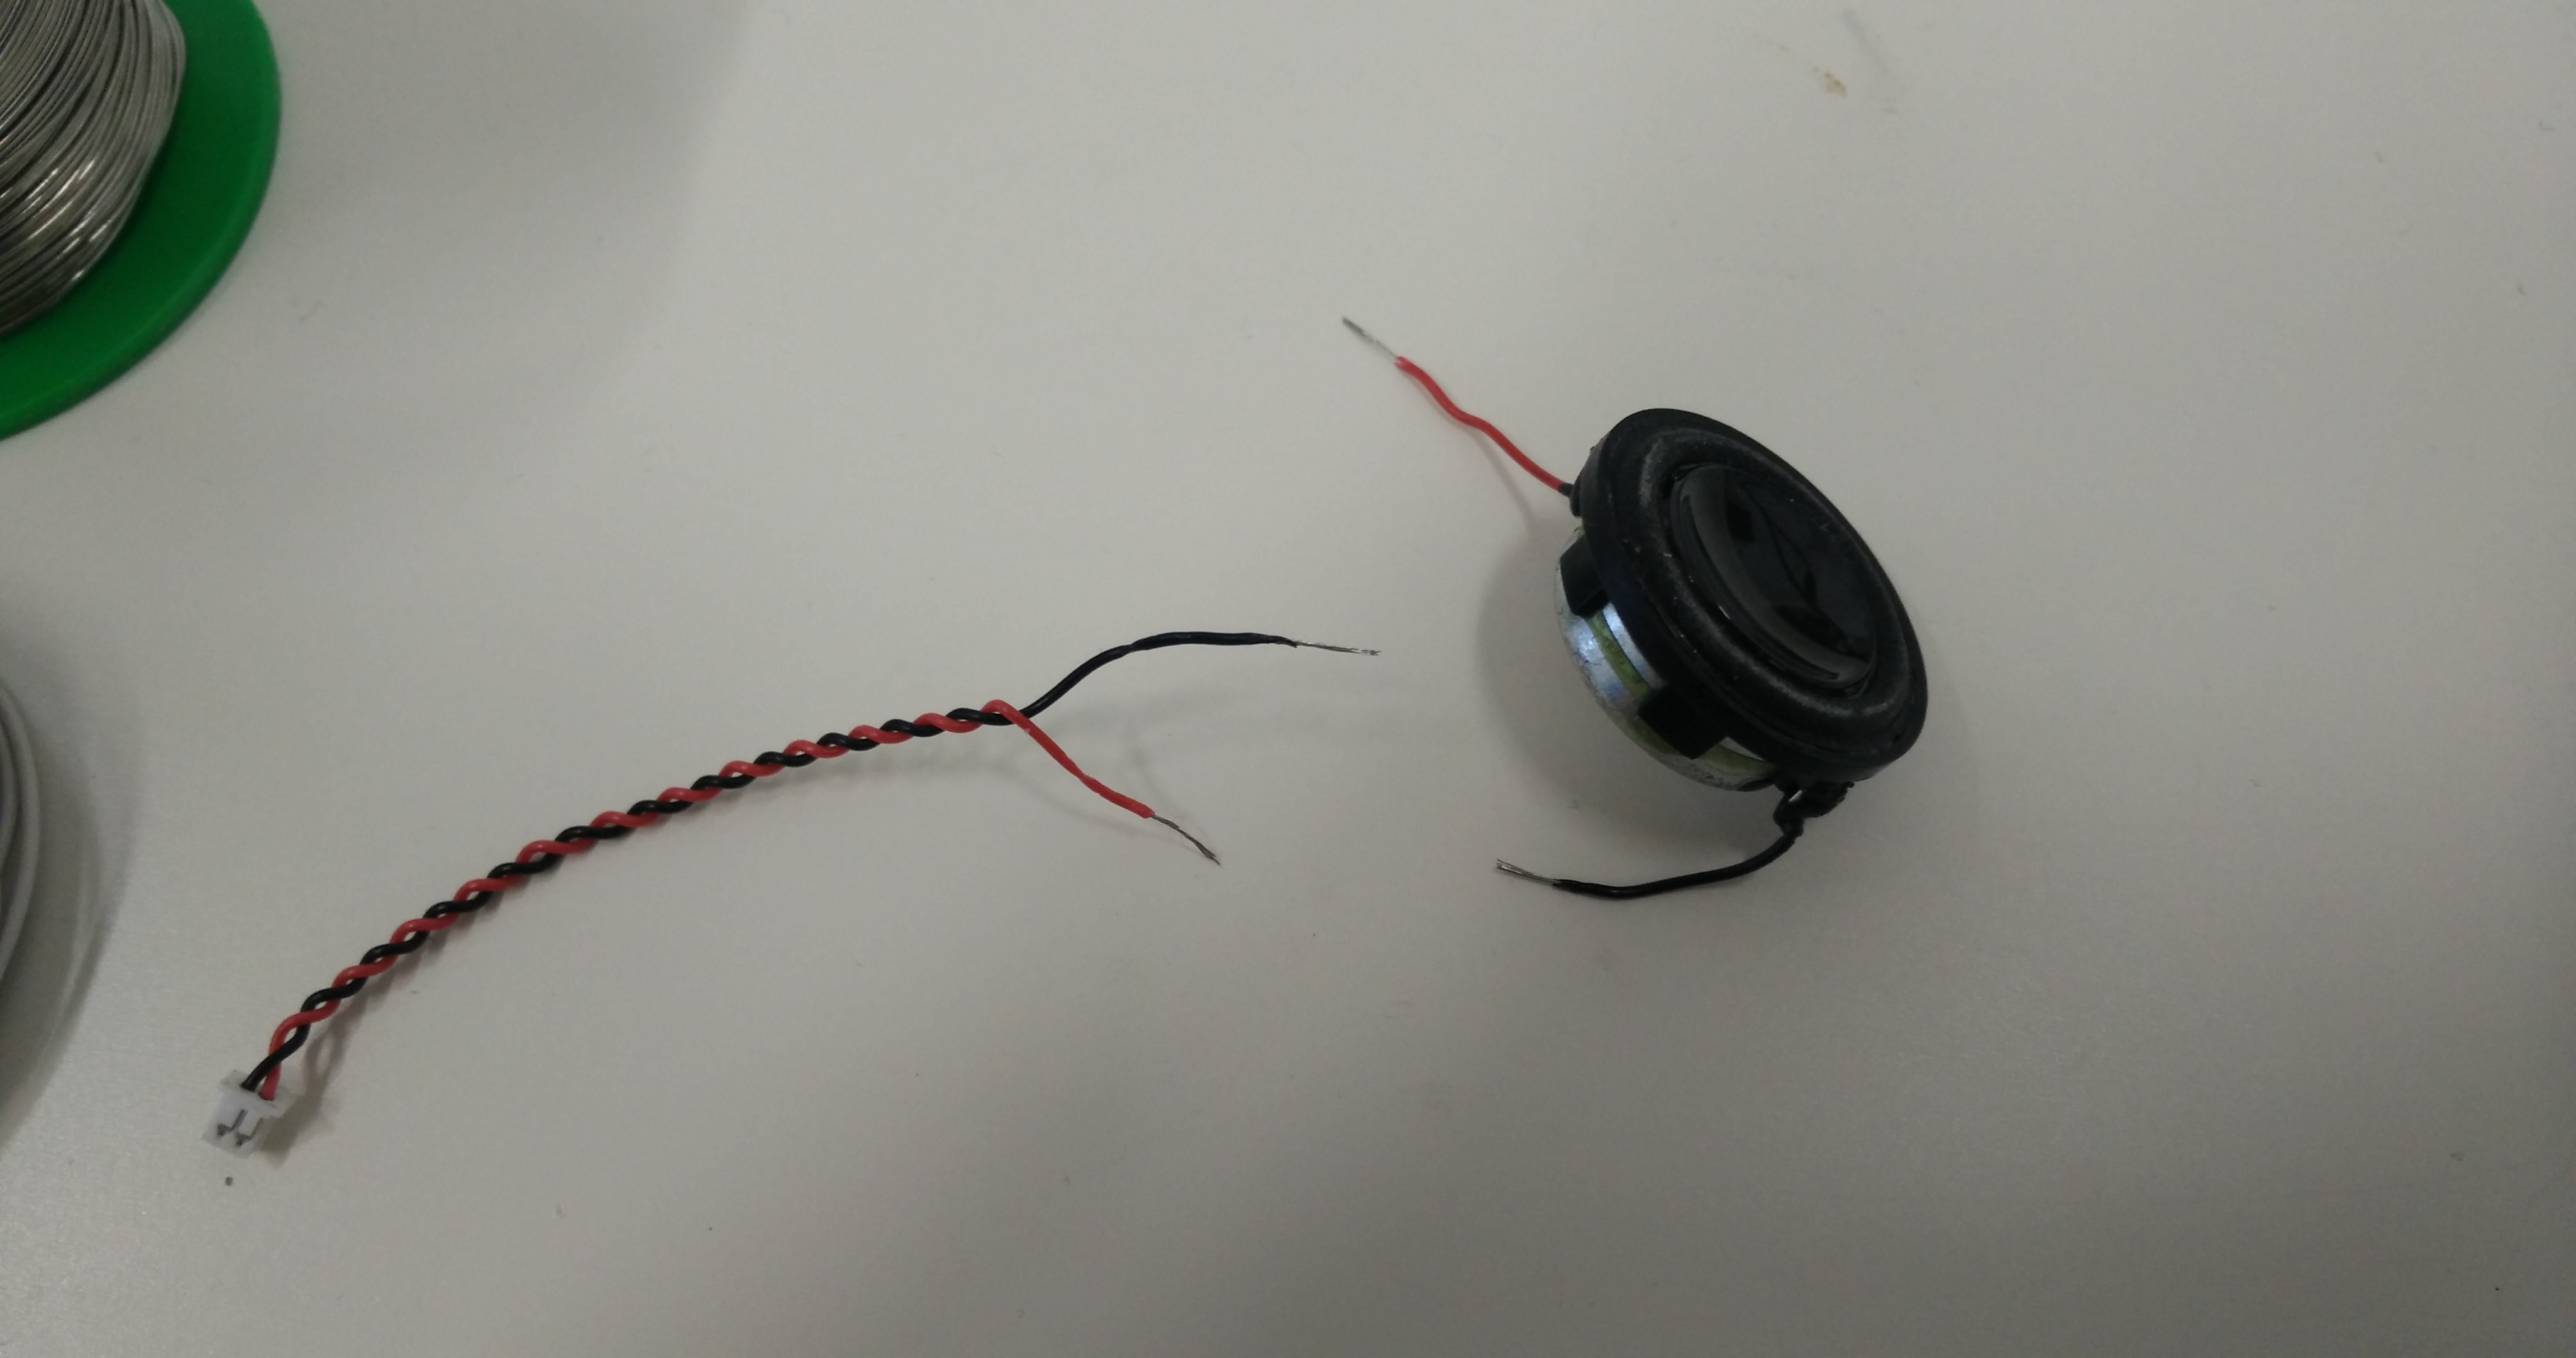
When you have all of the items, you can start by unwinding the cables close to the speaker to a length of about 5 cm (2 inches). Then cut the wire with the wire cutter and expose the blank wires.
Cut two longer wires about 20-25 cm (8-10 inches). I strongly suggest using different colors for the wires so you see which cable needs to connect to which other cable. Make sure the two cables you cut are nearly the same length. I also suggest using similar thin cables as the speaker cables. Mine were just slightly thicker and they fit perfectly.
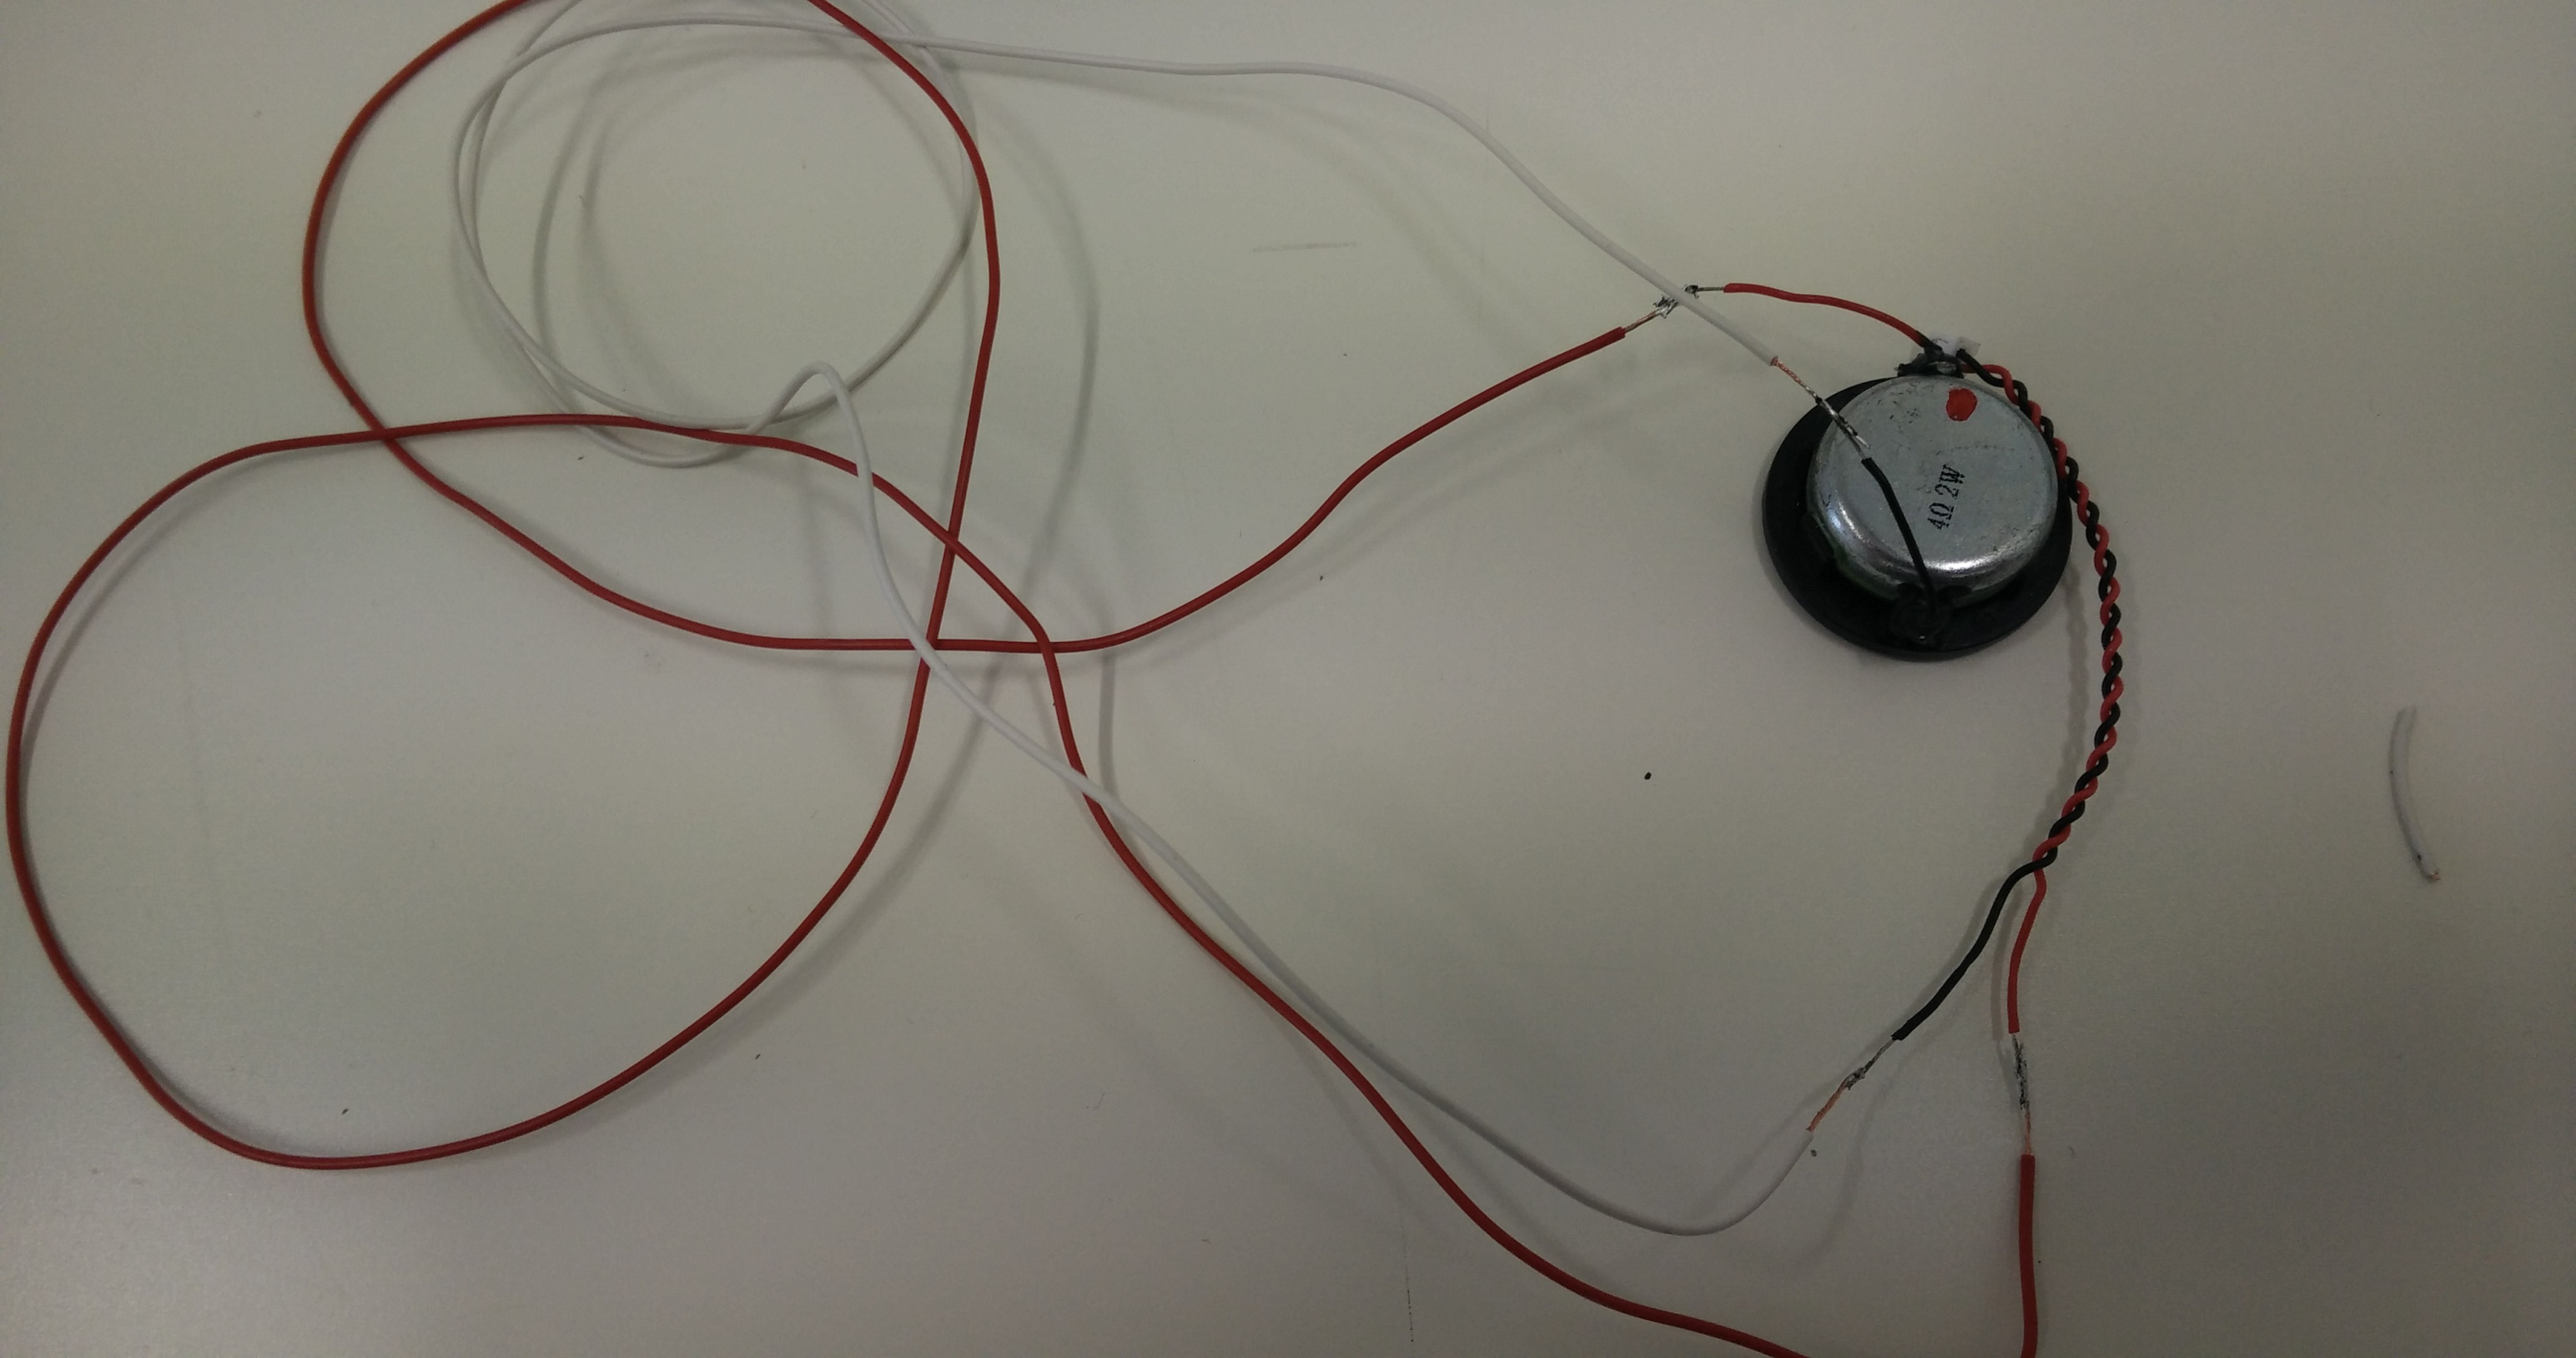
After cutting the wires, expose the ends by slowly removing the cover of the cable. Be careful not to cut the cable in the process. Once that is done, twist the exposed wires so they hold together. Then, you can apply tin to the exposed ends cover all exposed ends in a thin layer of tin. This would also be a good time to apply the heat shrink wrap to the extension cords (two for each cable). After that, you can solder the cable ends together. Make sure to connect the right cables.
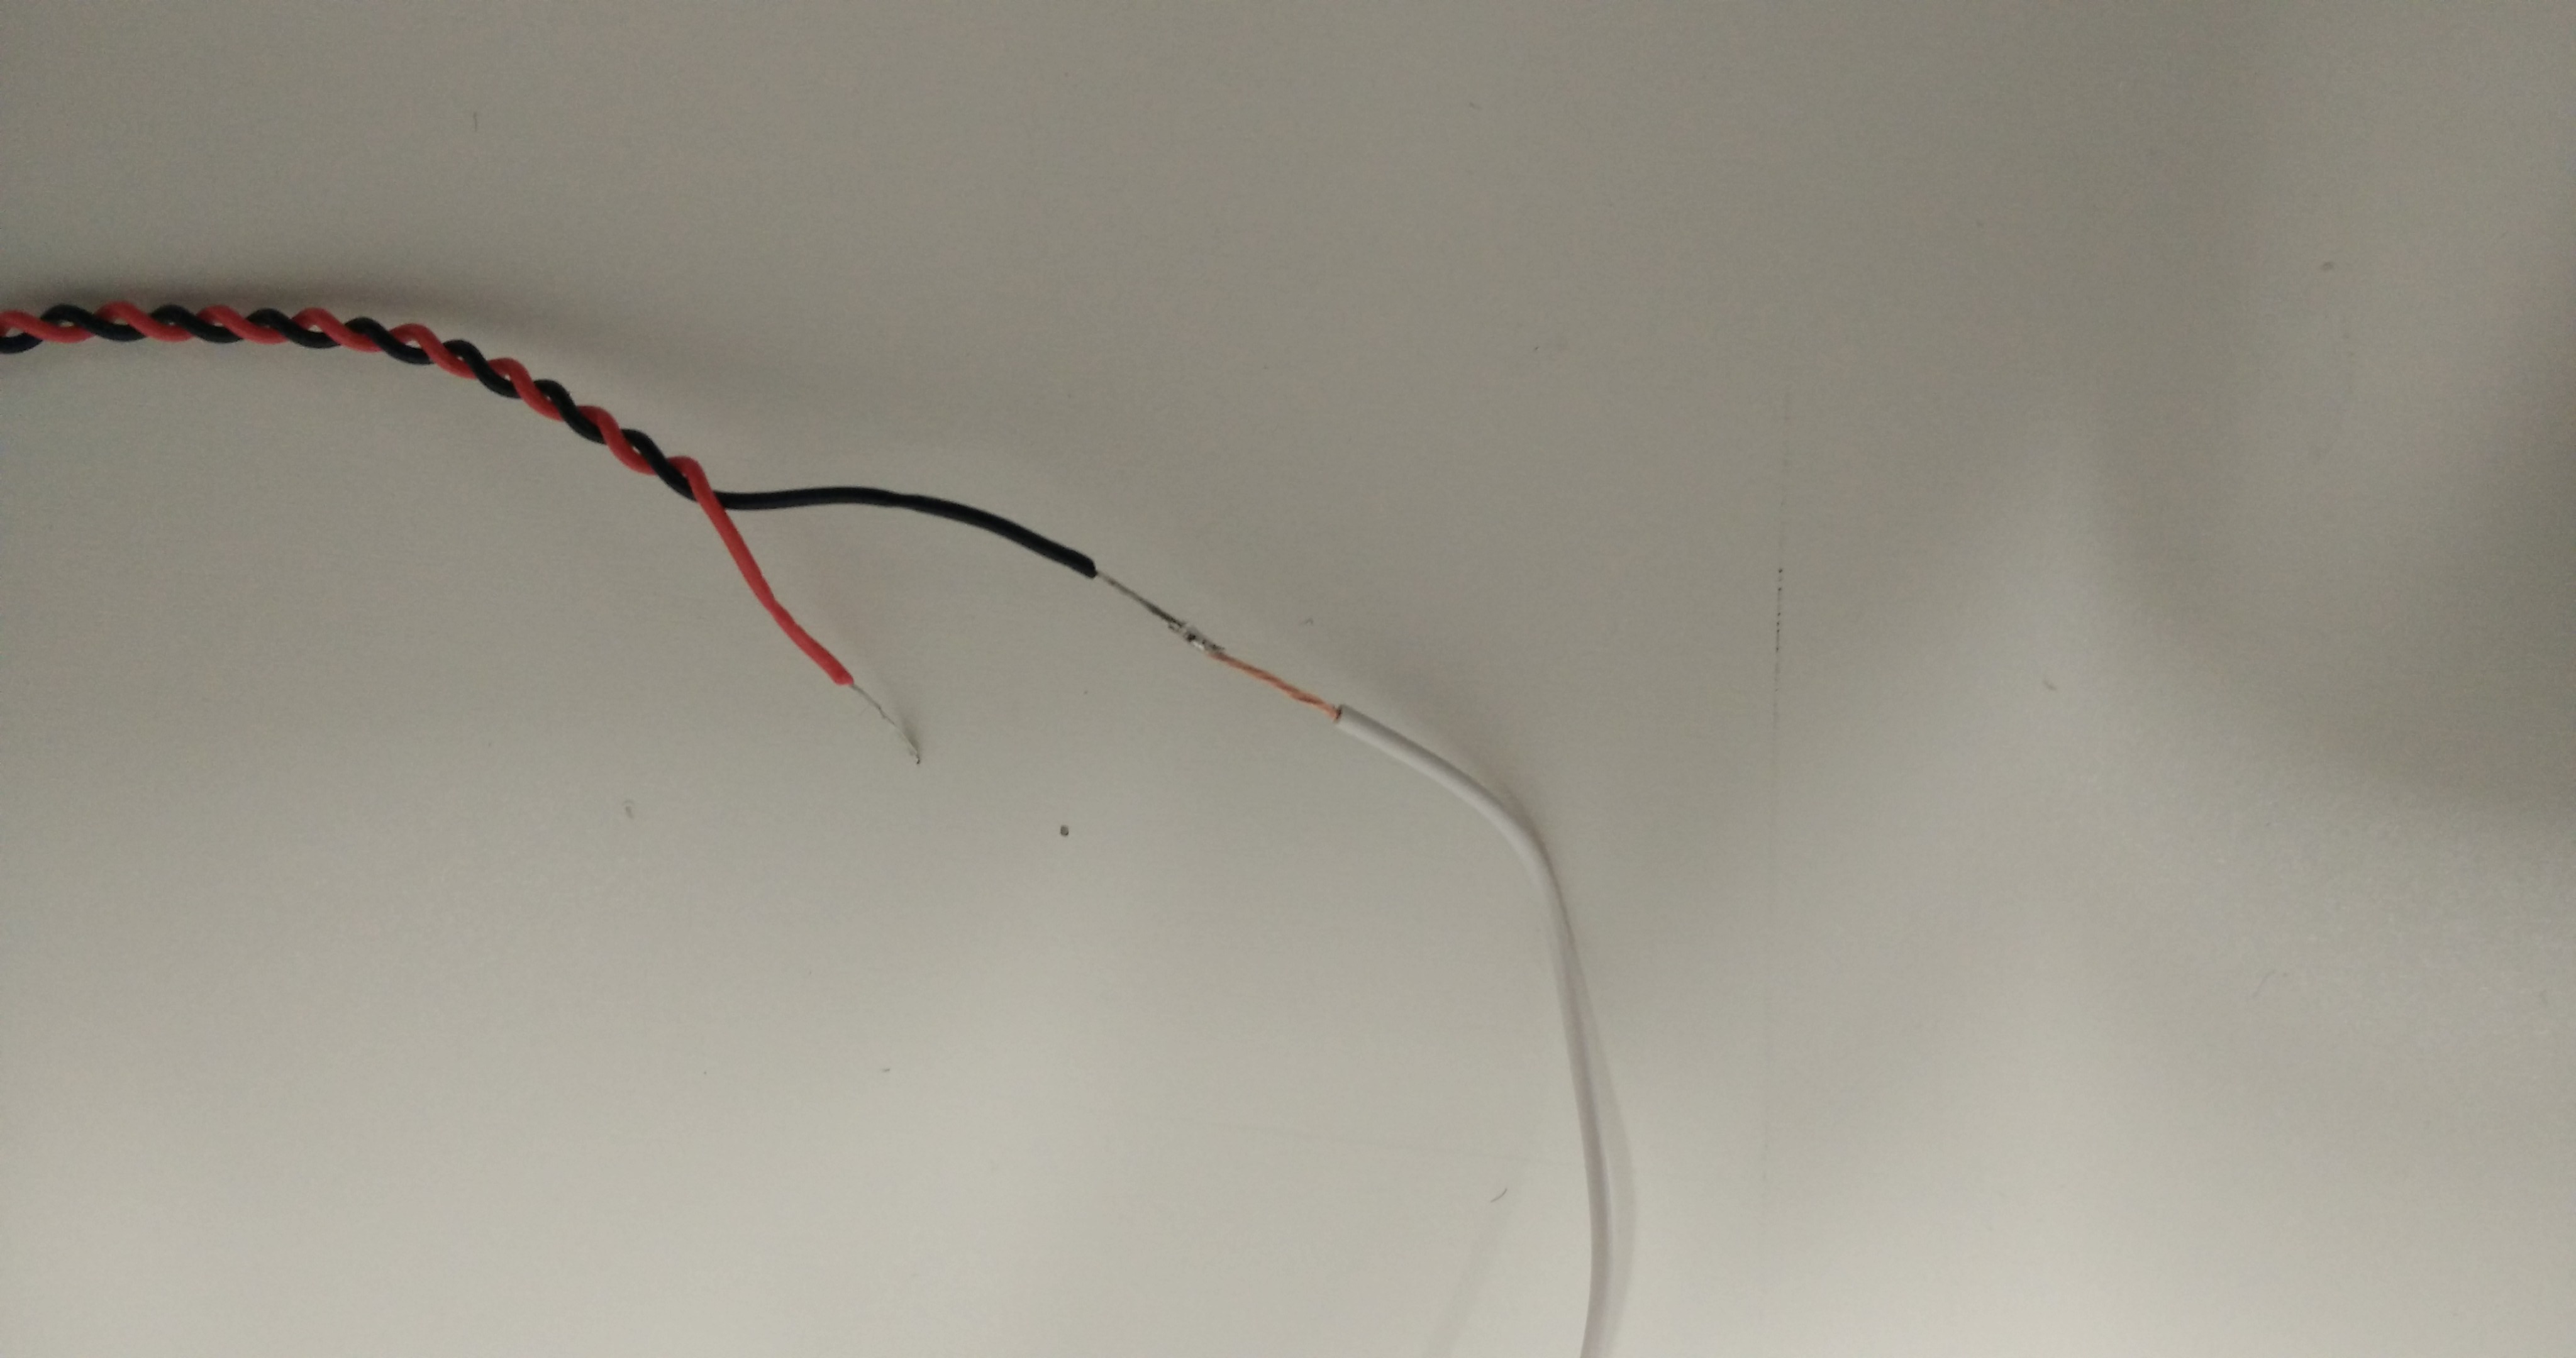
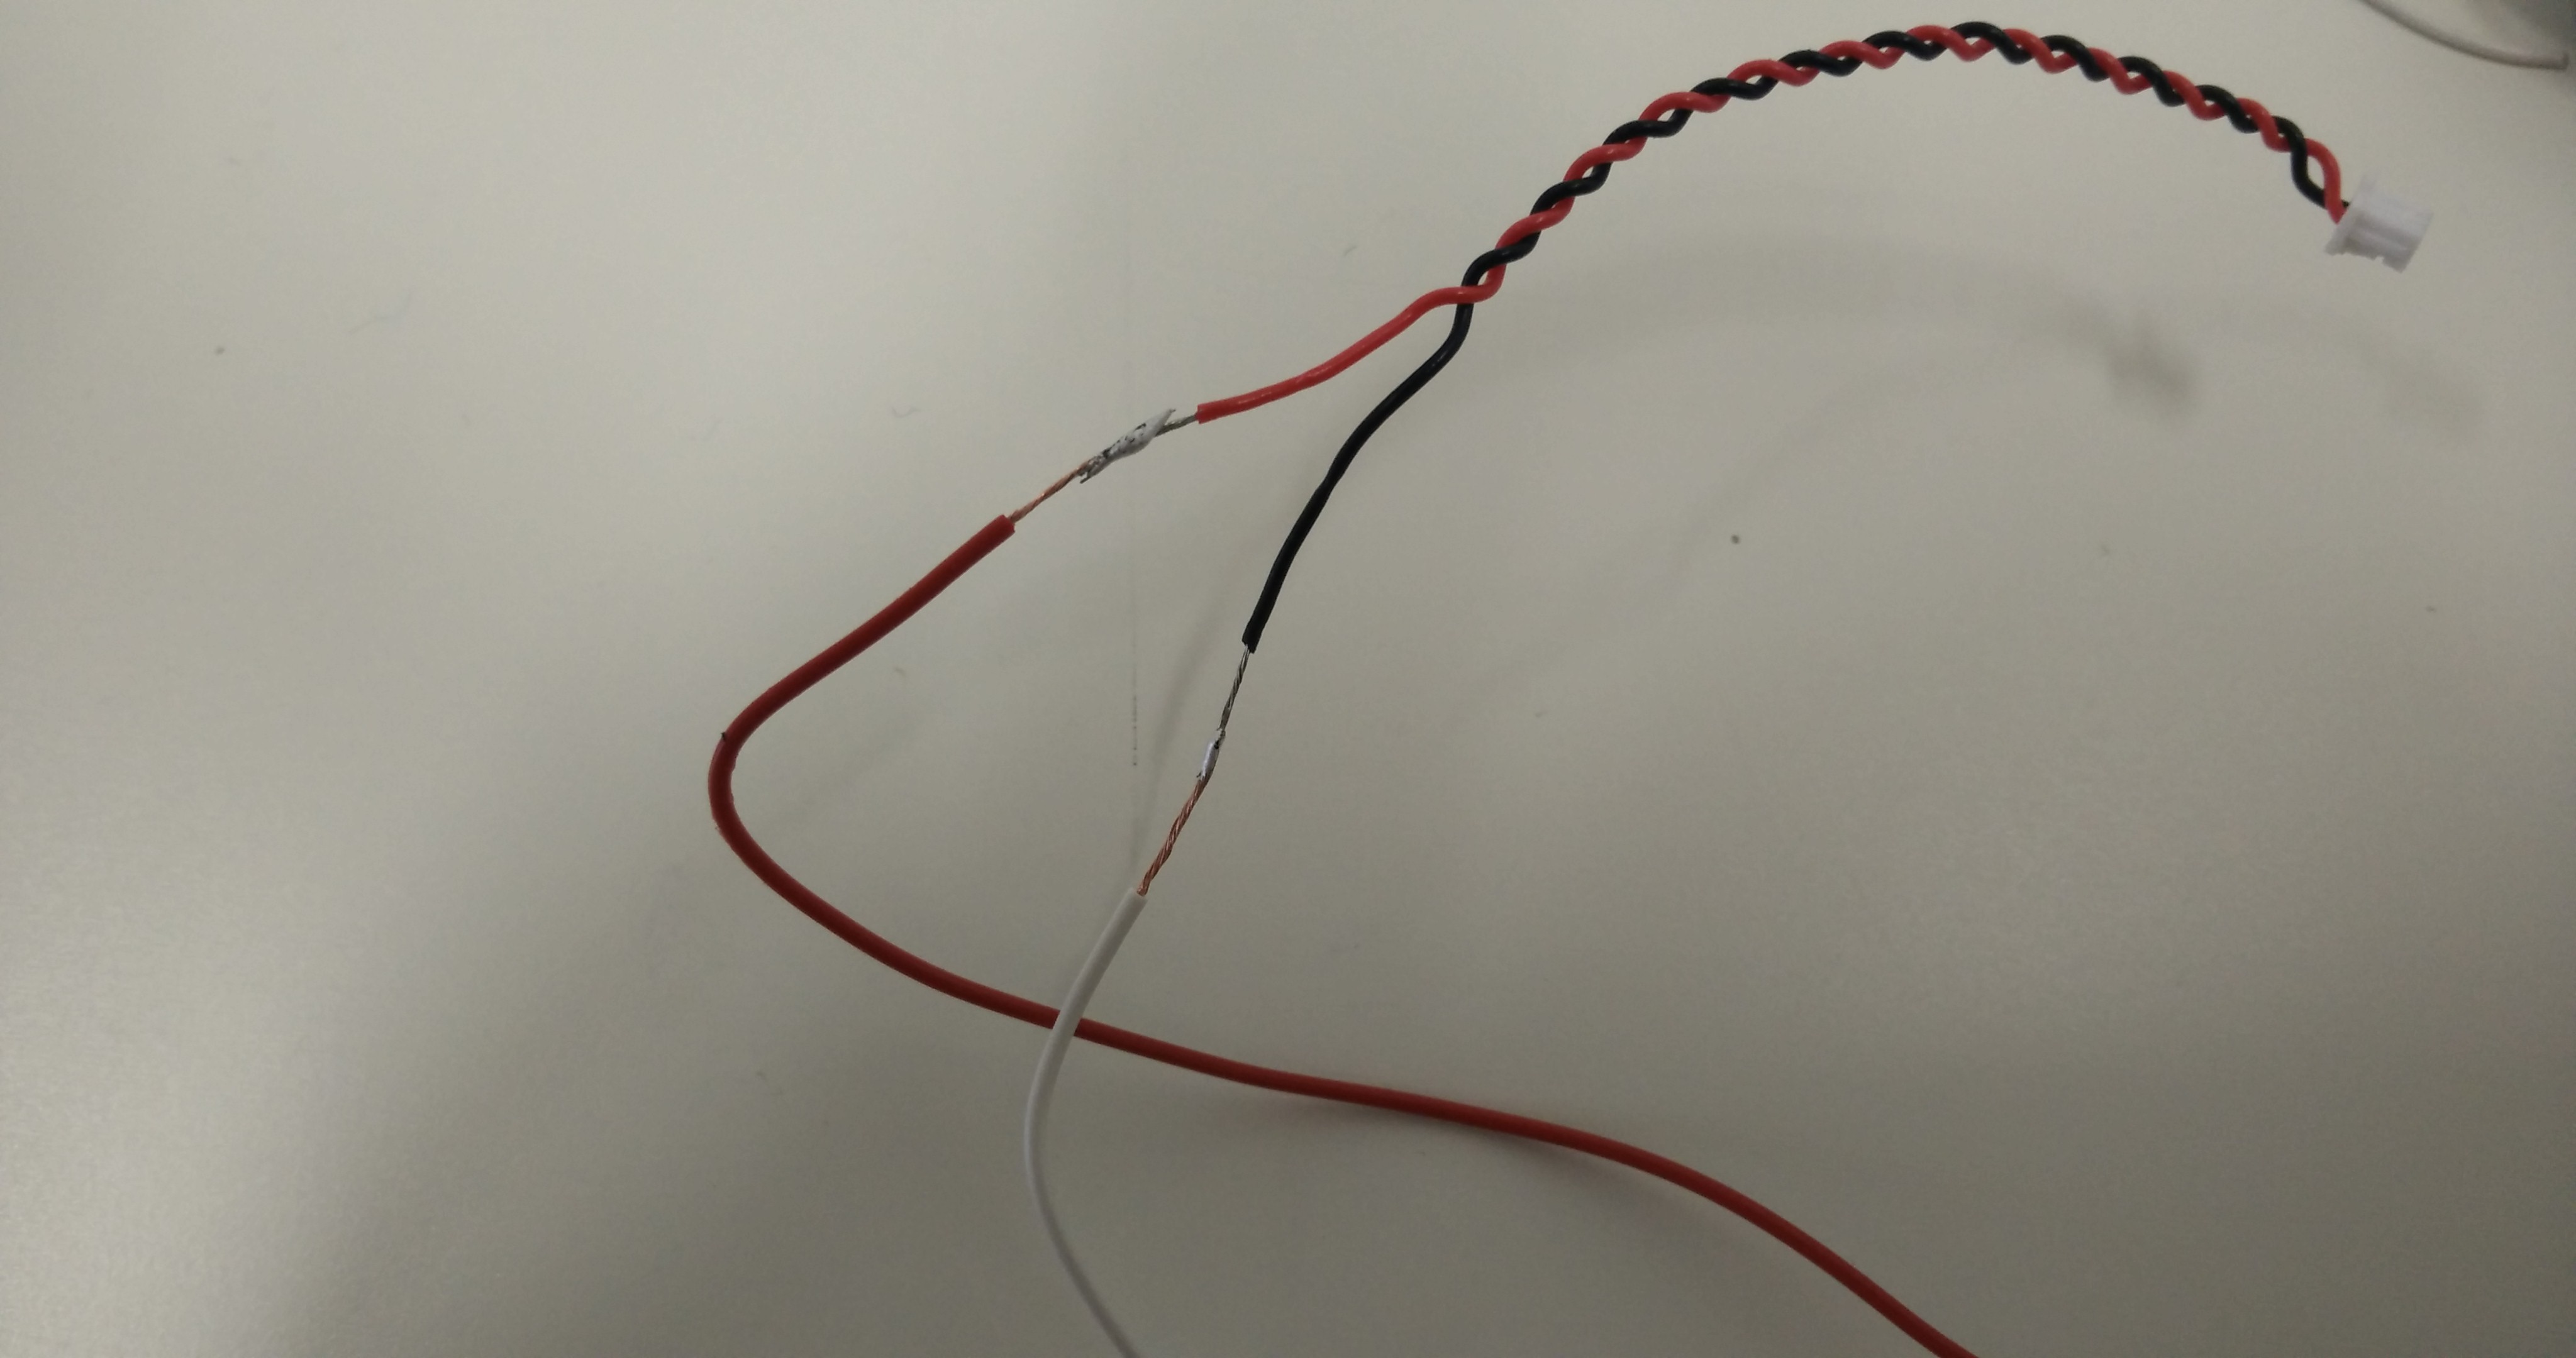 After you solder one end of the cable, you can connect the other end to the speaker.
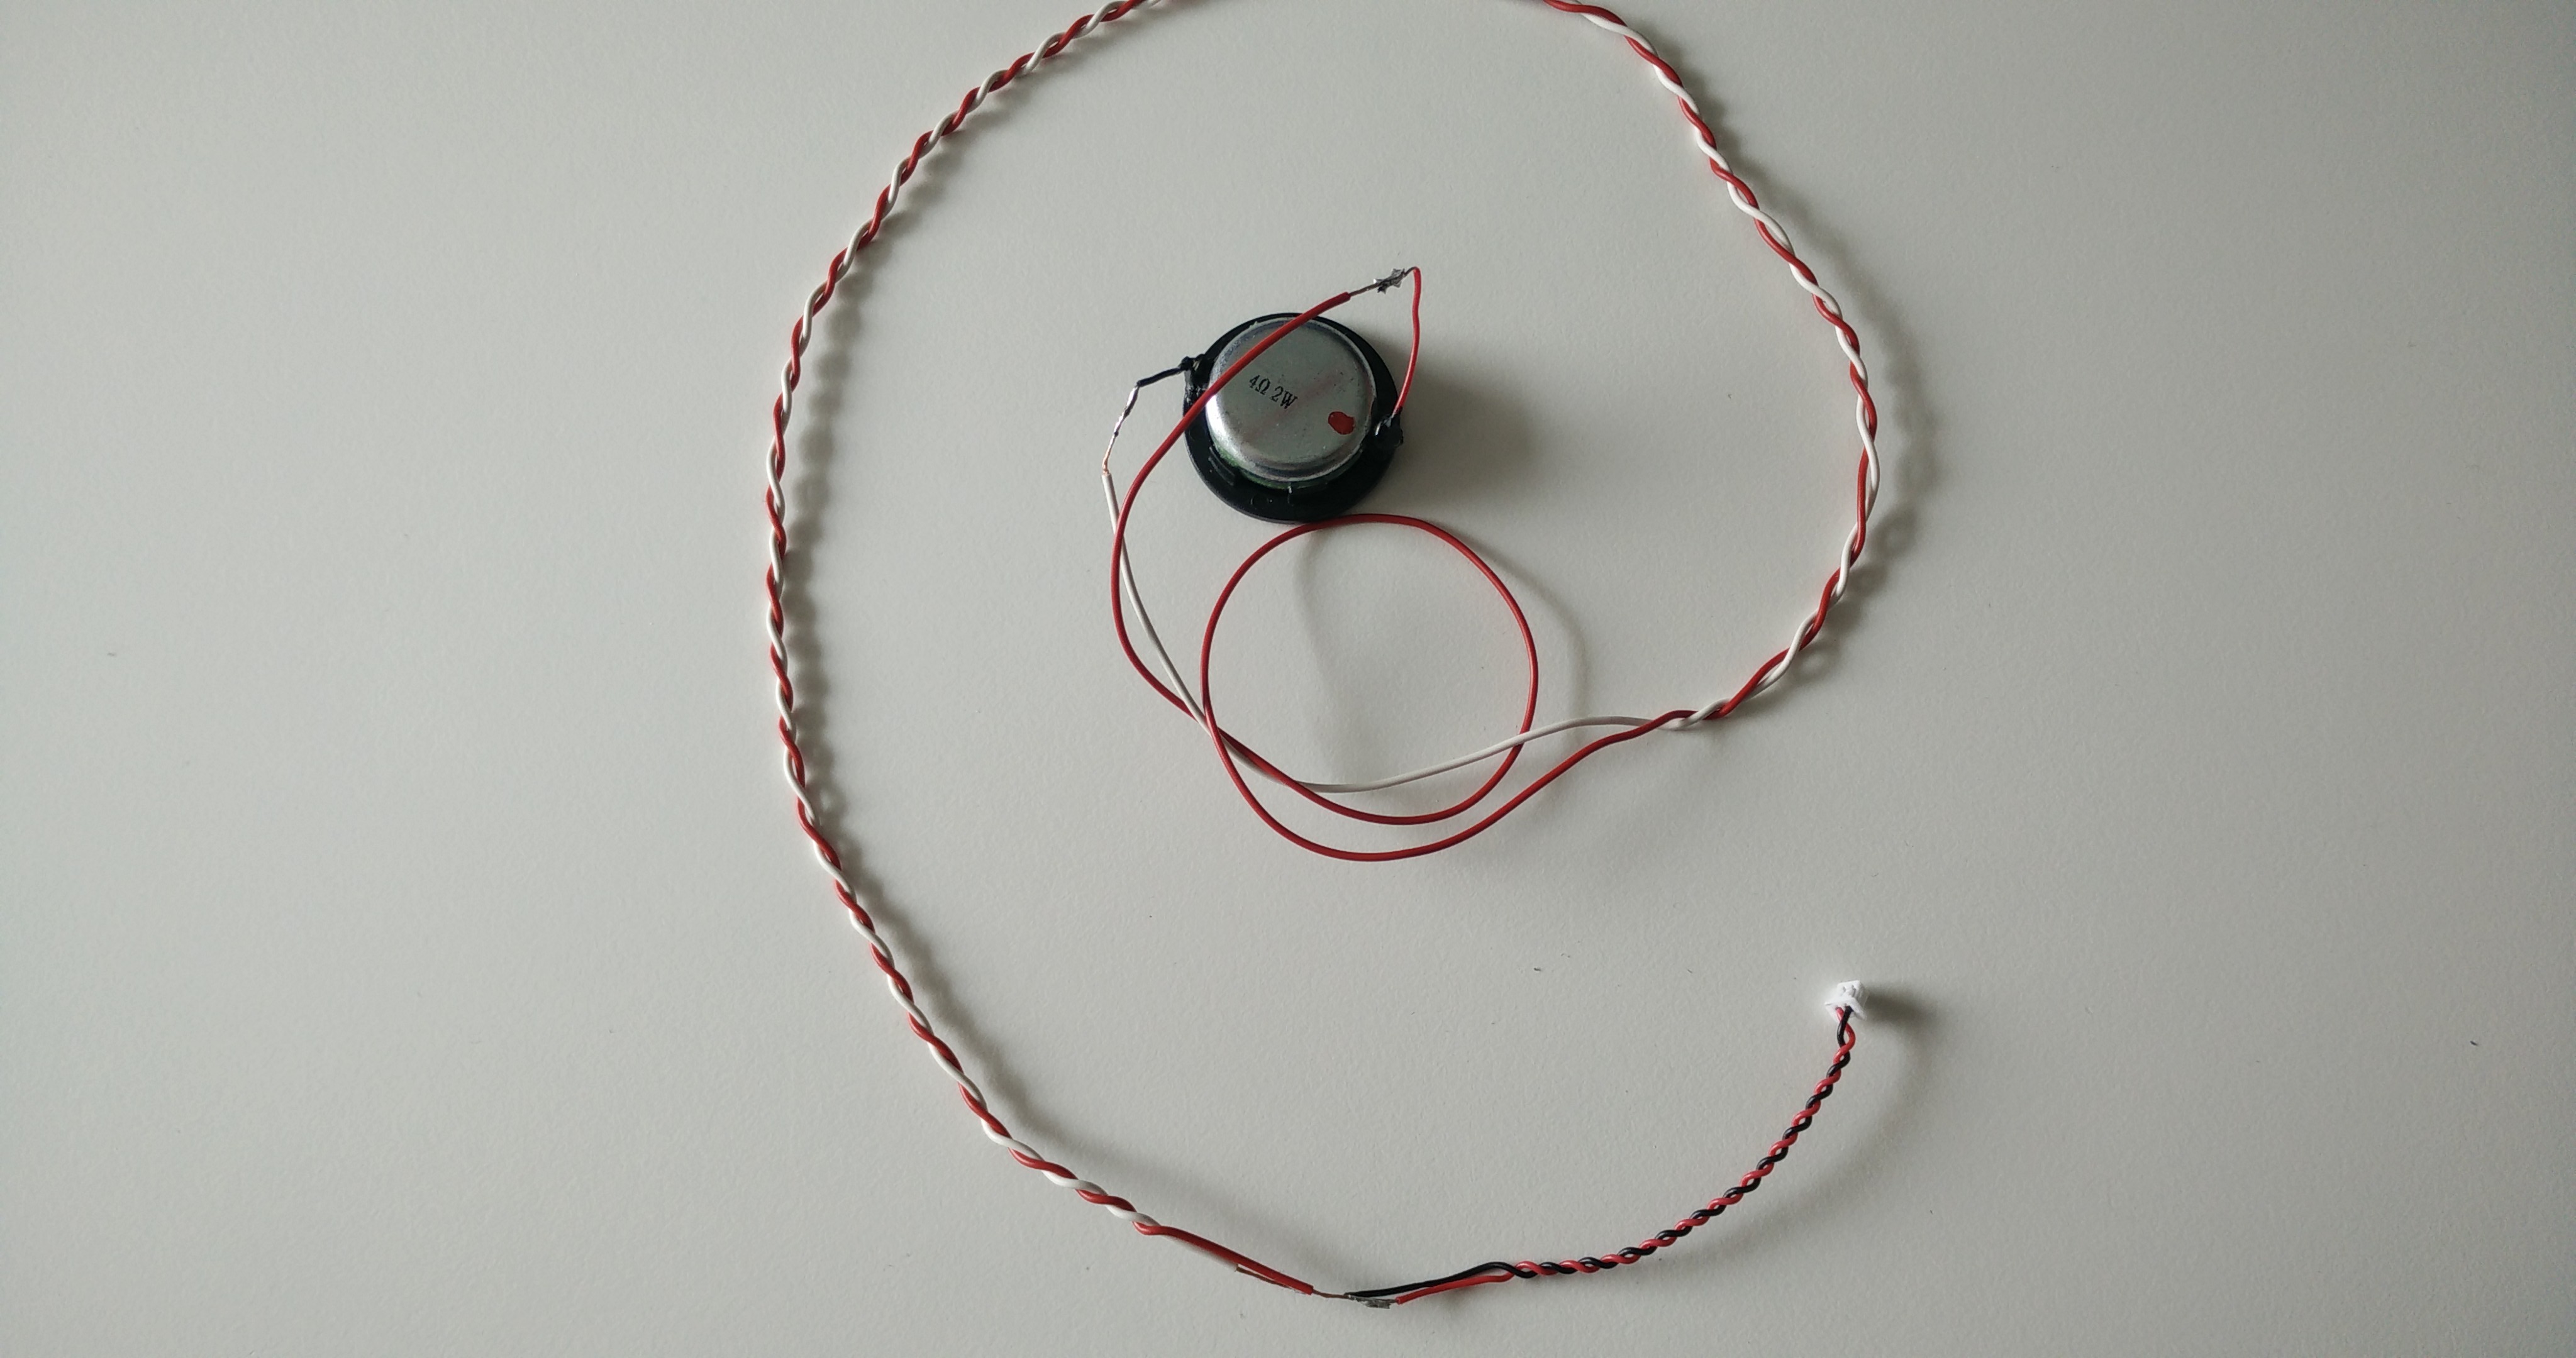
In the end, I twisted the cable like the original cable was twisted, so it’s easier to handle. This actually took a little while, but the result was good and allowed for much easier assembly in the VuShell. However, make sure that you don’t stress the solder points too much when you twist the cable, or they may come apart again.
Now would also be a good time to put the heat shrink wraps over the exposed cable ends and heat them up so they seal the exposed wires. I tried to do the same with electrical tape but the cables were too thin to wrap it around properly. Once you’re done twisting the cable, it should look like a longer version of of the original cable, just with some soldering points.
Now it’s time to put the unit together and place the new speaker inside the VuShell. When you assemble the speakers, the speaker connector on the top is for the left channel and the speaker connector on the bottom is for the right channel. You can also use some YouTube videos to test if the left and right speaker are connected in the right order. You can fasten the left speaker either with super glue or sticky tape.
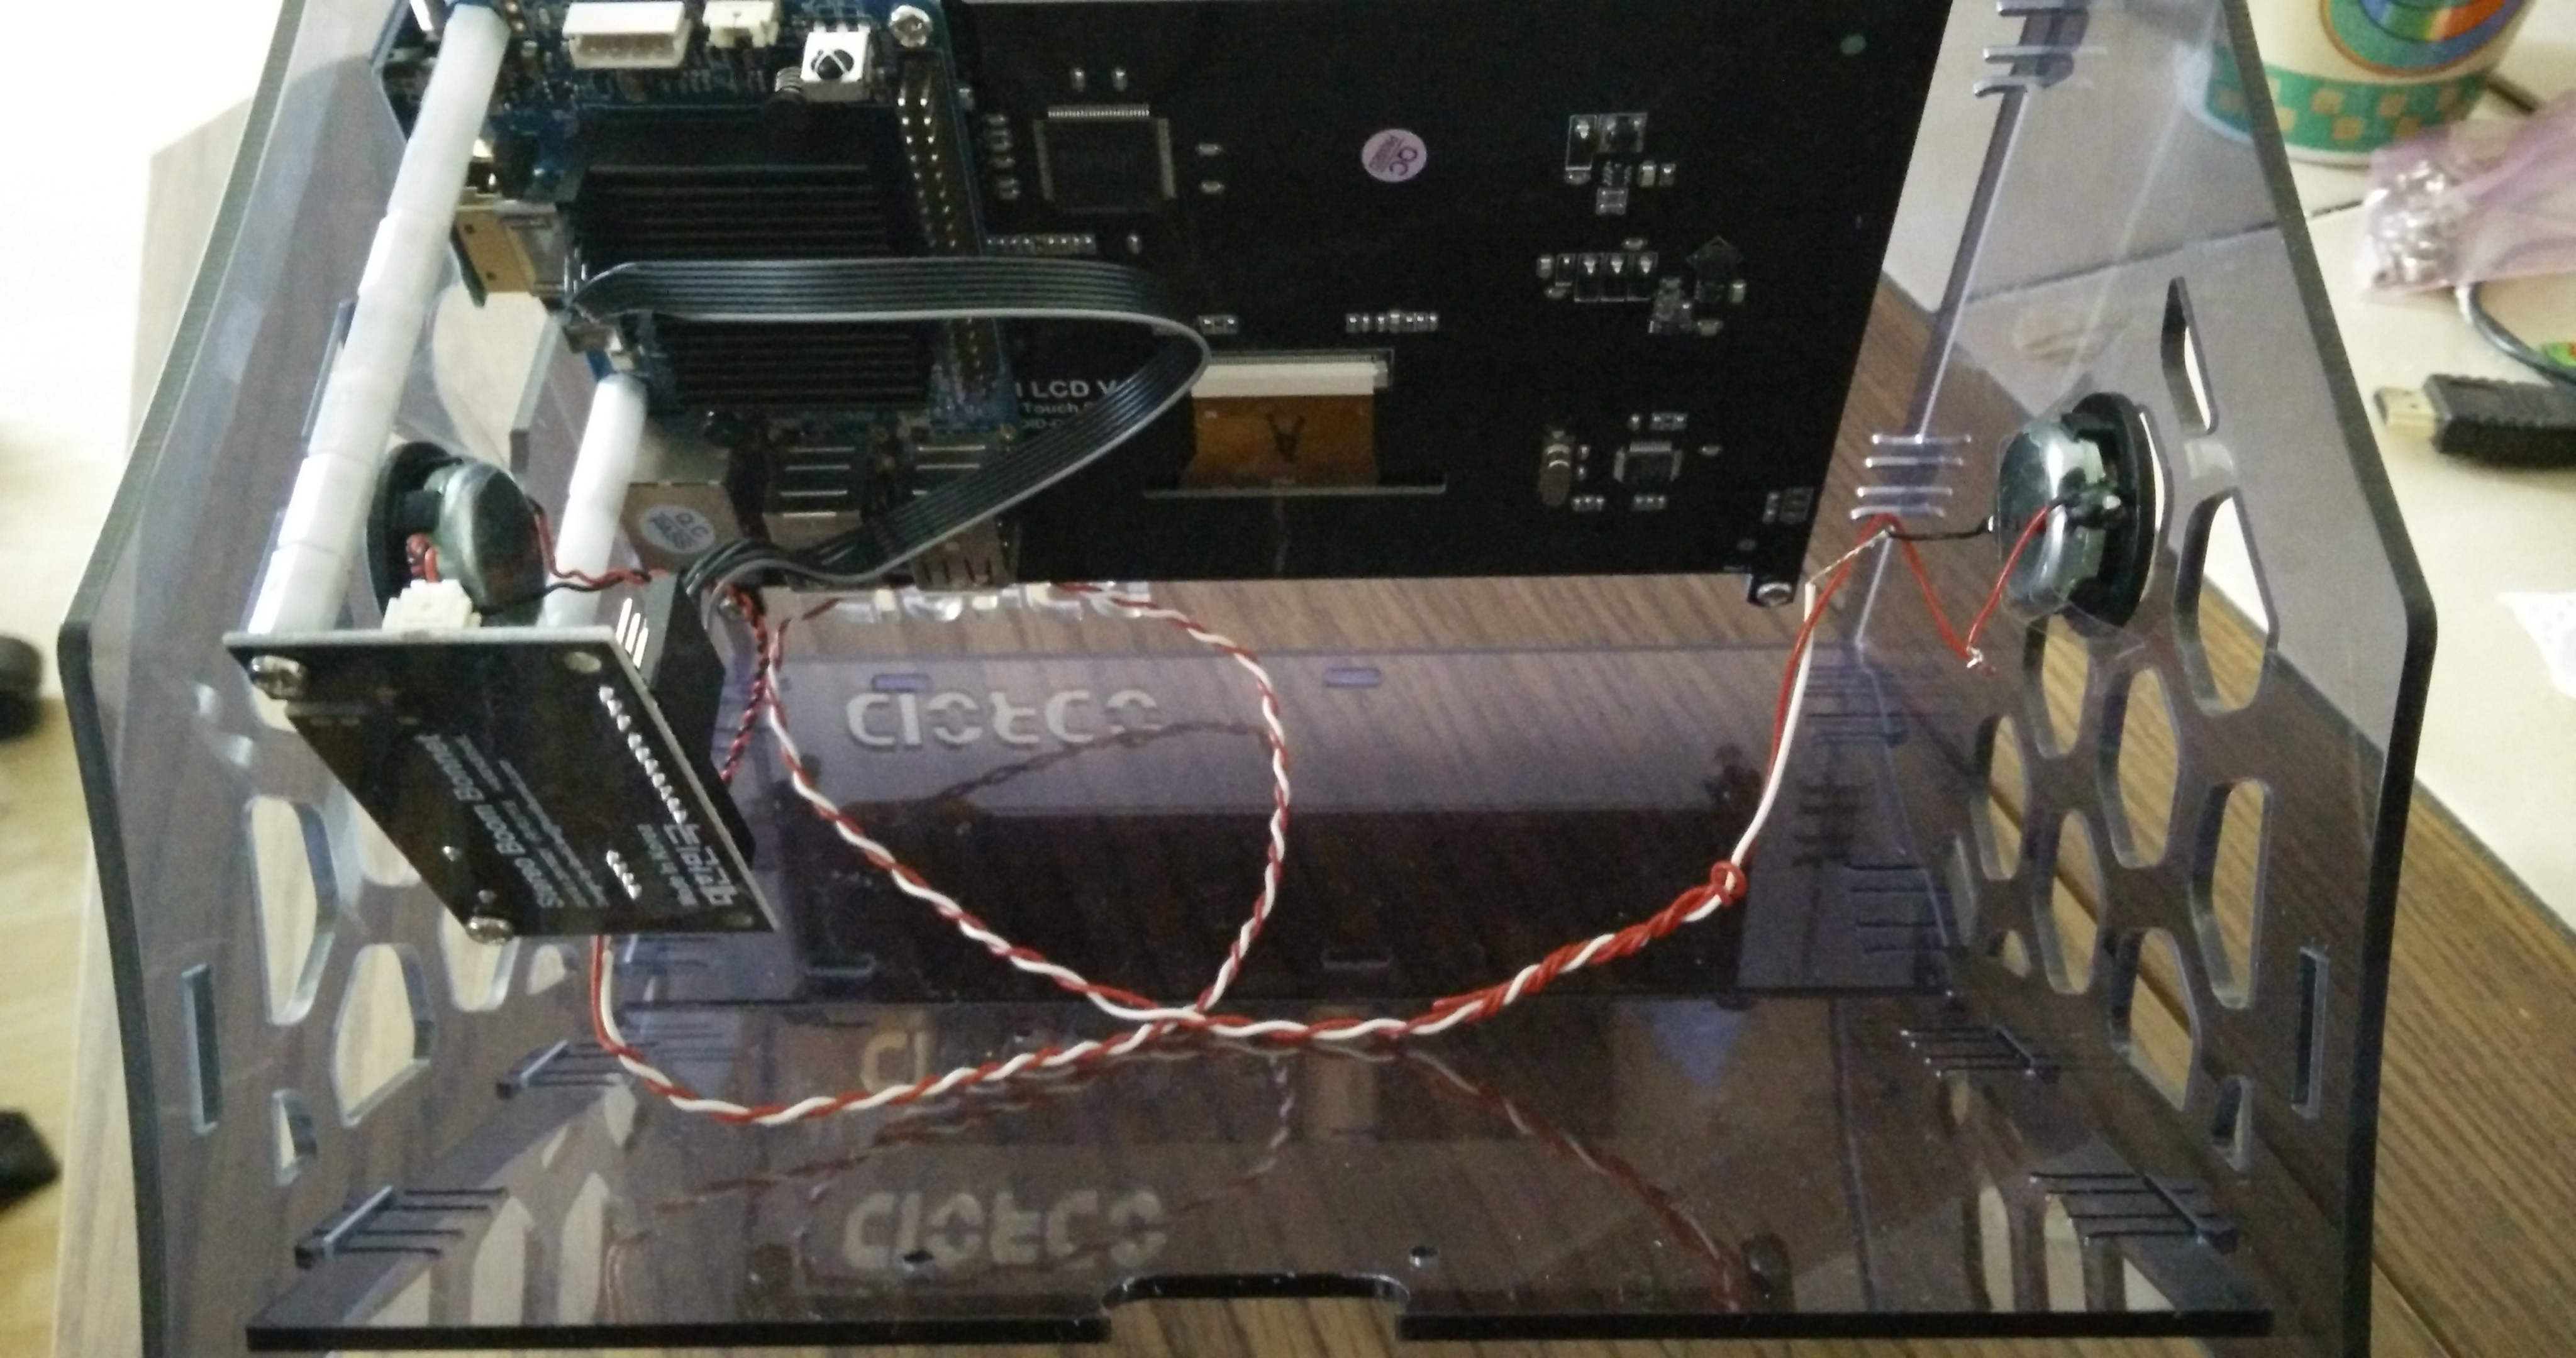
After that, I turned on the device and tested to see if both speakers worked right at the start (http://bit.ly/2xuF4ct). Because there is plenty of room inside the case, you can add additional components rather easily. As already shown in the assembly instructions from Hardkernel, there are already screw holes to place an HDD or power bank inside, which would make the device entirely mobile.
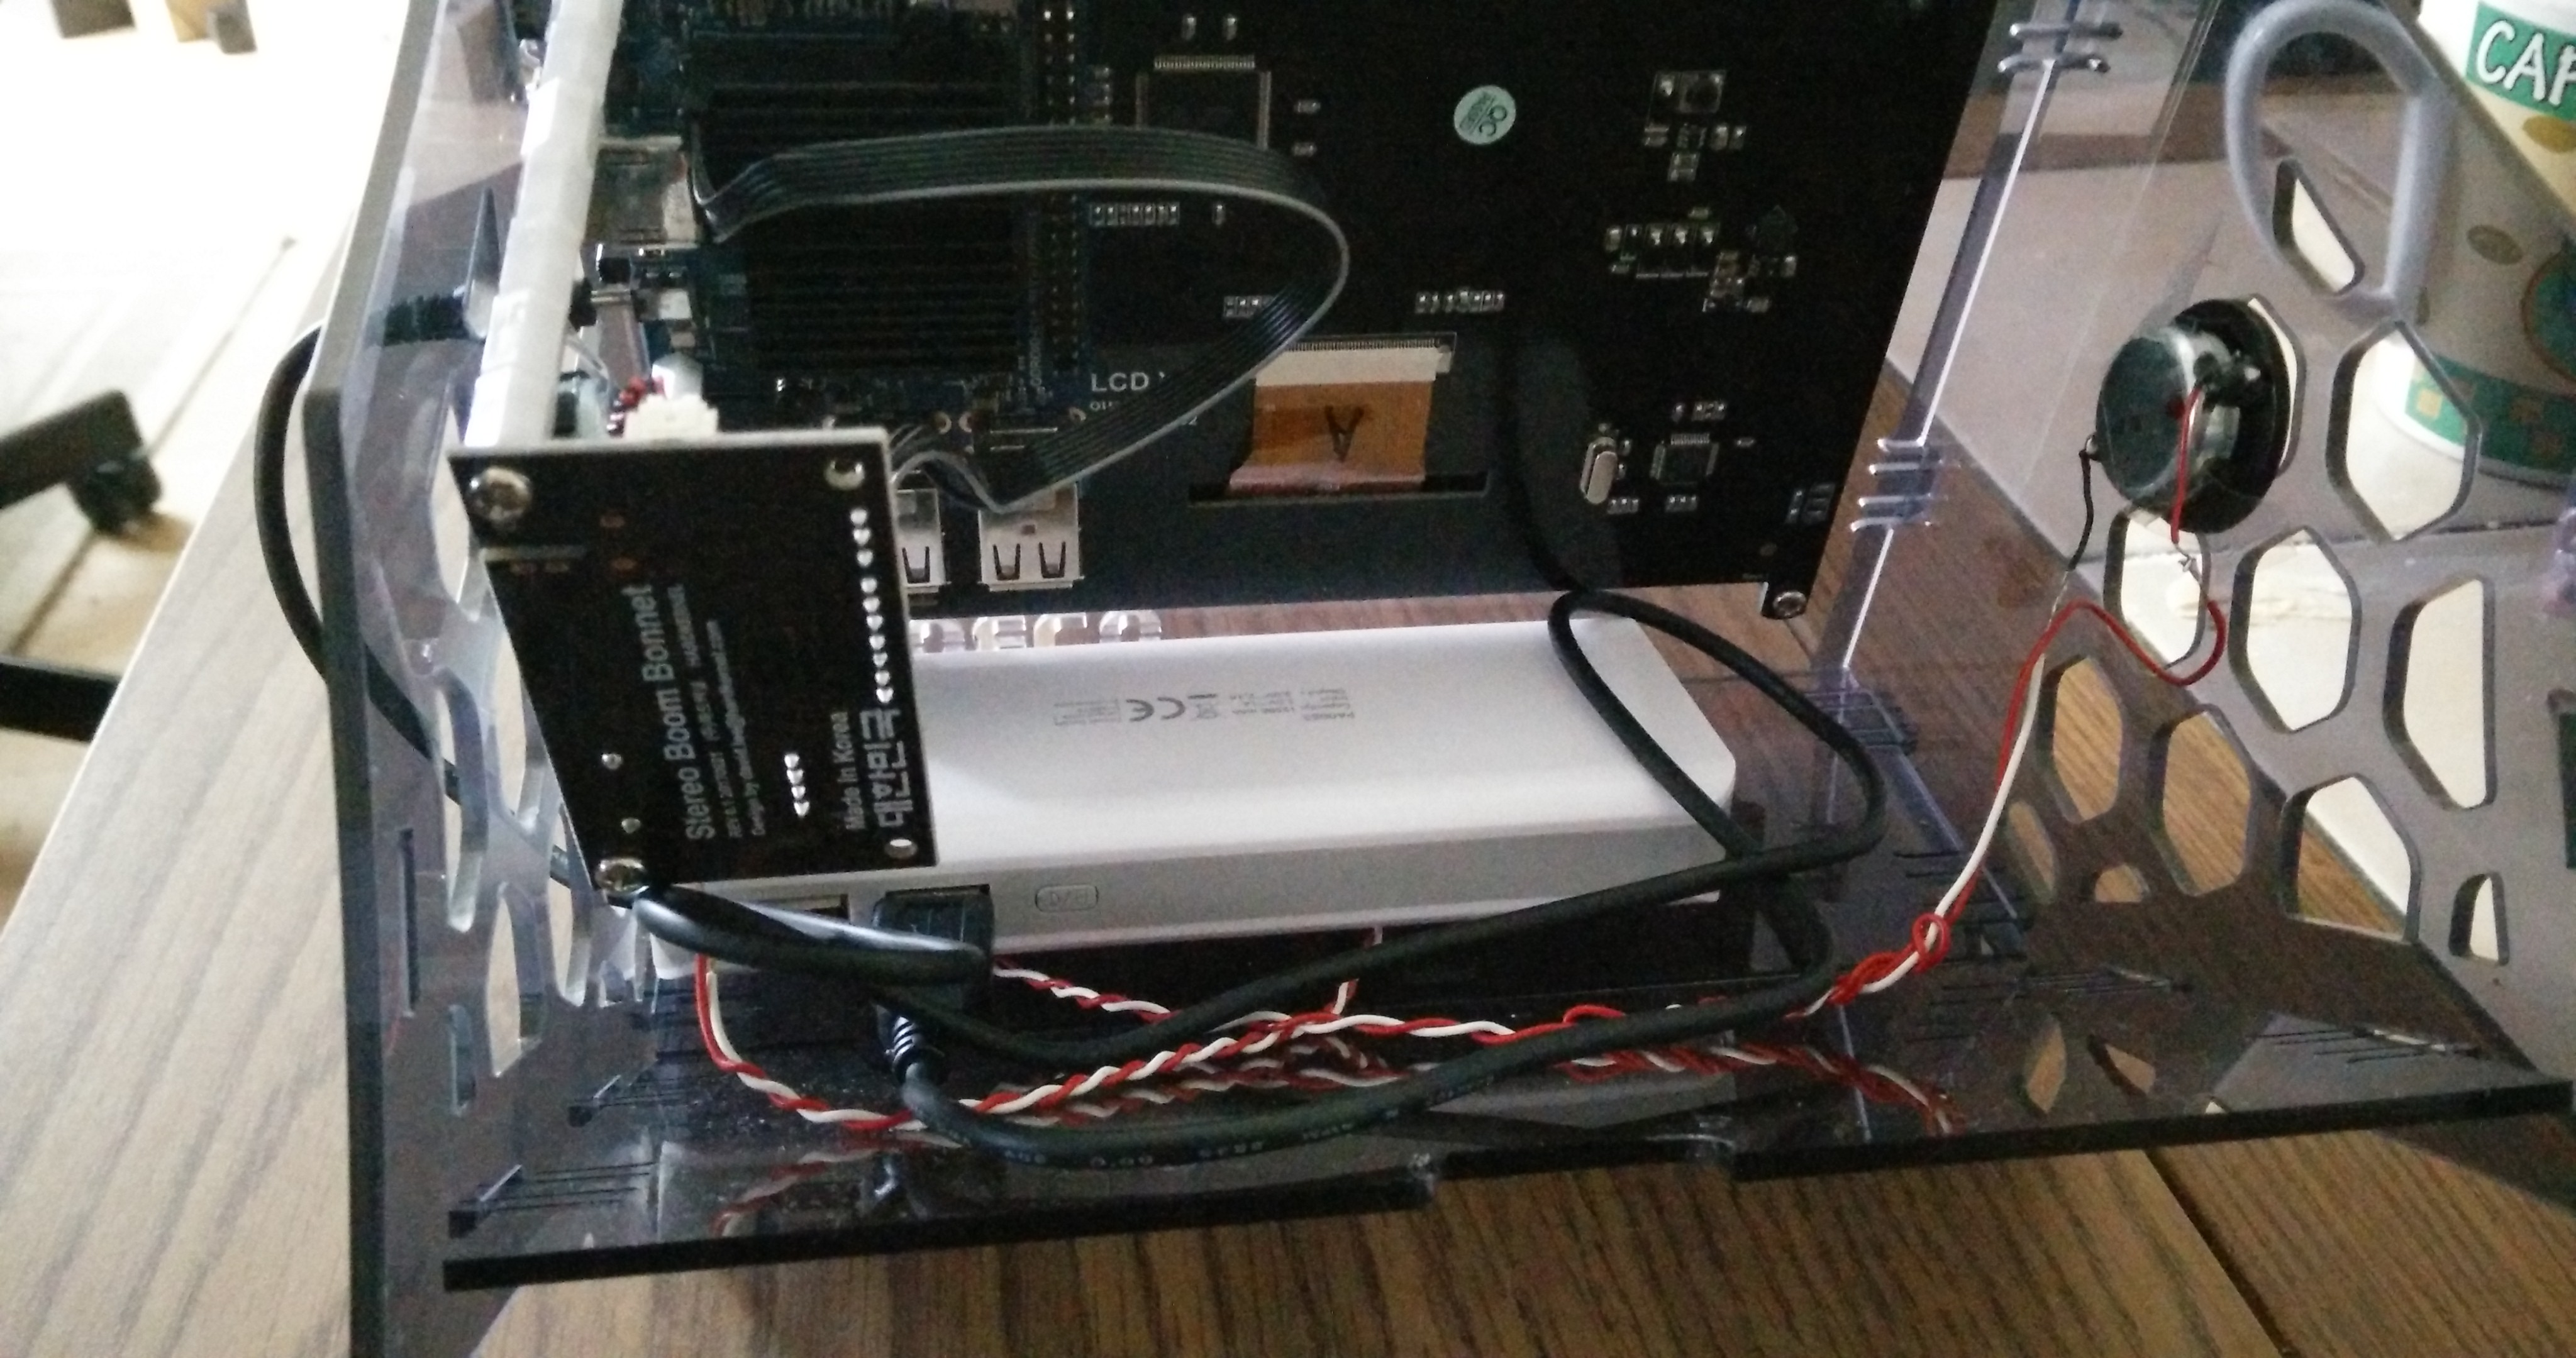
You can also easily place an XBox 360 wireless PC adapter in there together with the power bank. That way, you can use up to 4 XBox 360 controllers at the same time without having to add a new cable. This is awesome for controlling Kodi or EmulationStation without the need for a keyboard.
Conclusion
This was a fun and easy project. Some people are already enjoying this little console, stating that they are amazed by the idea and mobility you have thanks to the power bank. Since the VuShell has a lot of space, this project can have many different variations depending which extra accessories you want to put to use. You might even want to skip the speakers entirely and instead simply use the Stereo Boom Bonnet’s headphone jack, which would allow you to play your games on a train ride, or if you’re stuck on an airplane for several hours.
Although not the biggest screen, it’s good enough to have a couple of friends sitting next to you to watch some movies on a field trip, or play some friendly or competitive games on one of the many emulators. Some will prefer the extra power of an XU4 to seriously play some games for the PSP, Dreamcast, or N64, while others are fine with some Nintendo, Super Nintendo, SEGA Genesis, or other classics on a C1. Placing it in the kitchen running Android on an C2 allows you to listen to your favorite music while cooking. Thanks to the touch screen everything you need is at the tip of your finger.
All in all, the options are nearly limitless, and it’s very easy to do. Even children can build their own console. I encourage you to give it a try and comment on what you can do with such an all-in-one system.

Be the first to comment