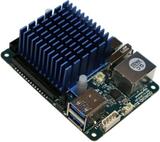


Odroid XU4’s, developed by Hardkernel Co. Ltd, are quite popular. SBC systems in general are designed to be very power efficient, because of this they are pretty good at Verium mining. The downside is you need a lot of them to amass a sizeable amount of hashes. The up-front cost of SBC’s can be very high, but their power usage is very low. Remember to take into account all the required extras to make SBC’s function (SD cards, power cables/supplies, network cables, switches, cooling, mounting mechanism, etc…).
For SBCs the mining software usually needs to be compiled for 1way using 128 MB per thread. 2Many devices have been tested in terms of their hashrate and it can fairly be stated that the Odroid platform with its Octa core CPUs (Exynos5422 big.LITTLE) and 2 GB LPDDR3 RAM outperforms any other device. By now Hardkernel has even released a special version of the original XU4 which is called Odroid HC1 and is designed for clustering. It should be noted that despite their relative low total hashrate, the ration hashrate per energy is still good. Also, there is software out in the community that helps on the maintenance of large clusters. For more information visit the official ODROID website http://www.hardkernel.com.
Optimized OS Image for Verium Mining
The ODROID Verium Mining Image (by joe_rondx) includes an optimized OS with preinstalled miner and several other handy features. It is made for the XU4 line, that is Odroid XU4, XU4Q, HC1, HC2, MC1.
Performance features:
- hugepages are enabled (thanks to birty & fireworm)
- Maximal RAM clocking: 933 MHz
- CPU downclocking of big cores: 1.9 GHz (read here why 2 GHz is not worth it)
- Optimal two miners configuration for big.LITTLE cores.
Helper scripts:
- Temperature logging in verium/cpu_temp.log
- Status overview script vrmcheck.sh
- Filesystem expansion by resize.sh
Setup the Image
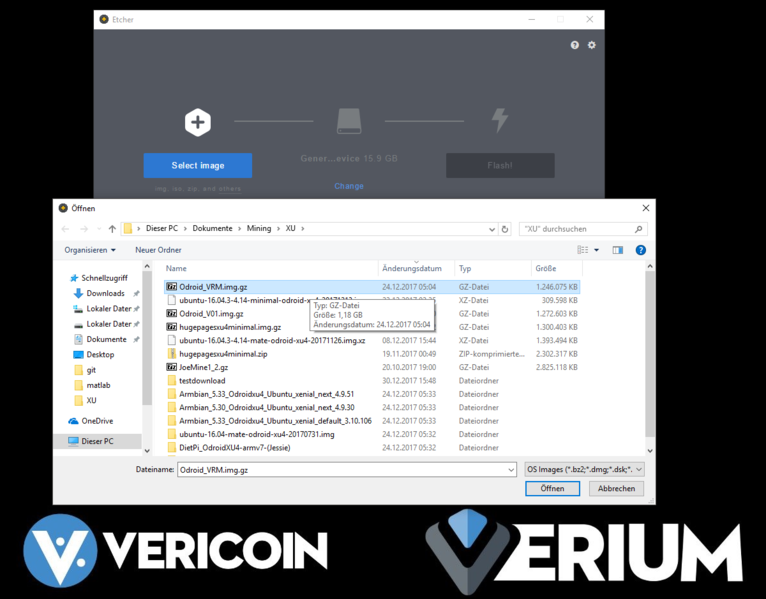
- Download the Image from: https://drive.google.com/open?id=1RbXnGUh5fwmfhMQNzefCK75PajyrXjQi
- Burn it without extracting it (The real issue is the following: the image consists of two partitions, if you extract the gz file you have to make sure you burn both partitions and not only the fat partition).
- On first bootup give it 5-10 mins time until you should be able to find the device in the network.
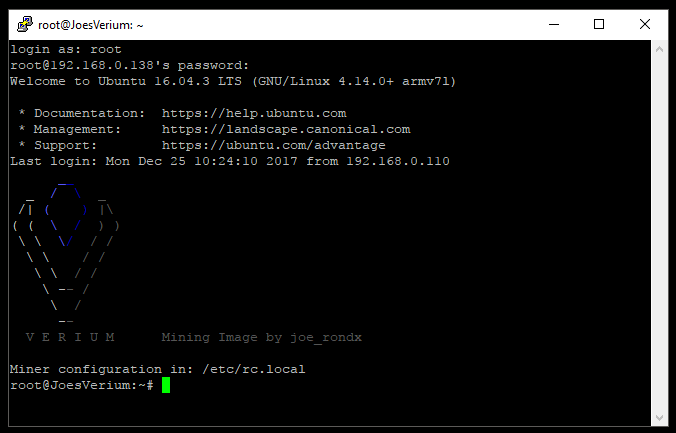
- Log in with standard root/odroid credentials.
Configuration of the Image
The first thing you want to do is the Image Update. The script to do so is at: https://raw.githubusercontent.com/DJoeDt/verium/master/odroid_image_update.sh. From the command line use:
$ wget
https://raw.githubusercontent.com/DJoeDt/verium/master/odroid_image_update.sh
$ chmod +x odroid_image_update.sh
Now before you run the update make sure to kill the miner, I use
$ top
$ kill
Where, nnn would correspond to the pid of the instance of the miner on your system. Now execute:
./odroid_image_update.shThen edit
$ nano /etc/rc.localWhat it does is:
- Get and compile the latest fireworm miner
- Add the new one miner command to /etc/rc.local
- Update vrmcheck.sh (not nice but well...)
Why it does this: It turned out that the configuration with two miners is bad for a couple of reasons. I must admit that I was just too greedy and only looking at H/m output. The reasons are the following:
- The low hashrate of the 1-way miner reduces the chance to actually submit a share when pool mining.
- The additional miner connection causes a lot of work on the pool server side.
- It is similarly true for solo mining also.
Oh, and one miner is just easier to maintain, monitor, etc. 🙂 And of course the update of the fireworm miner gives some nice features. I am getting about 530 H/m .
Personal configuration
Let us start with the configuration of the miner. The autostart of the miner is currently done in the rc.local file.
$ nano /etc/rc.localAt the end you will find two mining commands which you need to adjust for your pool/solo setup. Actually no, after the update you should just delete those commands and use the newly added One miner command.
In addition to the miner configuration you might want to change the hostname and password:
$ nano /etc/hostname
$ nano /etc/hosts
$ passwd
You can also expand the filesystem by using the script
$ ./resize.shReboot before going on
$ rebootand run the resize script again
$ ./resize.sh
Network
Usually the Ethernet Port should just connect via DHCP. If you have a Wifi Stick you should use
$ nmtui
XU4 & XU4Q Tipps
Since the image was created on an HC1 you might want to check the GPU setting: https://wiki.vericoin.info/index.php?title=Odroid#Downclocking_the_GPU.
Usage and Monitoring
There is a simple status script in the home directory, call
$ ./vrmcheck.shwhich prints out the configuration in rc.local, the last 10 lines of each miner log, CPU frequency and the current temperature. Monitoring both miners is a bit of a challenge, but DerrickEs miner Monitor scripts (https://github.com/derricke/MinerMonitor) or casanova's CLI monitor (https://github.com/bezeredi/verium-cli-monitor) support the configuration of ports (4048 & 4049 in this case). 1I also recommend mining on two pool to decentralize the hasrate, keep some hashes going if one pool is down and also for monitoring.
Donation suggestion
With the new update it's more difficult to spread small H/m portions. I won't take the time to rewrite this, basically: if you run a lot of Odroids with this image consider to have one running for me, thanks a lot!
- The image starts mining right away - for joe_rondx (next version will include fireworm). This is not meant to be a rip off. Consider to have a freshly burned card mine for us perhaps one hour as initial donation.
- If you are running less than 10 units (XU4, XU4Q, HC1, MC1/4) the initial donation is all we are asking for.
- If you are running 10-19 units you may consider to have one small miner running on joe_rondx address.
- If you are running 20-29 units you may consider to have one more small miner running on fireworms address.
- If you are running 30-39 units you may consider to switch joes small miner to a big one.
- If you are running 40-49 units you may consider to switch fireworms small miner to a big one.
- If you are running 50+ units please also consider donating to the project via its donation page.
Justification: Individual hasrates may vary, but let's assume you were getting 450 H/m per unit without this image. The image should give you 537 H/m which is an increase of nearly 20% . 10 units should produce 5370 H/m while one small miner does about 137 H/m - which is about 2.5% of the total hashrate. Thank you very much for your support! - joe_rondx
Other OS Images
Let us start with special images by Odroid God birty: Odroid Miner Images (ttps://drive.google.com/drive/folders/0B26cQdlGFXo2S3ViQ3IxaVhfUkk). In particular the newest image with enabled hugepages in combination with fireworms miner gives a significant boost of hashrate. It was used for the optimized image. Odroids Official Images (https://wiki.odroid.com/odroid-xu4/os_images/linux/start) are of course ve1ry well made. The newest Ubuntu Mate 16.04.3 (20171212) which was release after birtys image even has hugepages enabled. But unfortunately it uses too 1much RAM. Even more unfortunate is that the Ubuntu 16.04.3 (20171213) (MINIMAL, BARE OS) image does not have hugepages enabled. I have once tested like 6 different images that are available for the XU4 platform. For the beginning I recommend the DietPi image (https://dietpi.com/#download) 2because its included diet-config tool already supports lots of the configurations you want to set.
Tweaking the OS for Mining
The whole thing as a script (ARM Miner + XU4 Setup): Download the shell script at: https://raw.githubusercontent.com/DJoeDt/verium/master/1wayARM_XU4_VeriumMiner_install.sh.
$ wget
https://github.com/DJoeDt/verium/raw/master/1wayARM_XU4_VeriumMiner_install.sh
$ chmod +x 1wayARM_XU4_VeriumMiner_install.sh
$ ./1wayARM_XU4_VeriumMiner_install.sh
Downclocking (yes, down!) the CPU
To prevent throttling due to heat it may actually increase your hashrate if the CPU does not run at 2 GHz (max). Even if you can prevent throttling at 2GHz it is anyhow not worth it: you might get 10-15 H/m more but it costs about 2 Watts (out of 12) to get this last increase - so it will not pay back, for Details checkout the benchmark at: https://www.planet3dnow.de/vbulletin/threads/428622-Odroid-HC1. Install the utility (or use DietPi config)
$ sudo apt-get install cpufrequtilsuse it directly
$ sudo cpufreq-set -c 7 -u 1.9GHz -rand make the change permanent by creating a config file
$ sudo nano /etc/default/cpufrequtilswith the following settings
ENABLE="true"
GOVERNOR="performance"
MAX_SPEED=1900000
MIN_SPEED=1900000
Now the CPU should always run at constant speed. This also saves a reasonable amount of power.
Overclocking the RAM
On the boot-FAT-Partition edit the boot.ini
$ sudo nano boot.iniFind
ddr_freqand change the value to 933
# DRAM Frequency
# Sets the LPDDR3 memory frequency
# Supported values: 933 825 728 633 (MHZ)
setenv ddr_freq 933
Make sure before bootz to
# set DDR frequency
6dmc ${ddr_freq}
Downclocking the GPU
Install this utility
$ sudo apt-get install sysfsutils
Then edit
$ sudo nano /etc/sysfs.confand insert the following line
# Put GPU into powersave mode (= Downclocking it)
devices/platform/11800000.mali\:/devfreq/11800000.mali\:/governor = powersave
then start the service
$ sudo service sysfsutils startEffect: reduced the power consumption by 0.7 – 0.8W, SOC will be 1-3°C cooler. Get information on reducing power consumption in a headless scenario at https://obihoernchen.net/1340/lower-gpu-clock-of-odroid-xu4-for-headless-servers/ Another way might be
$ sudo nano /etc/rc.localand add this line before exit 0
$ echo powersave > /sys/devices/platform/11800000.mali\:/devfreq/11800000.mali\:/governor
Setting up a Swapfile
Verium is memory intensive, so we increase the swap file (or use DietPi config).
$ sudo fallocate -l 1G /var/swapfile
$ sudo chmod 600 /var/swapfile
$ sudo mkswap /var/swapfile
$ sudo swapon /var/swapfile
check it with
$ free -hand configure that permanently
$ sudo echo "/var/swapfile none swap sw 0 0" >> /etc/fstab
Processes
Further optimization can be done by checking the process tree
$ pstree -pand disable/uninstall stuff that is not needed. KILL 'EM ALL! I did not find it yet but if you come across ads7846 remove it.
$ modprobe -r ads7846
$ tee /etc/modprobe.d/blacklist-ads7846.conf <<< "ads7846"
XU4 hardware
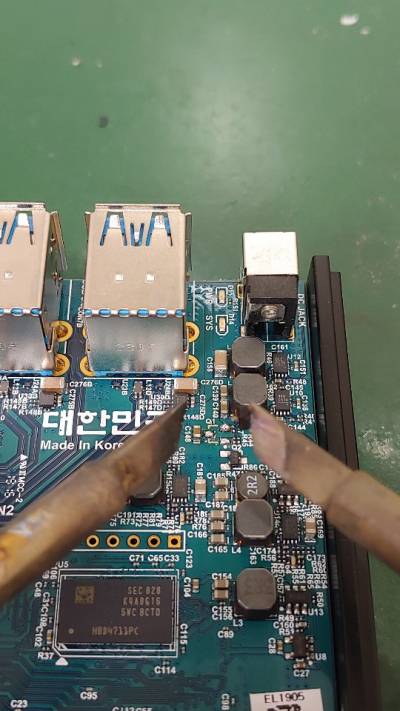
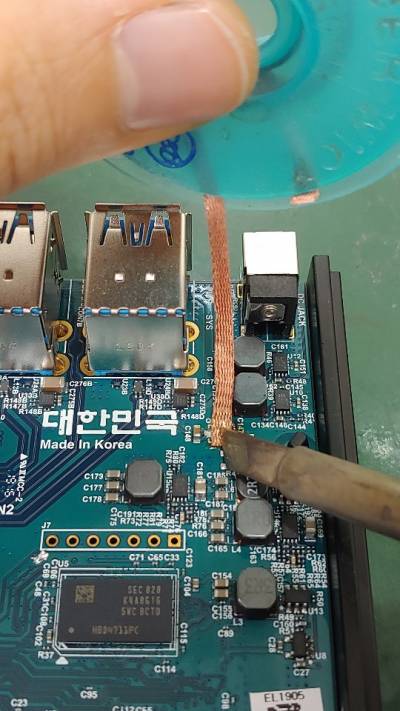
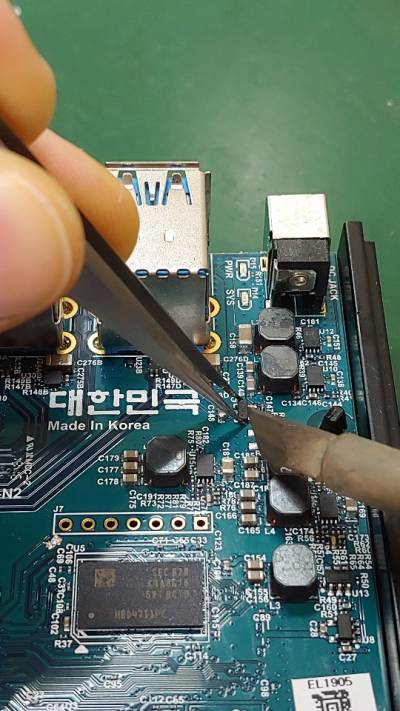
The key is to exchange the thermal tape of the heatsink with some good thermal paste, decreases the temperature by 10 degrees (C) using the same testing conditions. Also get the under-side cooled as well. To save electricity you may turn down the power suppiies voltage with a screwdriver. Check sd card slot heat.
Optimal big.LITTLE and Maximal RAM Usage
aka "Getting the last Hash out of your Odroid". The first step is to use an OS image that uses a minimum amount of RAM for the system. To illustrate how to use the big.LITTLE cores and most of the memory we first have a look at the configuration with effectstocause miner.
The Goal
Verium mining is a lot about RAM, so you want to maximize the memory usage. How does that work? The verium Miner (https://github.com/effectsToCause/veriumMiner) can be configured to use a different amount of RAM per thread. So the idea is to use 2 different miner compilations and make use of the 2GB LPDDR3 RAM @ 933Mhz the Odroid has. Plus: do that wisely to also benefit from the big.LITTLE cores of the Samsung Exynos5422 Cortex™ ARM Cortex-A15 (2.0Ghz) / Cortex-A7 (1.4 Ghz) Octa core CPUs
Technical details
The miner settings are called 1 way or 3 way where
1 way => 128 MB per mining thread
3 way => 384 MB per mining thread
The #way of the miner is configured in
$ nano veriumMiner/algo/scrypt.cNow you can calculate around for yourself or just trust me that you want those two miner configurations and then run
5 threads @ 1 way = 640 MB
3 threads @ 3 way = 1152 MB
1792 MB total RAM
The system needs some memory, too and with this setting there is only around 60 MB left free - but only if you use the image linked above (I have tested 6 different ones, only this works with -t 5 & -t 3 ). A 2 way compilation might be interesting as well, but my compilation try did not work.
Easy Installation
I have prepared two scripts on my git repository (https://github.com/DJoeDt/verium - no warranty whatsoever):
1wayARM_XU4_VeriumM6iner_install.sh
3wayARM_XU4_VeriumMiner_install.sh
which install the miners into
~/verium/1wayminer/
~/verium/3wayminer/
How to run them
Having both compilations at hand we need to manage them properly. Besides the threads there are two things to configure
# the big.little core
# the API Port
big cores -t 3
The big cores shall run the 3 way miner on the standard port 4048 with high priority
--cpu-priority 4
--cpu-affinity 0x00F0
-b 4048
--api-bind 0.0.0.0:4048
those are the options to be set. About using cpu-affinity (https://wiki.vericoin.info/index.php?title=Cpu-affinity). This is the complete line from my /etc/rc.local
# 3way -t 3 big
/root/verium/3wayminer/cpuminer -o
stratum+tcp://pool-eu.bloxstor.com:3003 -u
VEXMki29ycW5vSt3MmdM5iwHqsHux91EMr.Guide -p GuidePwd --cpu-priority
4 -t 3 --cpu-affinity 0x00FF --api-bind 0.0.0.0:4048 &
Just copy it and give it a try as donation 😉 .
little cores -t 5
The little core shall run the 1 way miner on API Port 4049 with lower priority
--cpu-priority 1
-b 4049
--api-bind 0.0.0.0:4049
where I just don't touch --cpu-affinity and thus the remaining 4 little + 1 big cores are used. This is the complete line from my /etc/rc.local
# 1way -t 5 little
/root/verium/1wayminer/cpuminer -o stratum+tcp://pool-eu.bloxstor.com:3003 -u VEXMki29ycW5vSt3MmdM5iwHqsHux91EMr.Guide -p GuidePwd --cpu-priority 1 -t 5 -b 4049 --api-bind 0.0.0.0:4049 &
Monitoring
If you use the API you need to configure both ports. My workaround with birtys <3 webscripts looks like this: So far I have copied index_monitor.php to index_monitor4049.php, reconfigured
defined('API_PORT') || define('API_PORT', 4049);
in it, and just included it by adding
to the index.php. More information on monitoring can be found here.
The Result
Some remarks before we look at H/m:
- again: only the image linked above worked for me, but not even by default
- you still have to create a swap file (included in my scripts)
- I lied about the lines in my rc.local, I actually mine on two different pools. Decentralize it!
Hashrate Numbers!!11
Originally I ran birtys miner configuration which actually is the 1 way configuration. Without any -t option it just starts 8 threads and with pool mining i got an average of
395 H/m = 1 way -t 8The two miners put out like
195 H/m = 1 way -t 5
250 H/m = 3 way -t 3
Happy adding! 🙂
I wonder how this performs when solo mining?
Update to fireworm miner & hugepages
1way : 128MB -> nr_hugepages = 65. 3way : 384MB -> nr_hugepages = 193. 6way : 768MB -> nr_hugepages = 386.
Configuration of birtys image
Setup: birtys hugepages minimal image: [drive] Configure hugepages
$ sudo nano /etc/sysctl.confto
$ vm.nr_hugepages=839Change host
$ nano /etc/hostname
$ nano /etc/hosts
and dram_freq=933 in
$ nano /media/boot/boot.inias well as the password by
$ passwdReboot before going on
$ reboot
Fireworm Miner Installation
Remove old miner from birtys image:
$ rm -rf veriumMinerInstall newest miner by script:
$ wget \https://github.com/DJoeDt/verium/raw/master/nwayARM_HC1_fireworm_install.sh
$ chmod +x nwayARM_HC1_fireworm_install.sh
$ ./nwayARM_HC1_fireworm_install.sh
Miner Autostart Configuration
Autostart config
$ nano /etc/rc.local

# Verium Miner Configuration
# big cores
$ nice --10 /root/verium/nwayminer/cpuminer
-o stratum+tcp://vrm.n3rd3d.com:3332 -u joe_rondx.1 -p joe
-t 3 -1 1 --cpu-affinity 0x00F0 --cpu-priority 2
--api-bind 0.0.0.0:4048 --no-color >> /root/verium/nwayminer/3waymine.log &

$ sleep 5 # delay for hugepages allocation

# little cores
$ /root/verium/nwayminer/cpuminer
-o stratum+tcp://eu.vrm.mining-pool.ovh:3032 -u joe_rondx.HC1_1 -p joe
-1 4 --cpu-affinity-stride 1 --cpu-affinity-oneway-index 0 --cpu-priority 0
--api-bind 0.0.0.0:4049 -b 4049 --no-color >> /root/verium/nwayminer/1waymine.log
Run the 3way miner first !!
-t 3 -1First because it should make maximal use of hugepages. Secondly run only 1way
-1 4where 1 thread runs without hugepages.
Hashrate
=> 400 + 137 = 537 H/m @ 1.9 GHz
Power to the Rig
The specs say 4 Amps @ 5V for an Odroid. But there is way more to consider if you want to power your rig. Reference
https://wiki.vericoin.info/index.php?title=Odroid https://ameridroid.com/products?keywords=aluminum https://forum.odroid.com/viewtopic.php?f=93&t=27239 http://www.thinkwiki.org/wiki/How_to_use_cpufrequtils https://wiki.odroid.com/odroid-xu4/os_images/linux/ubuntu_4.14/ubuntu_4.14 https://forum.odroid.com/viewtopic.php?f=146&t=28895&sid=873dc51d2cf97257c807b99826f91525


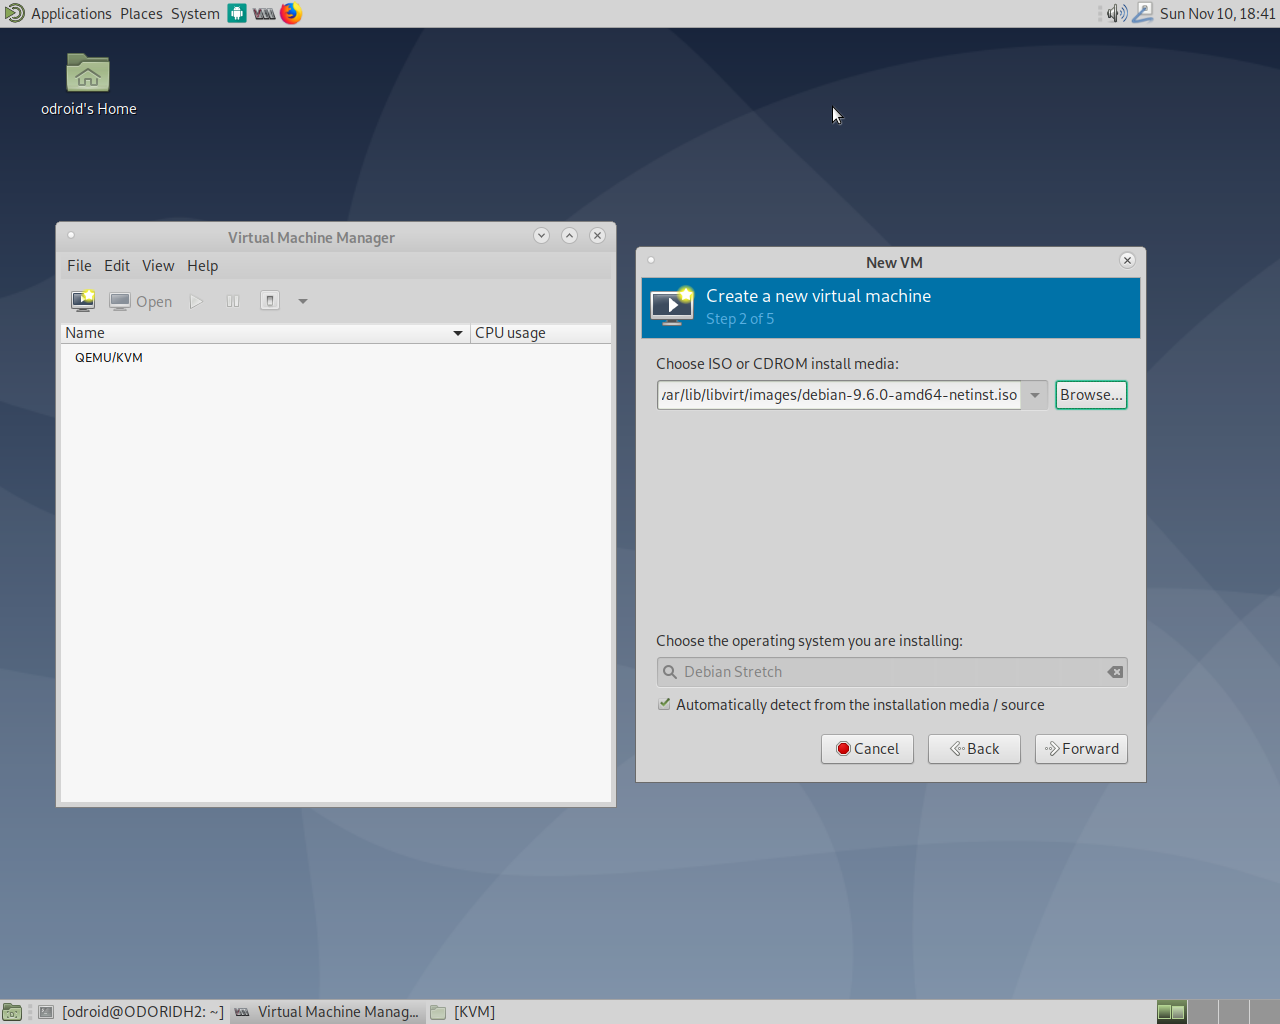


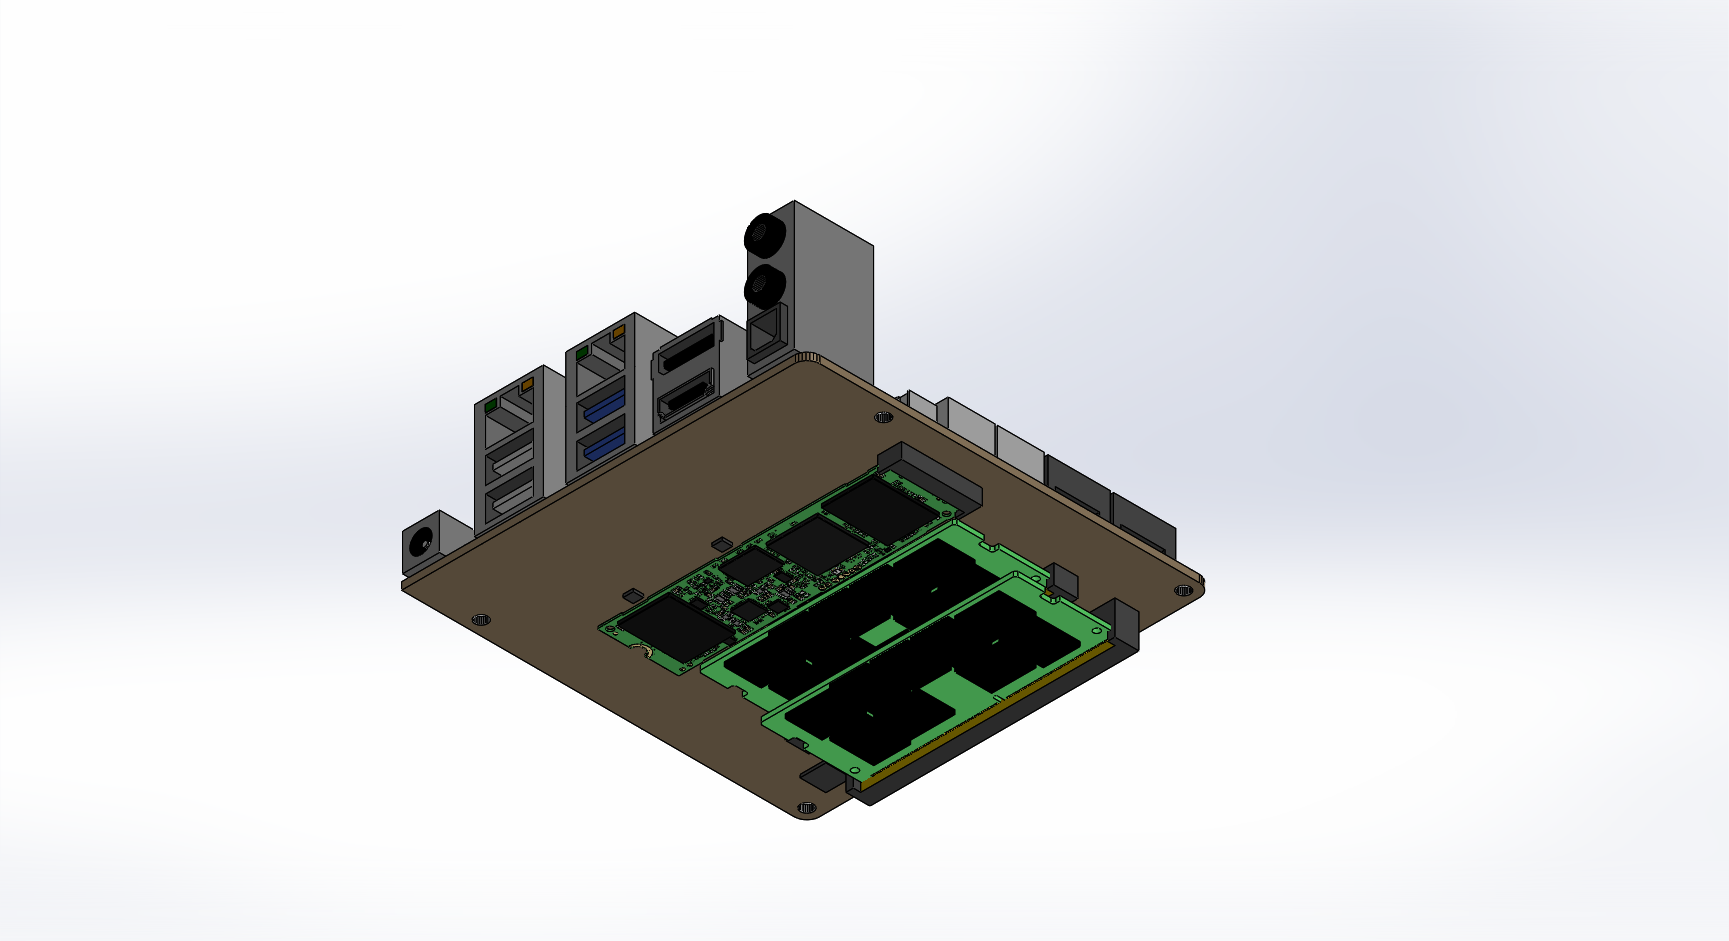
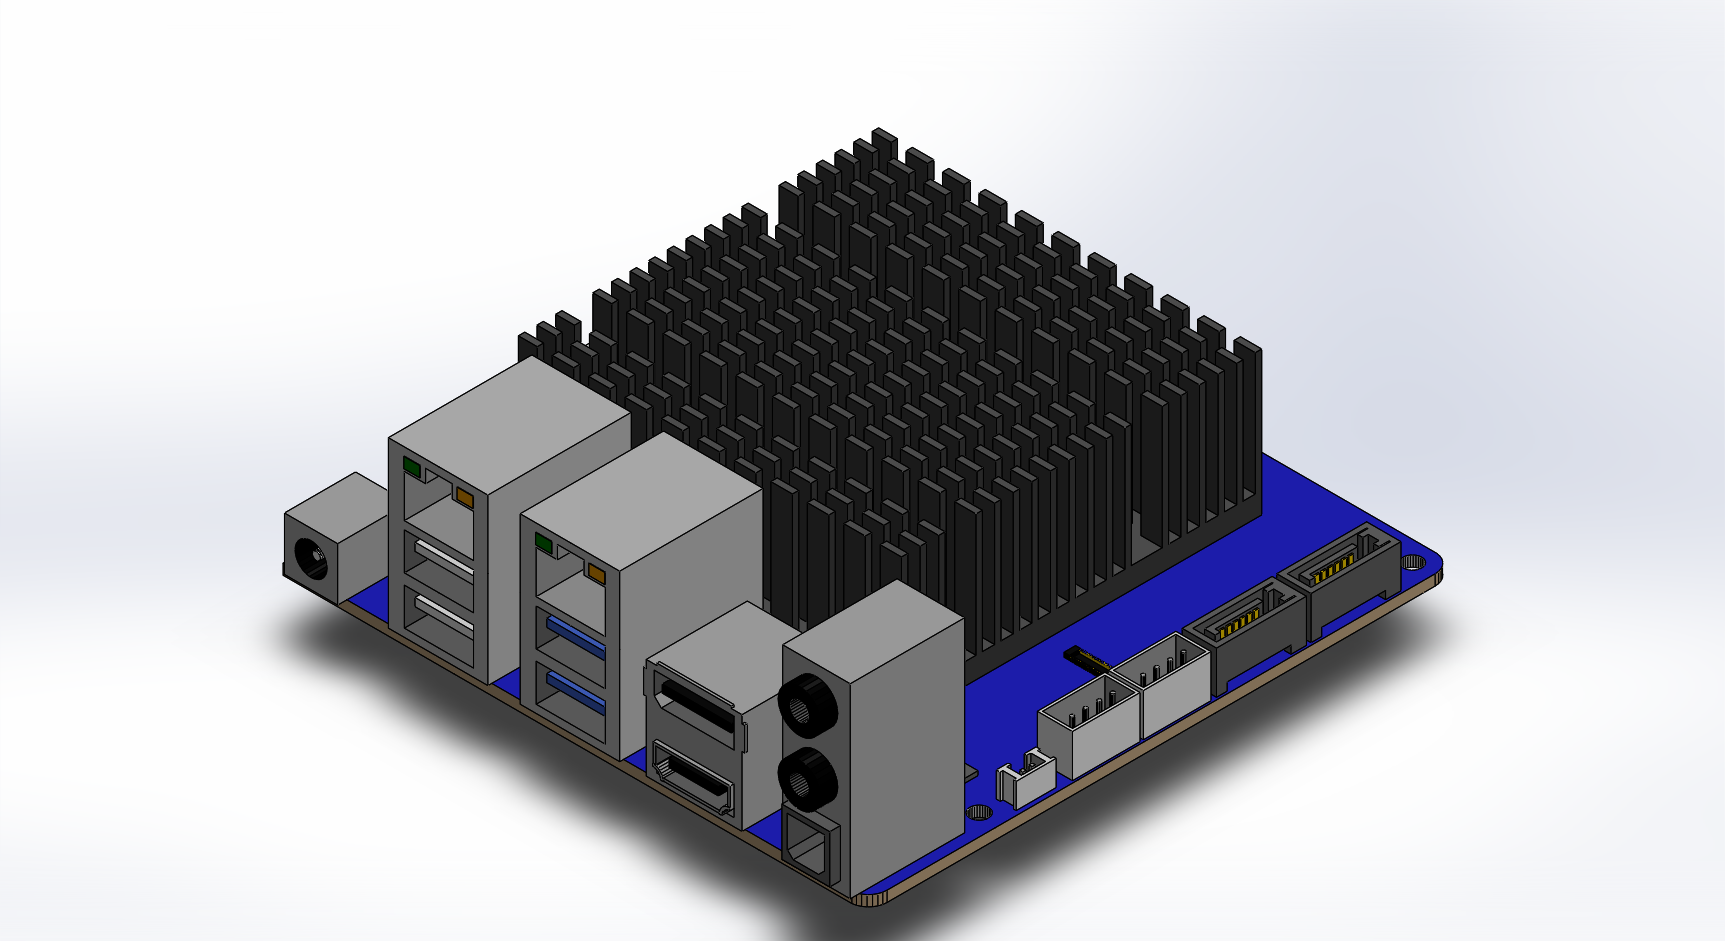
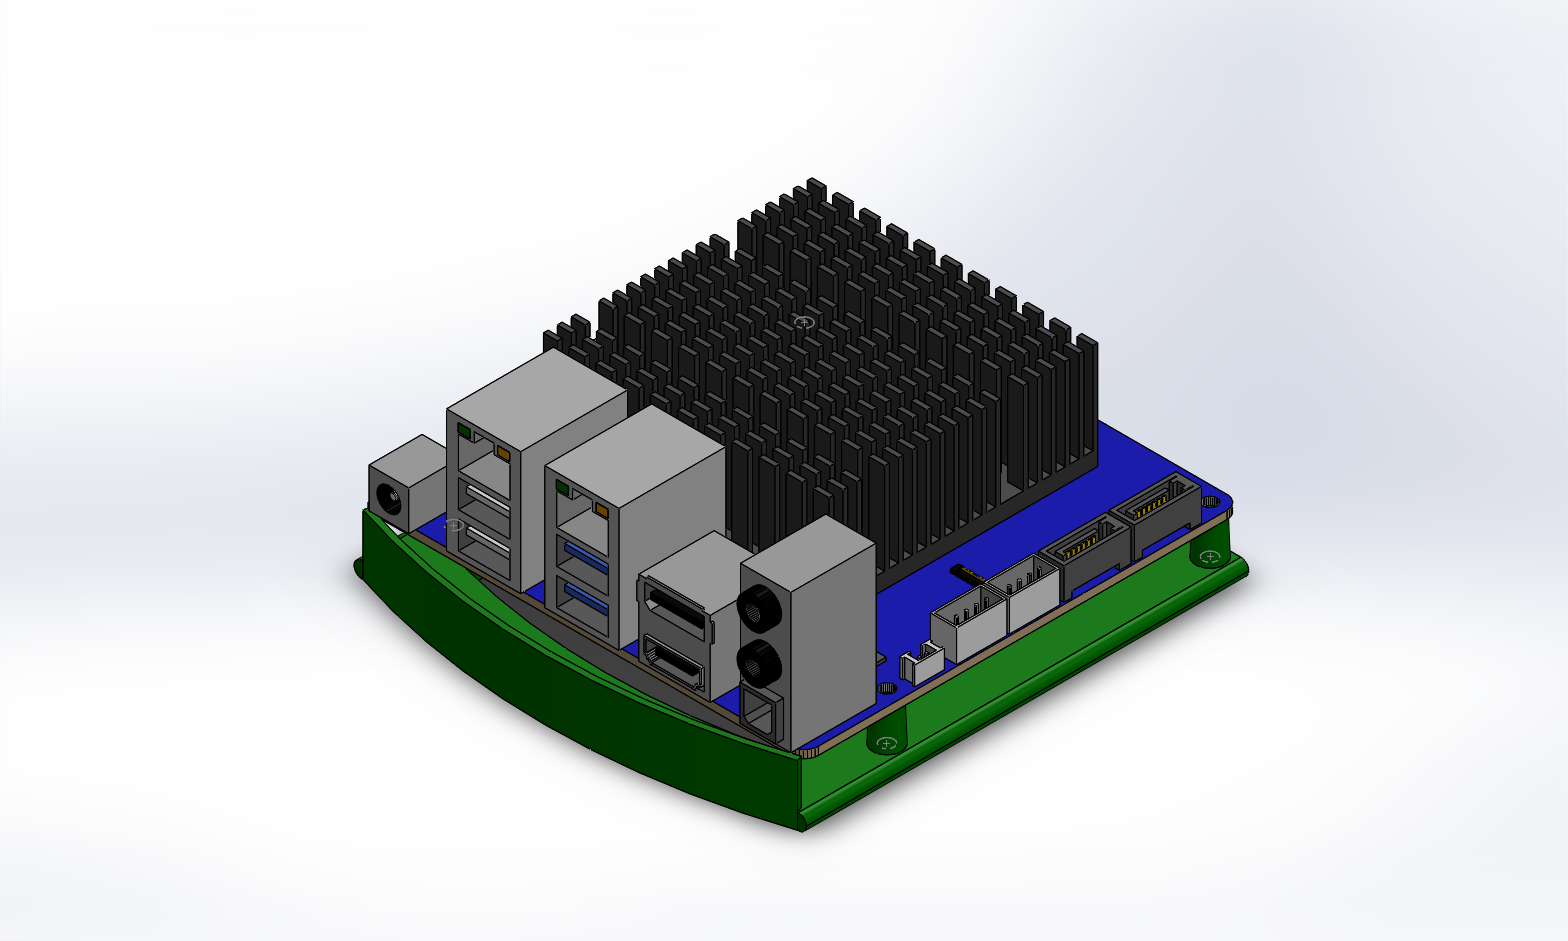
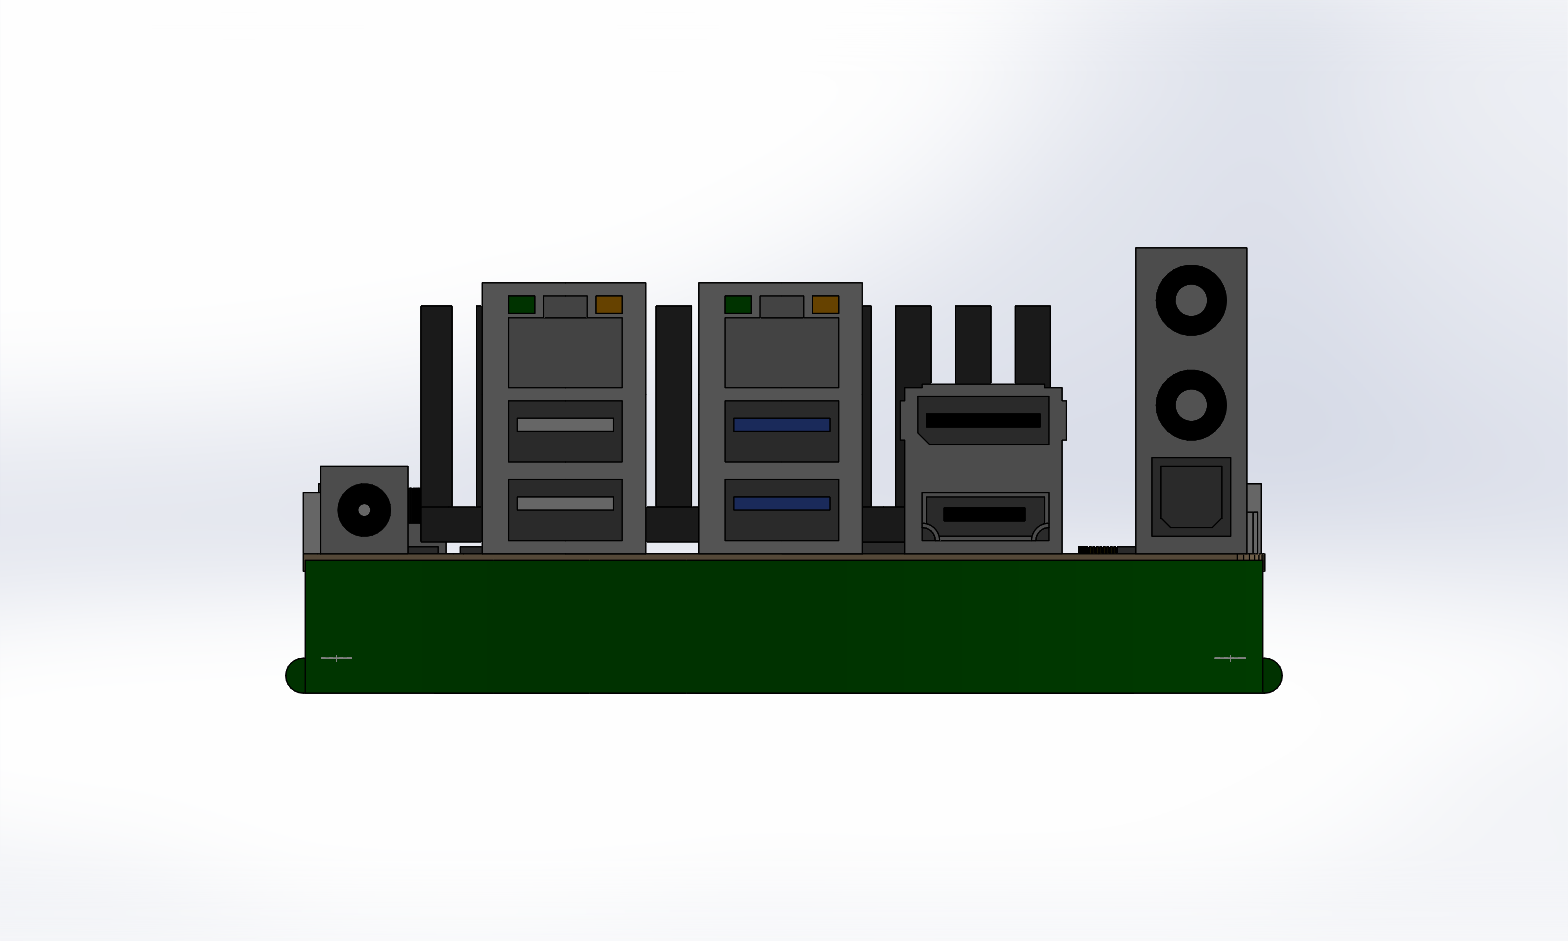
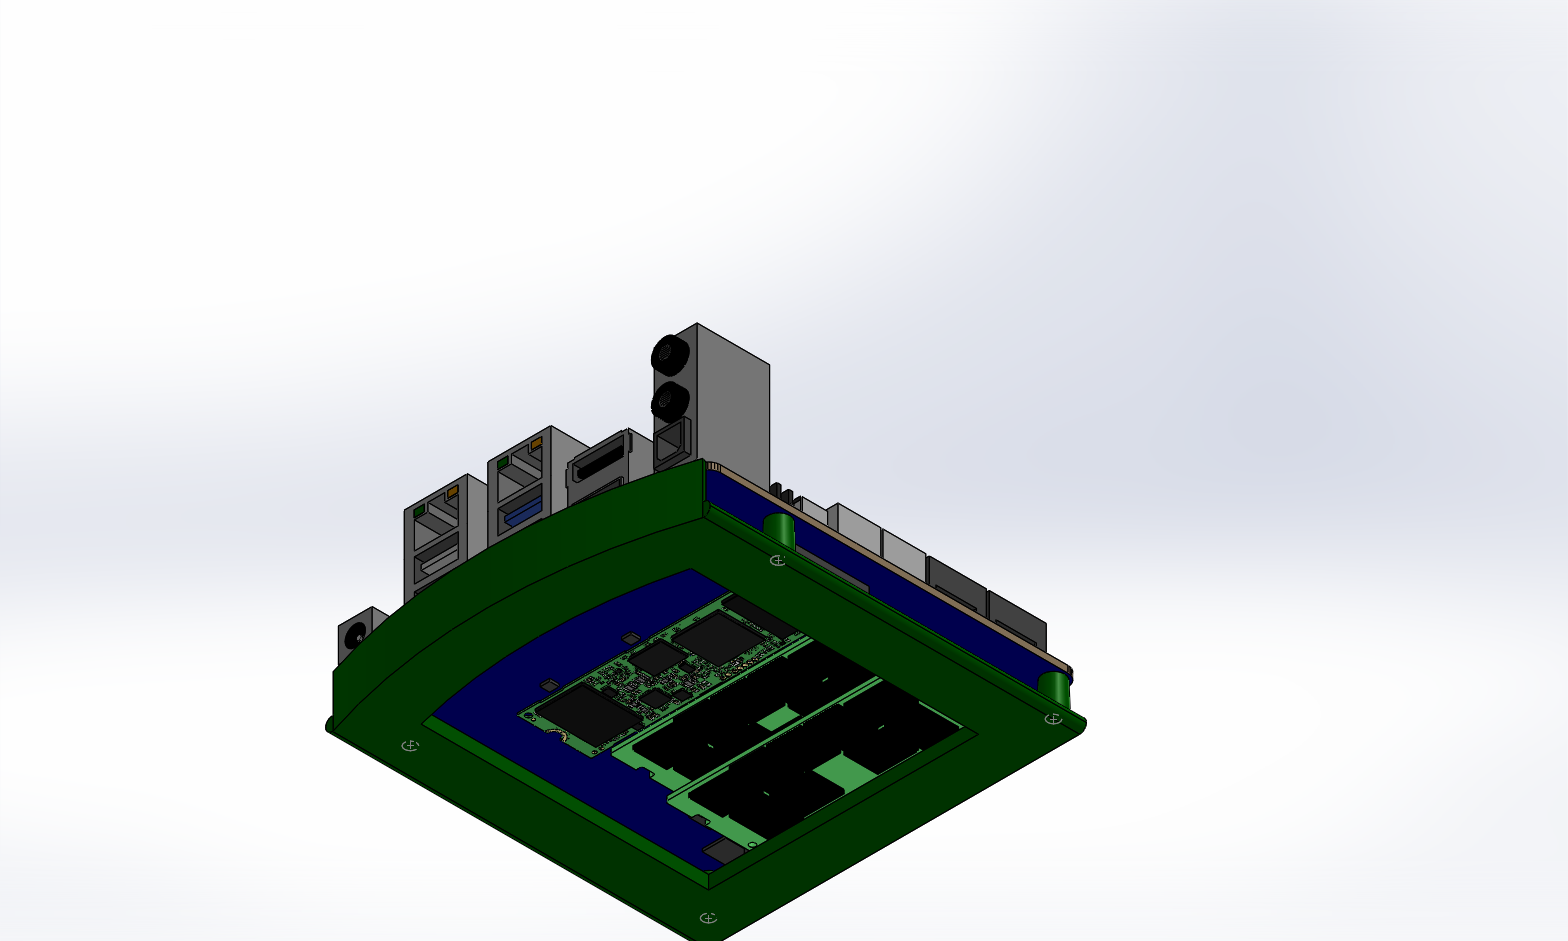
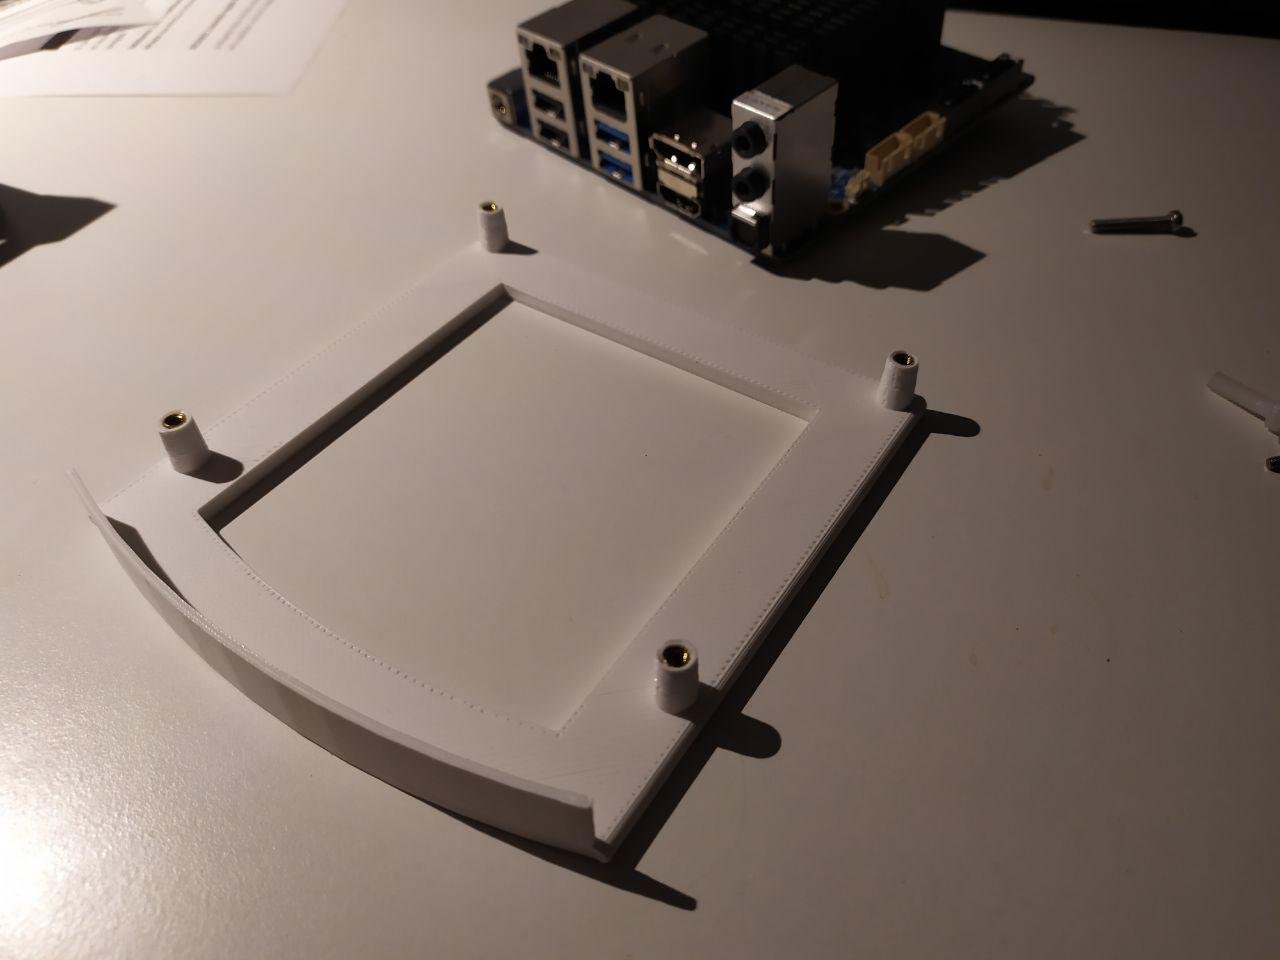
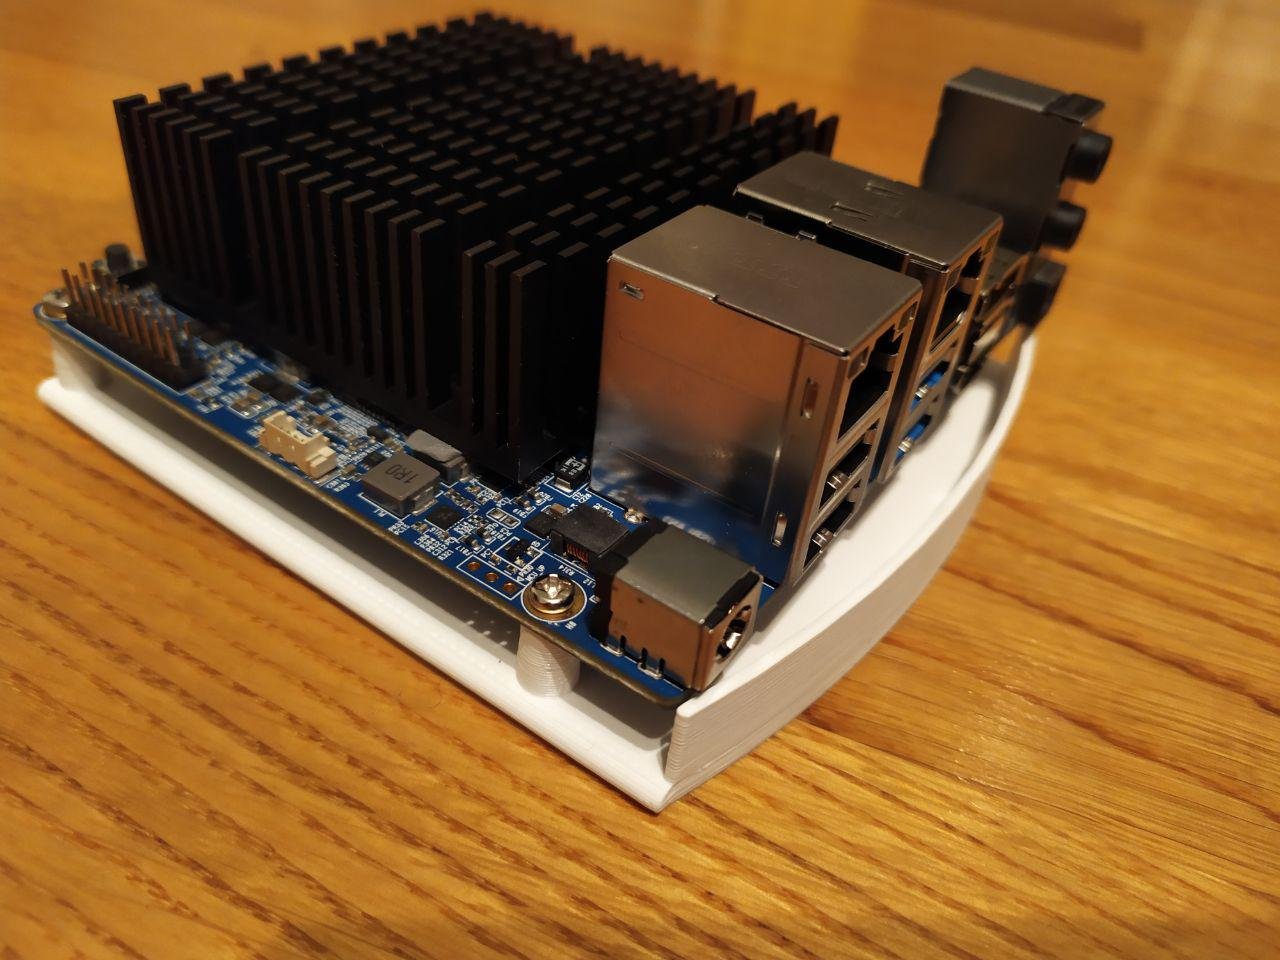
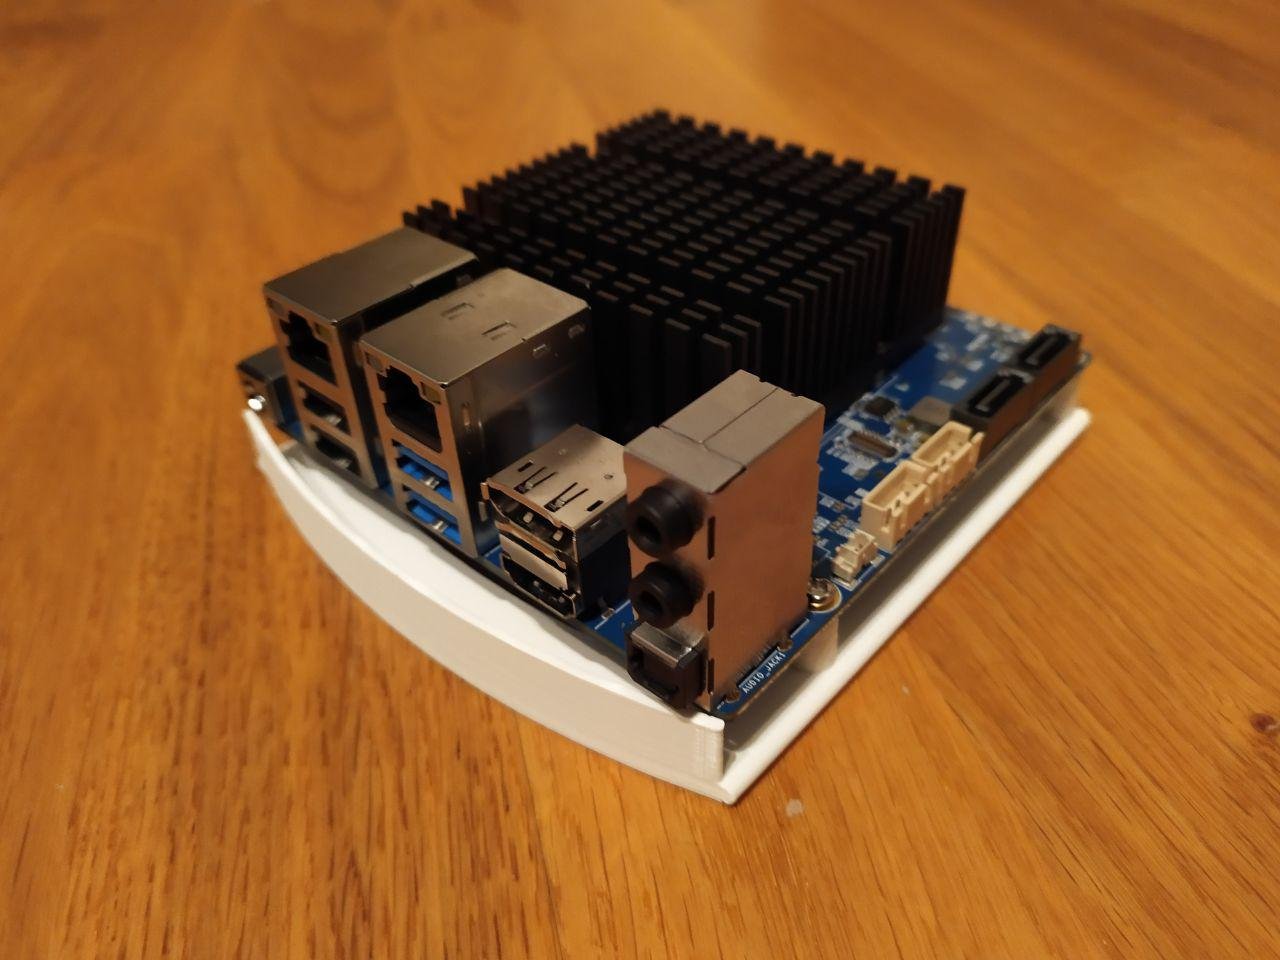
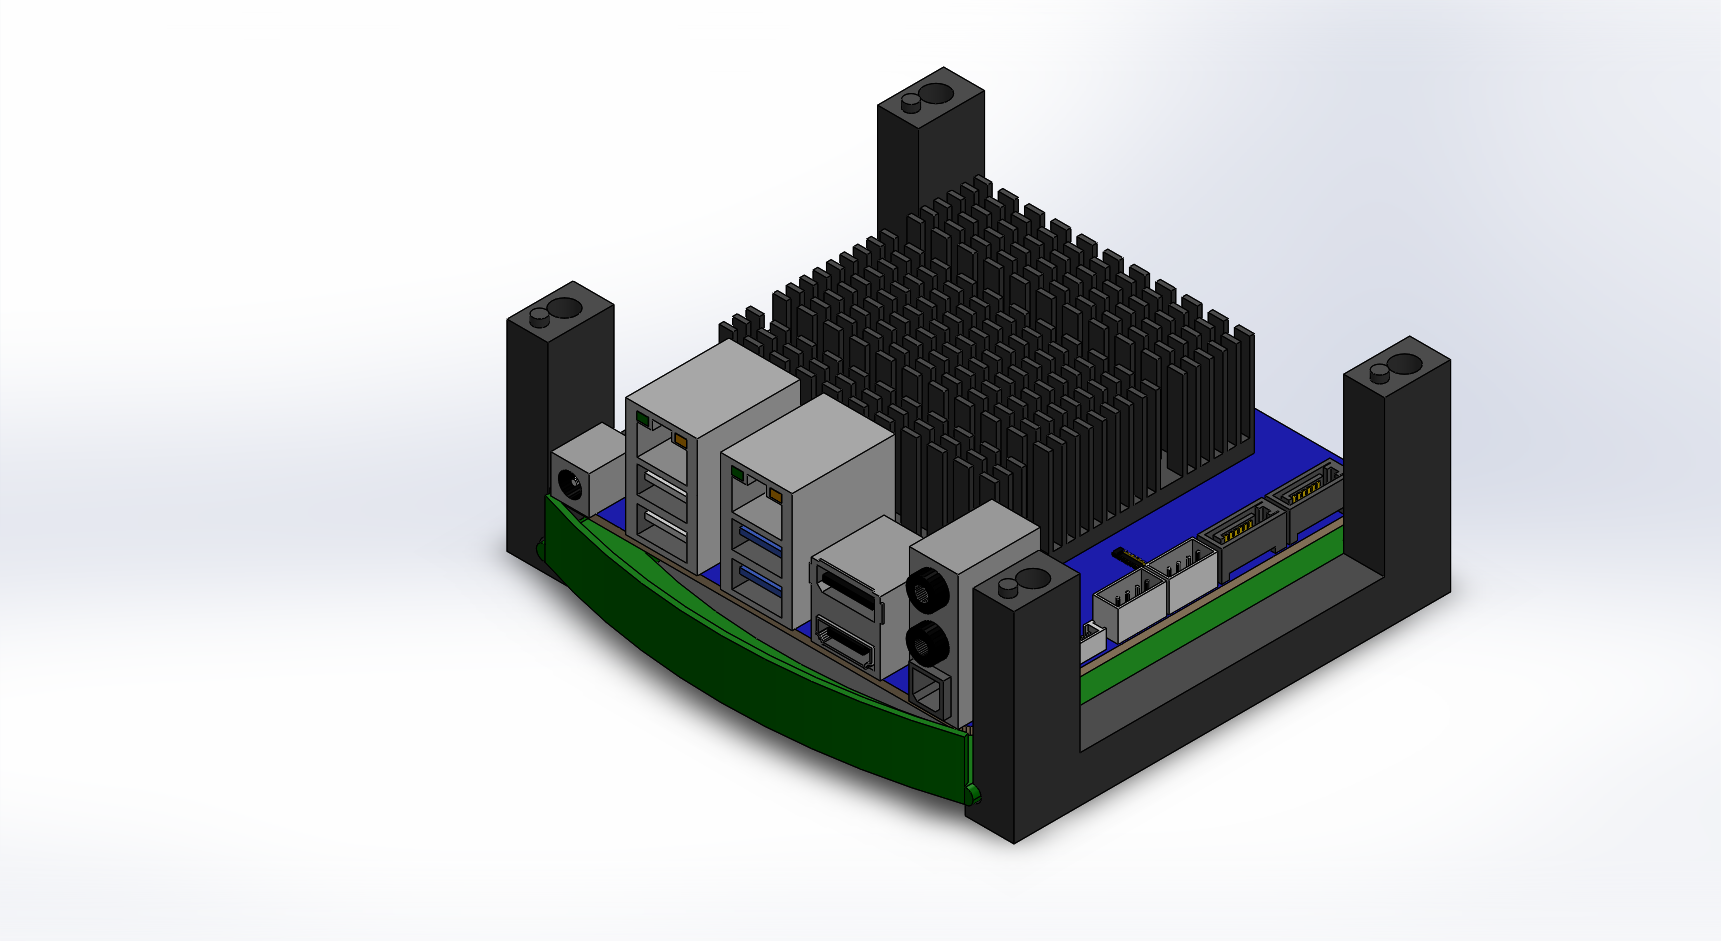
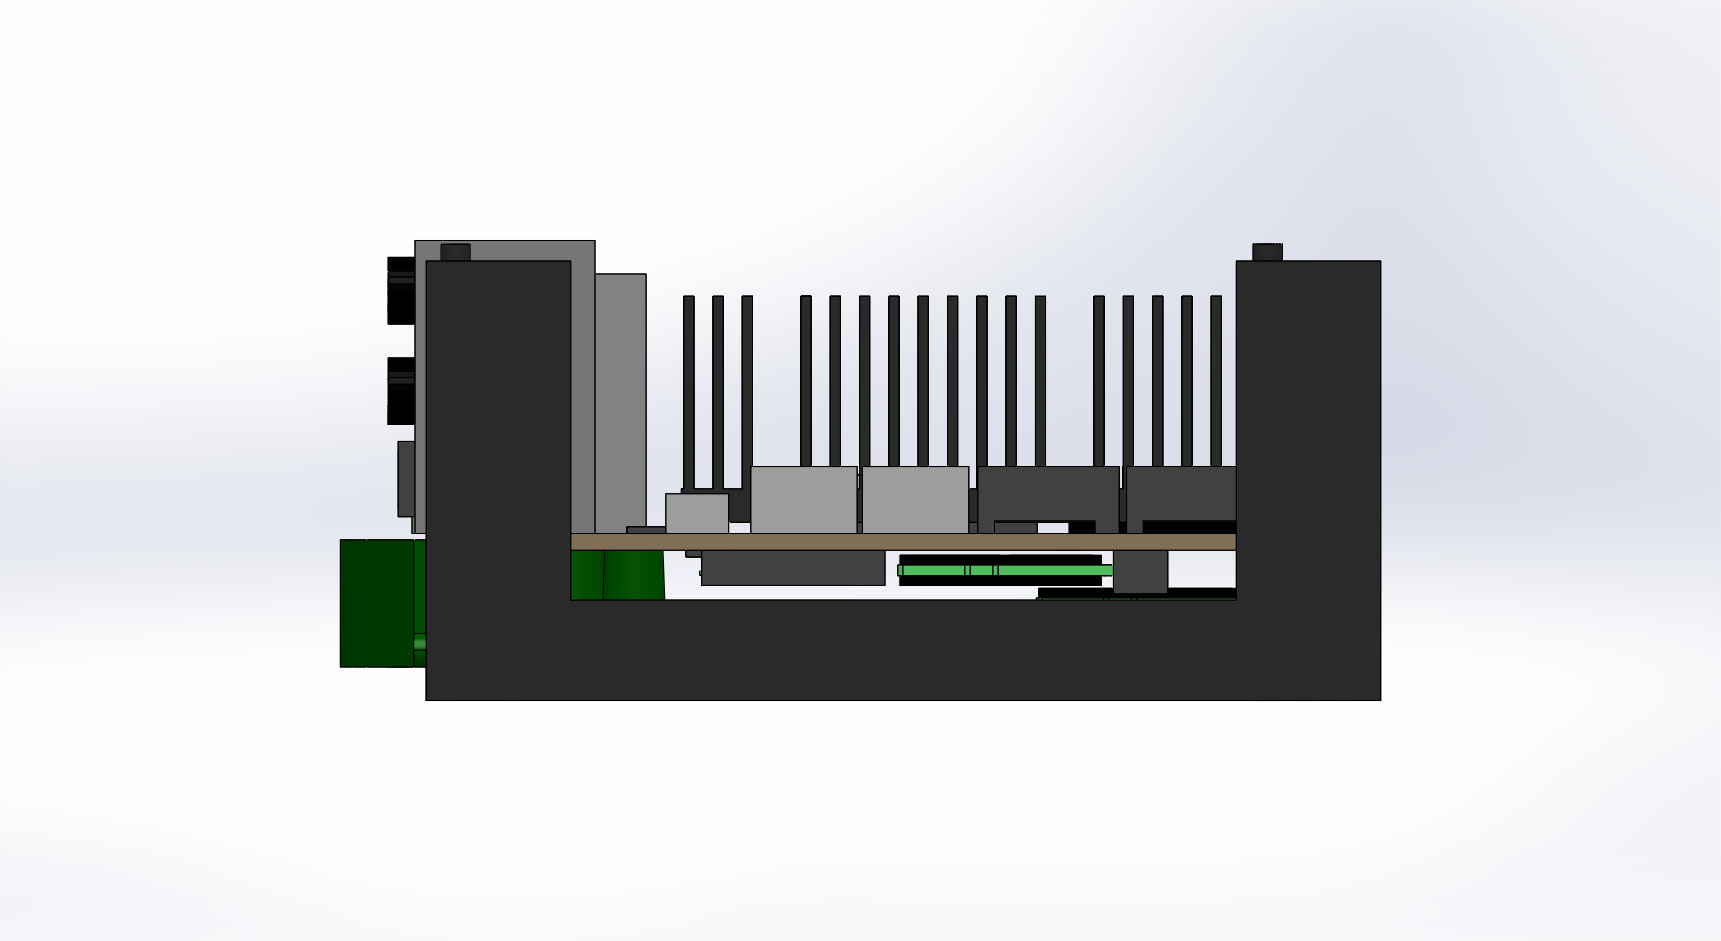
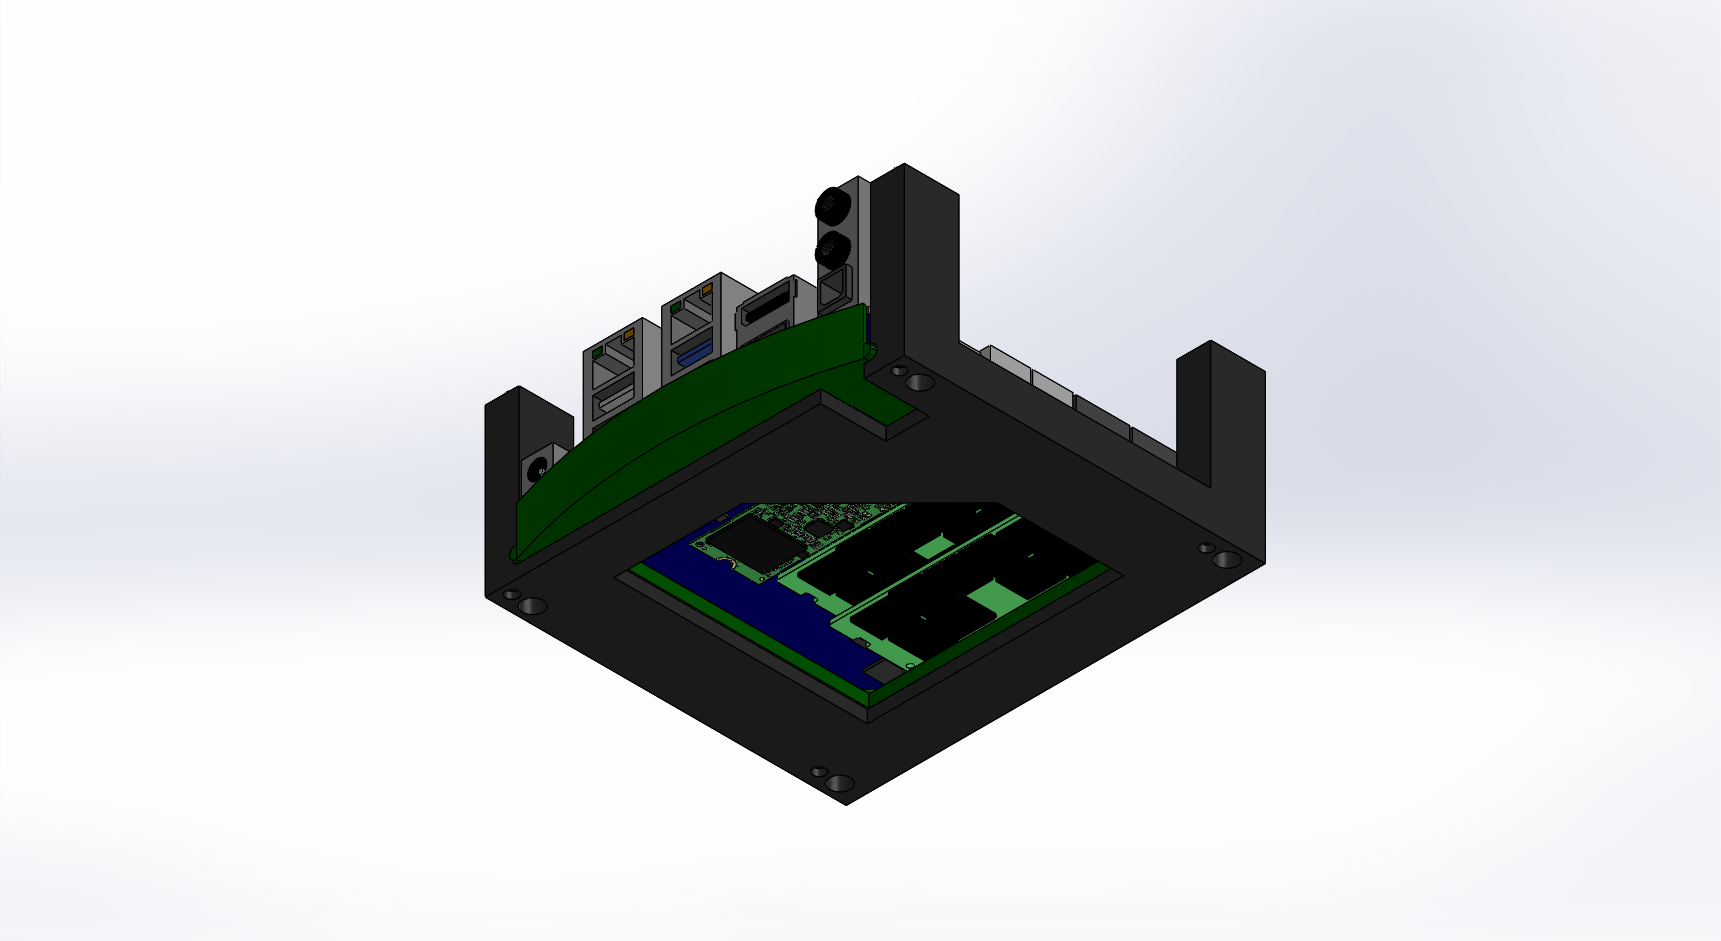
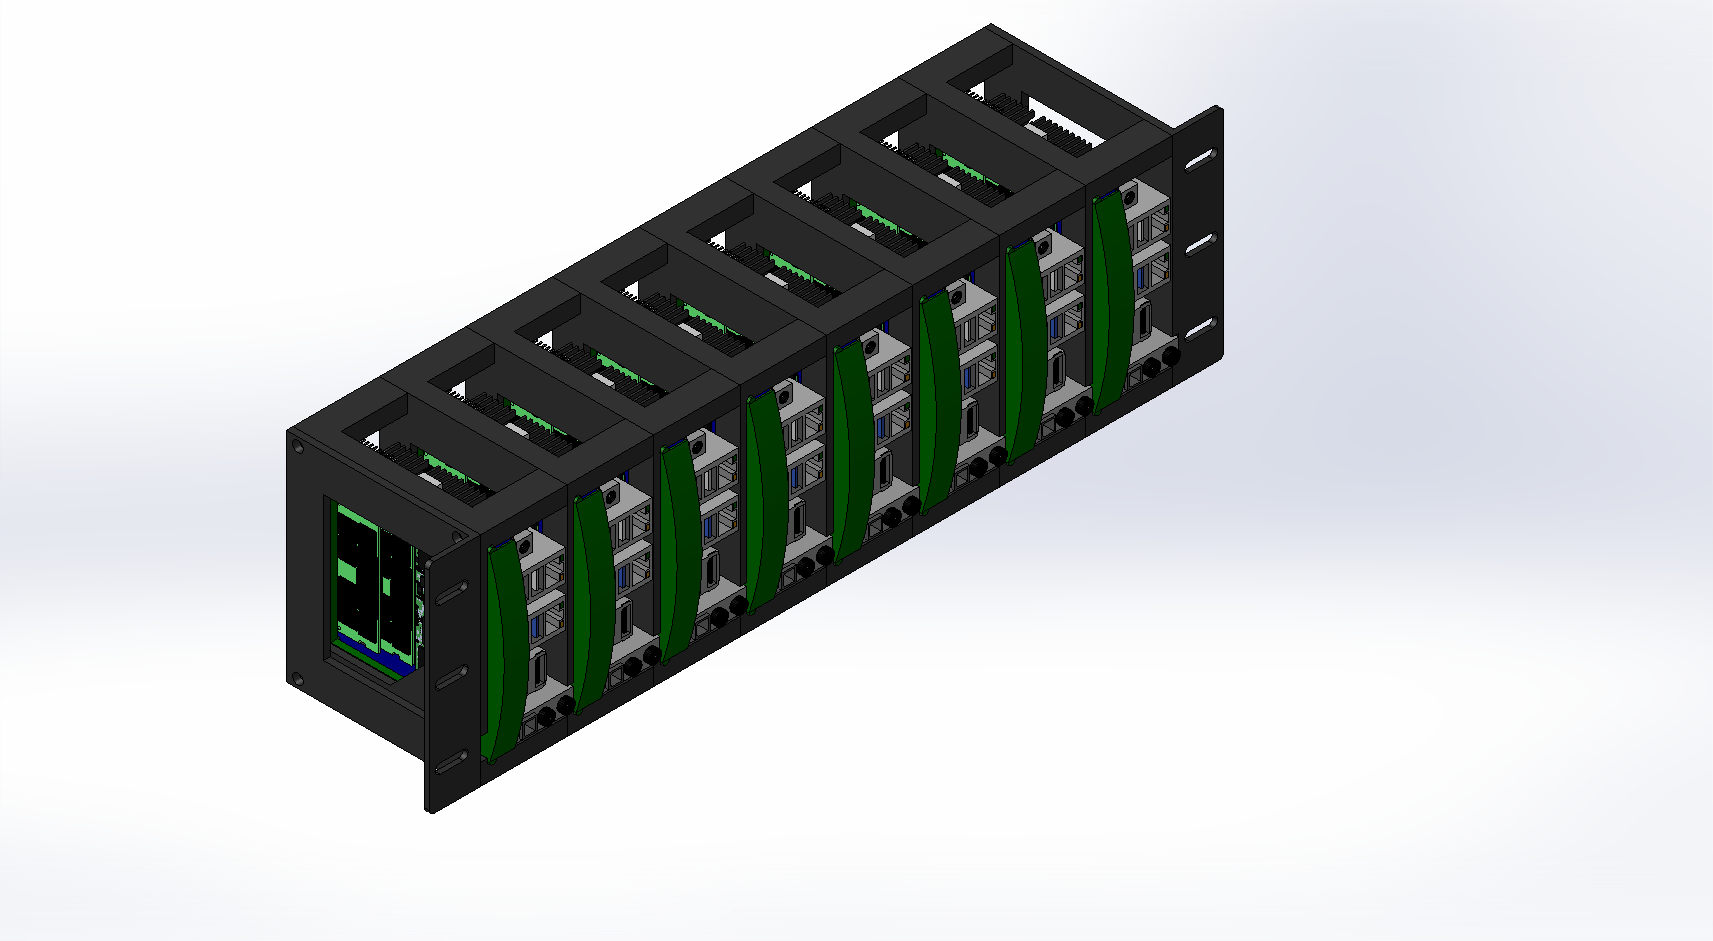
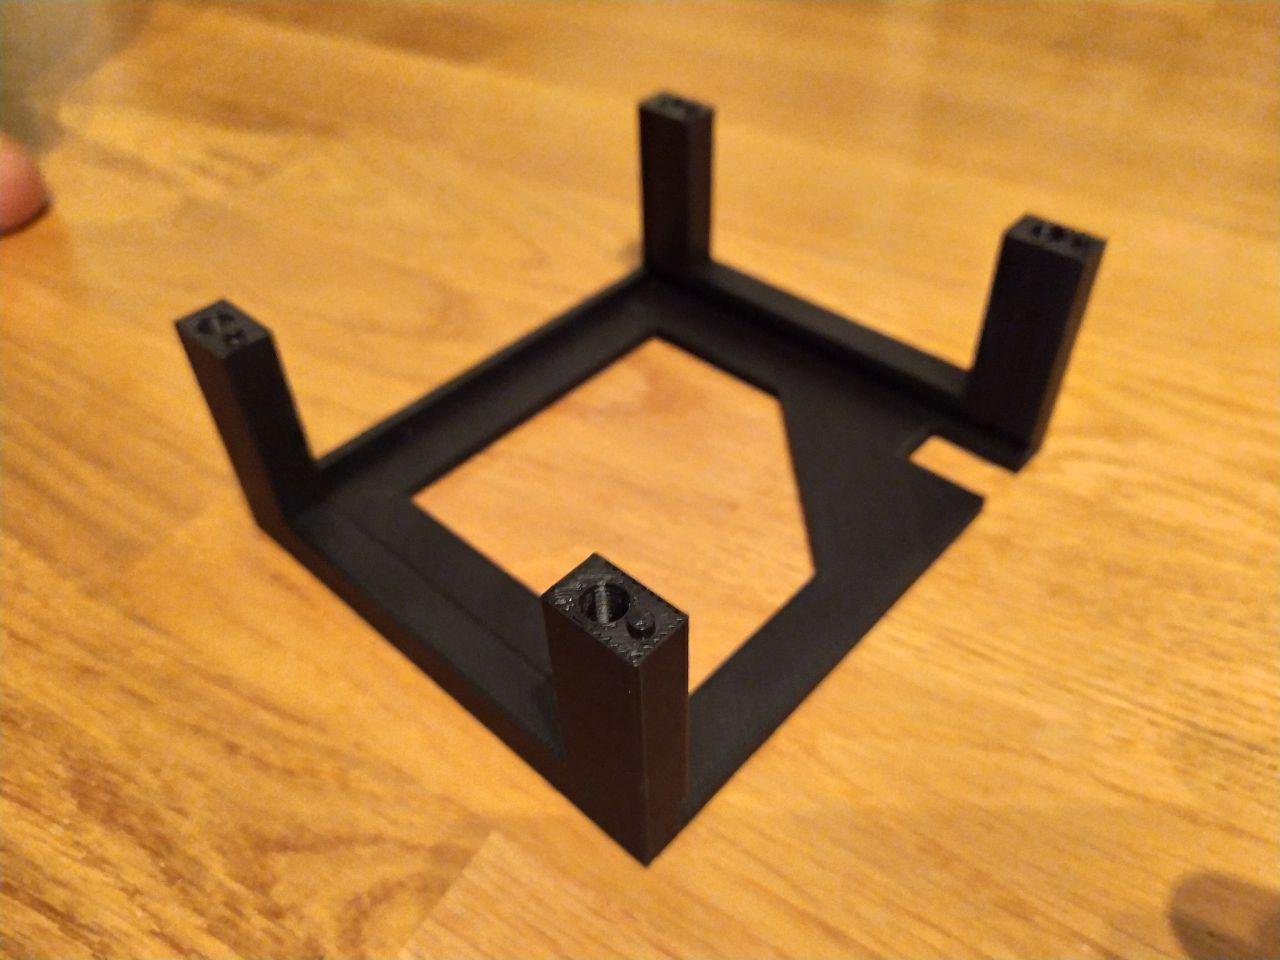
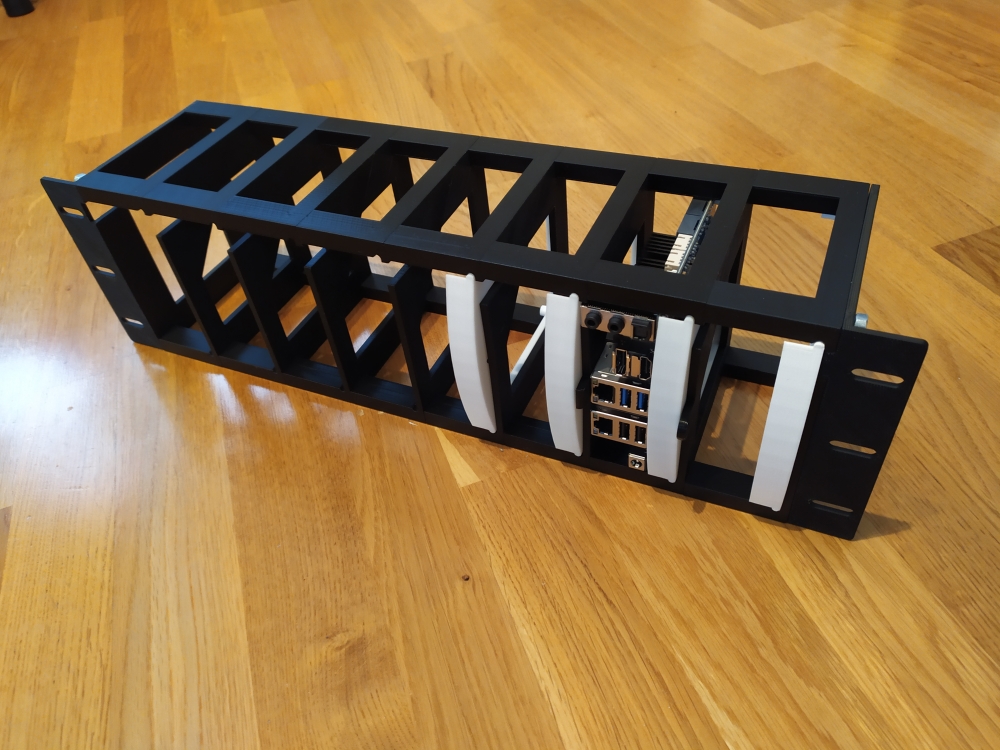
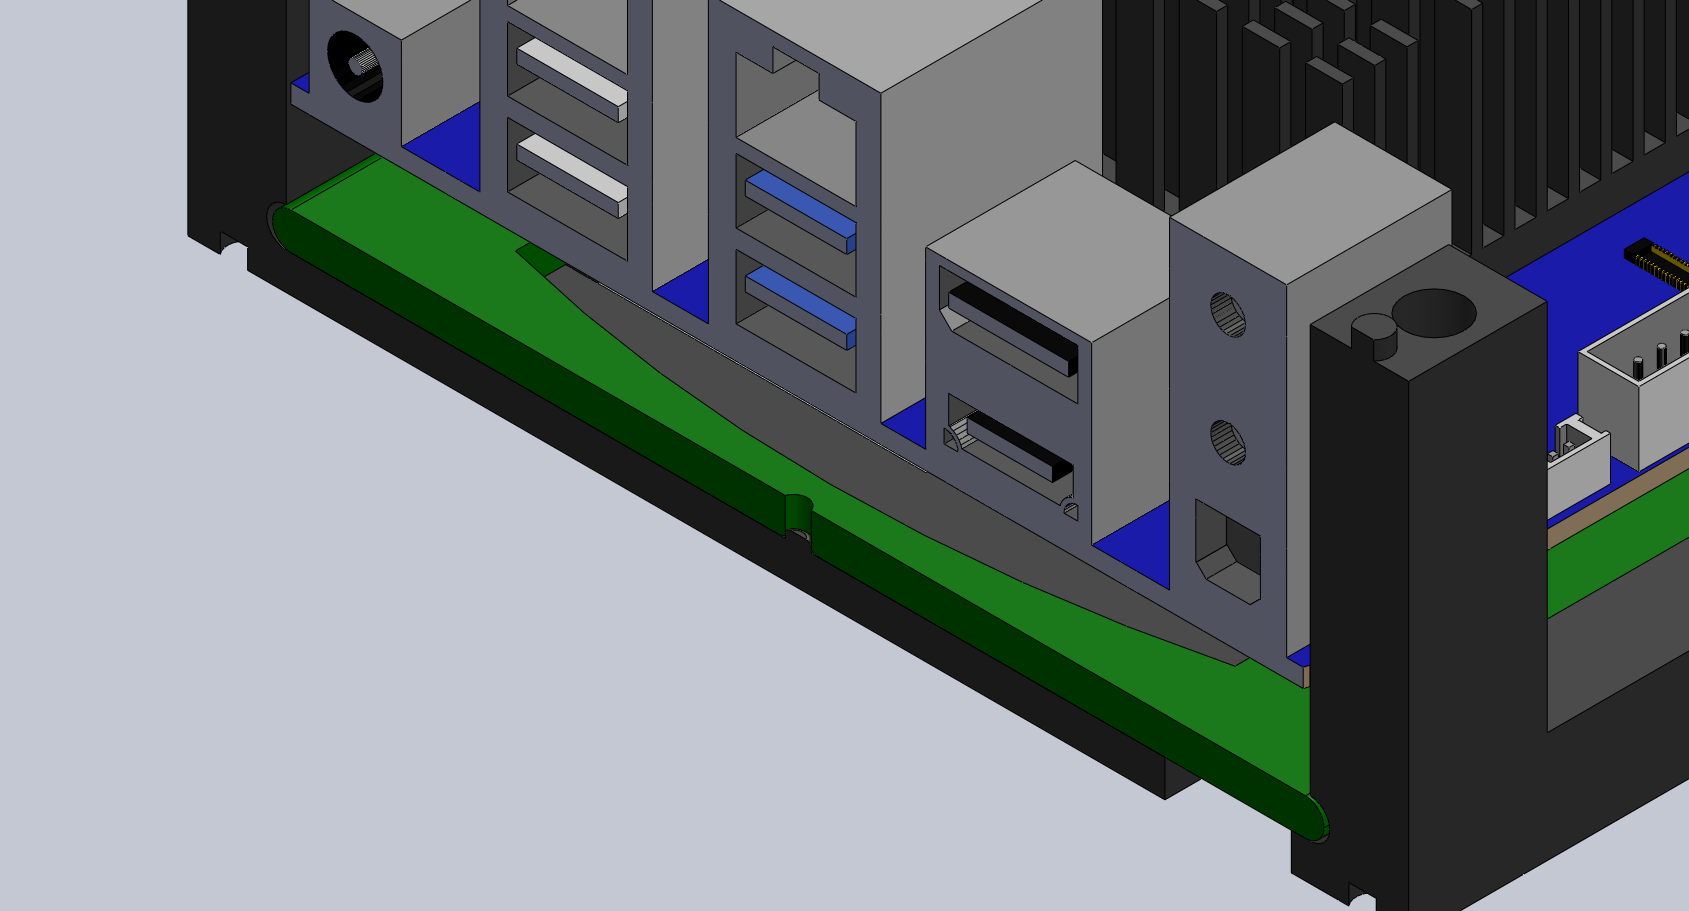
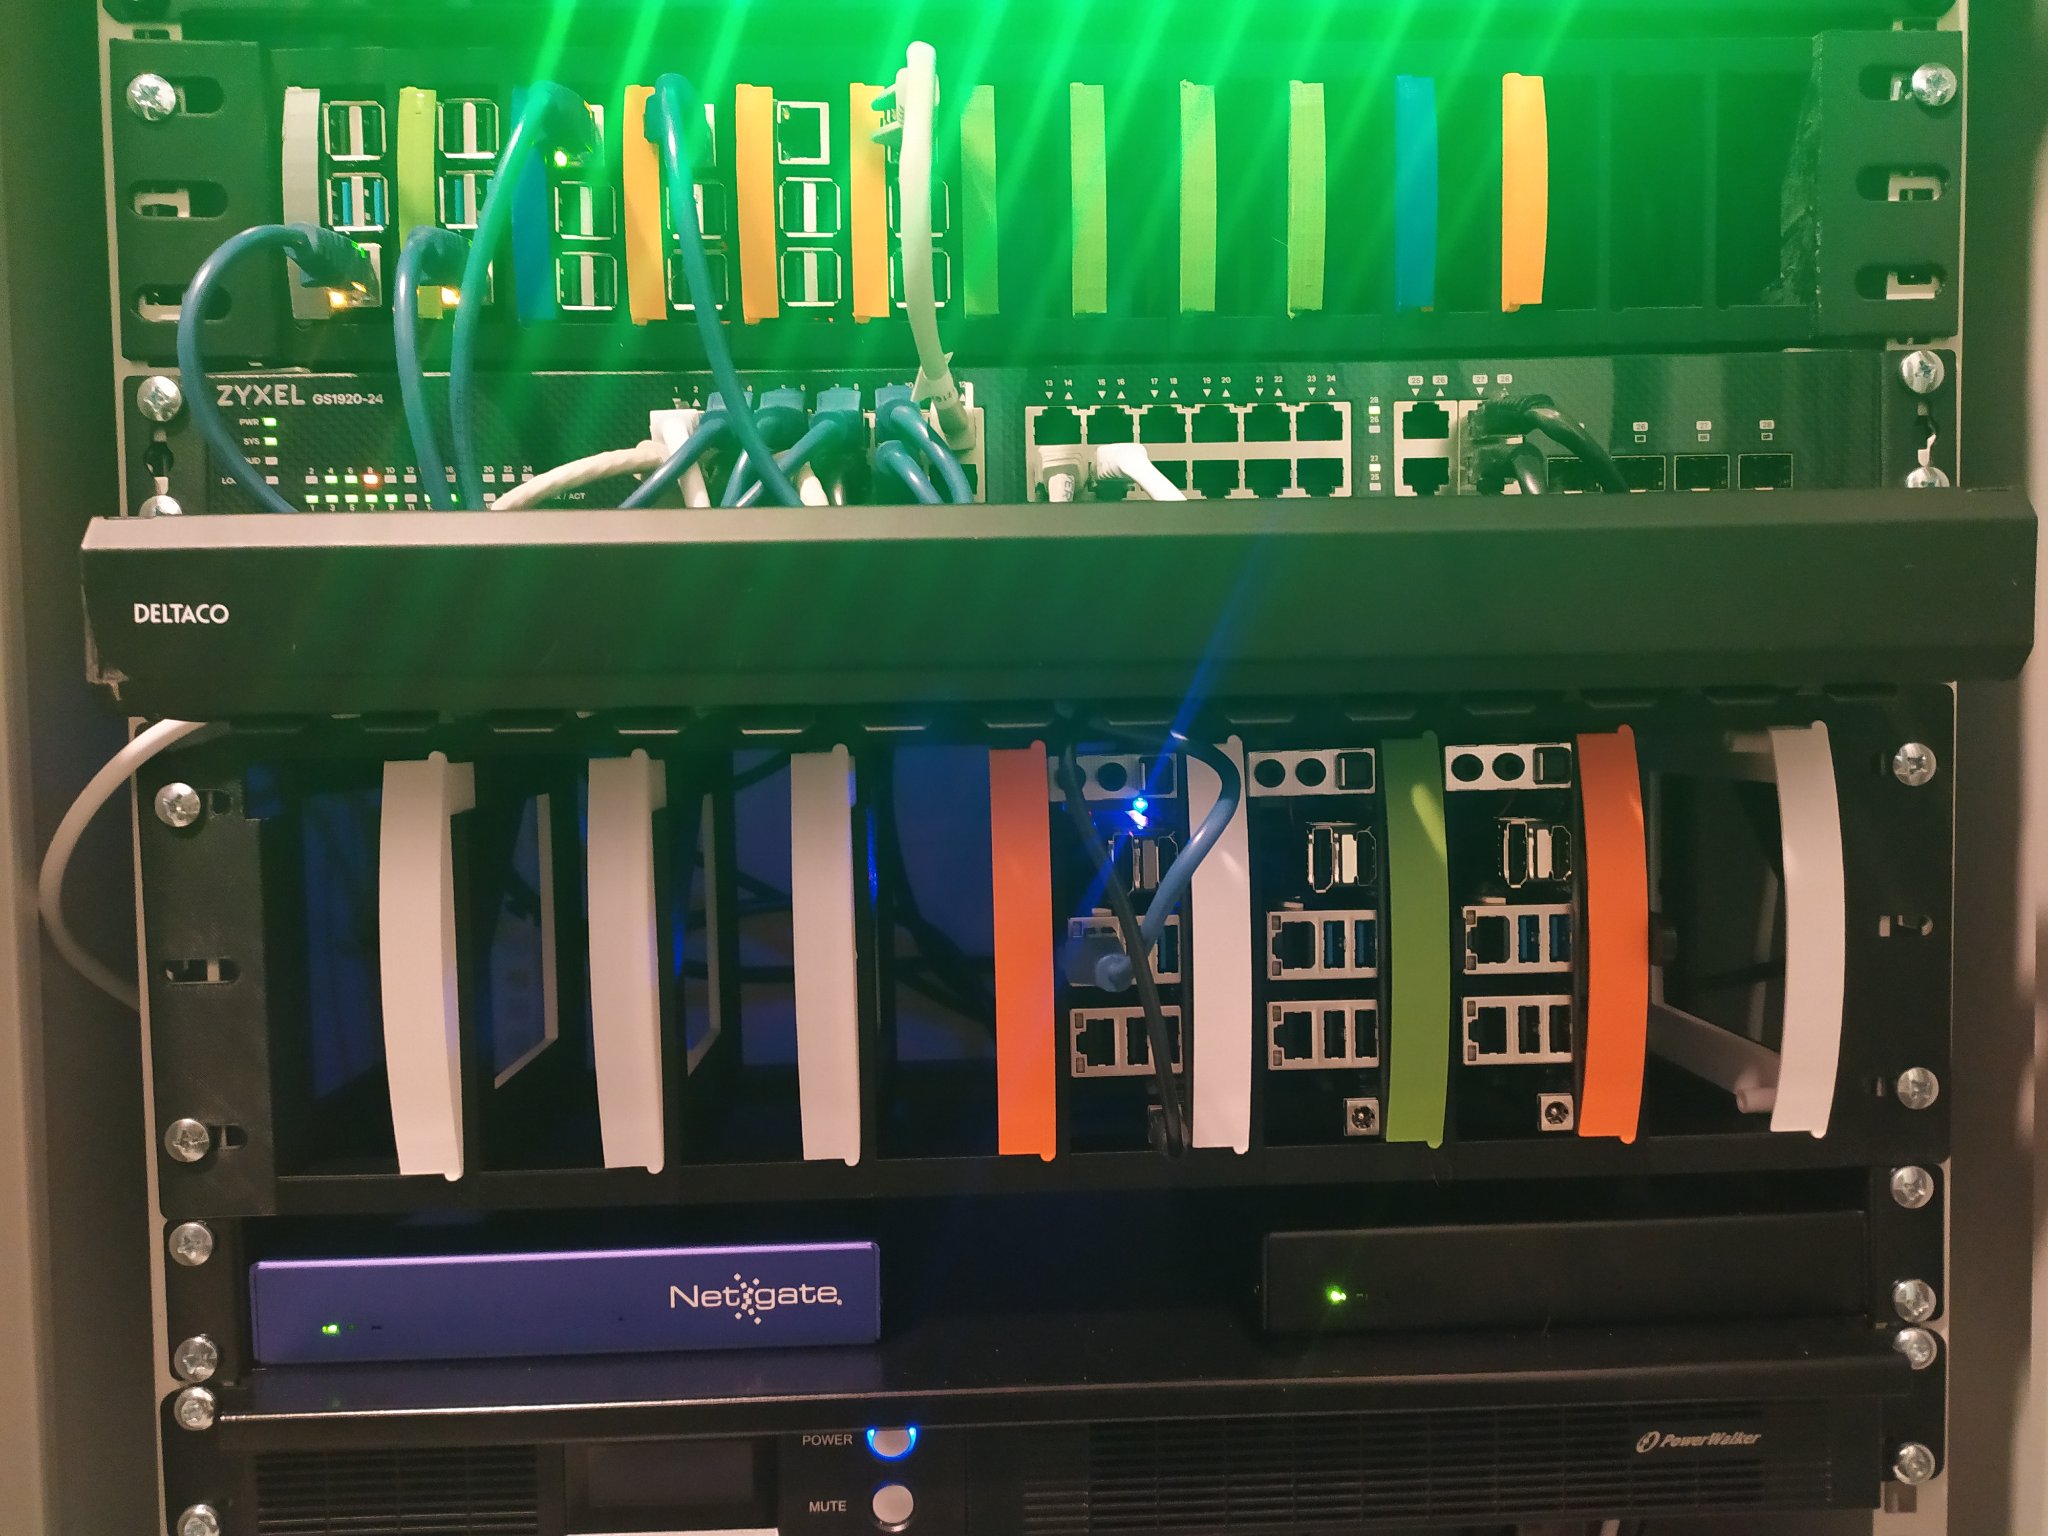
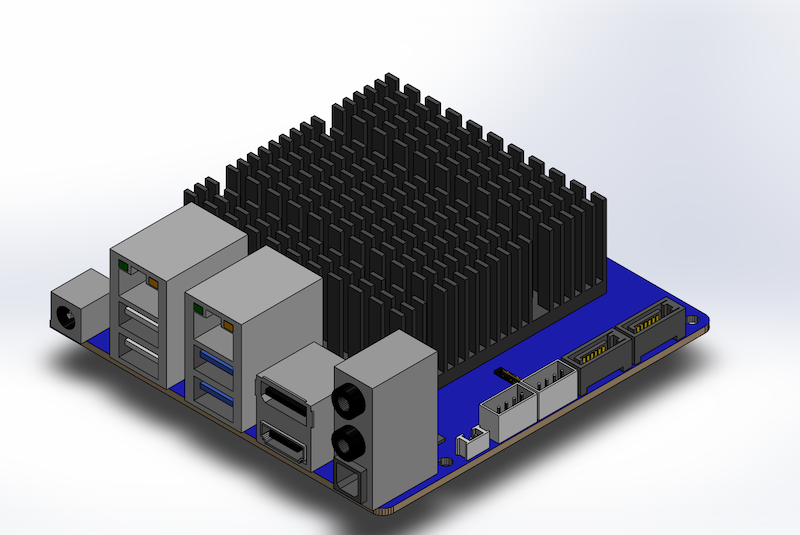
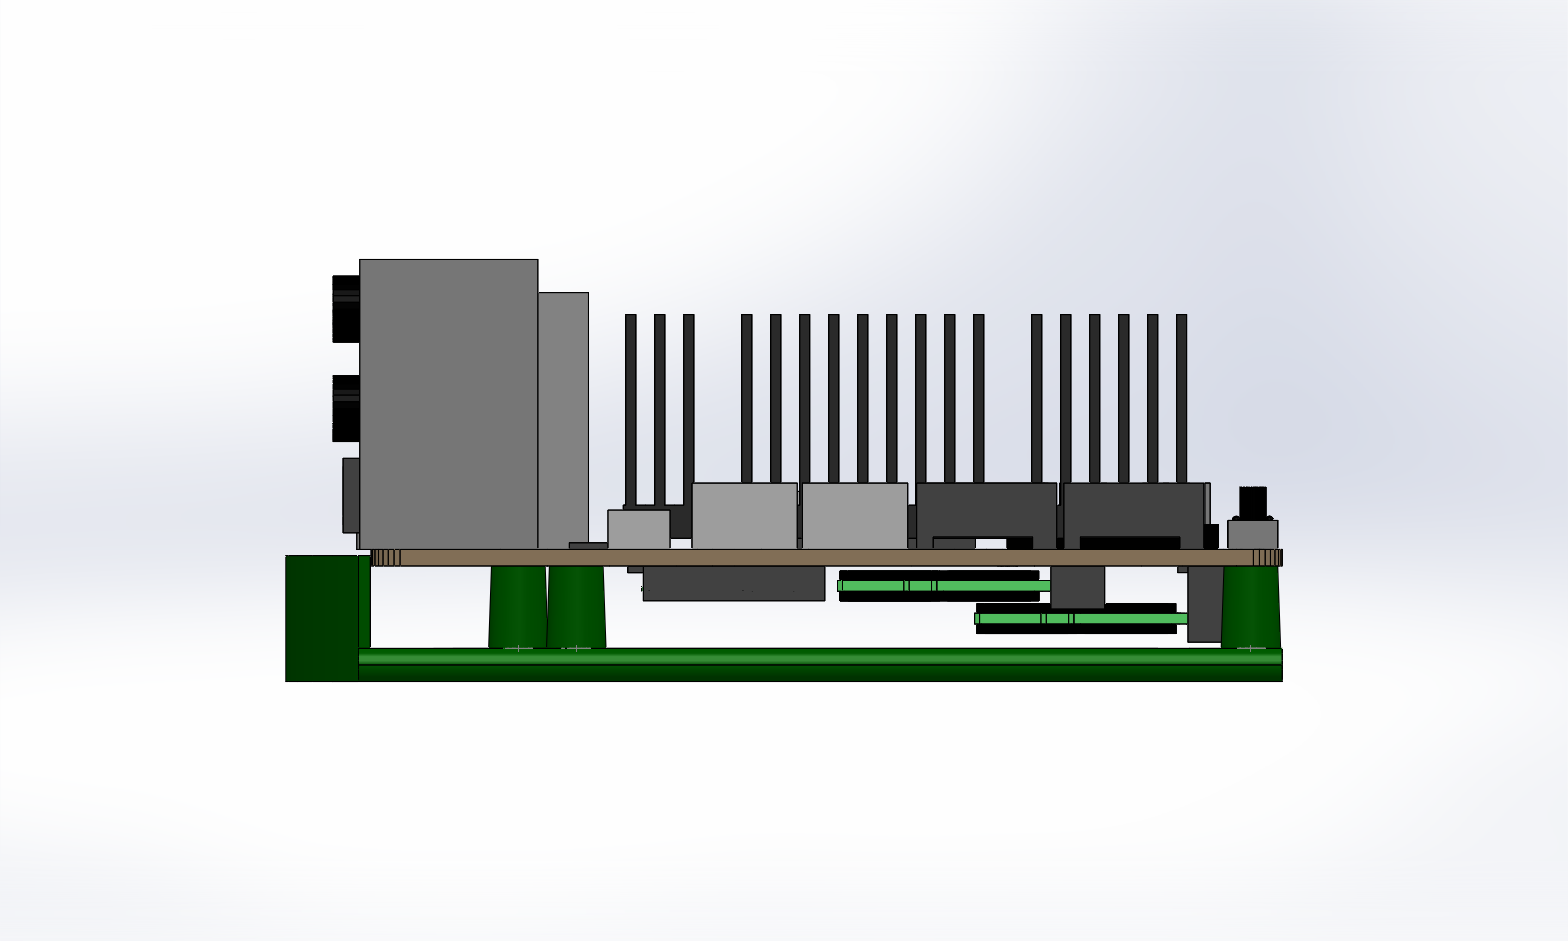 Figure 5 - The design of the caddy