This article will show you how to setup an ODROID with a WiFi access point so that an ODROID’s hard drive can be accessed and modified from another computer. This is primarily aimed at allowing access to images, videos, and log files on the ODROID. The procedure makes use of hostapd, Samba, and DHCP.
After first ensuring the WiFi dongle is plugged into the ODROID, find the name of your WiFi dongle by typing “ifconfig”. Normally this will be “wlan0” or “wlan2”.
Wifi Access Point - Figure 1 - Running the ifconfig command
Check that the WiFi dongle supports “AP” mode:
$ iw list
A large list of information will be displayed. You are looking for a section called “Supported interface modes:” followed by “* AP”. If you cannot find this, these instructions will not work and you should try another dongle.
Supported interface modes:
* IBSS
* Managed
* AP
Use your favorite editor, such as nano or vi, to edit the /etc/network/interfaces file and add an entry for your WiFi dongle. Note that you should replace “wlan2” if your dongle has a different name:
Edit the /etc/hostapd/hostapd.conf file and ensure it looks like below
$ vi /etc/hostapd/hostapd.conf

interface=wlan2 <-- change "wlan2" to name of WiFi dongle found above
driver=nl80211
ssid=MyDrone
hw_mode=g
channel=11
macaddr_acl=0
auth_algs=1
ignore_broadcast_ssid=0
wpa=2
wpa_passphrase=MyDrone12 <-- password for clients to access the WiFi access point
wpa_key_mgmt=WPA-PSK
wpa_pairwise=TKIP
rsn_pairwise=CCMP
Try starting the hostapd application:
$ hostapd /etc/hostapd/hostapd.conf
If this fails, try replacing the /usr/sbin/hostapd and hostapd_cli files with the version found in the downloads area.
You will also need to install the libnl-dev package:
$ apt-get install libnl-dev
To make the hostapd service run whenever the ODROID is started, edit the /etc/init.d/hostapd file and ensure that the line below appears:
$ DAEMON_CONF=/etc/hostapd/hostapd.conf
Setting up Samba
Create the directories that you wish to share:
$ mkdir -p /mydrone
$ mkdir -p /mydrone/images
Edit the samba config file. If it is not present, create a new file:
$ vi /etc/samba/smb.conf

[global]
workgroup = MyDroneGroup
server string = Drone Server
netbios name = mydrone
security = user
map to guest = bad user
dns proxy = no
#===== Share Definitions =====
[images]
path = /mydrone/images
browsable = yes
writable = yes
guest ok = yes
read only = no
This configuration will create an “images” share with no restriction on clients adding or deleting files.
Setting up DHCP
Edit the /etc/dhcp/dhcpd.conf file and ensure it has all of the lines listed below:
$ vi /etc/dhcp/dhcpd.conf

# option definitions common to all supported networks...
option domain-name "mydrone.local";
option domain-name-servers dns.mydrone.local
default-lease-time 600;
max-lease-time 7200;
authoritative;
log-facility local7;
subnet 192.168.100.0 netmask 255.255.255.0 {
  range 192.168.100.100 192.168.100.200;  <-- clients will get IP addresses in this range
}
Add all possible client IP addresses to the /etc/hosts file:
Adding all the client IP address can be accomplished more quickly with the following command:
$ (for i in $(seq 100 200); do echo 192.168.100.$i client$i; done) >> /etc/hosts
Restart the ODROID, and with any luck, an access point will be created, and you will be able to connect as shown in the next section.
Connecting from a Windows PC
To connect from a Windows 8.1 machine, click on the network icon near the clock, and then click on “MyDrone” and “Connect”. After 30 seconds or so it should display a message that reads “The connection is limited” because the ODROID likely does not have access to the Internet. This is okay.
Figure 2 - Connecting to the MyDrone network
Open a File Explorer and type \mydrone into the address bar and the contents of the ODROID images directory should appear.
Figure 3 - Browsing the contents of the ODROID images directory
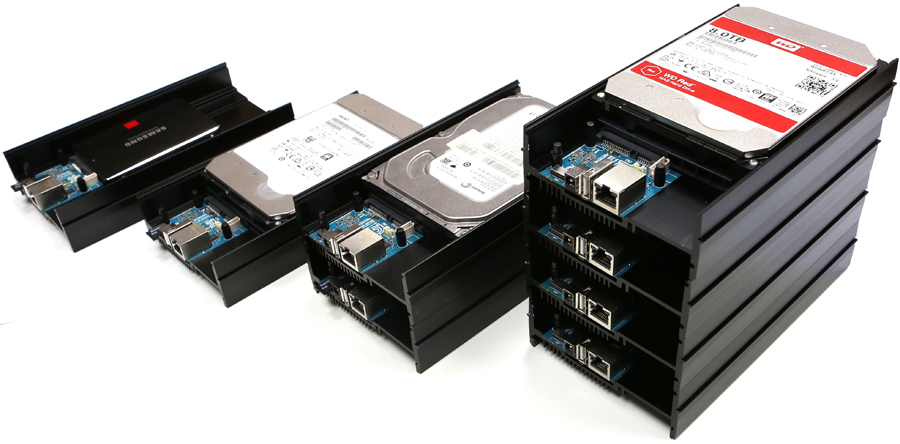
The ODROID-HC2, available for purchase at Hardkernel's Website, is an affordable mini PC and perfect solution for a network attached storage (NAS) server. This home cloud-server centralizes data and enables users to share and stream multimedia files to phones, tablets, and other devices across a network. It is ideal many use cases such as: single users on many devices, sharing between family members, developers or a group. The ODROID-HC2 can be tailor to your specific needs. There is plenty of software available and easy to use with only simple configuration. The first step is to determine the storage capacity of your server. Also, depending on your needs, the frame is made to be stackable, so you can add more HC2 nicely on top of eachother to expand a system.
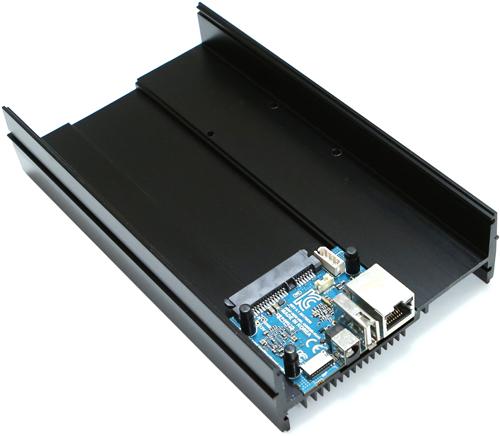
Figure 1 - ODROID-HC2 is the next generation cloud server from Hardkernel
The HC2 is based on the very powerful ODROID-XU4 platform and it can run Samba, FTP, NFS, SSH, NGINX, Apache, SQL, Docker, WordPress, and many other server programs smoothly and full Linux distributions like Ubuntu, Debian, Arch and OMV. Available and ready-to-go OS distributions are available on our WiKi. Any OS for the XU4 is fully compatible with the HC2. https://wiki.odroid.com/odroid-xu4/os_images/os_images.
Configured with a high performance SATA port and a Gigabit Ethernet port, to build a faster network storage device. The engineered metal frame body is designed to store a 2.5 inch HDD/SSD or 3.5inch HDD with amazing heat dissipation.
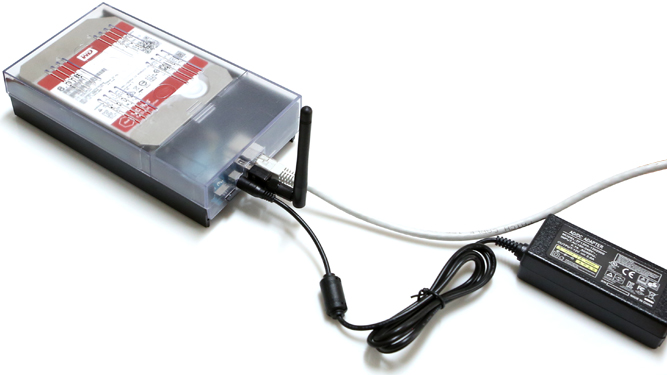
Figure 2 - A typical ODROID-HC2 setup with an 8GB microSD card, 3.5-inch hard drive, 12V/2A power supply, Ethernet cable, and ODROID-HC2 case
Key features
Samsung Exynos 5422 Cortex-A15 2Ghz and Cortex-A7 Octa core CPUs
2Gbyte LPDDR3 RAM PoP stacked
SATA-3 port for 3.5inch or 2.5inch HDD/SSD storage, up to 27mm height
Gigabit Ethernet port
USB 2.0 Host
UHS-1 capable micro-SD card slot for boot media
Approximately 197mm x 115mm x 42mm (aluminum cooling frame)
Linux server OS images based on modern Kernel 4.14 LTS
We guarantee the production of ODROID-HC2 to the middle of 2020, but expect to continue production long after.
CPU and RAM performance
We ran several benchmarks to measure the computing power on the HC2/XU4. The same tests were performed on the Raspberry Pi 3 Model B, ODROID-C1+, ODROID-C2, and ODROID-HC2/XU4.
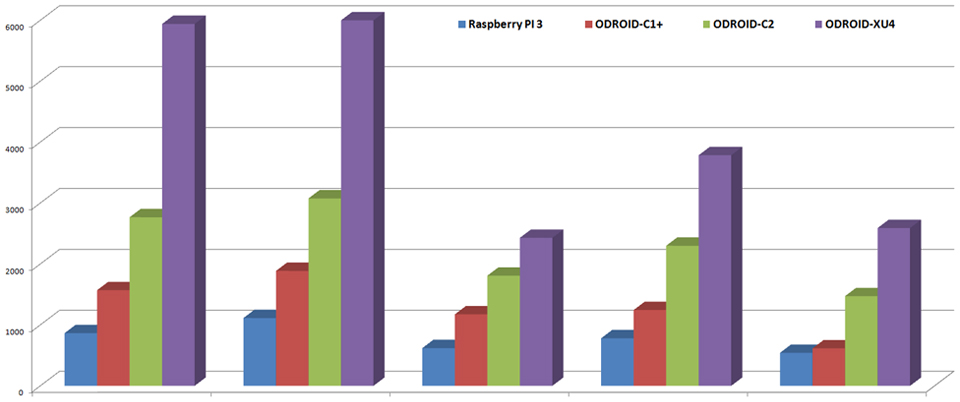
The values of the test results were scaled uniformly for comparison purposes. The computing power of the HC2/XU4 was measured to be about 7 times faster than the latest Raspberry Pi 3 thanks to the 2Ghz Cortex-A15 cores and much higher 64bit-wide memory bandwidth. Using the HC2/XU4 as a computer provides a "professional server like" experience, unlike the sluggish performance of most single-board computers!
Particularly for developers, compiling code on the HC2/XU4 is super fast. The high-performance 2GB DDR3 RAM is an additional advantage allowing most programs to be compiled directly on the HC2/XU4.
Figure 3 - CPU/RAM performance of the ODROID-XU4 vs the ODROID-C1+, ODROID-C2, and Raspberry Pi 3 using the Unixbench: Dhrystone-2, Unixbench: Double-Precision Whetstone (x3), Nbench 2.2.3: Integer (x40), Nbench 2.2.3: Floating-Point (x100), and mbw 100: Memory Bandwidth (MiB/s) benchmarks
Benchmarks (Index Score)
Raspberry Pi 3
ODROID-C1+
ODROID-C2
ODROID-XU4/HC1/HC2
Unixbench: Dhrystone-2
865.4
1571.6
2768.2
5941.4
Unixbench: Double-Precision Whetstone (x3)
1113
1887.3
3076.8
6186.3
Nbench 2.2.3: Integer (x40)
619.92
1173.6
1808.92
2430.52
Nbench 2.2.3: Floating-Point (x100)
781.8
1245.3
2300.3
3787.3
mbw100: Memory Bandwidth (MiB/s)
542.912
616.339
1472.856
2591.461
Ethernet Performance
The HC2/HC1/XU4 has an on-board Gigabit Ethernet controller. Our bi-directional streaming speed was measured at around 910 Mbps. Thanks to the advanced technology of the RTL8153 controller, the HC2's Ethernet controller easily outperforms the connectivity solutions of prior generations. The tests shown in Figure 4 were run using the following commands:
Server mode
$ iperf -s
Client Mode
$ iperf -c [ip address] -P 10 -W 32k
Figure 4 - Ethernet benchmark test results for the ODROID-XU3 and ODROID-XU4
Ethernet performance
XU3 On-board 100Mbps
XU3 External 1Gbps
HC2/XU4 On-board 1Gbps
iperf Server on SBC (Mbit/sec)
114.0
419
915.0
iperf Client on SBC (Mbit/sec)
114.0
625
911.0
Network storage performance
These days, network storage applications like NAS and cloud services are popular. We ran the famous Open Media Vault, or OMV, OS on the HC2 to measure network storage performance.
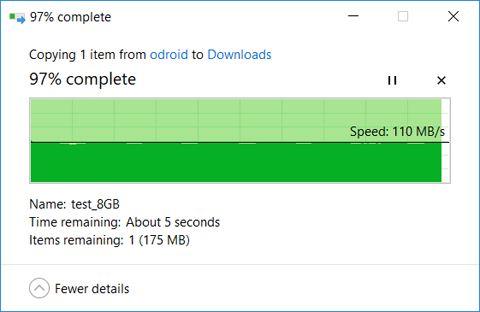
A Western Digital 3.5inch 8TB NAS HDD was connected to the HC2 via SATA port. The Gigabit Ethernet port was connected to a Windows-10 laptop via a simple switching hub.
We copied a big 8GB file from the HC2 to the PC via a Samba connection. This resulted in a download speed of around 110MB/sec. The upload speed was measured at around 95MB/sec. The transfer speed is very close to the high-end commercial NAS product in the market. The ODROID-HC2 is a great solution to make a DIY personal Network Storage Server.
Figure 5 - Test results for copying data to and from the ODROID-HC2 using Samba via Gigabit Ethernet
2Gbyte LPDDR3 RAM PoP (750Mhz, 12GB/s memory bandwidth, 2x32bit bus)
GPU
Mali™-T628 MP6 OpenGL ES 3.1 / 3.0 / 2.0 / 1.1 and OpenCL 1.2 Full profile
HDD / SSD SATA interface
JMicron JMS578 USB 3.0 to SATA Bridge with UAS capability to archive over ~300MB/sec transter speed
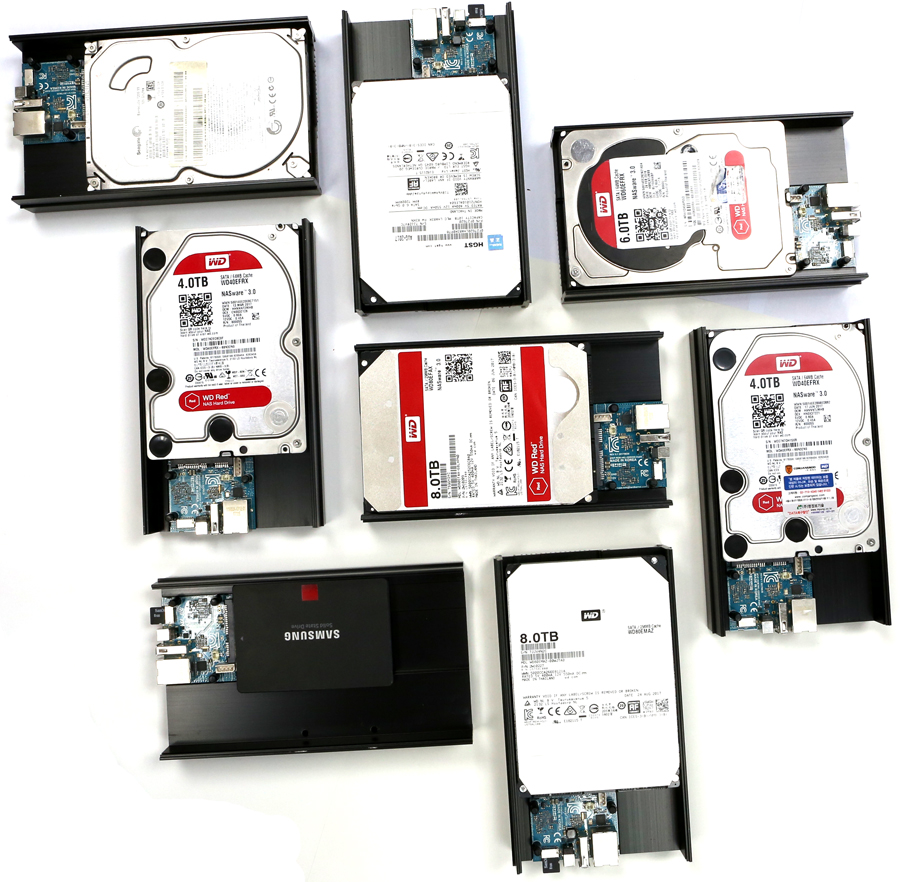
3.5inch or 2.5inch HDD/SSD can be installed. Some HGST/WD HDD mechanical holes are not compatible with HC2.
Micro-SD Slot
UHS-1 compatible micro-SD slot up to 128GB/SDXC
USB2.0 Host
HighSpeed USB standard A type connector x 1 port
LEDs
Power, System-status, SATA-status
Gbit Ethernet LAN
10/100/1000Mbps Ethernet with RJ-45 Jack ( Auto-MDIX support)
Power Input
DC Barrel Jack Socket 5.5/21.mm for 11~13 Volt input (12V/2A Power supply is recommended)
System Software
Ubuntu 16.04 + OpenCL on Linux Kernel 4.14 LTS Debian, DietPi, OMV and other Linux distributions are available too. Full source code is accessible via our Github.
Size
197 x 115 x 42 mm (weight: 361gram)
Figure 6 - The ODROID-HC2 is stackable
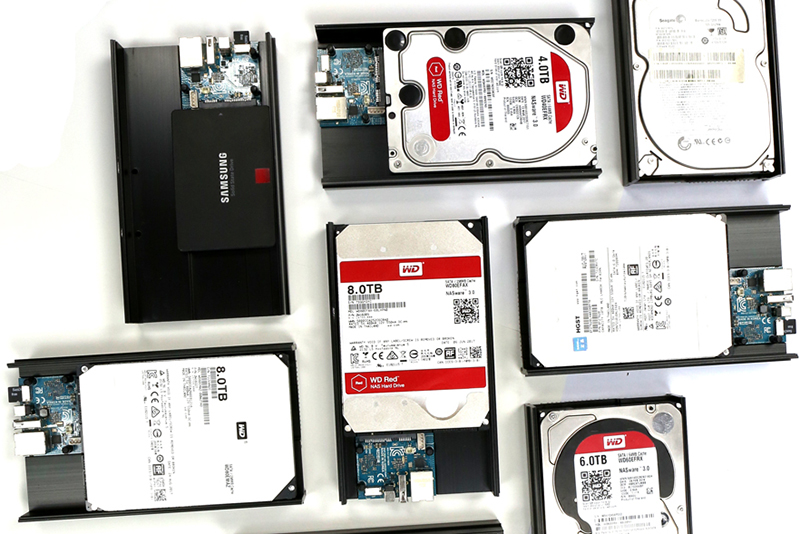
Figure 7 - The ODROID-HC2 was tested with various 3.5inch drives as well as 2.5inch storages
This guide describes the usage of SquashFS. SquashFS (http://goo.gl/WT6Lxf) is a compressed read-only file system for Linux on ODROID-XU4 based system series like the HC1, HC2, MC1 and XU3. RootFS (http://goo.gl/LMVjzS) corruption rate after power failures will be significantly reduced because SquashFS is a very robust file system. Note that a properly working built-in SquashFS is available in Kernel 4.14.5-92 or higher.
Preparation
You need to prepare a bootable microSD card or eMMC module with an Ubuntu minimal image. For instructions on how to write images to a card, refer to the flashing-tools Wiki at http://goo.gl/FNRzAk. This guide assumes use of a microSD card.
Installation
You can install the squashfs-tools on your ODROID-XU4 system. It is the tool for creating squashed file systems.
$ sudo apt install squashfs-tools
Creating squashed root file system image
The following steps are required to create the squashed root file system image:
Removal of the auto-resize script
Editing /etc/rc.local and removing auto-resize feature
Editing /etc/fstab and removing the root mount option
Using mksquashfs for creating read-only root file systems
$ sudo rm /media/ck/rootfs/aafirstboot
 $ sudo cat /media/ck/rootfs/etc/rc.local
 #!/bin/sh -e
 #
 # rc.local
 #
 # This script is executed at the end of each multiuser runlevel.
 # Make sure that the script will "" on success or any other
 # value on error.
 #
 # In order to enable or disable this script just change the execution
 # bits.
 #
 # By default this script does nothing.

if [ -f /aafirstboot ]; then /aafirstboot start ; fi

exit 0

$ sudo nano /media/ck/rootfs/etc/rc.local
 $ sudo cat /media/ck/rootfs/etc/rc.local
 #!/bin/sh -e
 #
 # rc.local
 #
 # This script is executed at the end of each multiuser runlevel.
 # Make sure that the script will "" on success or any other
 # value on error.
 #
 # In order to enable or disable this script just change the execution
 # bits.
 #
 # By default this script does nothing.

exit 0
 $ sudo cat /media/ck/rootfs/etc/fstab
 UUID=e139ce78-9841-40fe-8823-96a304a09859 / ext4 errors=remount-ro,noatime 0 1
 LABEL=boot /media/boot vfat defaults 0 1

$ sudo nano /media/ck/rootfs/etc/fstab
 $ sudo cat /media/ck/rootfs/etc/fstab
 LABEL=boot /media/boot vfat defaults 0 1

$ sudo mksquashfs /media/ck/rootfs/ squash.rootfs
 Parallel mksquashfs: Using 8 processors
 Creating 4.0 filesystem on squash.rootfs, block size 131072.
 [================================================-] 36821/36821 100%
 Exportable Squashfs 4.0 filesystem, gzip compressed, data block size 131072
 compressed data, compressed metadata, compressed fragments, compressed xattrs
 duplicates are removed
 Filesystem size 423720.81 Kbytes (413.79 Mbytes)
 42.27% of uncompressed filesystem size (1002435.26 Kbytes)
 Inode table size 464688 bytes (453.80 Kbytes)
 28.95% of uncompressed inode table size (1604883 bytes)
 Directory table size 433806 bytes (423.64 Kbytes)
 39.67% of uncompressed directory table size (1093654 bytes)
 Xattr table size 48 bytes (0.05 Kbytes)
 40.00% of uncompressed xattr table size (120 bytes)
 Number of duplicate files found 2340
 Number of inodes 45340
 Number of files 31162
 Number of fragments 1912
 Number of symbolic links 10373
 Number of device nodes 79
 Number of fifo nodes 0
 Number of socket nodes 0
 Number of directories 3726
 Number of ids (unique uids + gids) 22
 Number of uids 6
 root (0)
 man (6)
 dnsmasq (104)
 rtkit (107)
 libuuid (100)
 avahi-autoipd (105)
 Number of gids 18
 root (0)
 video (44)
 audio (29)
 tty (5)
 kmem (15)
 disk (6)
 dip (30)
 shadow (42)
 utmp (43)
 messagebus (106)
 ssh (111)
 mlocate (110)
 staff (50)
 avahi-autoipd (113)
 netdev (102)
 adm (4)
 scanner (109)
 mail (8)
Squashed file systems on microSD card
If everything went fine, unmount /dev/sdc2 (if needed) and use dd to copy squash.rootfs to /dev/sdc2:
Unmount all microSD partitions
Use dd to copy squash.rootfs file to microSD partition #2
Reconnect the microSD card and check the mount
$ mount
 /dev/sdc2 on /media/ck/rootfs type ext4 (rw,nosuid,nodev,uhelper=udisks2)
 /dev/sdc1 on /media/ck/boot type vfat (rw,nosuid,nodev,uid=1000,gid=1000,shortname=mixed,dmask=0077,utf8=1,showexec,flush,uhelper=udisks2)
 $ sudo umount /dev/sdc?
 $ sudo dd if=./squash.rootfs of=/dev/sdc2
 $ sync
 $ mount

/dev/sdc2 on /media/ck/disk type squashfs (ro,nosuid,nodev,uhelper=udisks2)
 /dev/sdc1 on /media/ck/boot type vfat (rw,nosuid,nodev,uid=1000,gid=1000,shortname=mixed,dmask=0077,utf8=1,showexec,flush,uhelper=udisks2)
Modifying rootfs mount options in the boot.ini file
You can find the UUID of the ext4 partition in the “root=” option in the boot.ini file:
/media/ck/boot/boot.ini
 #------------------------------------------------------------------------------------------------------
 # Basic Ubuntu Setup. Don't touch unless you know what you are doing.
 # --------------------------------
 setenv bootrootfs "console=tty1 console=ttySAC2,115200n8 root=UUID=e139ce78-9841-40fe-8823-96a304a09859 rootwait ro fsck.repair=yes net.ifnames=0"
 Find the bootrootfs environment and change the rootfs options as follows:
 This HOWTO using a microSD card. If you are using an eMMC module, you can use root=mmcblk0p2
 #------------------------------------------------------------------------------------------------------
 # Basic Ubuntu Setup. Don't touch unless you know what you are doing.
 # --------------------------------
 setenv bootrootfs "console=tty1 console=ttySAC2,115200n8 root=/dev/mmcblk1p2 rootfstype=squashfs rootwait ro net.ifnames=0"
 $ nano /media/ck/boot/boot.ini
 $ cat /media/ckkim/boot/boot.ini | grep bootrootfs
 setenv bootrootfs "console=tty1 console=ttySAC2,115200n8 root=/dev/mmcblk1p2 rootfstype=squashfs rootwait ro net.ifnames=0"
 setenv bootargs "${bootrootfs} ${videoconfig} ${hdmi_phy_control} ${hid_quirks} smsc95xx.macaddr=${macaddr} ${external_watchdog} governor=${governor}"
Now just ensure that everything works fine. Do not forget to set the boot mode switch to microSD card. The odroid login is “root” with a password of “odroid”.
# mount
 sysfs on /sys type sysfs (rw,nosuid,nodev,noexec,relatime)
 proc on /proc type proc (rw,nosuid,nodev,noexec,relatime)
 udev on /dev type devtmpfs (rw,nosuid,relatime,size=952168k,nr_inodes=186804,mode=755)
 devpts on /dev/pts type devpts (rw,nosuid,noexec,relatime,gid=5,mode=620,ptmxmode=000)
 tmpfs on /run type tmpfs (rw,nosuid,noexec,relatime,size=204240k,mode=755)
 /dev/mmcblk1p2 on / type squashfs (ro,relatime)
 securityfs on /sys/kernel/security type securityfs (rw,nosuid,nodev,noexec,relatime)
 tmpfs on /dev/shm type tmpfs (rw,nosuid,nodev)
 tmpfs on /run/lock type tmpfs (rw,nosuid,nodev,noexec,relatime,size=5120k)
 tmpfs on /sys/fs/cgroup type tmpfs (ro,nosuid,nodev,noexec,mode=755)
 cgroup on /sys/fs/cgroup/systemd type cgroup (rw,nosuid,nodev,noexec,relatime,xattr,release_agent=/lib/systemd/systemd-cgroups-agent,name=systemd)
 cgroup on /sys/fs/cgroup/cpu,cpuacct type cgroup (rw,nosuid,nodev,noexec,relatime,cpu,cpuacct)
 cgroup on /sys/fs/cgroup/rdma type cgroup (rw,nosuid,nodev,noexec,relatime,rdma)
 cgroup on /sys/fs/cgroup/net_cls,net_prio type cgroup (rw,nosuid,nodev,noexec,relatime,net_cls,net_prio)
 cgroup on /sys/fs/cgroup/freezer type cgroup (rw,nosuid,nodev,noexec,relatime,freezer)
 cgroup on /sys/fs/cgroup/cpuset type cgroup (rw,nosuid,nodev,noexec,relatime,cpuset)
 cgroup on /sys/fs/cgroup/devices type cgroup (rw,nosuid,nodev,noexec,relatime,devices)
 cgroup on /sys/fs/cgroup/perf_event type cgroup (rw,nosuid,nodev,noexec,relatime,perf_event)
 cgroup on /sys/fs/cgroup/blkio type cgroup (rw,nosuid,nodev,noexec,relatime,blkio)
 cgroup on /sys/fs/cgroup/memory type cgroup (rw,nosuid,nodev,noexec,relatime,memory)
 systemd-1 on /proc/sys/fs/binfmt_misc type autofs (rw,relatime,fd=27,pgrp=1,timeout=0,minproto=5,maxproto=5,direct)
 mqueue on /dev/mqueue type mqueue (rw,relatime)
 debugfs on /sys/kernel/debug type debugfs (rw,relatime)
 configfs on /sys/kernel/config type configfs (rw,relatime)
 /dev/mmcblk1p1 on /media/boot type vfat (rw,relatime,fmask=0022,dmask=0022,codepage=437,iocharset=iso8859-1,shortname=mixed,utf8,errors=remount-ro)
 tmpfs on /run/user/0 type tmpfs (rw,nosuid,nodev,relatime,size=204240k,mode=700)
Example: Make the /home writable.
Create a new ext4 partition on the microSD card
Unpack squashfs-root
Make new /media/data directory
Edit /etc/fstab to mount ext4 data partition rw
Add/modify as per your taste then recreate squash.rootfs
Copy the newly created squash.rootfs over the existing one on microSD card
Reboot and use the microSD card containing the new image.
# mount | grep mmc
 /dev/mmcblk1p2 on / type squashfs (ro,relatime)
 /dev/mmcblk1p1 on /media/boot type vfat (rw,relatime,fmask=0022,dmask=0022,codepage=437,iocharset=iso8859-1,shortname=mixed,utf8,errors=remount-ro)
 /dev/mmcblk1p3 on /media/data type ext4 (rw,relatime,data=ordered)
For example, the overlayfs (http://goo.gl/1UGThG) enabled as a module in the 4.14.y kernel can be used. Use overlayfs to make /home writable.
# modprobe overlay
 # lsmod
 Module Size Used by
 overlay 65536 0
 joydev 20480 0
 spidev 20480 0
 spi_s3c64xx 20480 0
 exynos_gpiomem 16384 0
 ipv6 380928 28
 # mkdir -p /media/data/home
 # mkdir -p /media/data/home/upper
 # mkdir -p /media/data/home/work
 # mount -t overlay -o lowerdir=/home,upperdir=/media/data/home/upper,workdir=/media/data/home/work overlay /home
 # mount
 ...
 overlay on /home type overlay (rw,relatime,lowerdir=/home,upperdir=/media/data/home/upper,workdir=/media/data/home/work)
 # cd /home
 # touch file1
 # ls
 file1
For comments, questions and suggestions, please visit the SquashFS Wiki article at http://goo.gl/Xw2epe.
PiFace: Control and Display 2
February 1, 2018By @XanderODROID-C2, Tinkering, Tutorial
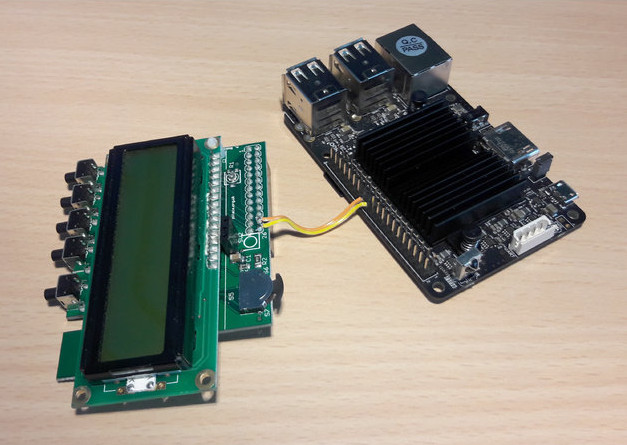
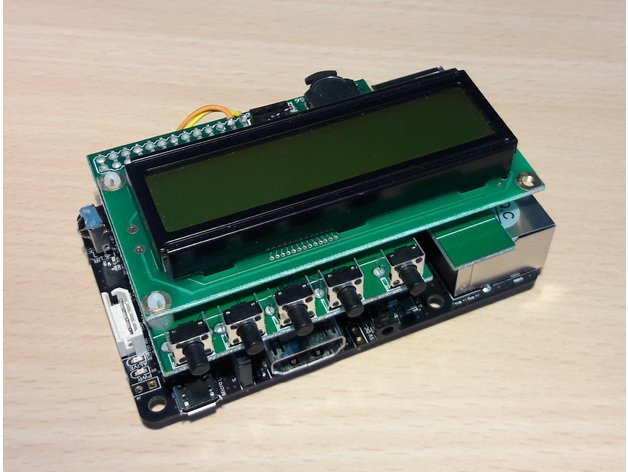
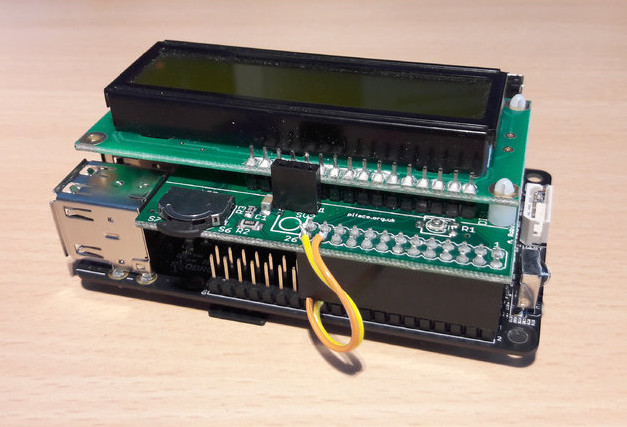
For those who have the PiFace Control and Display 2 (https://goo.gl/VeBNJw), and want to make it compatible with the ODROID-C2, you have to do some hardware modifications. The modification will help make it functional with the bitbang driver, since the Pifacecad2 needs to switch pins CE0 and CE1.
First, desolder pin number 24 and 26 from the ODROID. Next, solder two wires from the ODROID’s pin 24 and 26 on the Pifacecad and cross them, as shown in Figure 1.
Figure 1 - Connecting the pins using two wires
Figure 2 - Another view of the assembled PiFace and ODROID-C2
Figure 3 - The PiFace mounted on top of the ODROID-C2
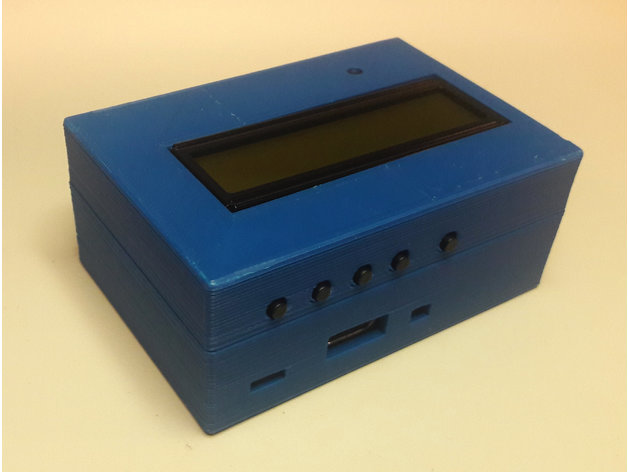
Figure 4 - A custom 3D-printed case for the PiFace
I've designed a case for a 3D printer, which is available to download from: https://www.thingiverse.com/thing:2750165.
Software
Using the Debian Odroid-Jessie64 OS, install the Pifacecad library with the following commands:
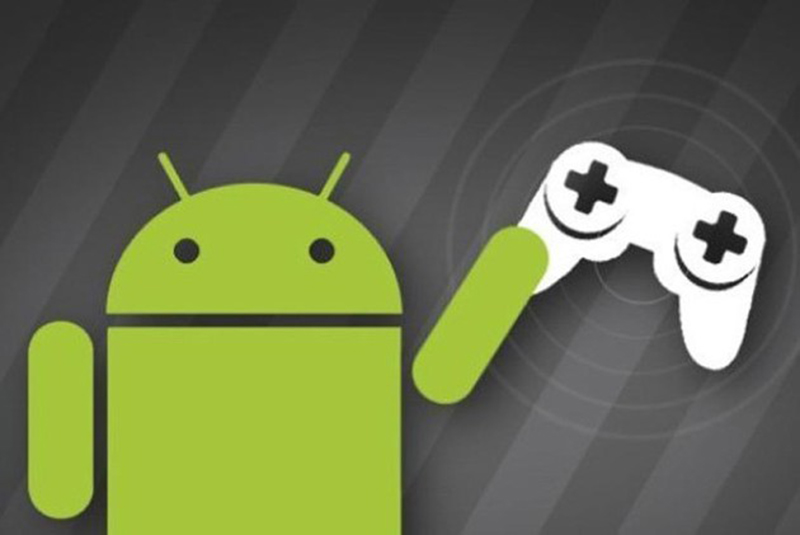
Android Gaming: Data Wing, Space Frontier, and Retro Shooting - Pixel Space Shooter
February 1, 2018By Bruno DoicheAndroid, Gaming
What have we been playing on our spare time lately? Our Android gaming has been focused on variations on a theme. Race, blast into space, and blast things into pieces that are racing towards us.
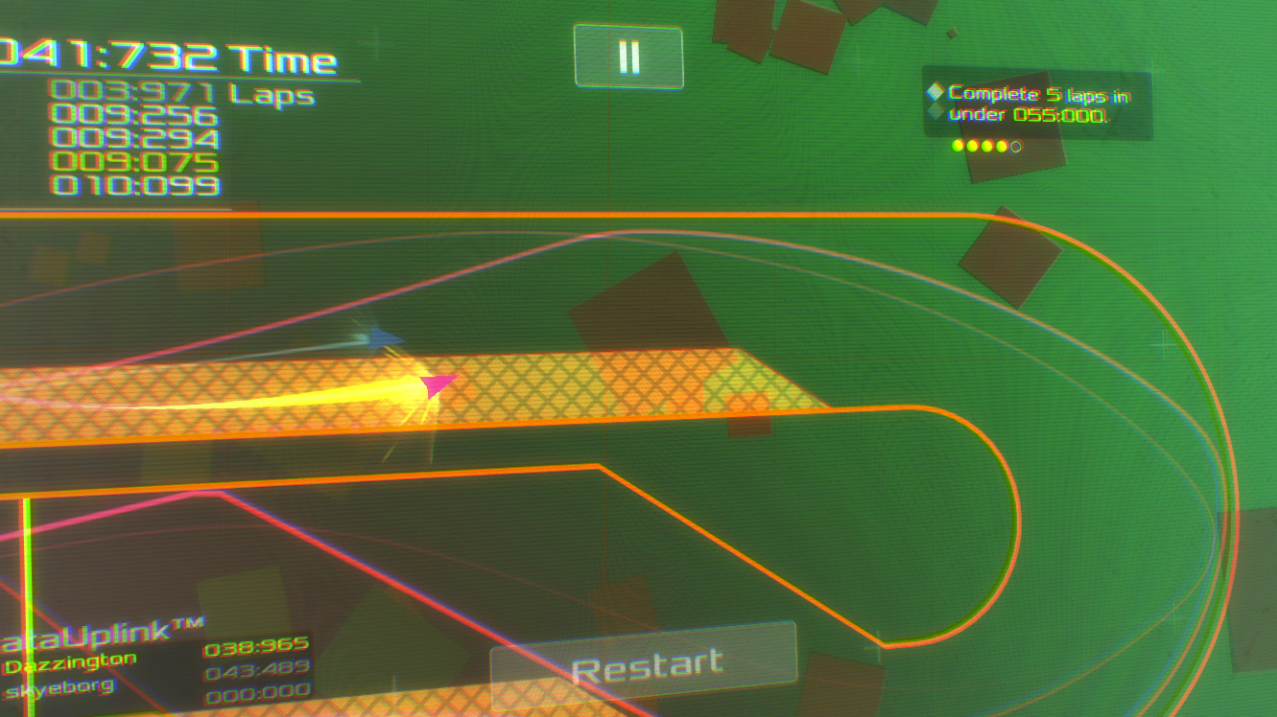
Data Wing
With stunning visuals reminiscent from classic Tron-like arcade games of yore, you will blast through a stylish neon landscape on a remarkable story-driven, racing adventure. If you thought that it would be just a silly game, you will love the well-crafted story. DATA WING delivers critical data throughout the computer system, following Mother's orders without question. But when the system comes under attack, and Mother becomes irrational, something must be done! Sharpen your skills on this game that needs you mastering the art of pressing two-touch controls with an arcade feel for a sleek racing with a focus on thrusting off walls through a 2 hour story that spans over forty levels.
Playing this game, makes me feel all sorts of nostalgia for the original Tron movie.
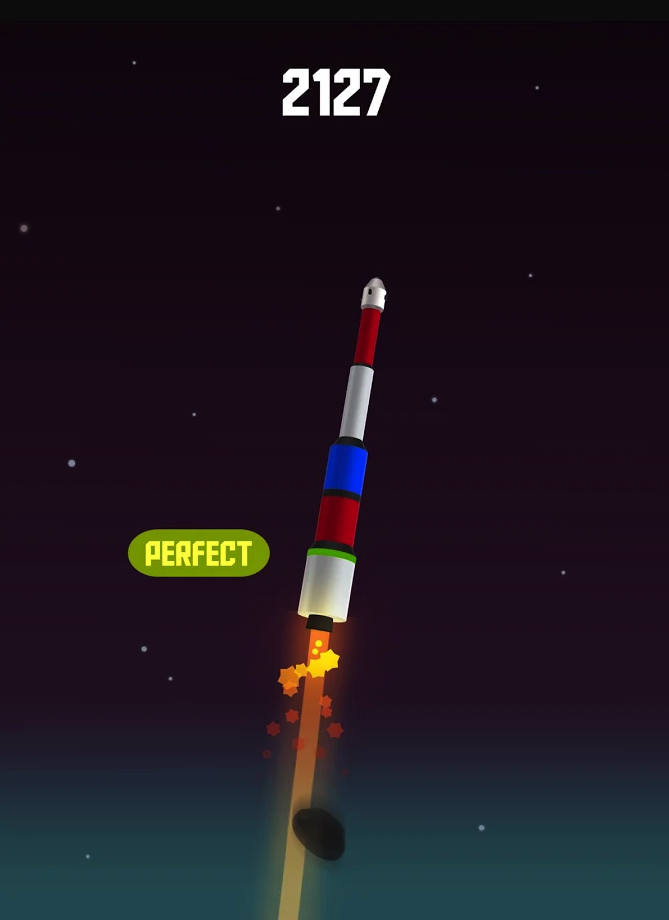
Blast off for the stratosphere with Space frontier, the addictive physics rocket game that your friends will want to play, but they can’t (have them purchase their own ODROIDs). This is the perfect game for when you want to game on, but are too tired to press more than one button at a time. Your mission is to launch your rocket as high into orbit as possible. A simple touch control when you release each stage in your rocket.
Easy to play, but hard to master, the gameplay means you’ll be coming back again and again for one more boost, until you realize that you have just spent about 5 hours in a row trying to put that next darned rocket just a little further!
This was the game that I took to bed thrice, my ODROID on the Atrix and played until sleep.
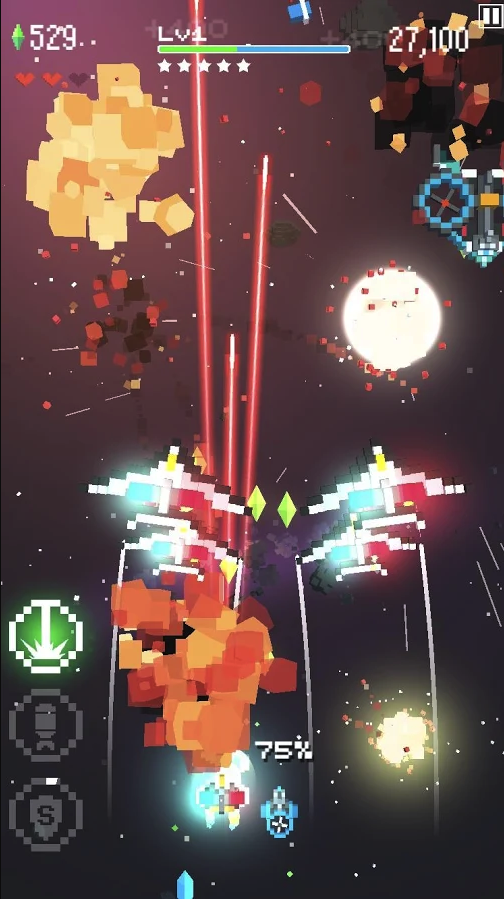
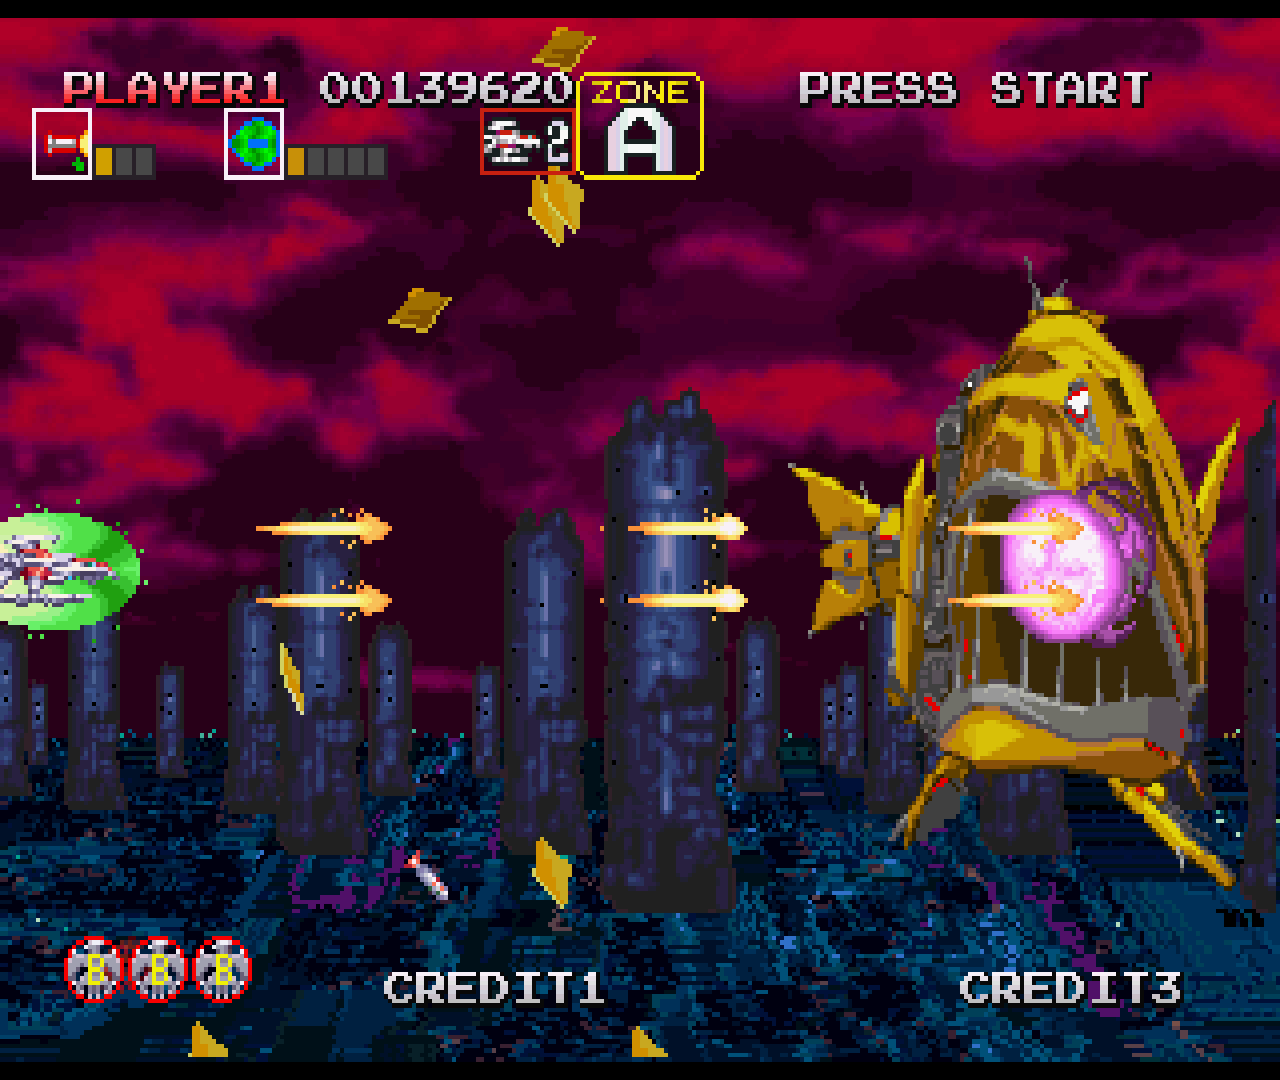
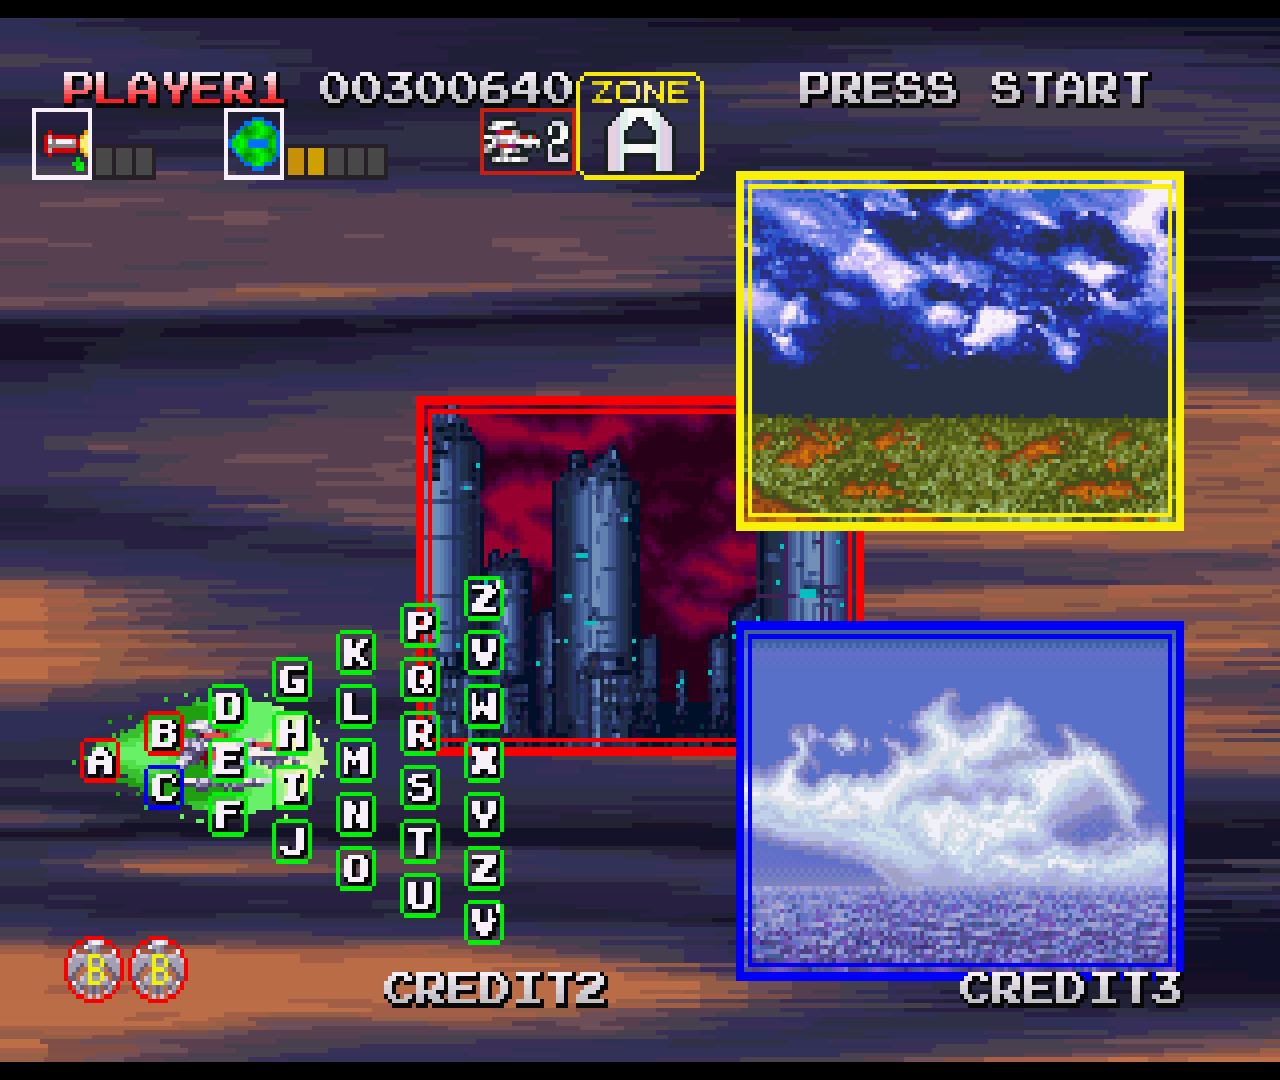
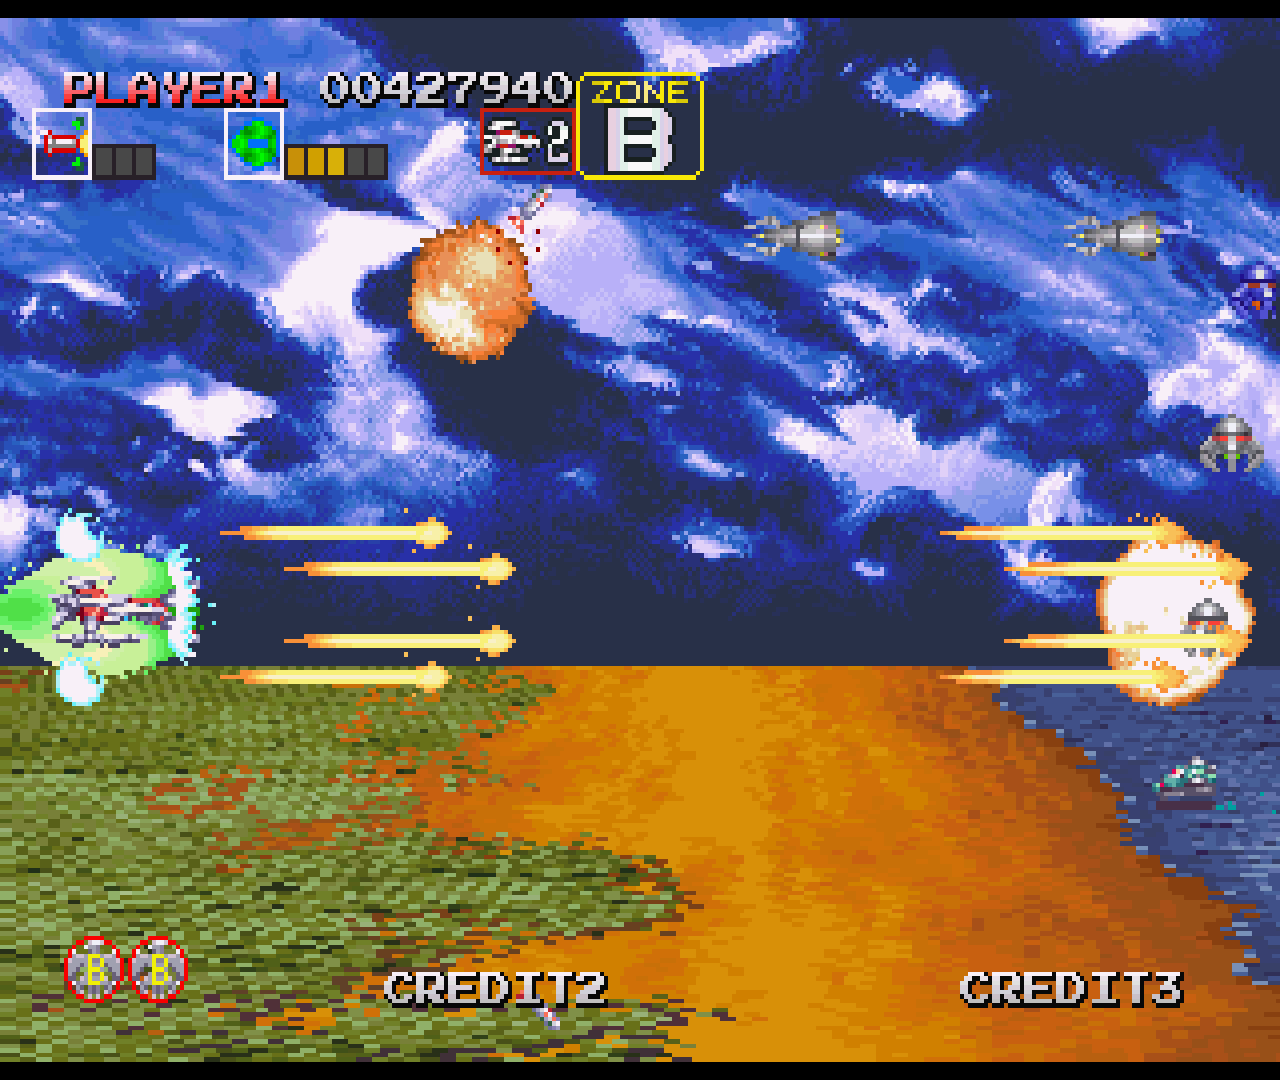
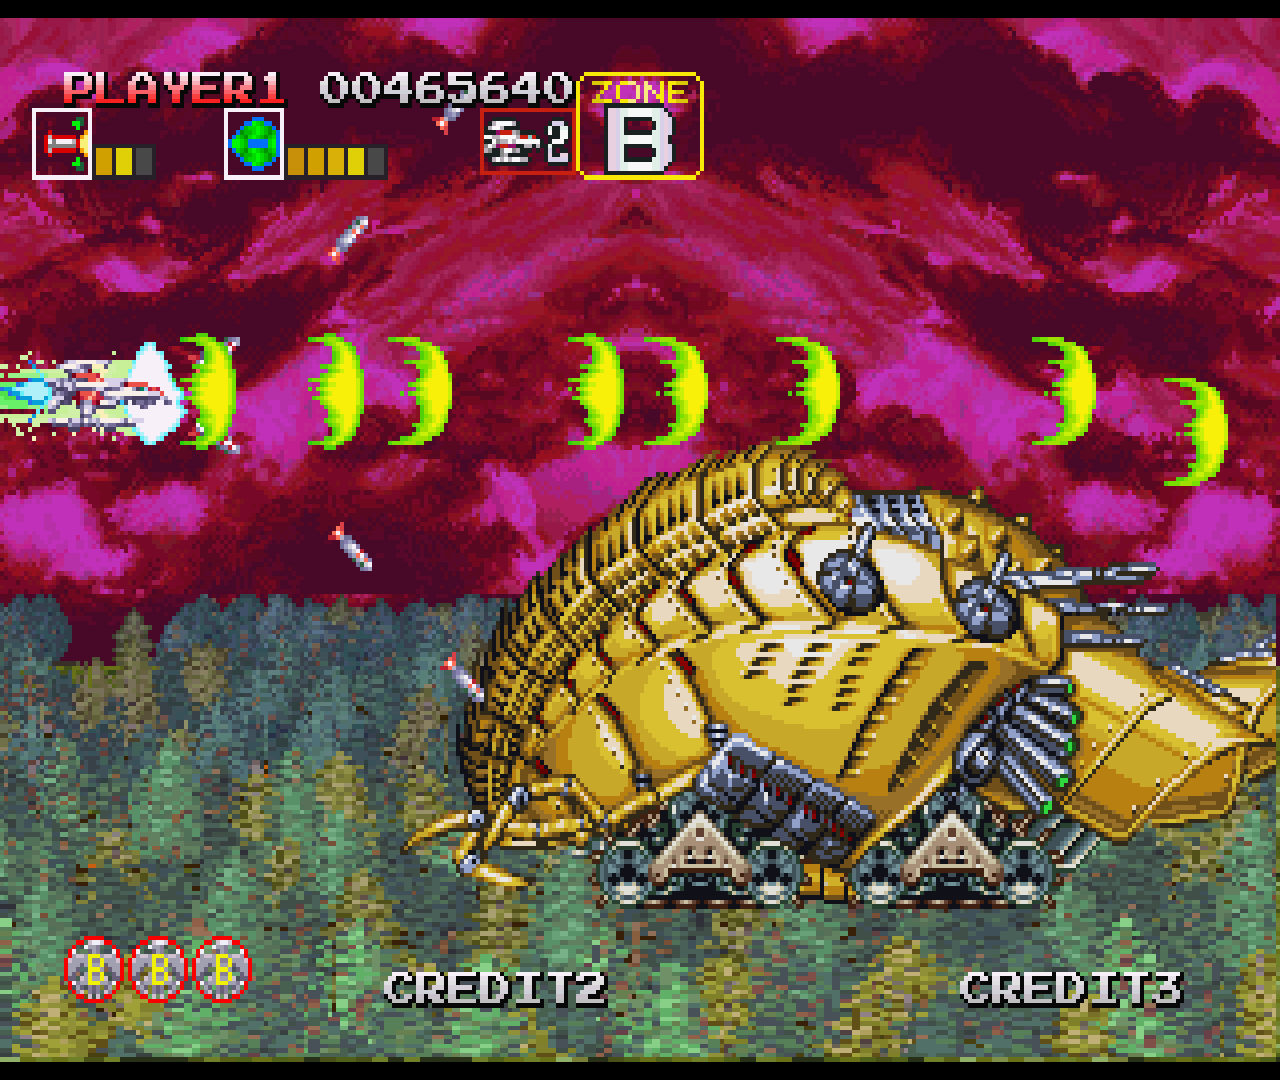
Oh yeah, this month we end up with that loving game type that it's like that troll friend that doesn't hesitate to punish you just for the laughs. Of course we are talking about of the classic shoot-em-up game, or as we fondly call it, bullet hell. In this case, it is the most pixelated bullet hell we could find! This is a spectacular space war where you can fight against an incredible barrage of attacks from powerful bosses in hundreds of stages. Make your choice from dozens of unique fighter aircrafts and drones, and fight off invaders in the galaxy.
One negative aspect of having devices that are too light is that you can destroy a bunch of assets if you are the kind of rage quitter that tends to throw stuff away when dying, stay clear from shooters on ODROIDs!
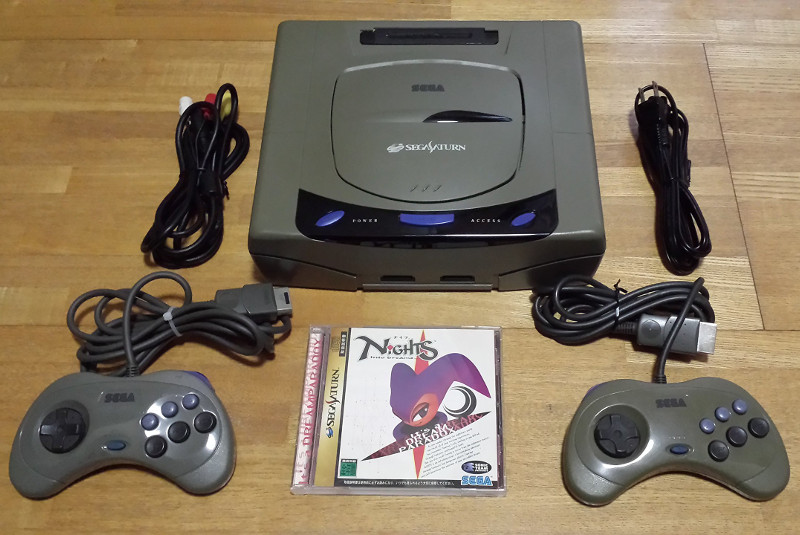
Some time ago, I talked about the Sega Saturn and how it’s a system that you can actually play if your have an ODROID-XU3/XU4. Currently, there aren’t many boards that are able to play Saturn at all. In fact, the ODROID-XU3/XU4 might be the only ARM board on the market that has a playable Sega Saturn emulator which doesn’t require watching a slideshow. Therefore, I think it’s time we go into a bit more detail about Sega Saturn for the ODROID-XU3/XU4.
I decided to create up a list of Sega Saturn games that I like to play on the ODROID. For this first installment, I have chosen a few games that I particularly enjoy playing on the ODROID and will go into a little bit more detail on each. I’ve only picked out games that I personally enjoy playing. This doesn’t mean that others don’t work. It only means that they are either not my type of game, or that I enjoyed them more on other consoles or systems. This article has a lot of shoot 'em ups, so bear with me since the Saturn had quite a few arcade ports.
Amok
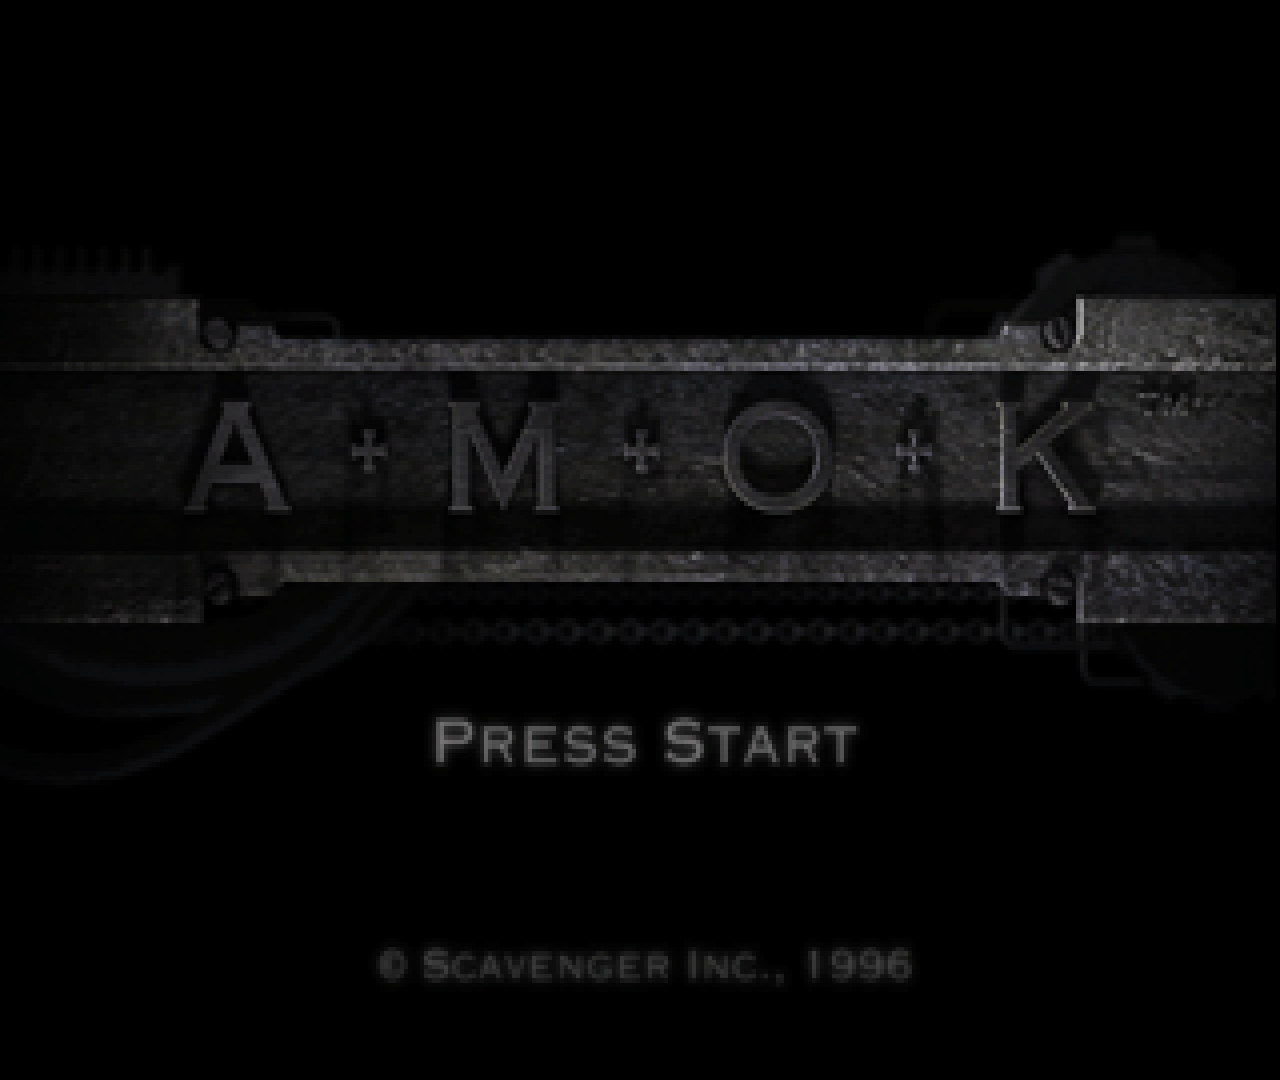
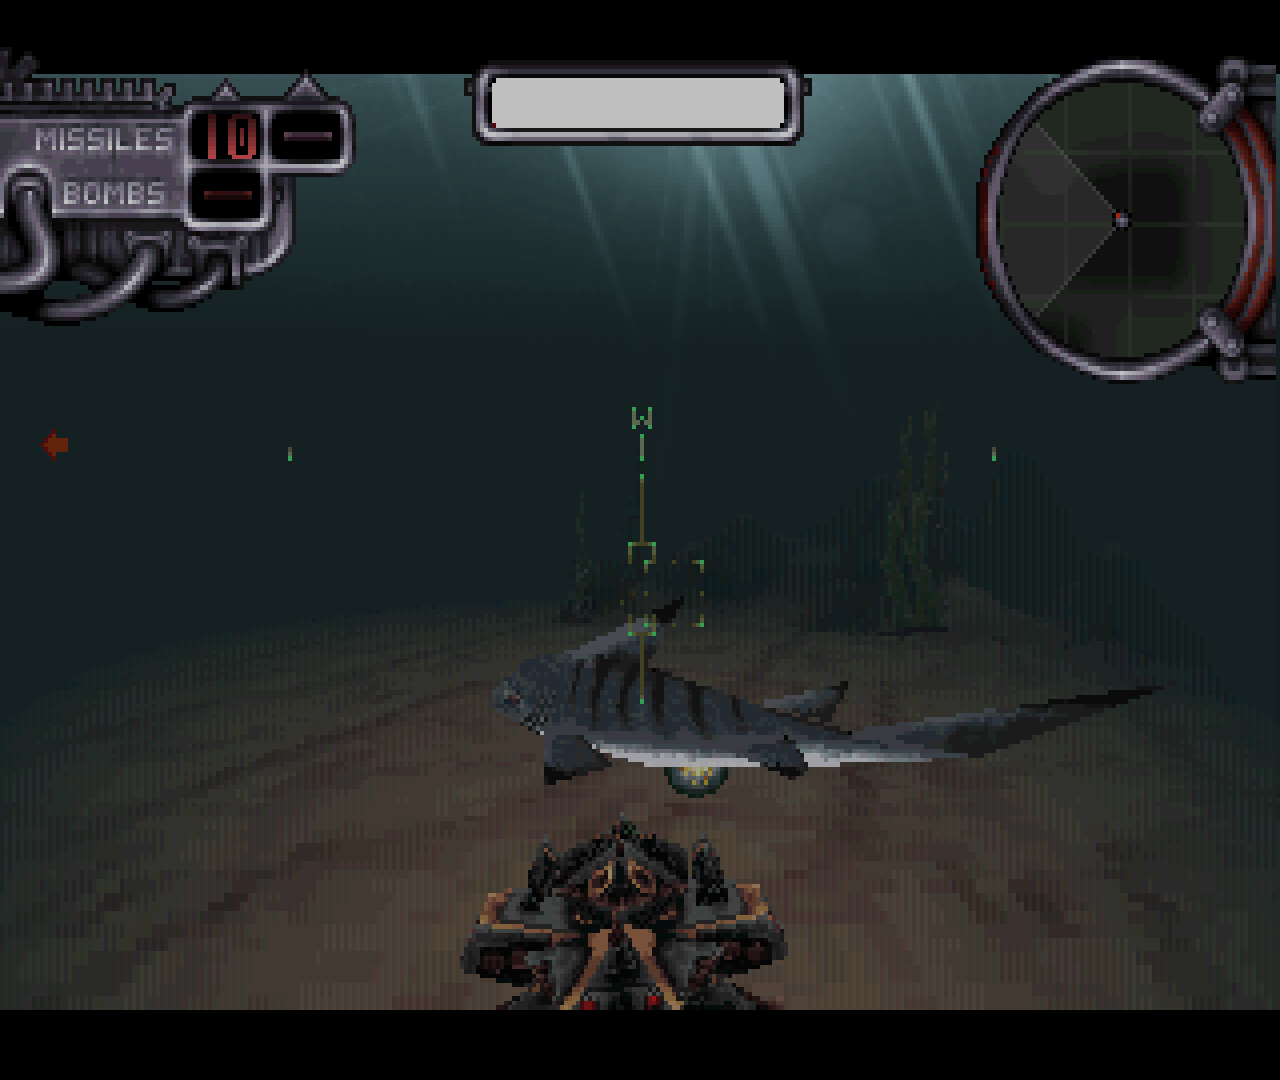
In Amok, you drive your so-called “Slambird”--a mecha-type vehicle that can walk over land and dive underwater. It’s equipped with several guns and you just kind of shoot everything in your path.
Figure 1 - Amok Start screen for the Sega Saturn
This might not sound terribly impressive, but I just like everything about this game. It has a story, and the mission briefings are quite nice for a game like this. When it comes down to it, the game is pretty much a seek-and-destroy style shooter. You follow along certain mission objectives, have a few different weapons to choose from, and fight though eight or nine levels, each with several phases. This might not be the most in-depth gameplay, but the game itself is a blast!
The game is fun and actually plays pretty fast and fluently on the ODROID. You do, however, have to use frame skipping to get it to run fast enough, but this is not really noticeable while playing. Other games show frame-skipping much more prominently.
Amok has two difficulty modes: hard and easy, with nothing in between. In hard mode, the number of enemies is about three times as high as easy mode, so I suggest starting the game on easy if it’s your first time.
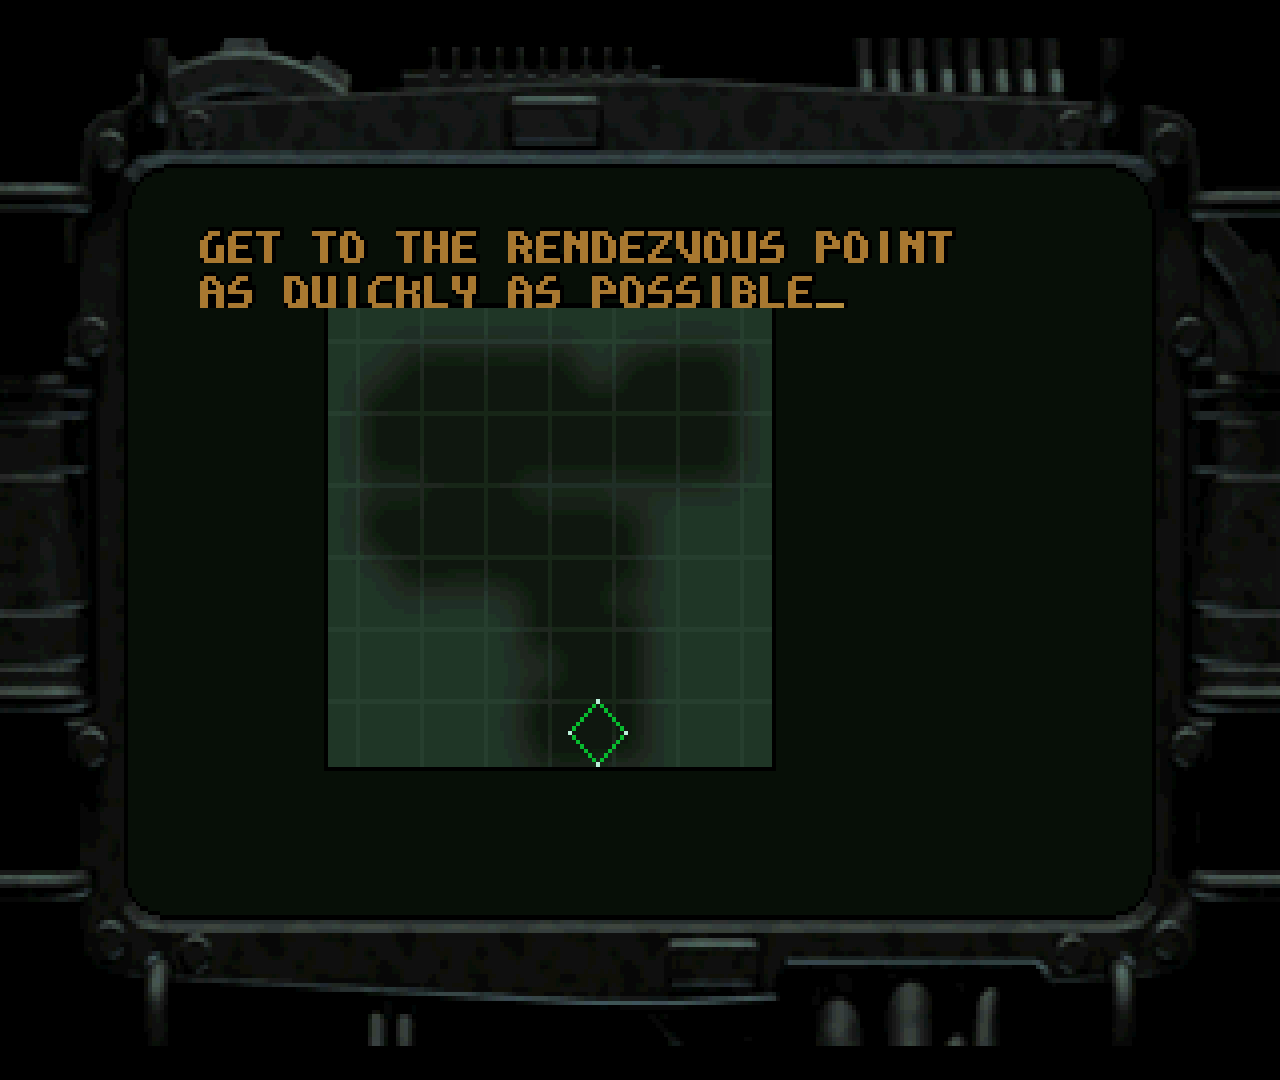
Figure 2 - Short mission briefing for the first “Pre-Level”
Figure 3 - Your first enemies are sharks and exploding fishes
You have four weapons at your disposal: a gun with unlimited ammunition, missiles, heavy missiles, and bombs. Most of the time, you’re going to want to spam your enemies with tons of bullets rather than wasting your missiles.
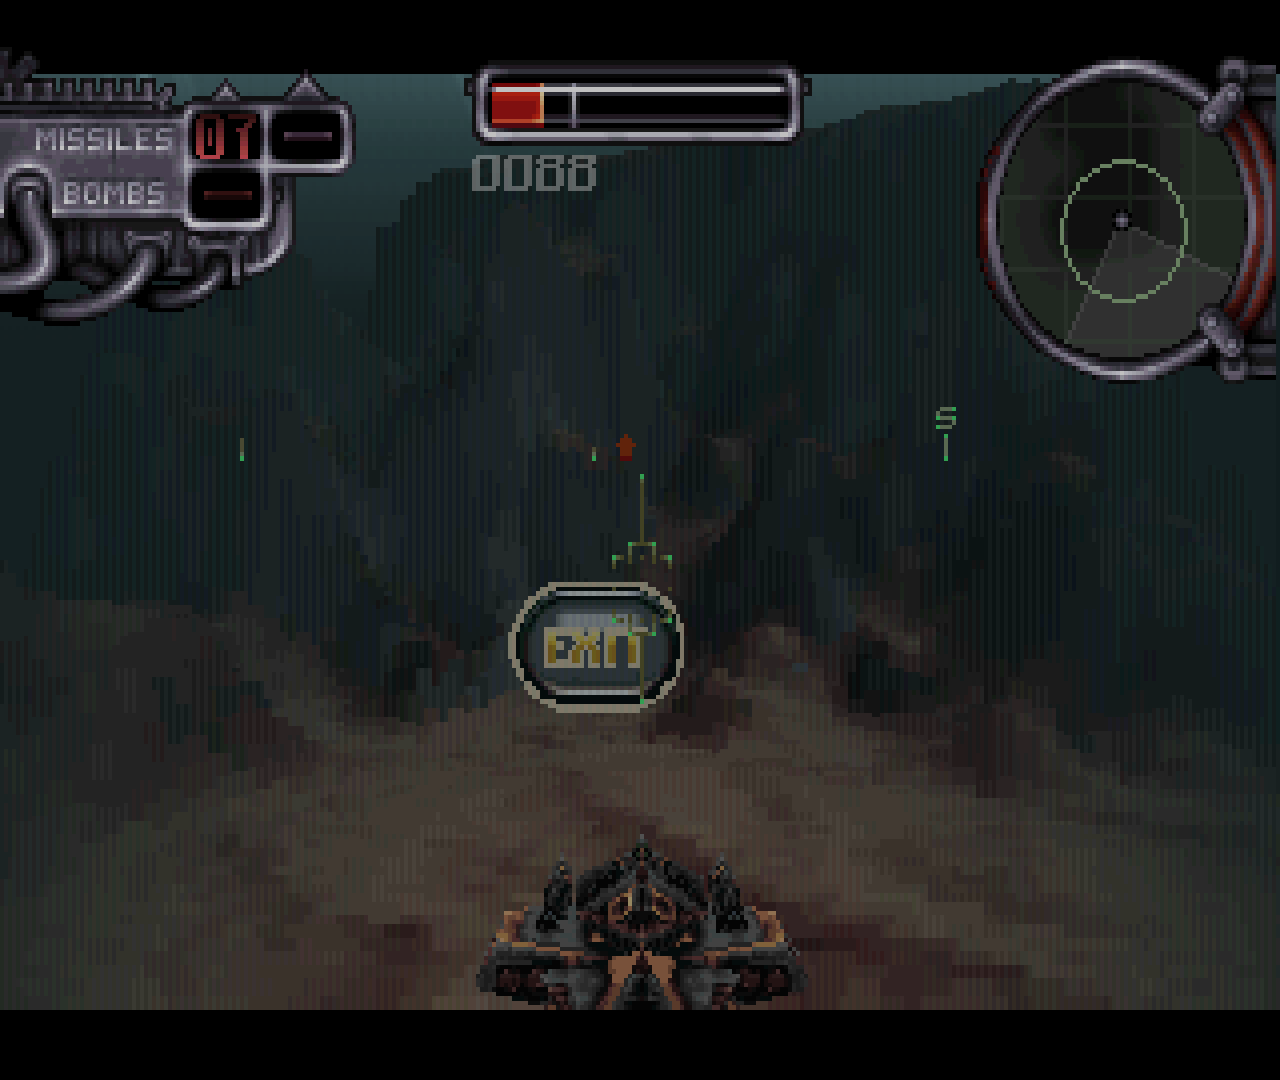
Figure 4 - After you finish all your objectives, head for the exit.
Figure 5 - You will likely encounter stationary defence towers in the game
In each mission, you’ll find items that you can carry over into the next level or increase your overall health. If you roam around or stray from your general mission objectives, there are also hidden objects and paths that you can find. In the options menu, you can input a password to continue from a certain level, or cheat codes that will give you invincibility or unlimited rapid fire.
I personally like the game, as it’s quite easy to get into and it plays nicely on the ODROID. If you only have a little time and want to blast some enemies, this is a very nice game for you. Still, it’s quite challenging and will keep you busy for some time if you want to beat it.
The only issue I had with the game was that the that the music wouldn’t play for me. Although the soundtrack is available on the CD, the game wasn’t able to play it, which is a shame, since the music is very good. Maybe in a different version of the game the music works, but on mine it didn’t, unless I played the music via an external player.
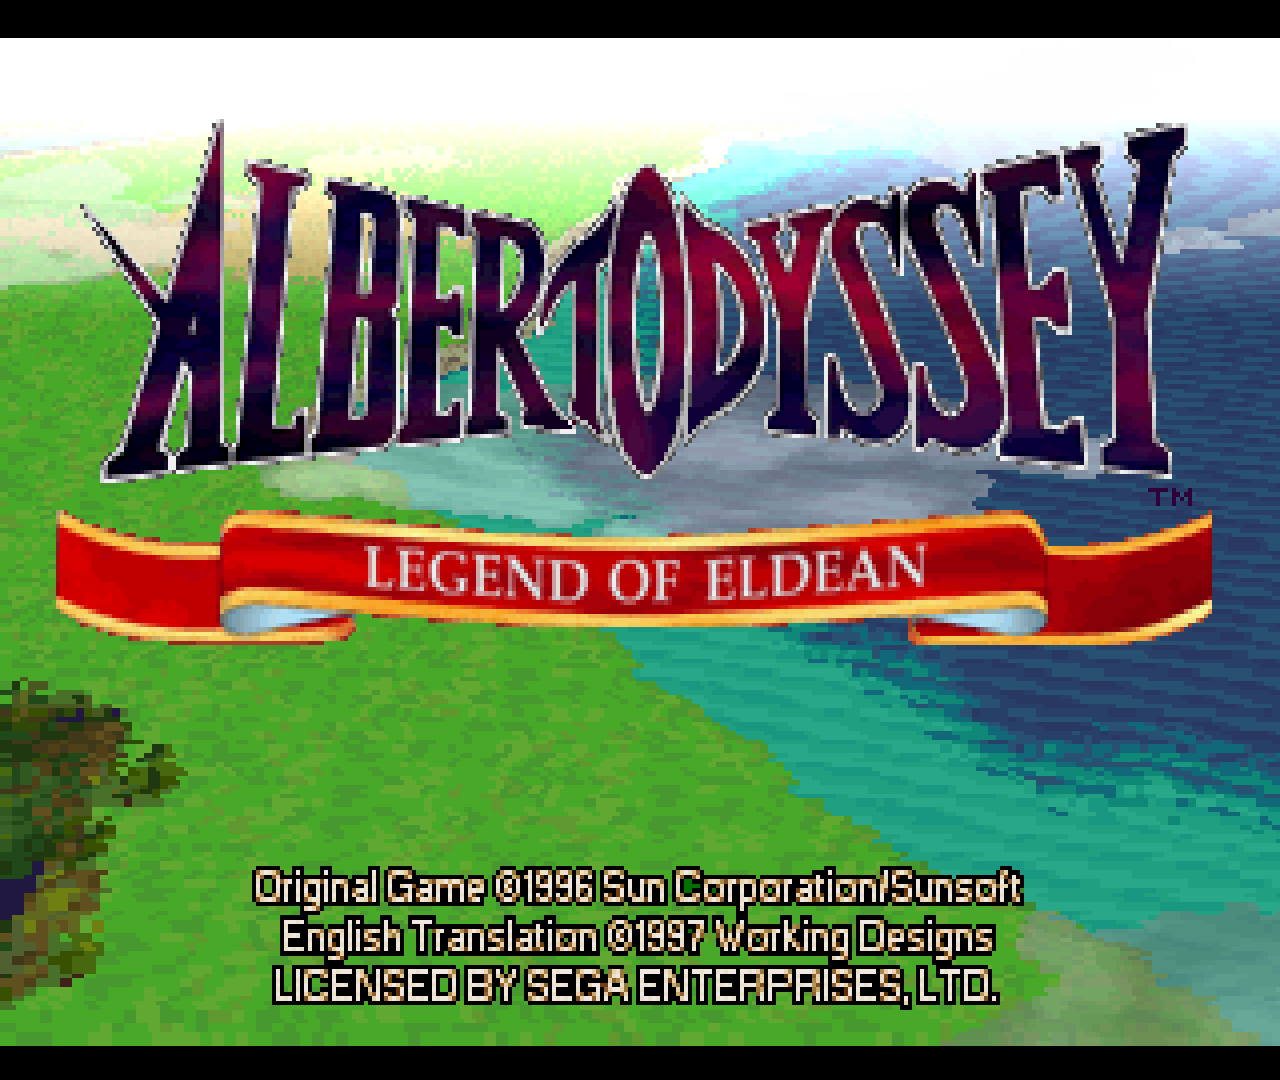
Albert Odyssey–Legend of Eldean
I can’t even begin to describe this game. In my opinion, it’s probably one of the best games for the Sega Saturn.
Figure 6 - Albert Odyssey start screen
The Sega Saturn is often said to be inferior to the PlayStation 1 due to the lack of transparency. That’s not quite true. The architecture of the Saturn was very complicated, and transparency was not always possible. At some points, a kind of mesh was used to simulate transparency. This was due either to a hardware limitation, which was mostly in 3D games, or because it was easier for developers who did not care about going the extra mile for it. This led to the rumor that the Sega Saturn does not support transparency. Albert Odyssey is the proof that this is not the case.
Figure 7 - Game intro shows transparent flames over the gameplay
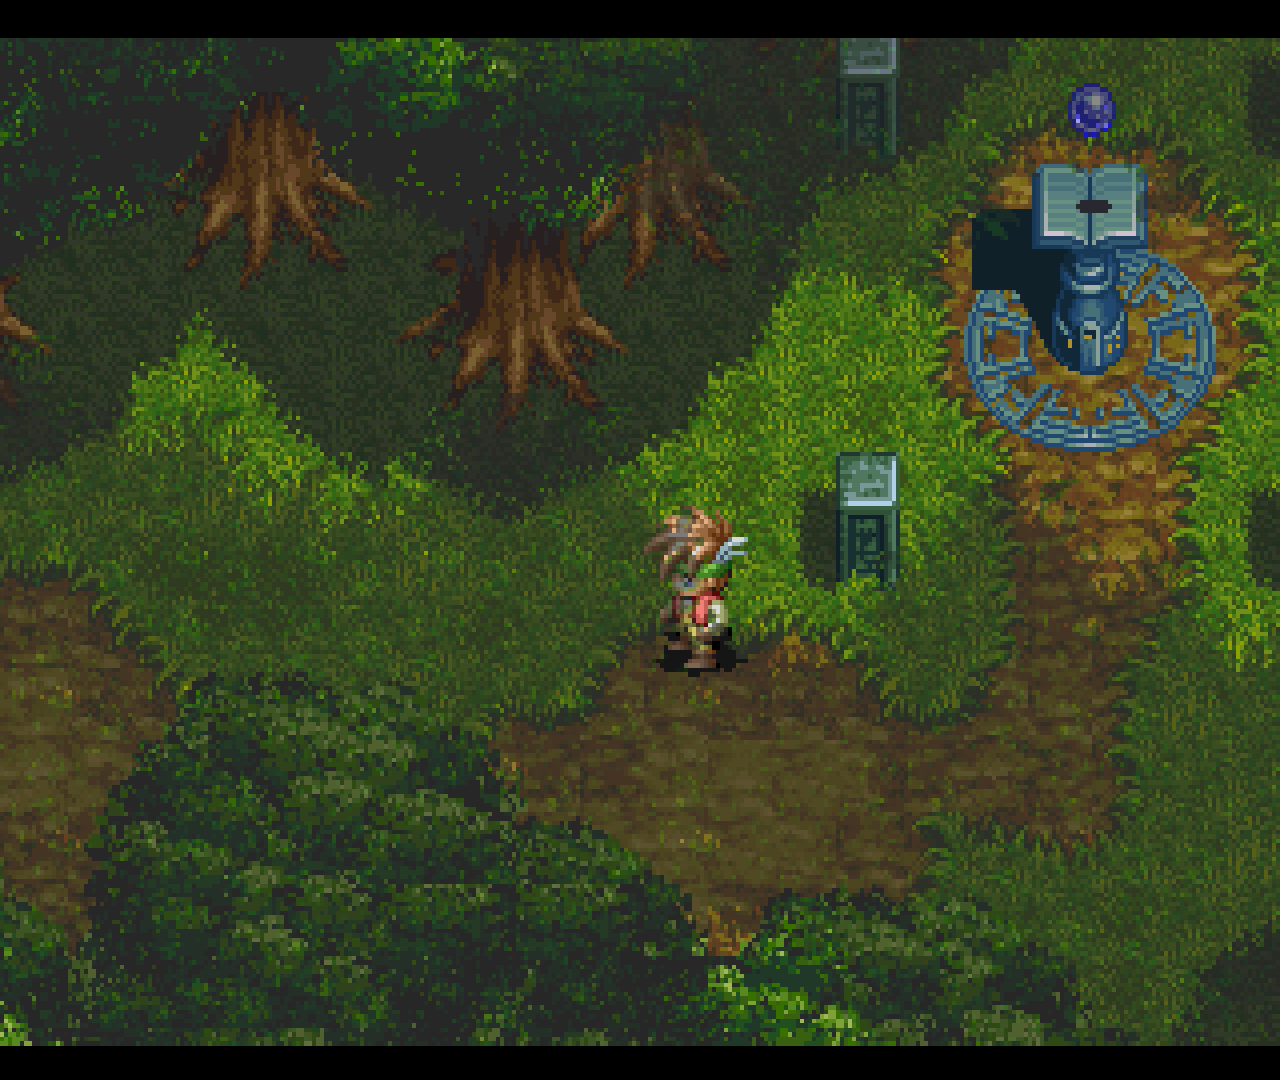
Figure 8 - You can see the tree’s shadows move as you walk
Albert Odyssey uses transparency quite often. Transparent dialog boxes that show the background and shadows of different objects like trees, clouds, and so on, would move depending on your direction, or simply floated over the screen. The imagery for many of the special effects and magic skills also made use of transparency. This game is beautifully drawn and nice to look at. It is a real masterpiece for the Sega Saturn, and definitely as good as any PlayStation game could be.
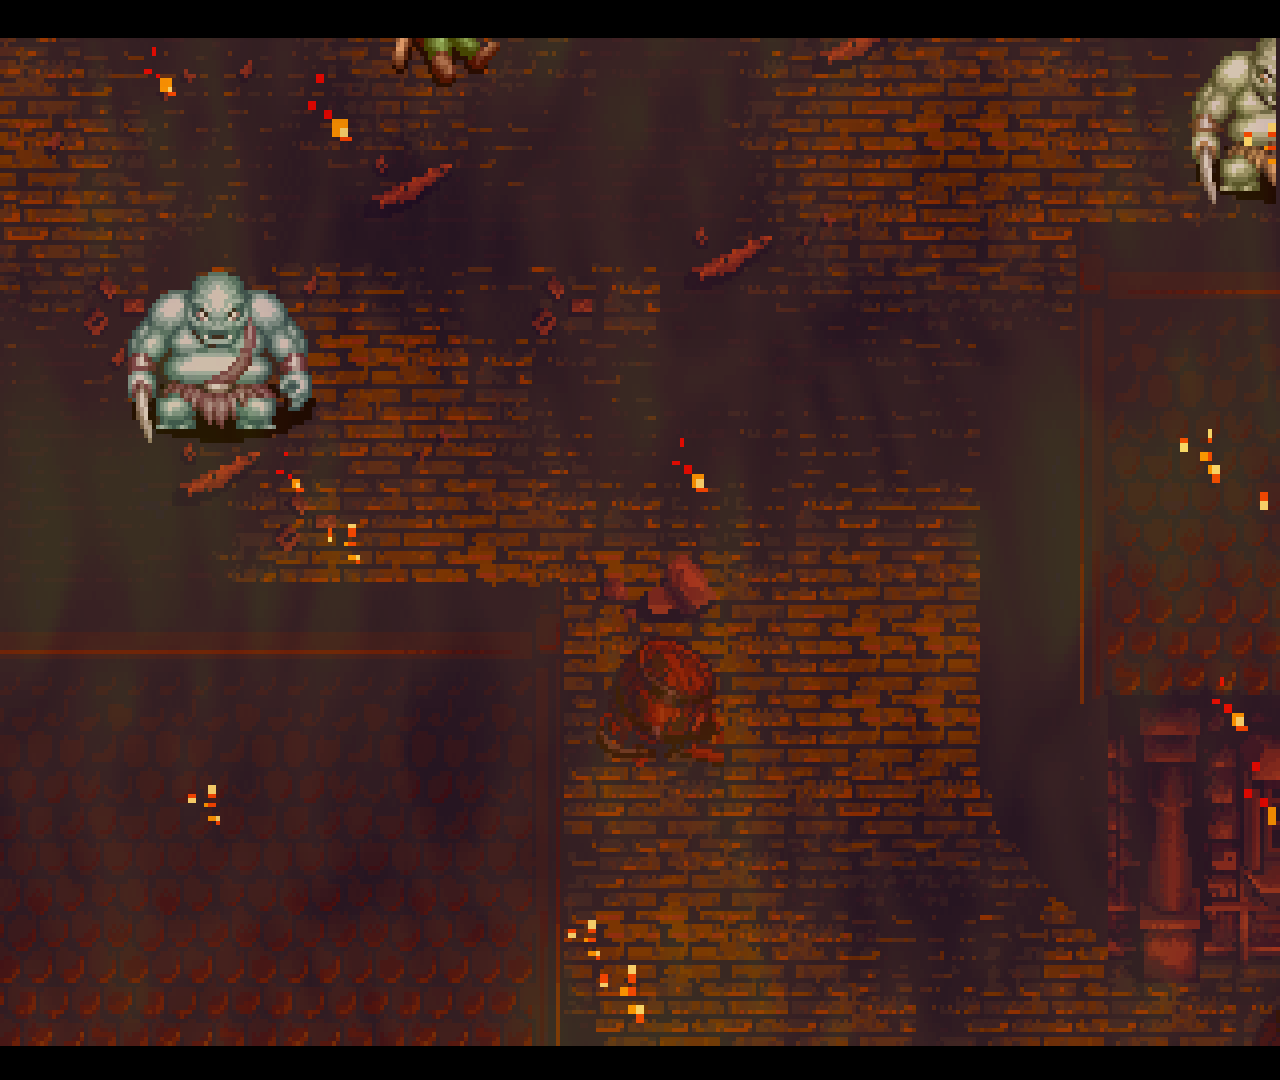
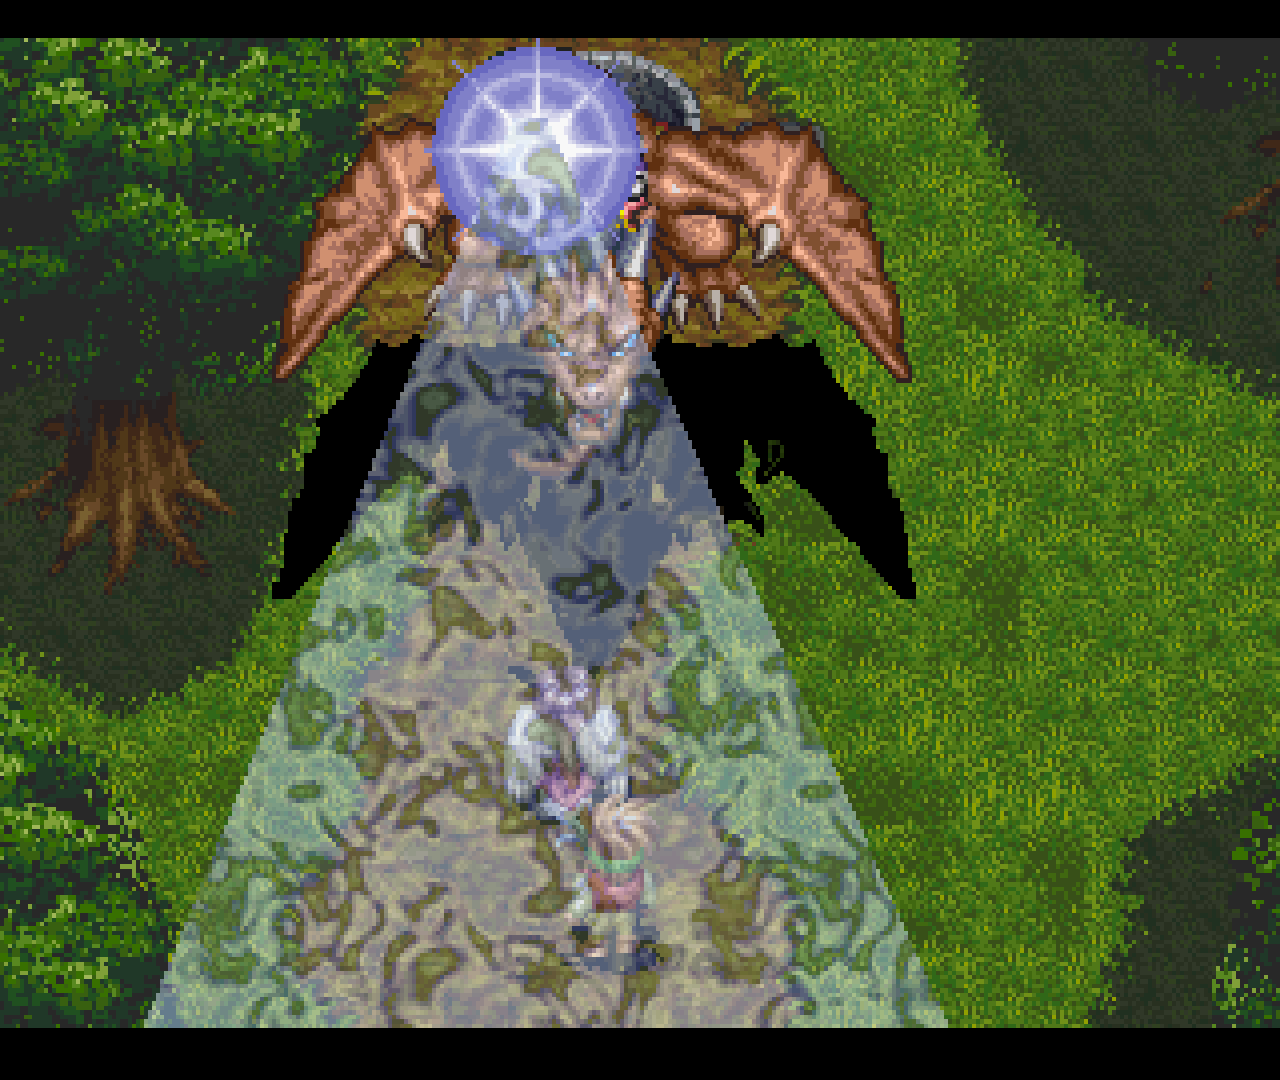
Figure 9 - More use of transparency as part of a spell cast early in the game
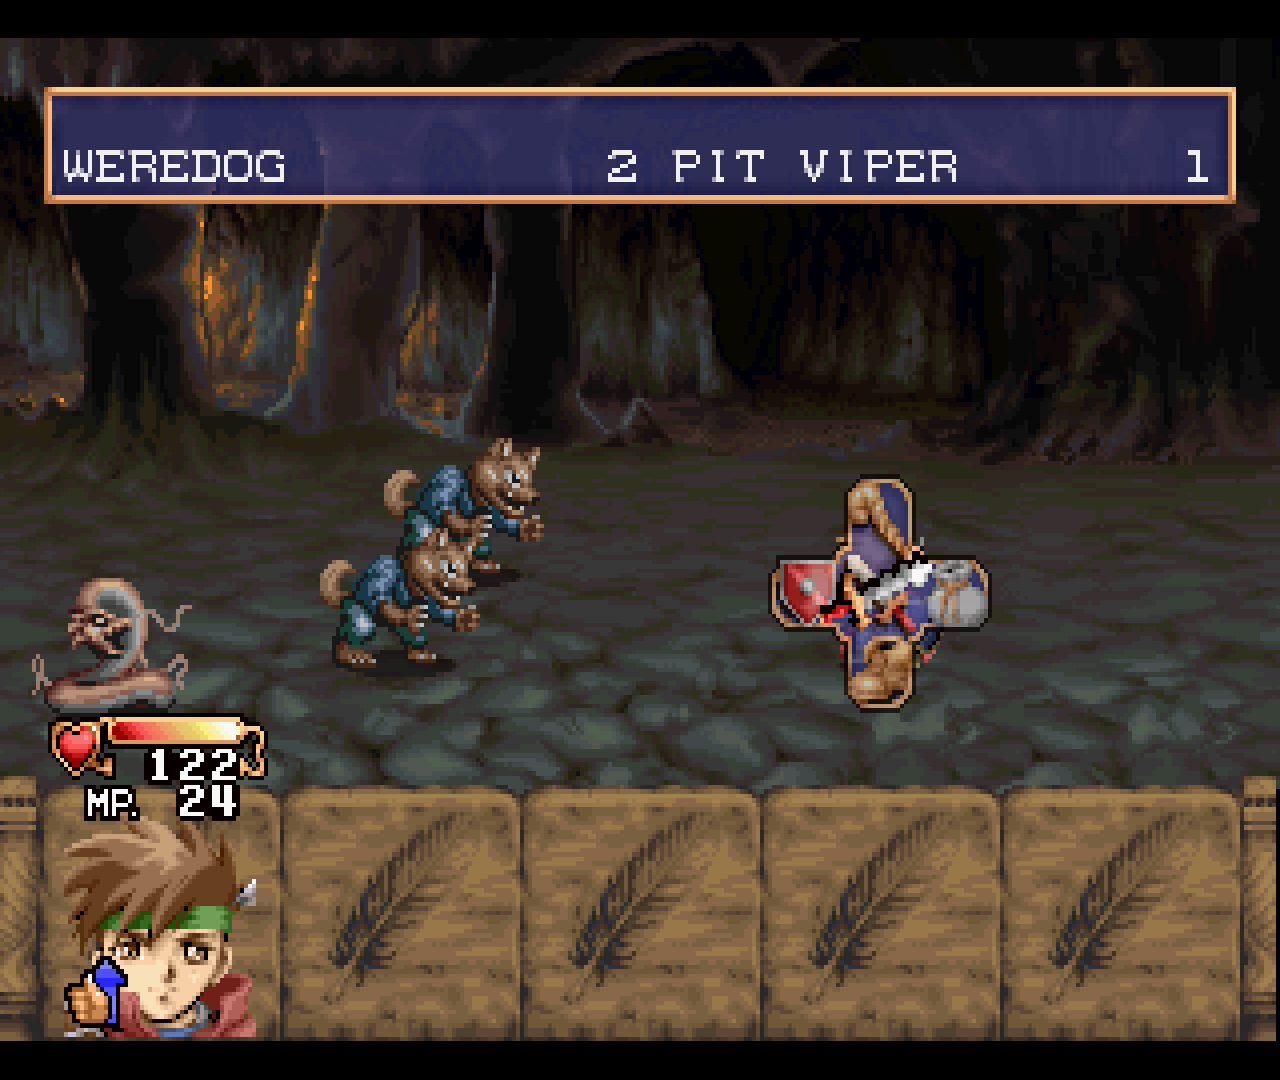
Figure 10 - Standard fight formation
The rest of the game is what you would expect from an RPG: a turned-based combat system with attacks, skills, items, and the ability to guard or run from battles.
I have heard that when the game was ported to the United States, the rate for encountering enemies was reduced, but even with that the rate is still very high. Sometimes you are barely able to make a few steps before being dragged into the next fight.
From what I’ve seen so far, Albert Odyssey has an interesting story, and the graphics are absolutely amazing. There are so many warm and bright colors in this game, but equally cold and dark colors for other scenes, such as those within a dungeon. The game is beautifully detailed, with many little aspects in the houses and towns, giving a rich game-playing experience.
The game’s music is played entirely as soundtracks from the CD and sounds fantastic. I have even been inclined to listen to it without playing the actual game. This game really shows what the Saturn is capable of. I would have loved to have more games like this for the Saturn. With more games of this quality, the Sega Saturn could have been a real competitor for the PlayStation 1 in the area of RPG and 2D games.
So, does that mean the Albert Odyssey is all nice and dandy on the ODROID? For the most part, yes, but it has some minor issues. For example, the game is not full speed, which means you have to use frame skipping to walk at the proper speed, causing visible skipping when scrolling. It is nothing too bad, but it is noticeable. If you turn off frame skipping using F4, the scrolling is butter-smooth, but you walk with half the speed you normally would.
Turning off frame skipping also affects the music and sound, causing them to run at half-speed as well. If that doesn’t bother you, then turning off frame skipping will give you a really smooth experience. In some cases, I also encountered some flashing effects, probably related to transparency. The shadow of the dragon in Figure 9 flashed a bit, and later on a spotlight on a singer also flashed. Aside from that, I haven’t seen any visual issues.
Even with frame skipping, the speed is not 100%, but generally you won’t notice this at all. You will, however, notice it at the introduction. The introduction is split into a visual portion which is rendered by the Saturn itself, and an audio option which is played from the CD. Sadly, this is out of sync, and as a result, the introduction plays a little slower than the audio track, especially without frame skipping. After the introduction, the syncing issue is no longer noticeable.
If you are an RPG fan, Albert Odyssey is a definite must-have for the Sega Saturn.
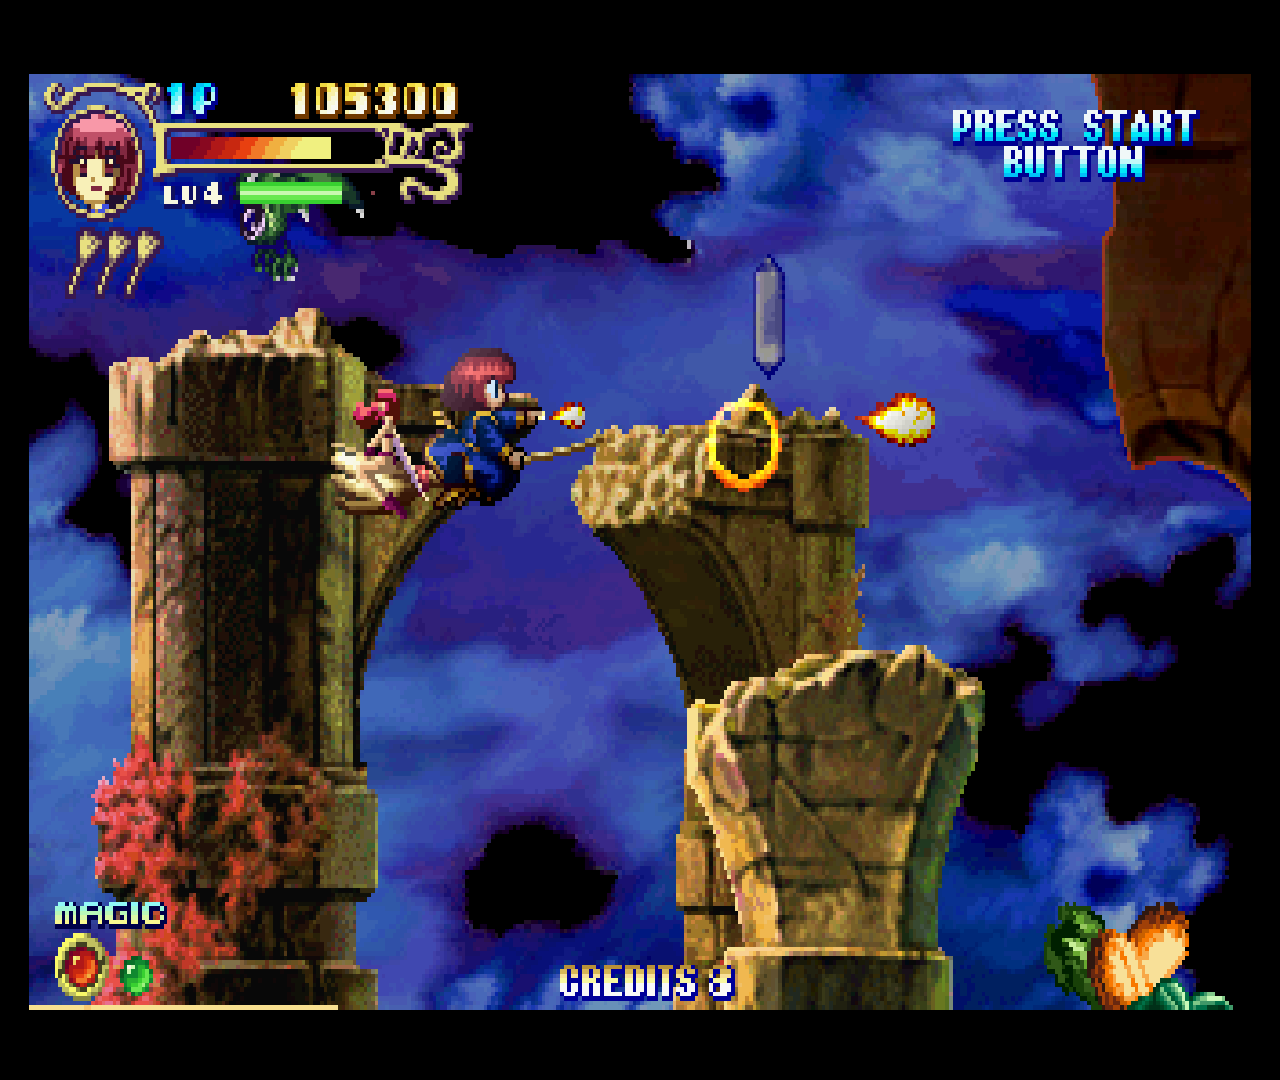
Cotton 2: Magical Night Dreams
Cotton 2 is a nice “cute 'em up” type game, meaning that it’s a shooter with cute anime-style elements, which the Cotton Series is very well known for. It’s a virtually arcade-perfect port for the Sega Saturn.
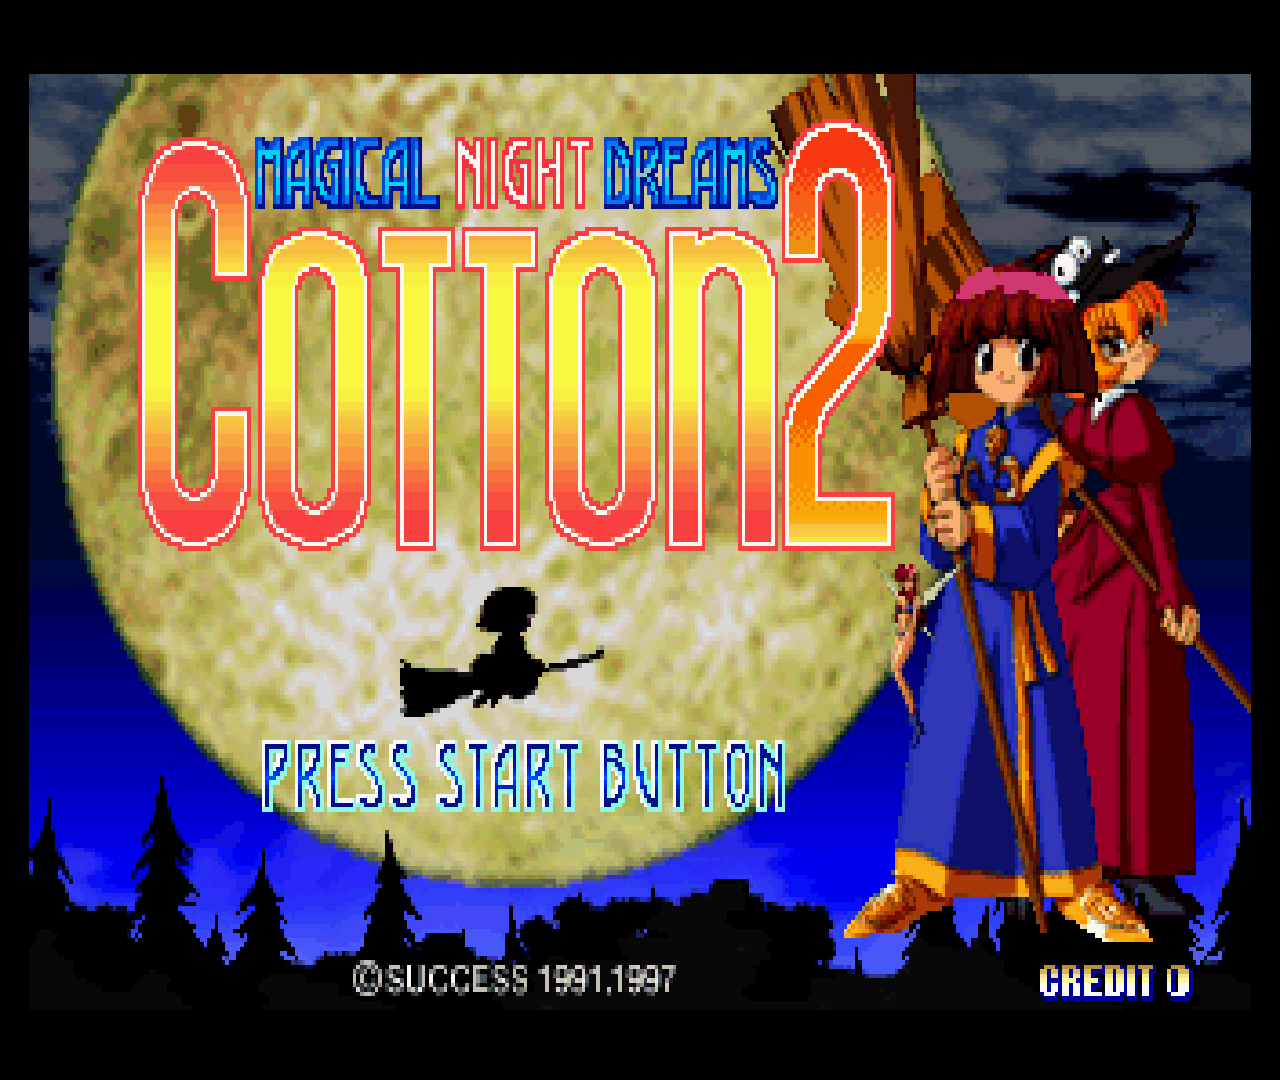
Figure 11 - Cotton 2 for the Sega Saturn
An improvement over Cotton 1 is that you have the chance to play with two players (and two witches) at the same time, teaming up as you fight through each level. As is usually the case with the Cotton series, the graphics are nicely drawn and the music fits the setting quite well.
This version has no video cut scenes or audio soundtracks, but still, the music is catchy and there are some in-game cutscenes and animation to help the story along. As a Japanese exclusive, it’s nothing I can understand, but it looks cute enough.
Figure 12 - Fly on your broom and kill the oncoming monsters
As you kill the monsters, they drop crystals that you can shoot, which then change colors: orange for fire, blue for ice, and green for wind are your main magical powers. There is a fourth color, yellow, which increases the overall power of your attacks without giving you any magical power. You can collect up to three magical powers, different or the same, in order to launch a special attack that will do a lot of damage. Your attack style also changes according to your currently active magic power.
There isn’t much to say about this game beyond that it is a fun side-scrolling shoot-'em-up, and that you can play with a friend on your ODROID using a second controller. The menu options allow you to adjust your difficulty and lives, giving you the ability adapt the game to your skill level.
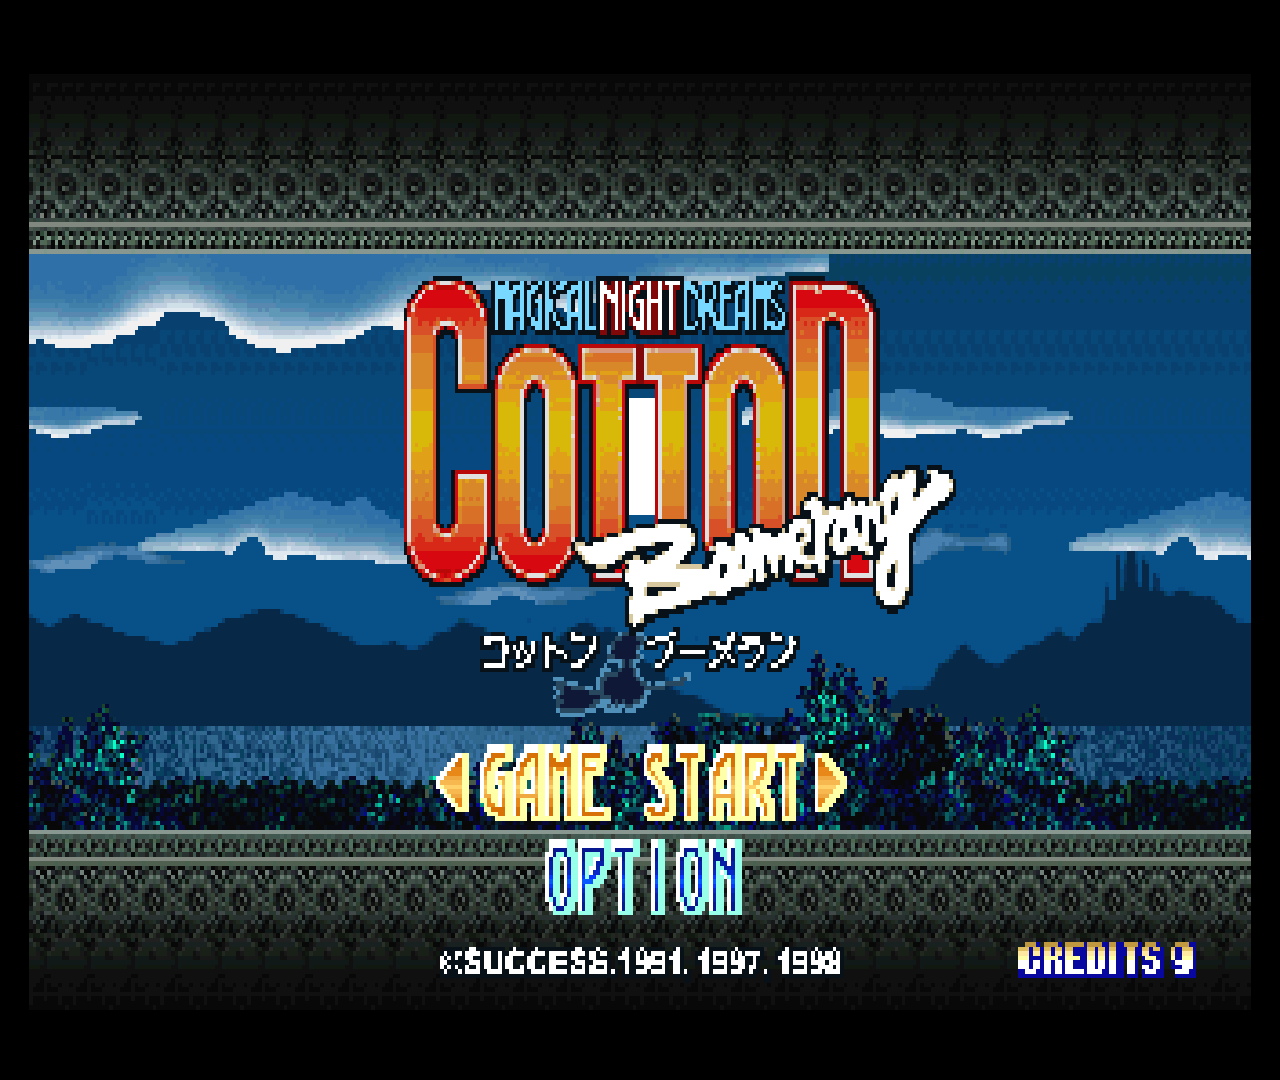
Figure 13 - Cotton Boomerang ported to the Sega Saturn from the arcade version
Cotton Boomerang is more of the same, with a few small changes. For example, there are more playable characters, and if one of your characters dies, you switch through to another character. It’s also a fun game to play.
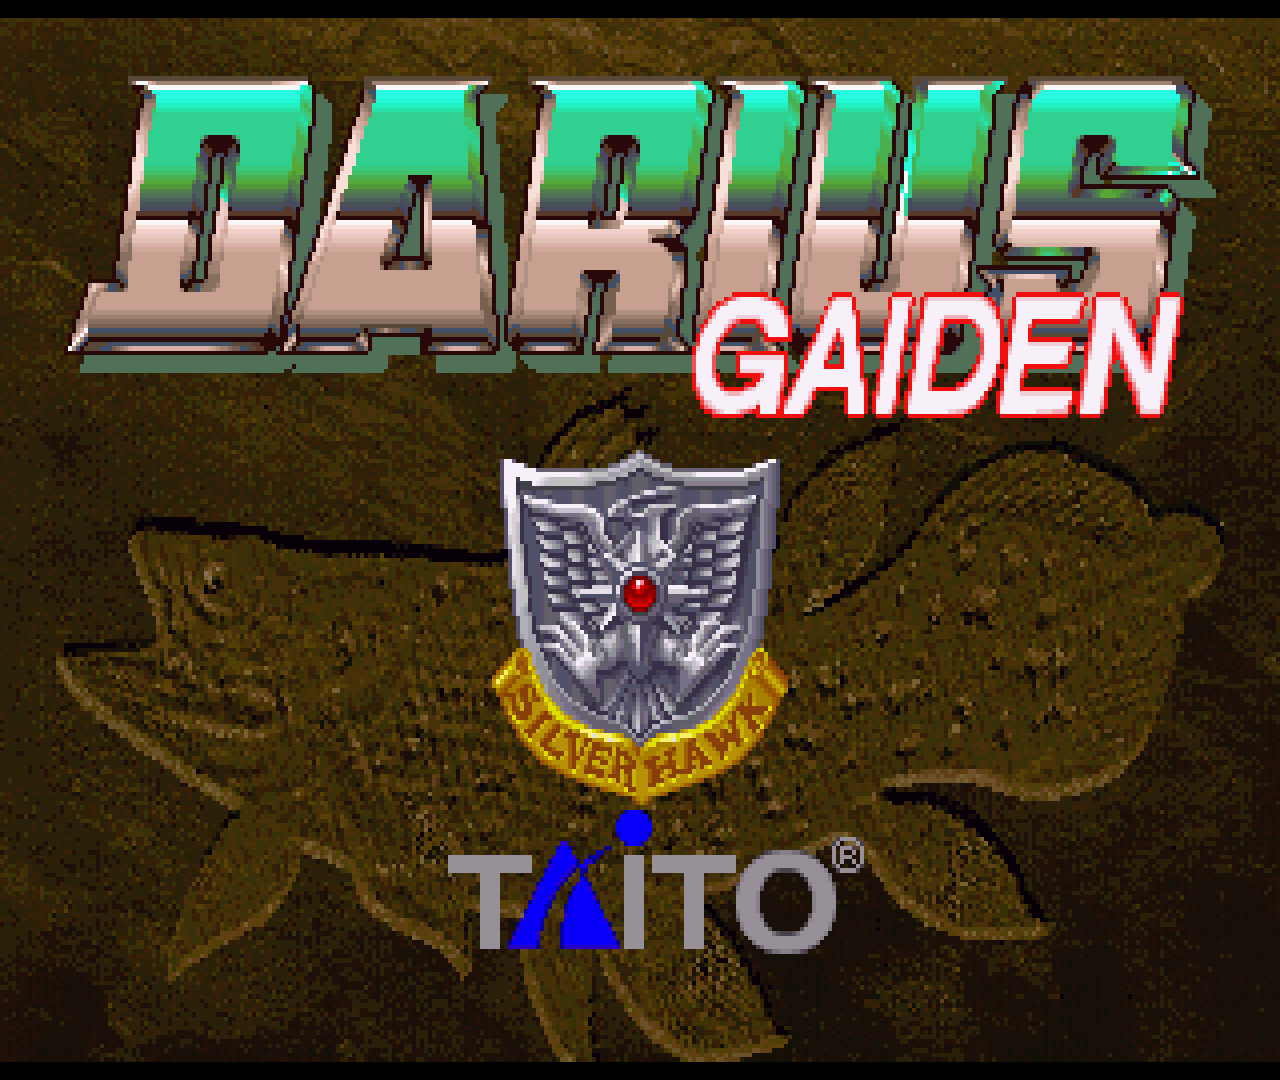
Darius Gaiden
Darius Gaiden is another side-scroller shoot ‘em up, but without the cute. It’s a rather interesting type of shooter, but not very easy. One thing about this game that I dislike is that when you die, you lose all of your power-ups, leaving you almost completely defenseless in battle. This is quite annoying, and I have heard of many people who have played the game until they die, and then quit, which is understandable. You can get pretty far at times, and finding yourself starting at zero can be rather frustrating.
Still, it’s an enjoyable game with good graphics. It also requires frame skipping to play the game fluently, although some scenes run fine even without frame skipping. Deactivating the frame skipping is a nice way to slow down the game and make it a little easier, as it gives you more time to react to enemy attacks.
Figure 14 - Darius Gaiden for Sega Saturn running on the ODROID
Figure 15 - Fighting a boss in Darius Gaiden can be pretty hard
Once you have finished a battle against a boss, there is a level select similar to Outrun and other racing games, that lets you decide which path you want to take next: up or down. This offers some replay value if you actually manage to finish the game or just have to start over again.
Figure 16 - Losing all your weapons in a boss fight is very frustrating
Figure 17 - Level select after defeating a boss
This game is quite fun, although dying is a real pain.
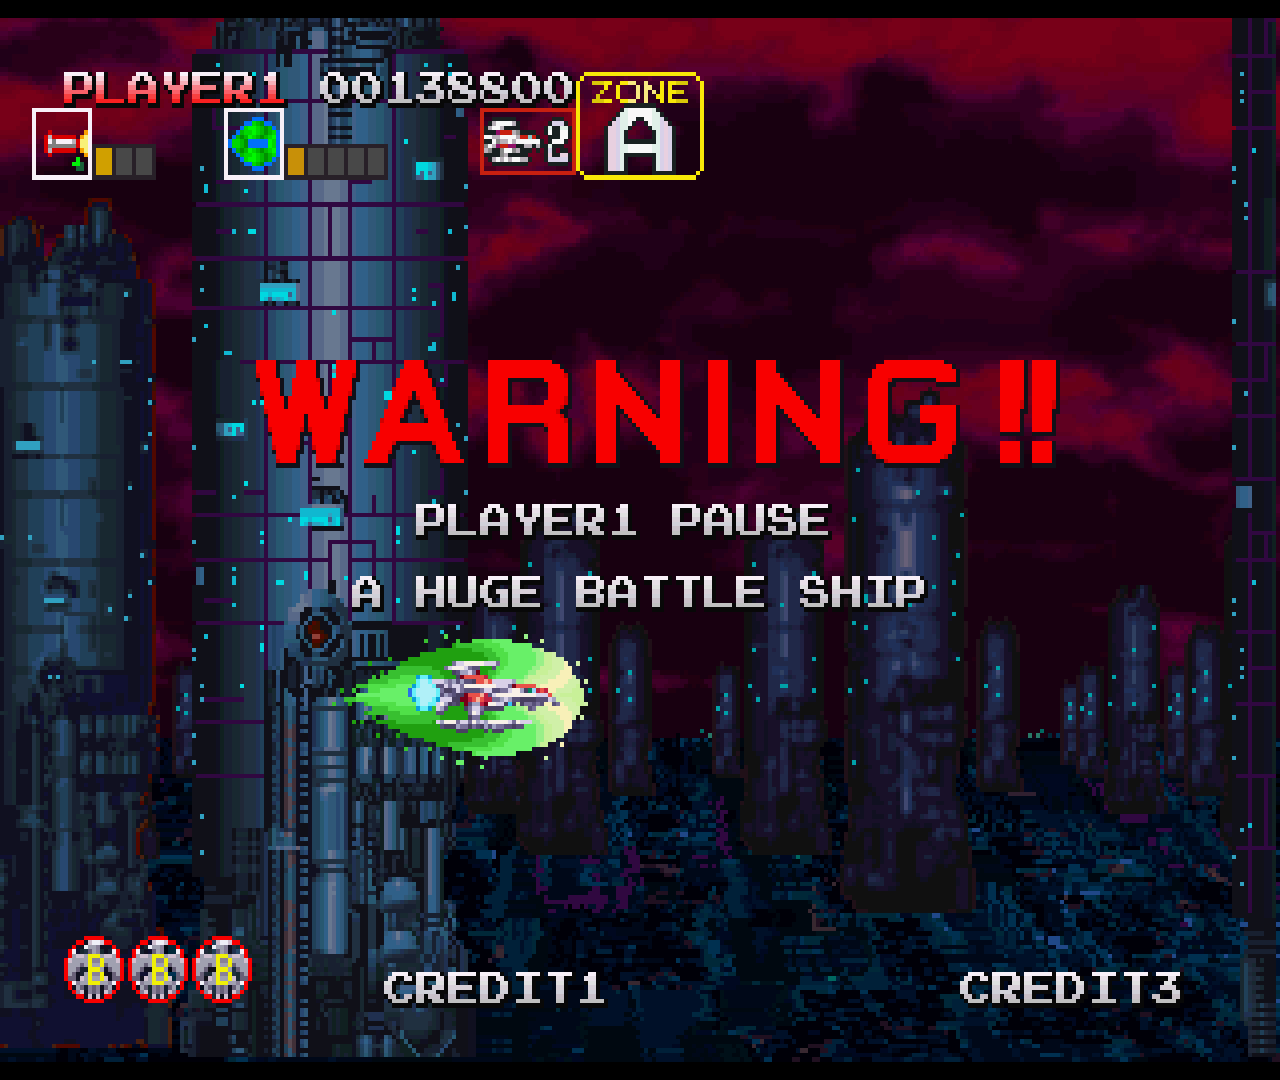
Figure 18 - There are quite a few settings to fight in and enemies to encounter
Figure 19 - Fighting the stage B boss with newly upgraded weapons
Detana Twinbee Yahoo! - Deluxe Pack
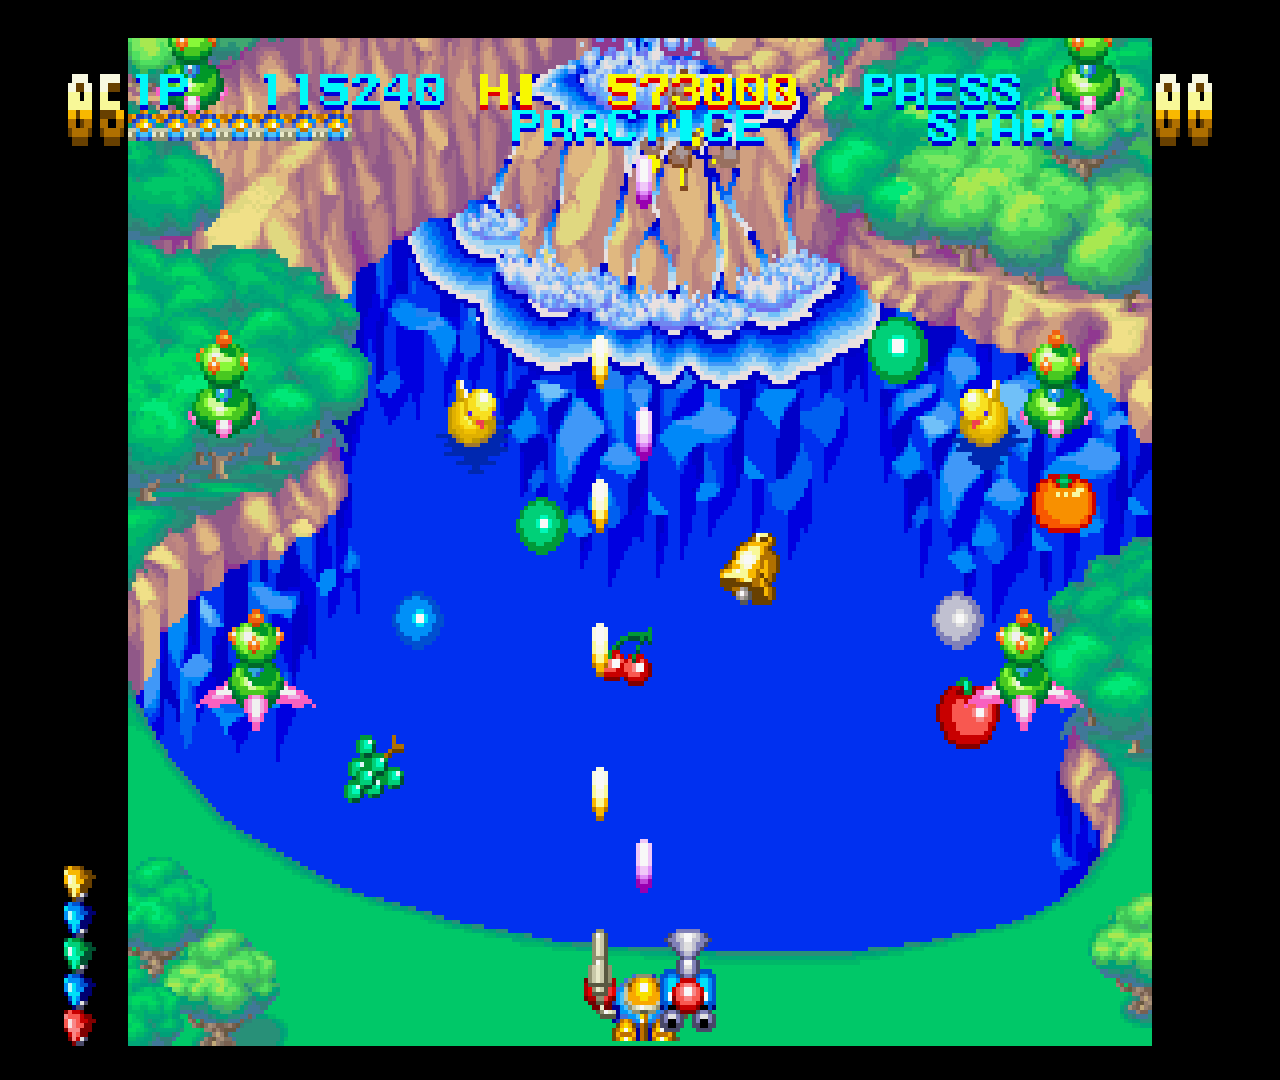
Yes, I have included another shooter on this list, which is another cute 'em up. In fact, this one is kind of over-the-top cute. It’s also an up-down scroller, not a side scroller.
As we have already had a couple of shooters, I will try to keep this short, as much as the game is pretty short. You can finish a run in about 30 minutes or less, but it’s a lot of fun to play, and if you put your skill level on easy it is fairly easy to beat, which makes it nice for children to play.
Figure 20 - Detana Twinbee Yahho! Deluxe Pack
Figure 21 - Cute anime style with nice, bright colors
You have two different attacks planes. Your regular shots go straight ahead and kill enemies in front of you, while the second attack drops bombs to destroy objects or enemies on the ground. You could actually just spam the two buttons at once to kill as many enemies as you can.
There is also a charge attack that consists of a giant fist that you throw ahead of you, doing quite a lot of damage. It is rather good for killing bosses or other big enemies. If you shoot at the clouds. they will drop bells which you can collect, or if you shoot at them, they bounce back and change color. Different colored bells give you different types of power ups, like a shield or more bullets.
Detana Twinbee comes with some nice anime cutscenes, which I don’t understand at all, but are fun to watch anyway. I highly recommend this game.
Elevator Action Returns
I briefly mentioned this game in September 2016 when I first talked about the Sega Saturn on ODROID. I still very much like this game.
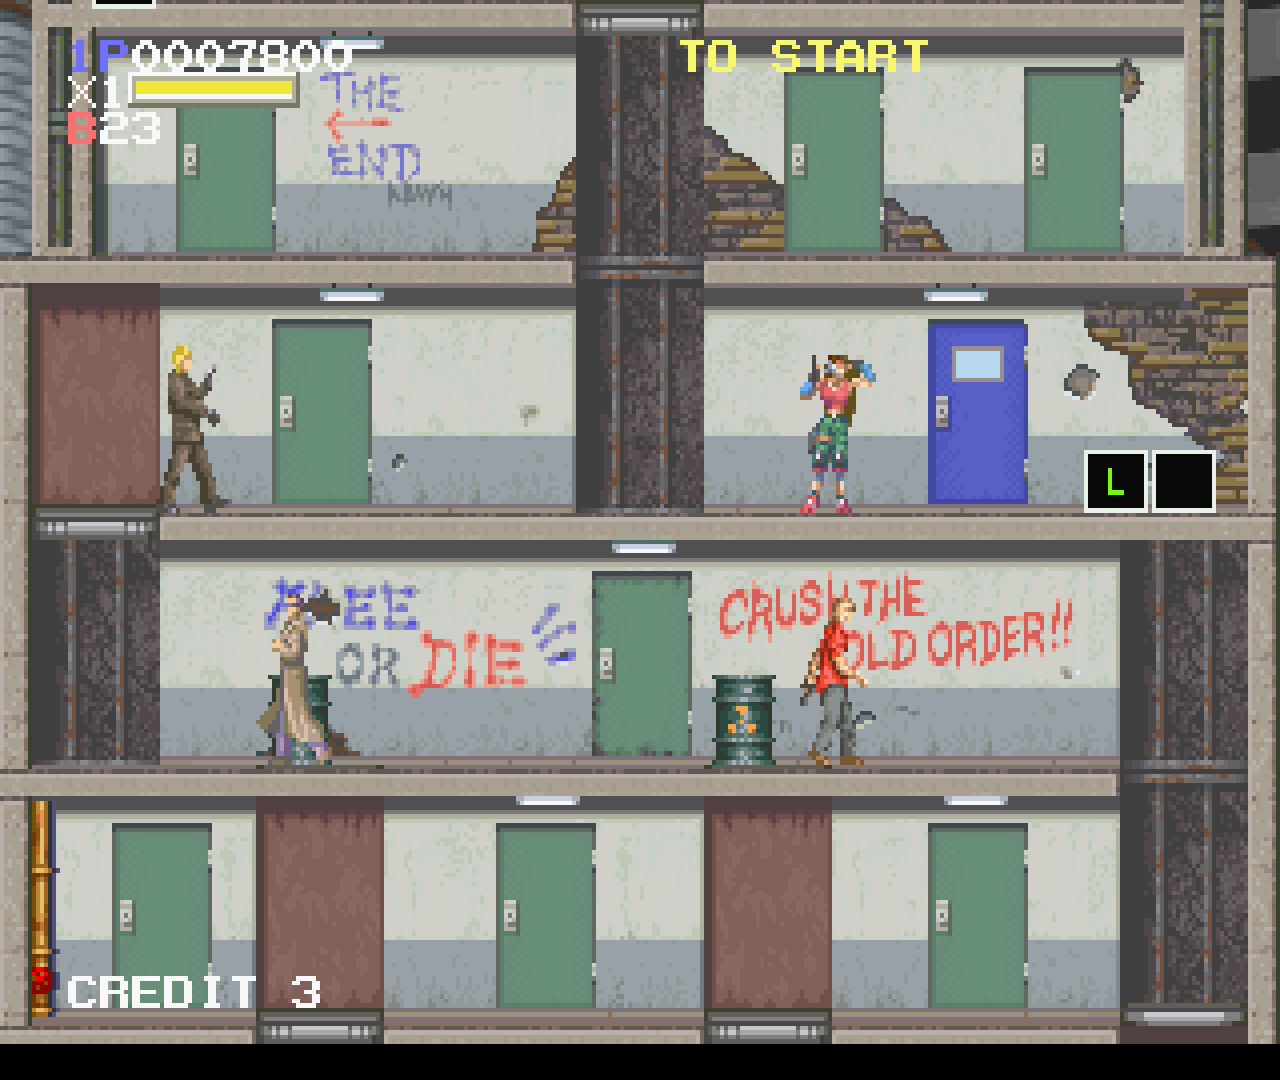
Figure 22 - After a nice intro you_re presented with a rather bland start screen
This game allows you to play with up to two people. The goal is to fight through a building by going up and down different elevators (that’s where the name comes from) and open different doors. Blue doors will give you an item such as extra bombs, points, and health, and red doors are mission objects. The goal is to open all red doors and then go to the exit.
Figure 23 - I just found some extra weapons
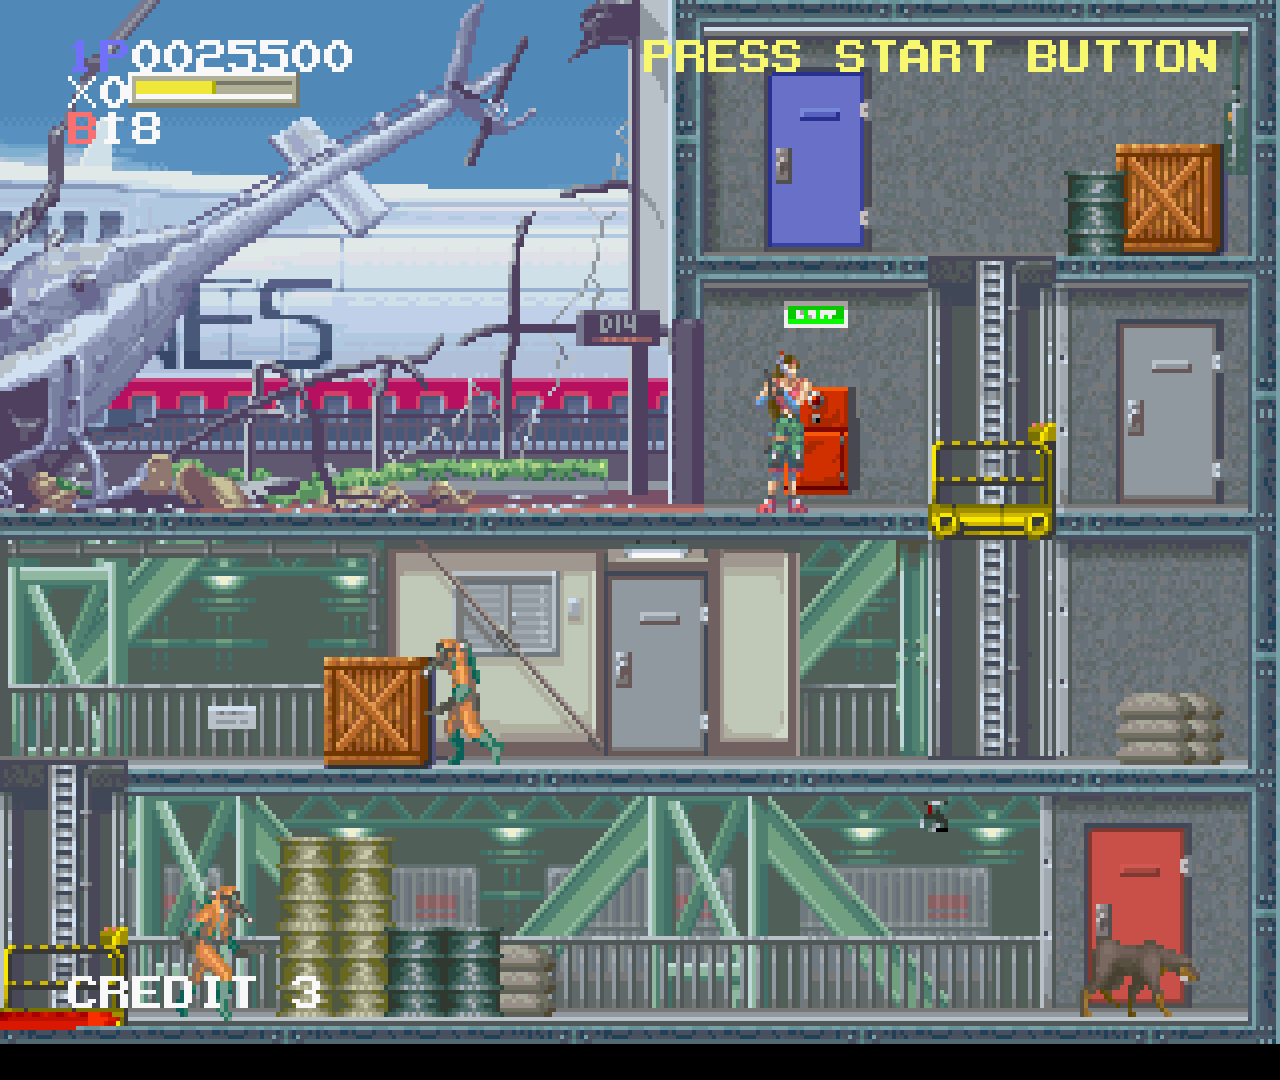
Figure 24 - Beautifully drawn graphics with lots of tiny details
I really enjoyed fighting through the different levels. If you like a good action shooter and want to blast some enemies alone or with a friend, this game is an amazingly fun way to do so. It runs nicely on the ODROID-XU3/XU4. I also highly recommend this game.
The following list contains games that deserve honorable mentions.
Brain Dead 13
Brain Dead 13 is a QuickTime full motion video (FMV) game, similar to Dragon’s Lair or Space Ace. I like it much better, though, as it allows you to choose your own path and is more forgiving, with unlimited lives/continues and the ability to save your progress. It has some minor graphical glitches, especially on the menu, but the game itself works perfectly fine.
Command and Conquer
The real-time strategy (RTS) classic Command and Conquer from Westwood was also ported to the Saturn. It plays surprisingly well considering it’s an RTS game, and you play it with a controller instead of a mouse. The Saturn version is the entire game including all videos and music from the DOS PC versions. It uses level codes for saving, and there are some issues with the videos, which are a little jumpy, but aside from that, it’s a nice experience, and except for the controls, it’s very similar to the PC DOS version.
Cyberia
Cyberia is a mix of a puzzle-solving adventure game and an arcade action shooter. It uses pre-rendered 3D videos to tell the story, which are a bit dated by today’s standards, and has some action elements such as shooting oncoming aircrafts or mines. The game is fully voice-acted which is very nice. It also automatically saves to system memory or memory card after each major step, and if you die, you can repeat the same stage over and over again.
DoDonPachi
DoDonPachi is another arcade shooter ported to the Saturn. This one is a bullet-fest, and they’re sometimes hard to avoid. For that reason, I enjoy playing the game most without frame skipping. The game is still fast-paced, so you don’t feel like you’re cheating that much. It offers Arcade and Saturn mode, where the Saturn mode can be configured to be a little bit easier than Arcade mode, with more lives, continues, and bombs at your disposal. I like this game a lot. It’s fun if you just want to shoot something.
Dragon Force
I had heard much praise for this game, and wanted to try Dragon Force myself. The graphics are good with anime videos, cutscenes, and nicely drawn characters, and even the game itself is pleasing with lots of story to read and things to do.
However, to be honest, I found Dragon Force quite hard to get into. There are a lot of options, but without reading the manual first, you have no clue what to do. I lost most of my battles at first until I figured out how the fighting worked. Even then, it was quite easy to lose if you made the wrong choices. I faced 30 archers against 10 Samurai and myself as a rather strong mage, and I still I got beaten. I probably need to put a lot more time into this game as it seems interesting, but the few hours I played the game I mostly ended up losing.
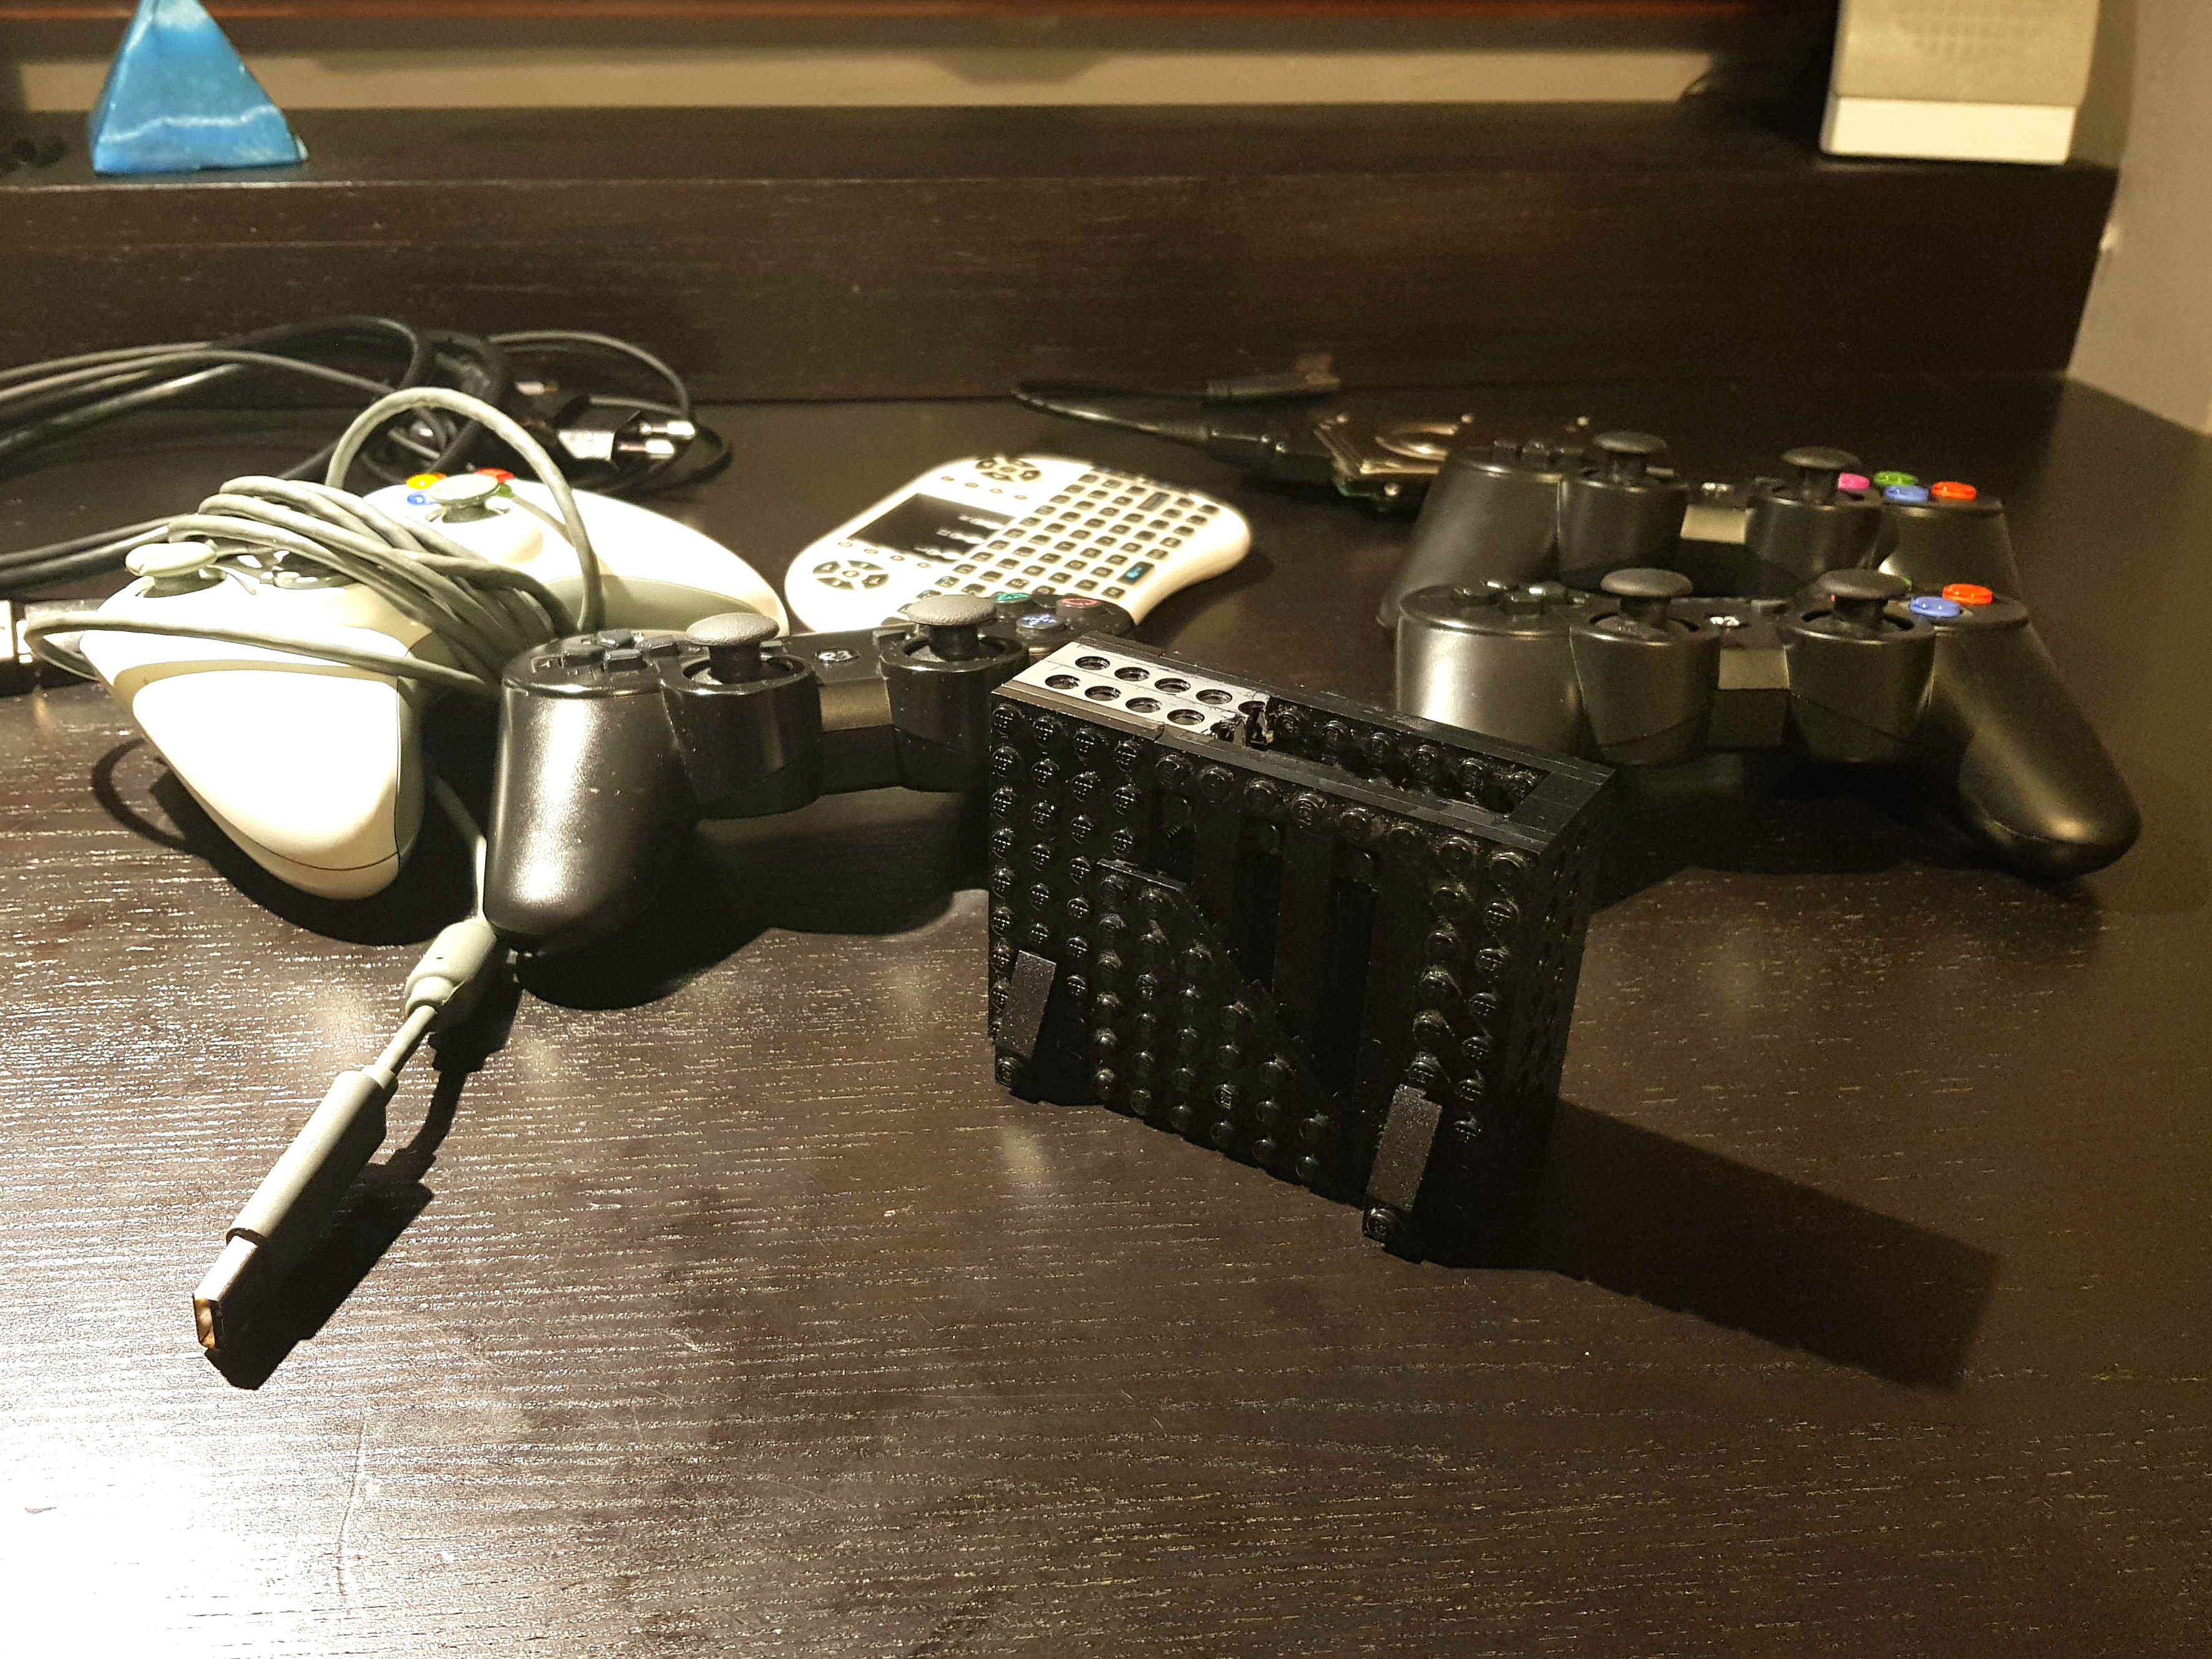
Gaming Console: Running Your Favorite Games On An ODROID-C2 Using Android
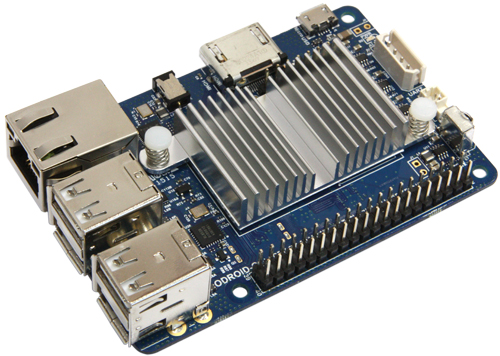
Figure 1 - Gaming console using an ODROID-C2 and Android 6
Materials
ODROID-C2
Bluetooth dongle
3 PS3 Bluetooth controllers
1 Xbox360 wired controller
Wireless keyboard
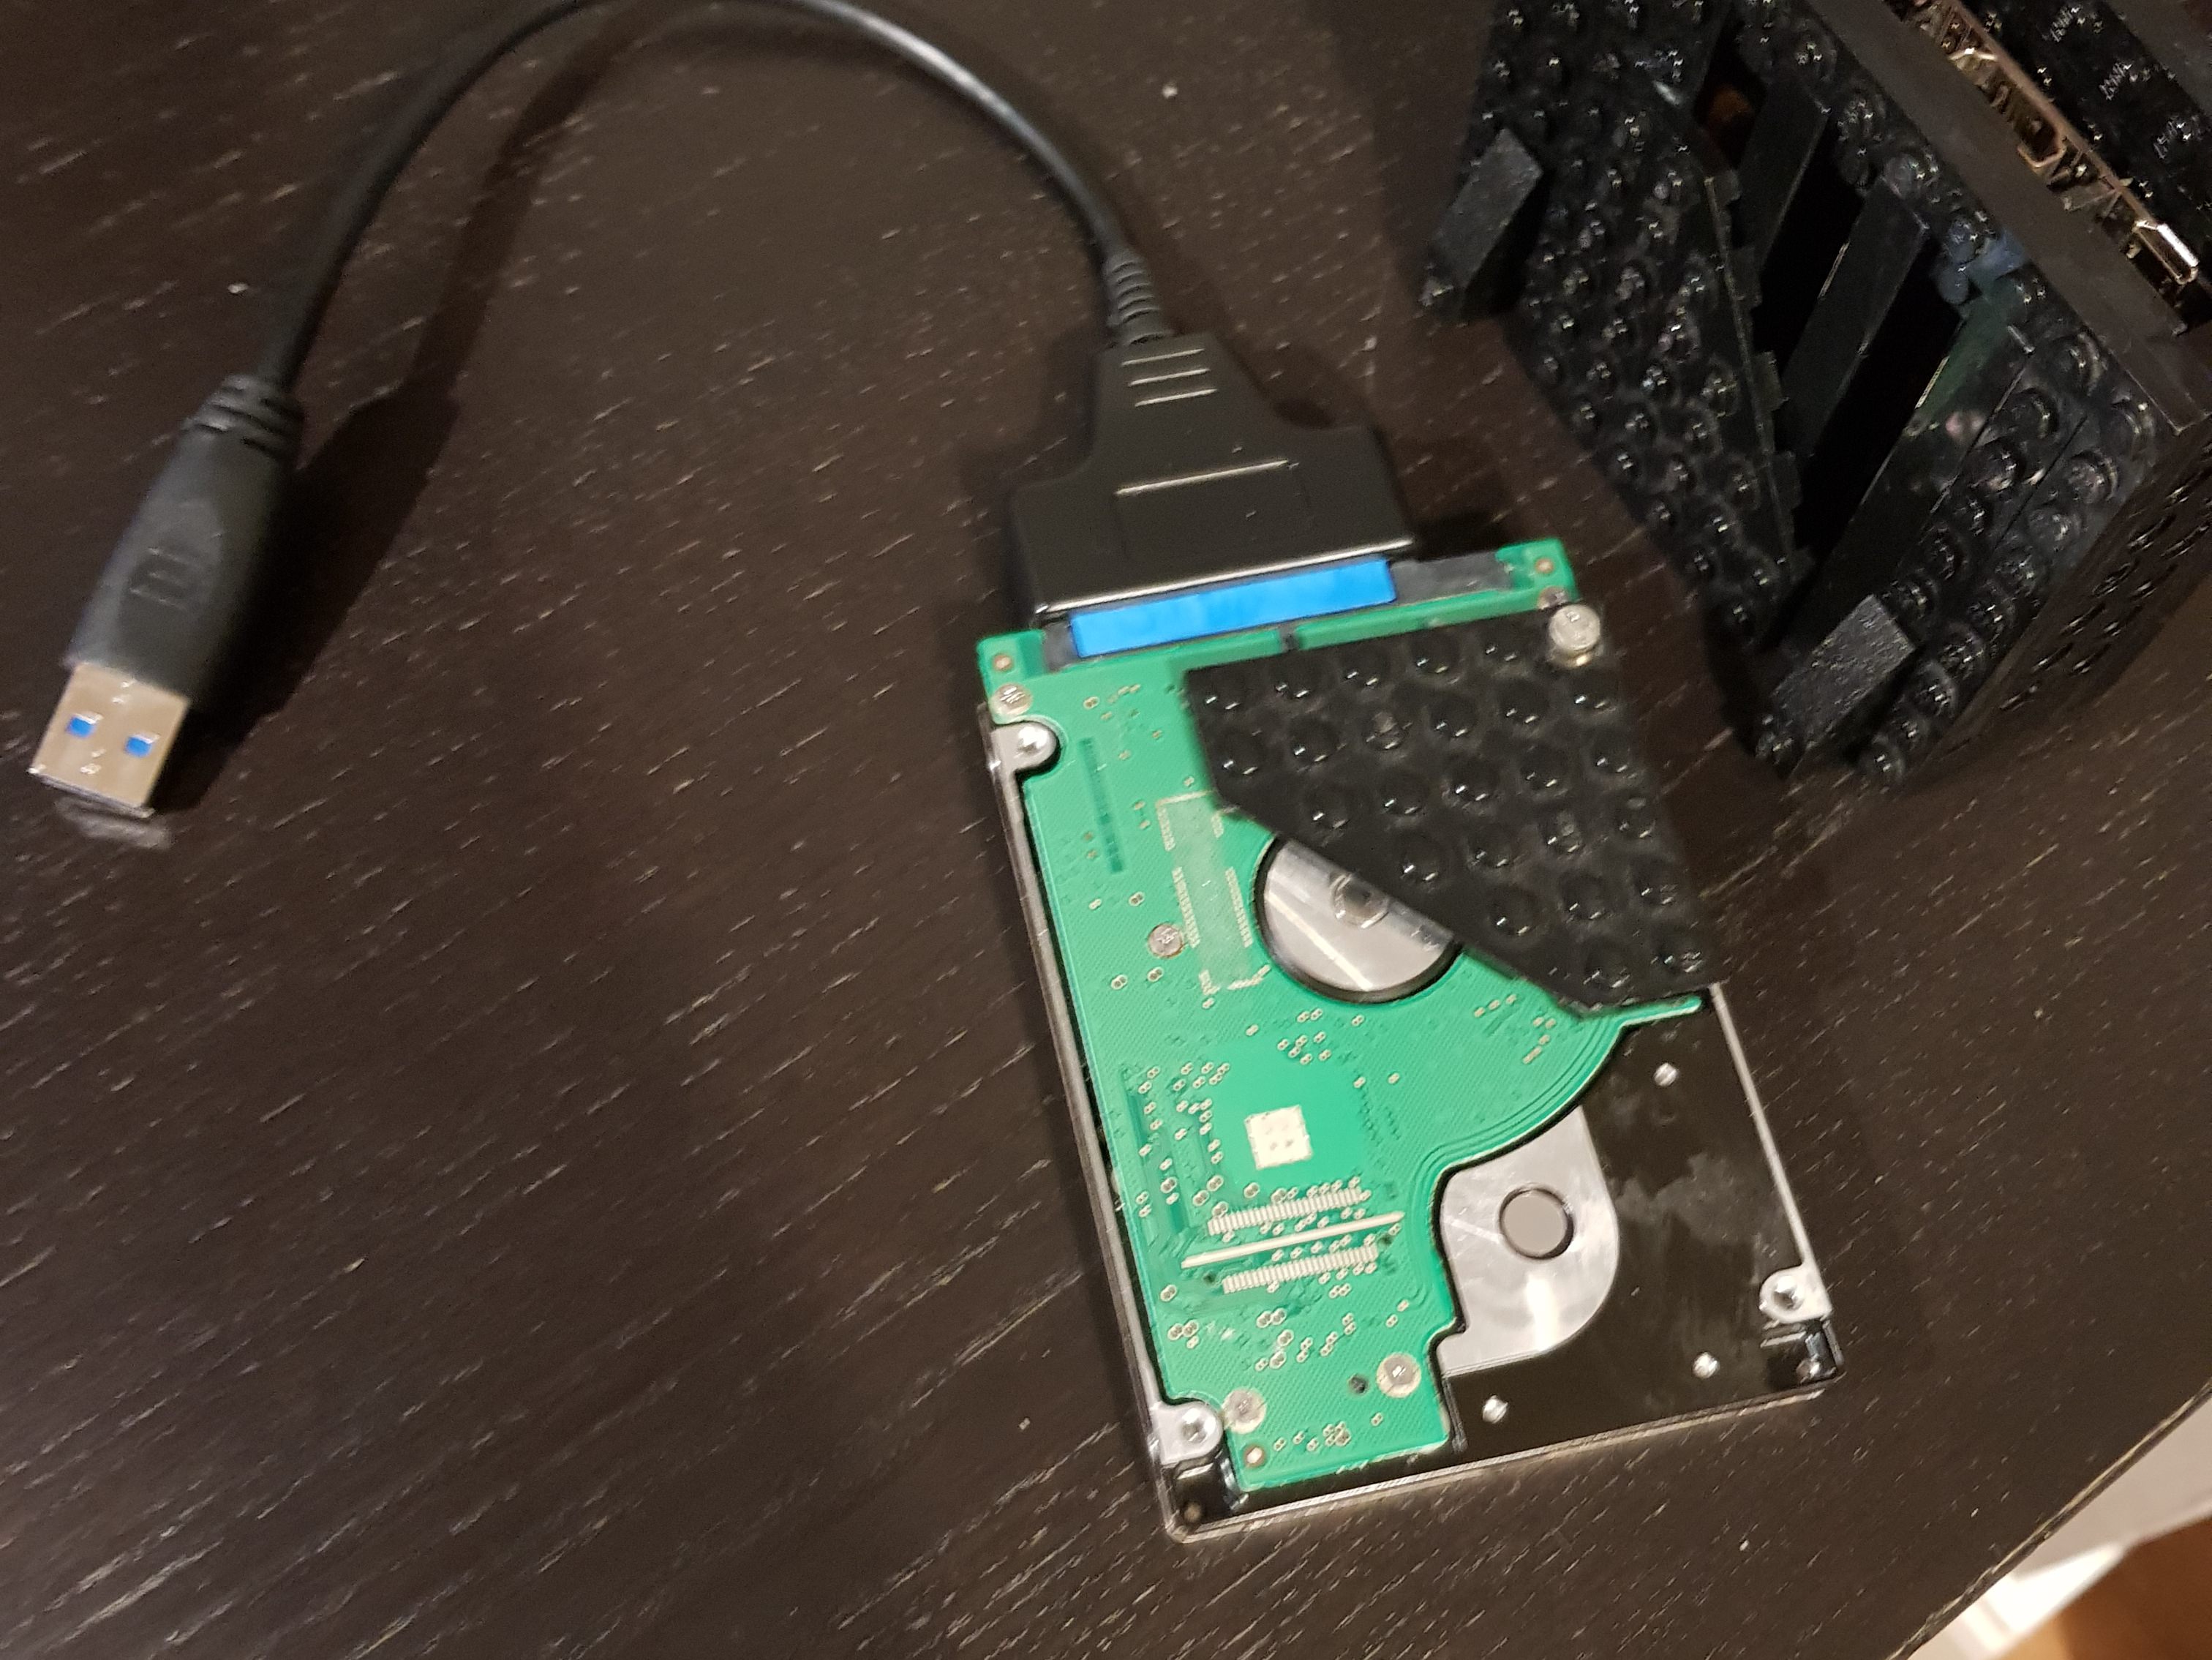
2.5” HDD with USB adapter
5v2a usb charger
HDMI cable
I keep everything in a nice laptop bag. It’s "almost DIY", since Android is not Retropie. You have to configure everything by yourself if you're going to use it for gaming purposes. It took me some time to choose the right apps to use, but now it's working the way that I intended.
Software
Emulators: EPSXE opengl, Mupen64fz, Retroarch, and Reicast
Sixaxis controller to allow PS3 controllers configuration
Sambadroid for sharing the SD card through the LAN
Mixplorer as a file manager
HAL launcher
Teamviewer host
Droidmote server for using a smartphone as remote/ controller
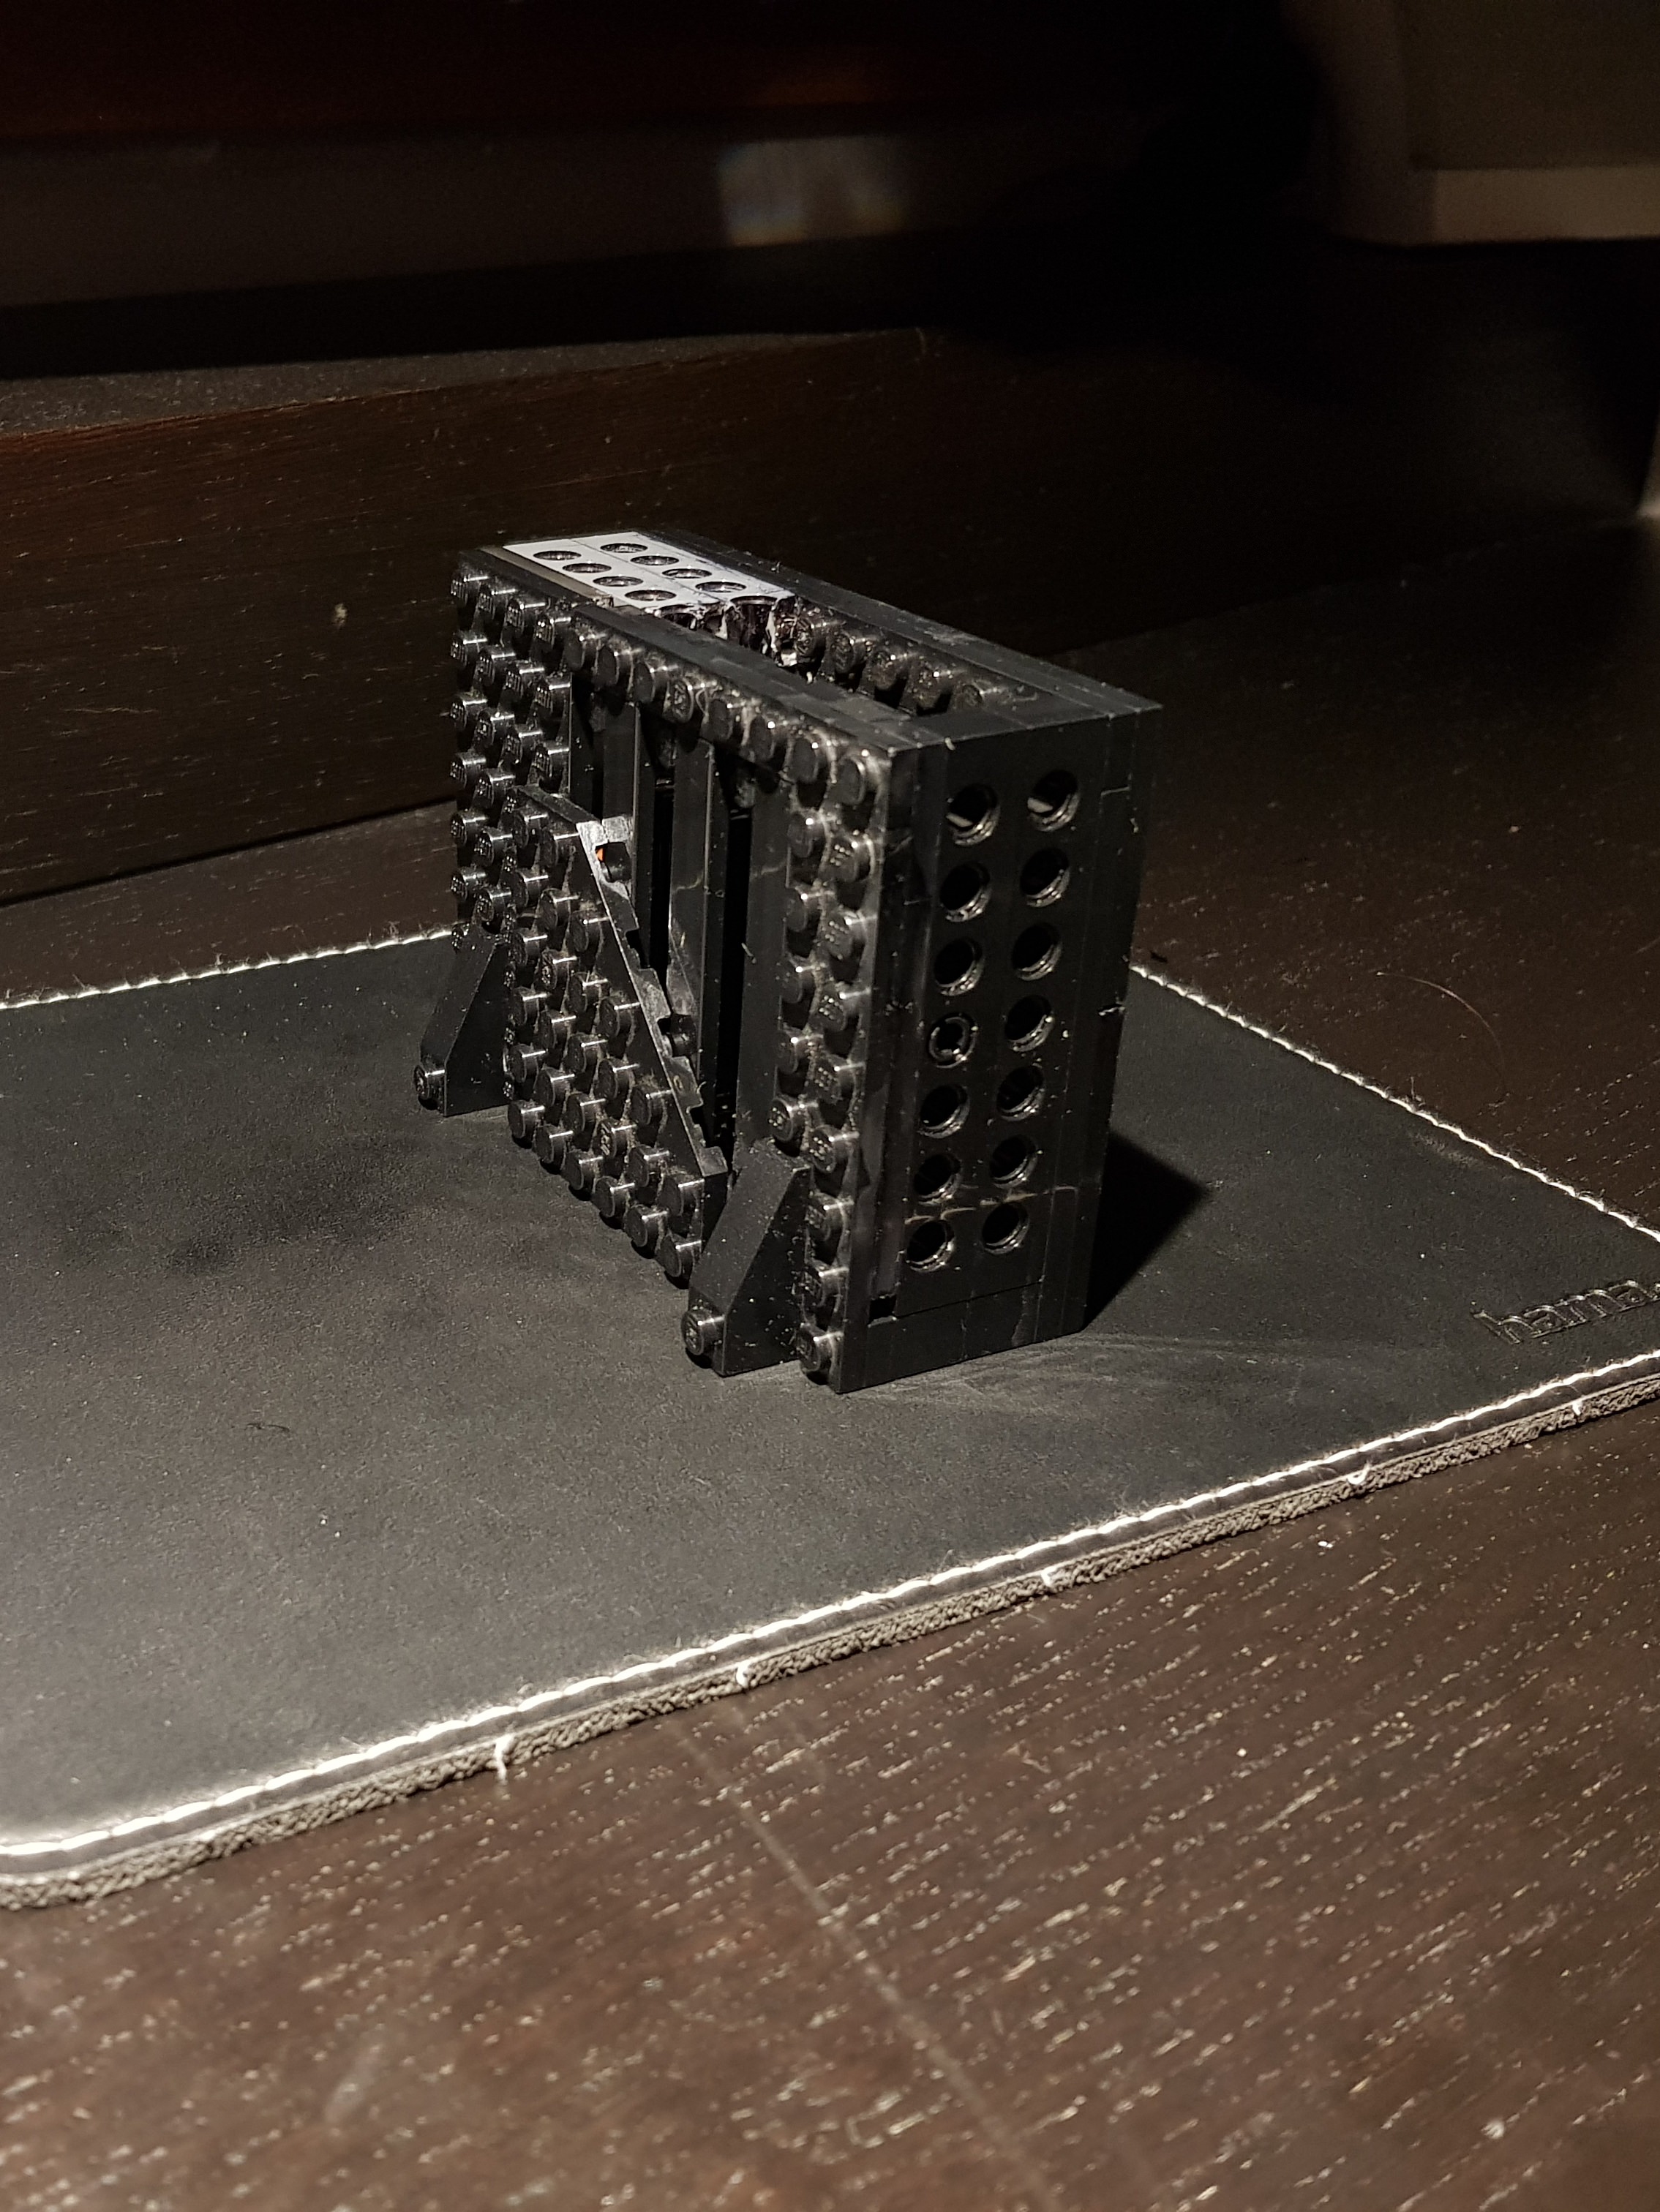
Figure 2 shows the Lego case that I made with some pieces lying around. I love it, even if I had to cut some pieces. I keep it vertical because apparently it never gets hot)
Figure 2 - Lego case
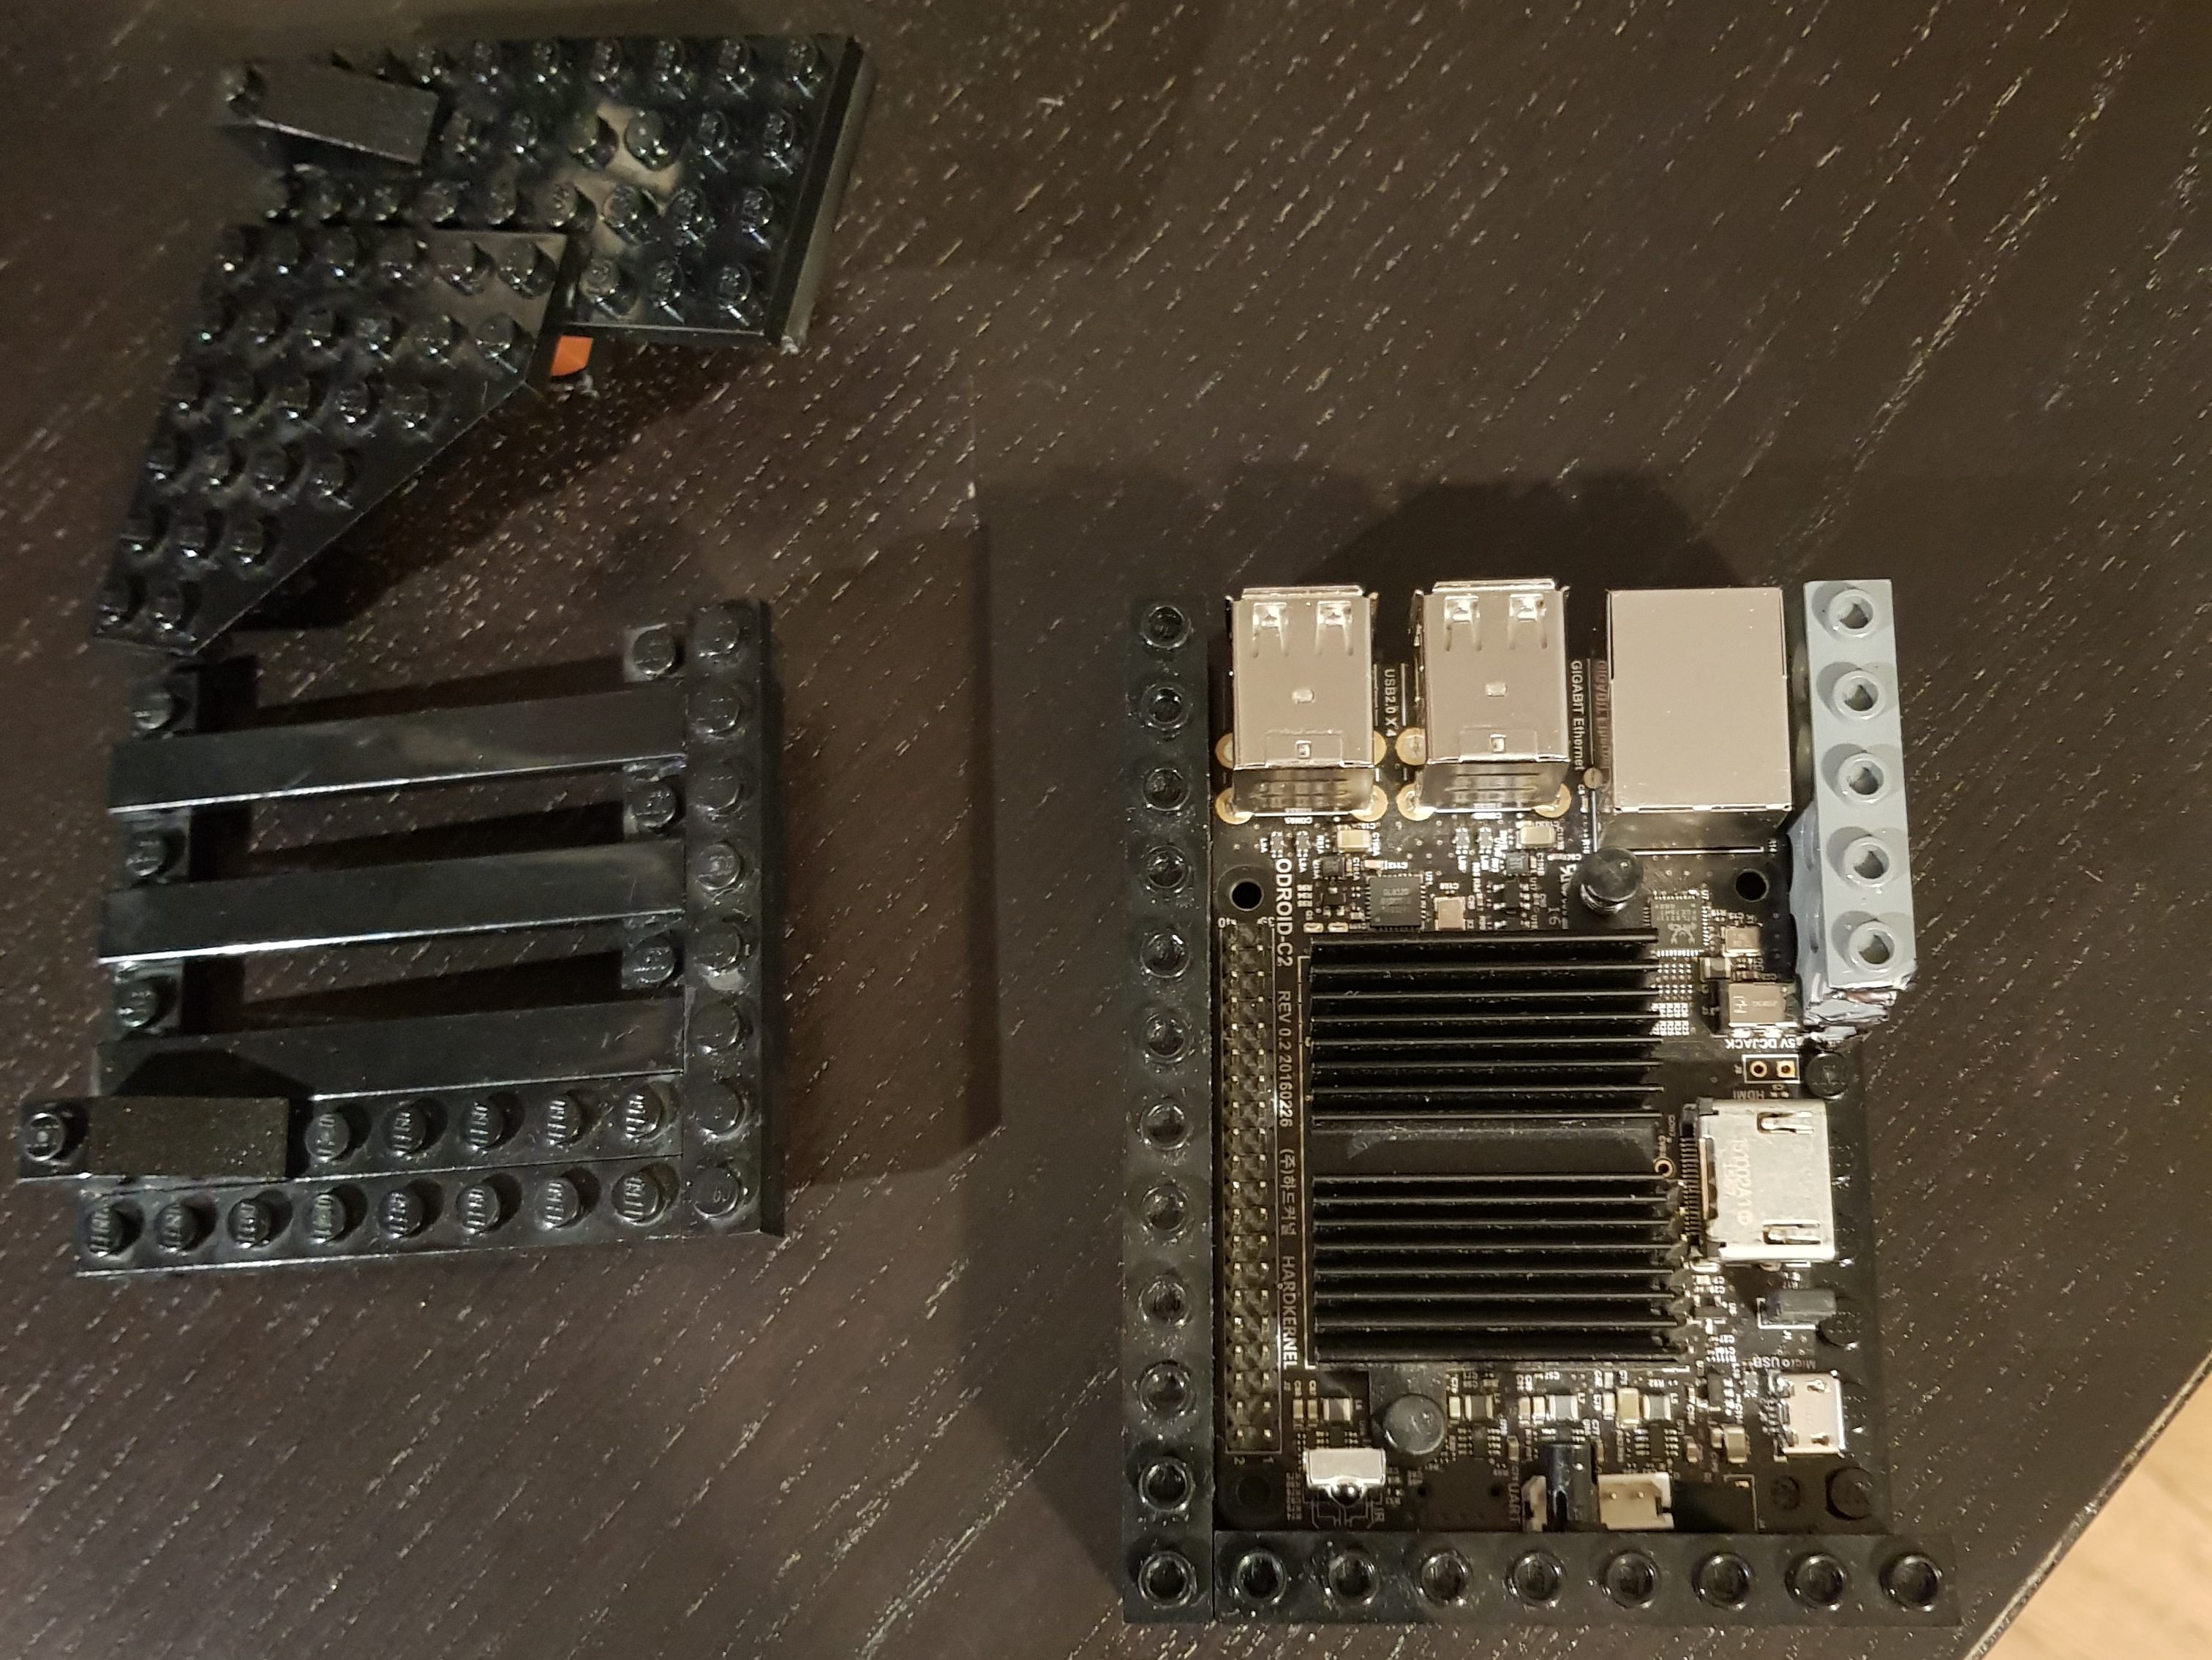
As seen in the Figure 3, all of the pieces are glued together, except the upper part.
Figure 3 - Glued parts of case
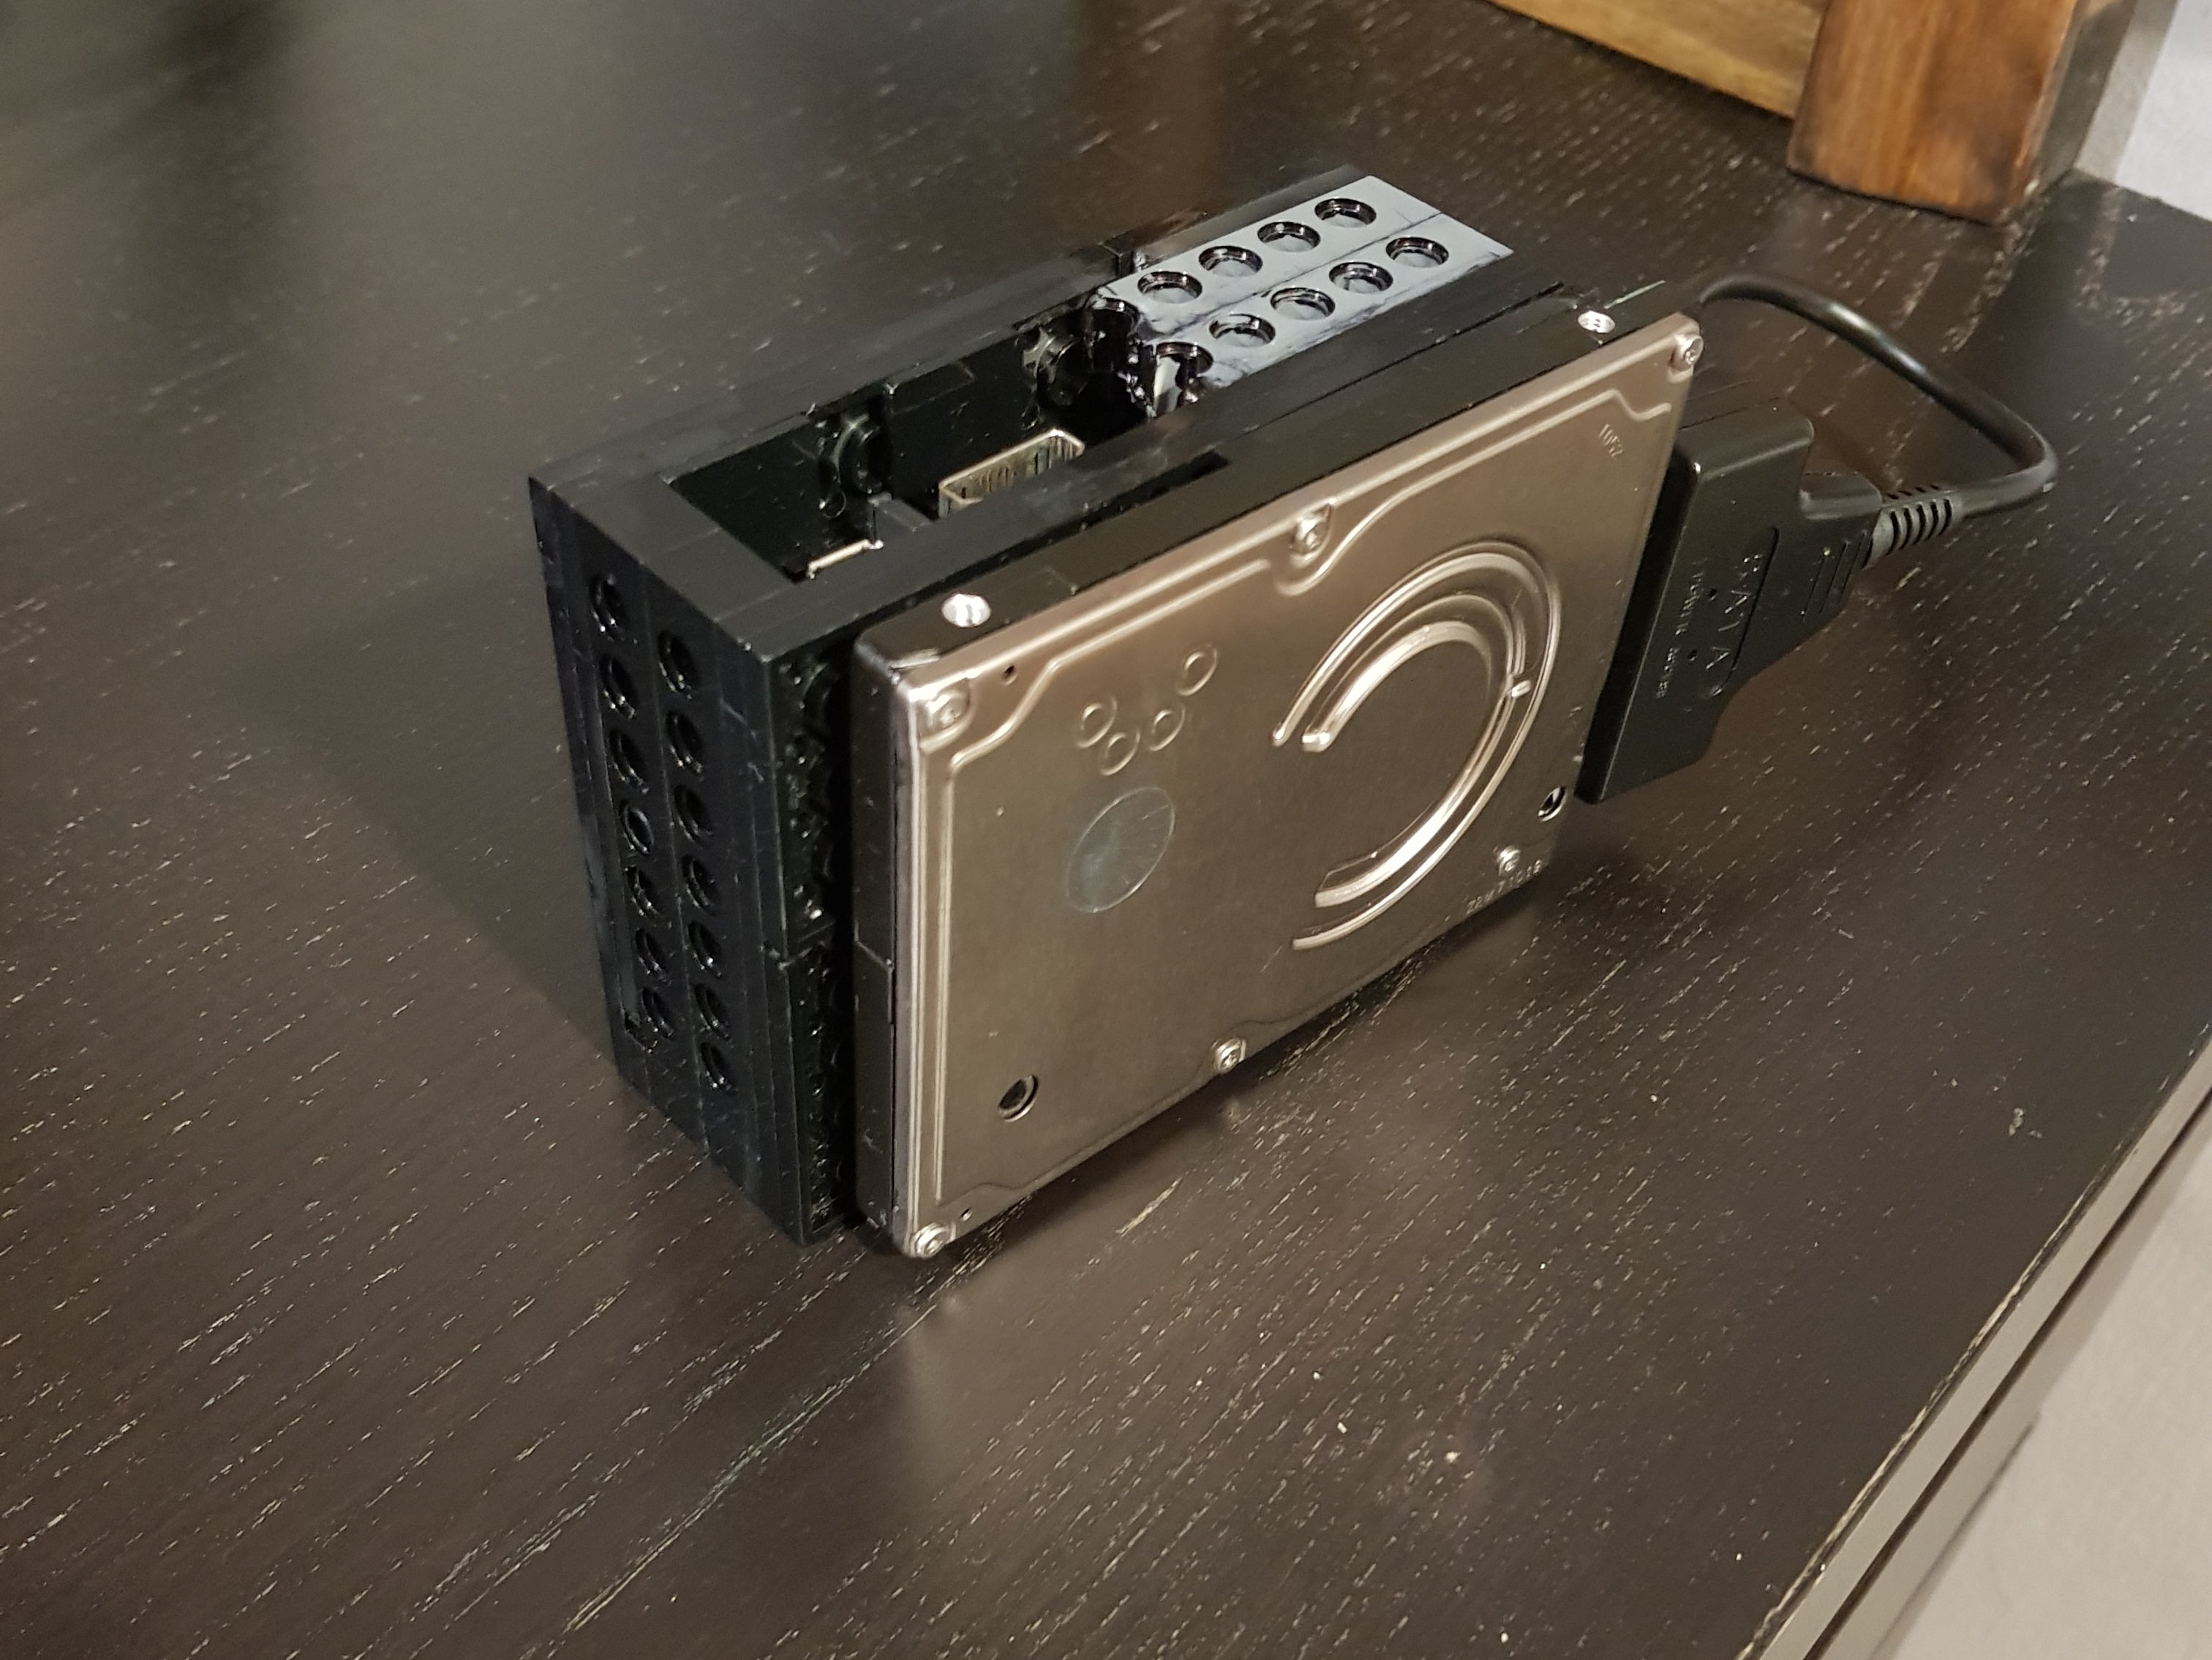
Figure 4 reflects the attachment and use of a standard hard drive (HDD). Note that the HDD matches the lego case size almost perfectly and gives it a neat look. I typically use it when I want to watch a movie.
Figure 4 - HDD attached
The lego case did the trick as can be seen in Figure 5.
Figure 5 - Lego pieces working well as parts of a case
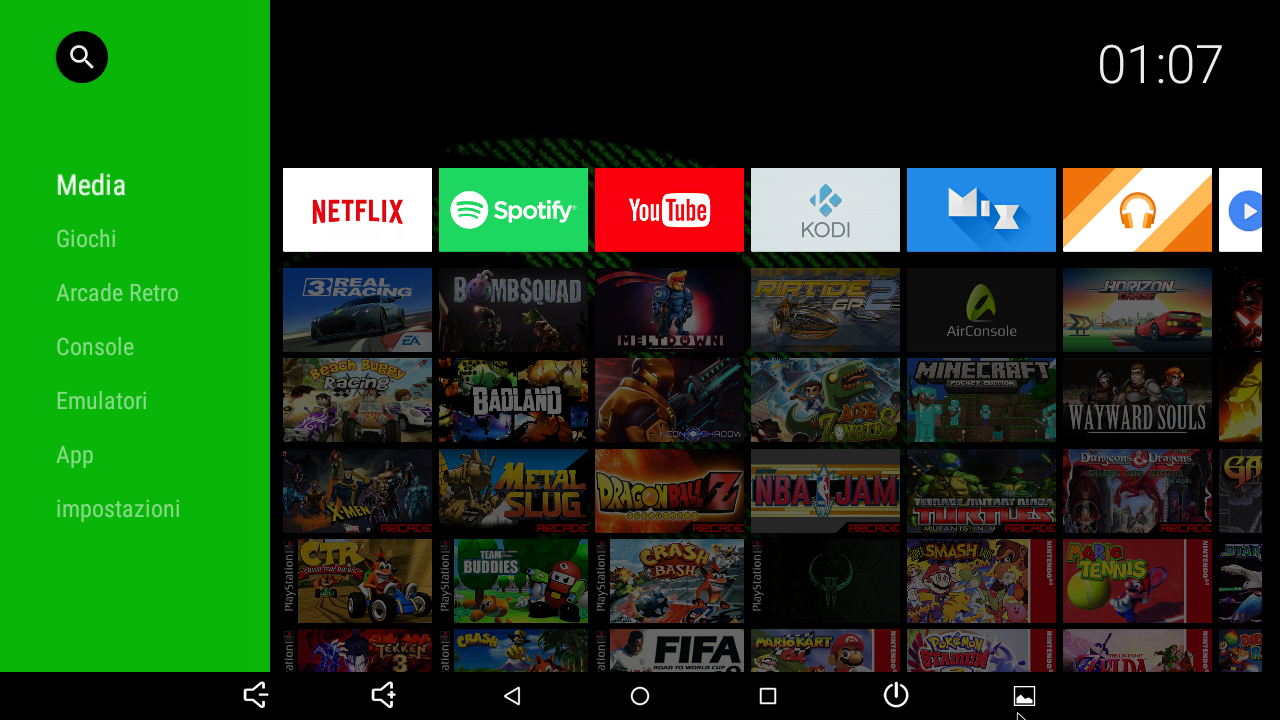
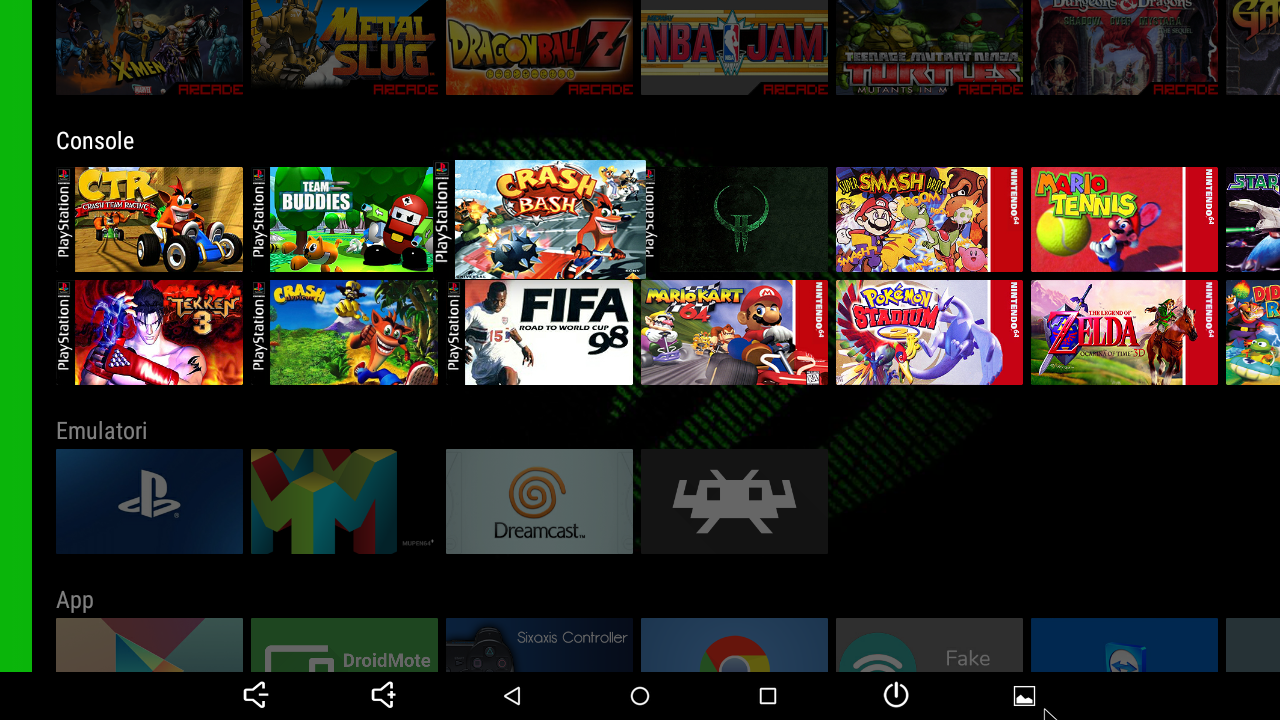
Figure 6 is the Home Screen HAL Launcher with customized settings for this Nvidia inspired look.
Figure 6 - Home screen
After manually adding game links to the Home Screen, it should look like Figure 7. Each game has its own customized tile, which I made with Photoshop. That was a lot of work, but I could not be happier, since it looks amazing. I prefer it over the various game front-ends because I do not have hundreds of games.
Figure 7 - Gaming links on Home Screen
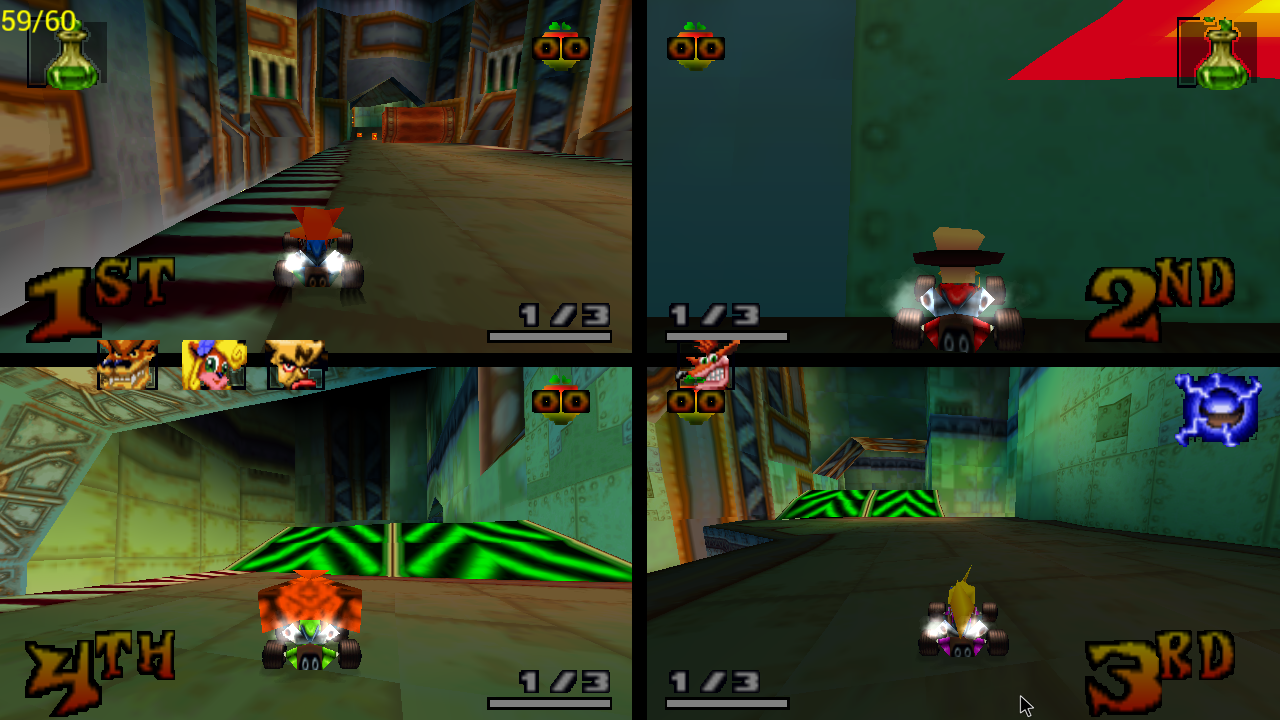
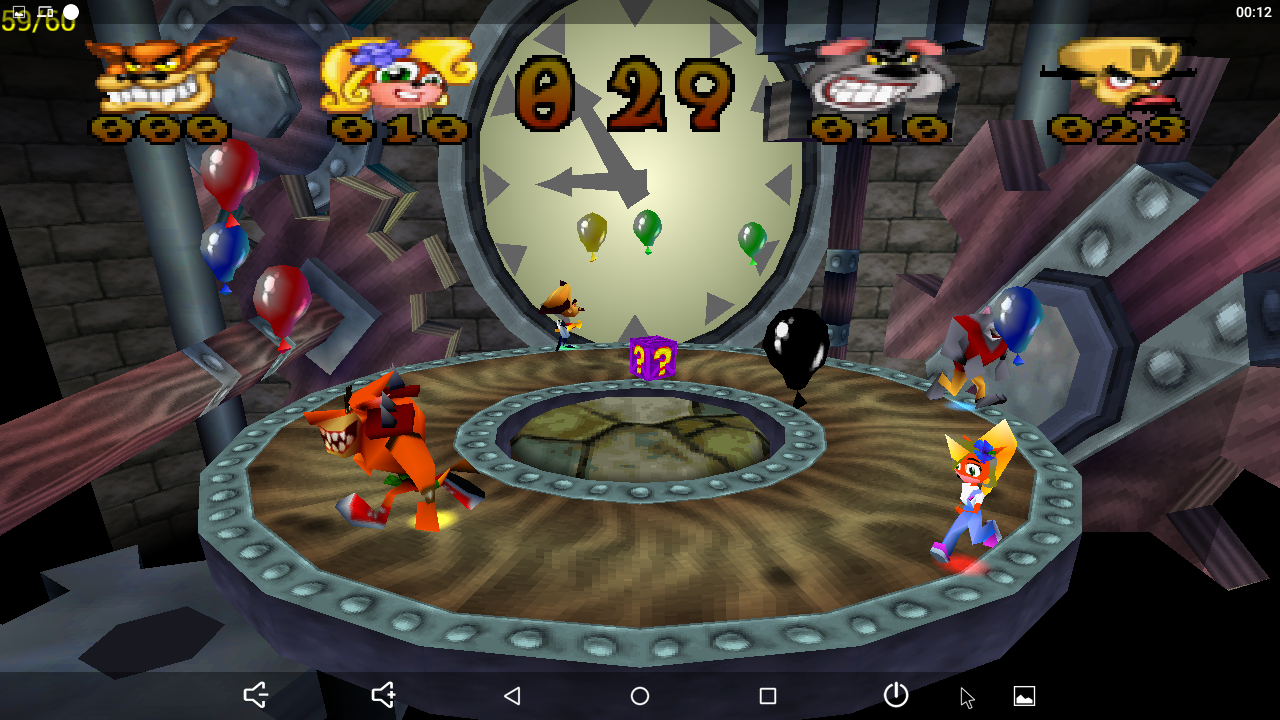
Figure 8 shows the Crash Team Racing running on ePSXe with OpenGL plugin with enhanced graphics and multi threading. The labels are darker, but that is the best configuration I could come up for the little ODROID-C2.
Figure 8 - Crash Team Racing
Figure 9 is Quake II running on ePSXe, playing with modern fps customized controls.
Figure 9 - Quake II
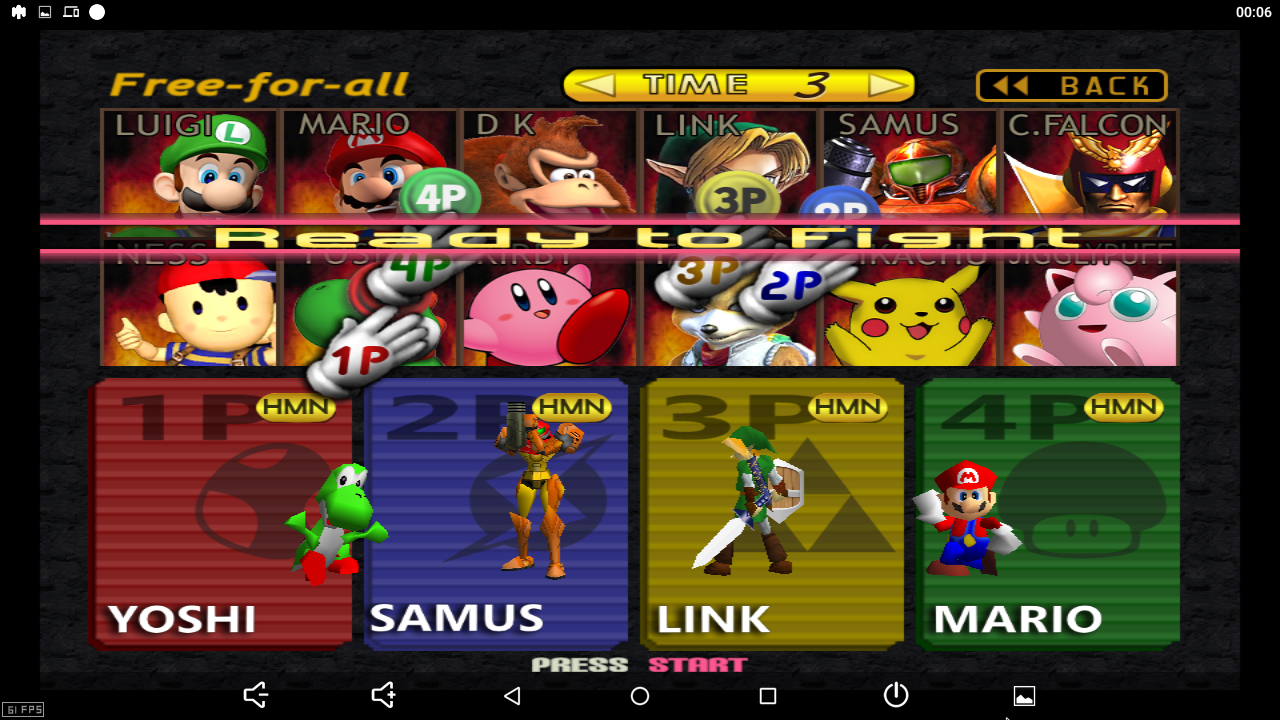
Figure 10 shows Super Smash Bros on Mupen64fz with high-res textures pack and a widescreen hack. It is the same for other n64 games.
Figure 10 - Super Smash Bros
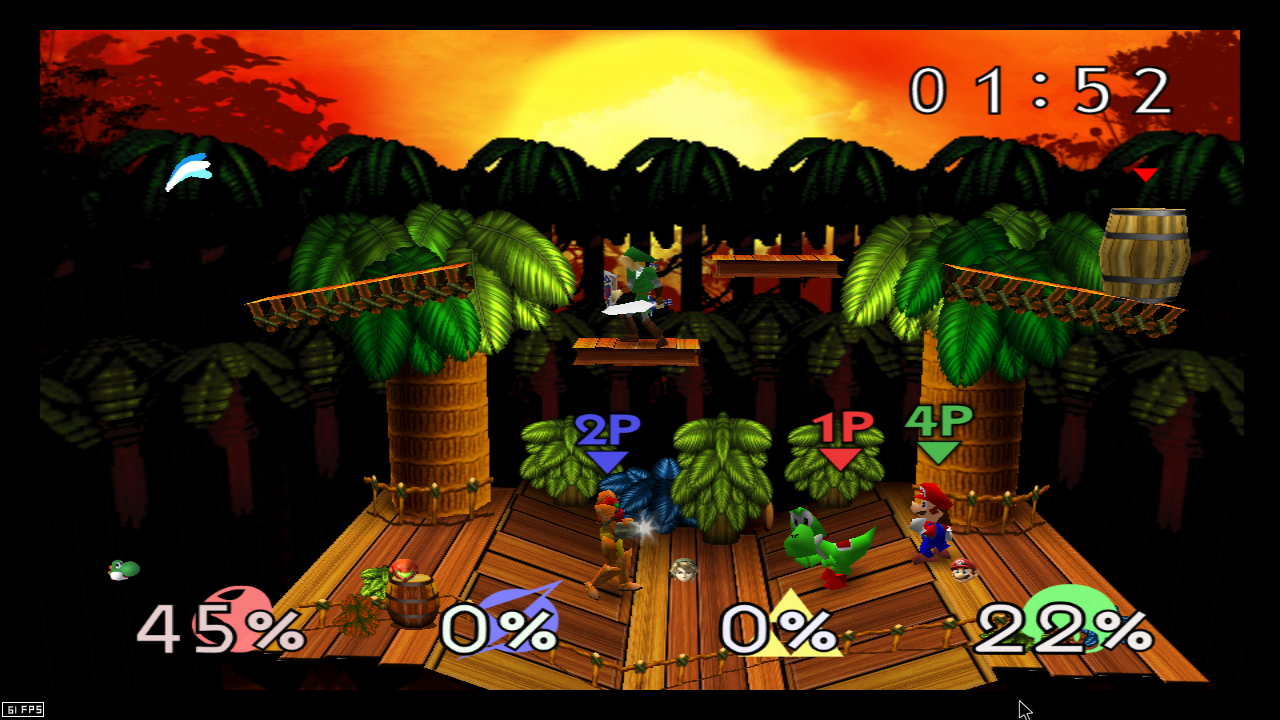
Figure 11 demonstrates a game running in 60 fps, which looks beautiful.
Figure 11 - 60 fps option
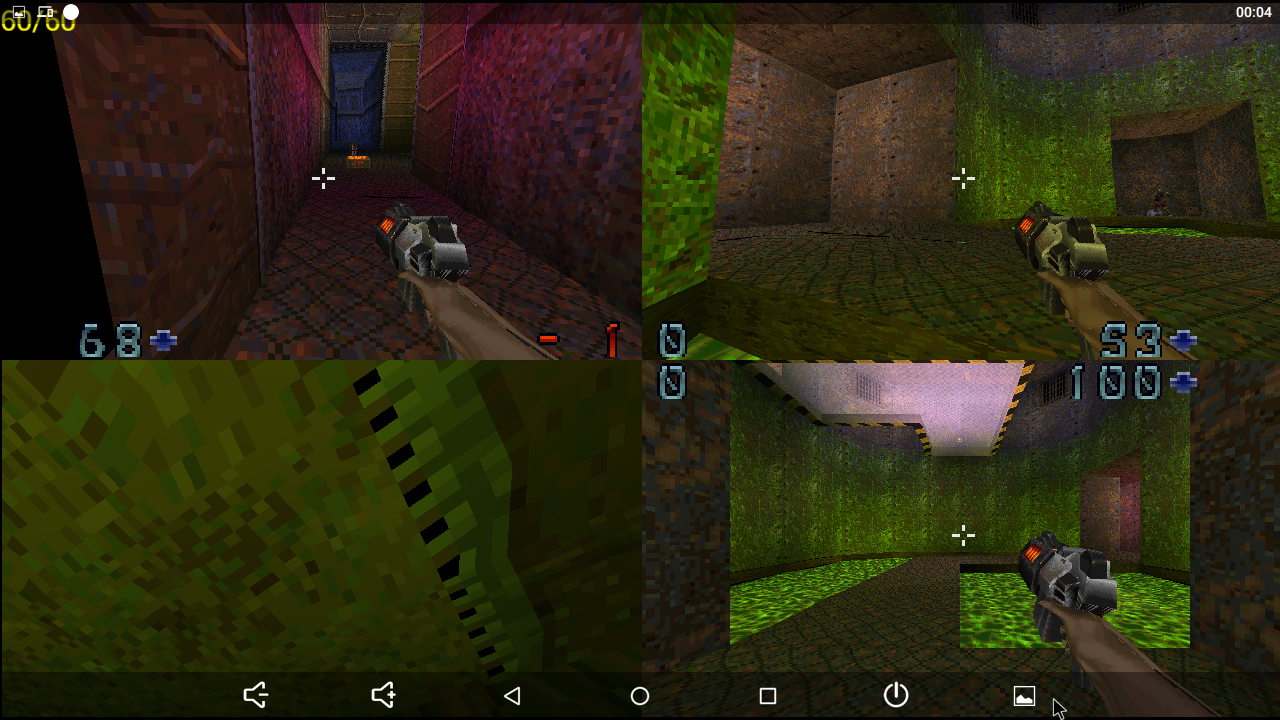
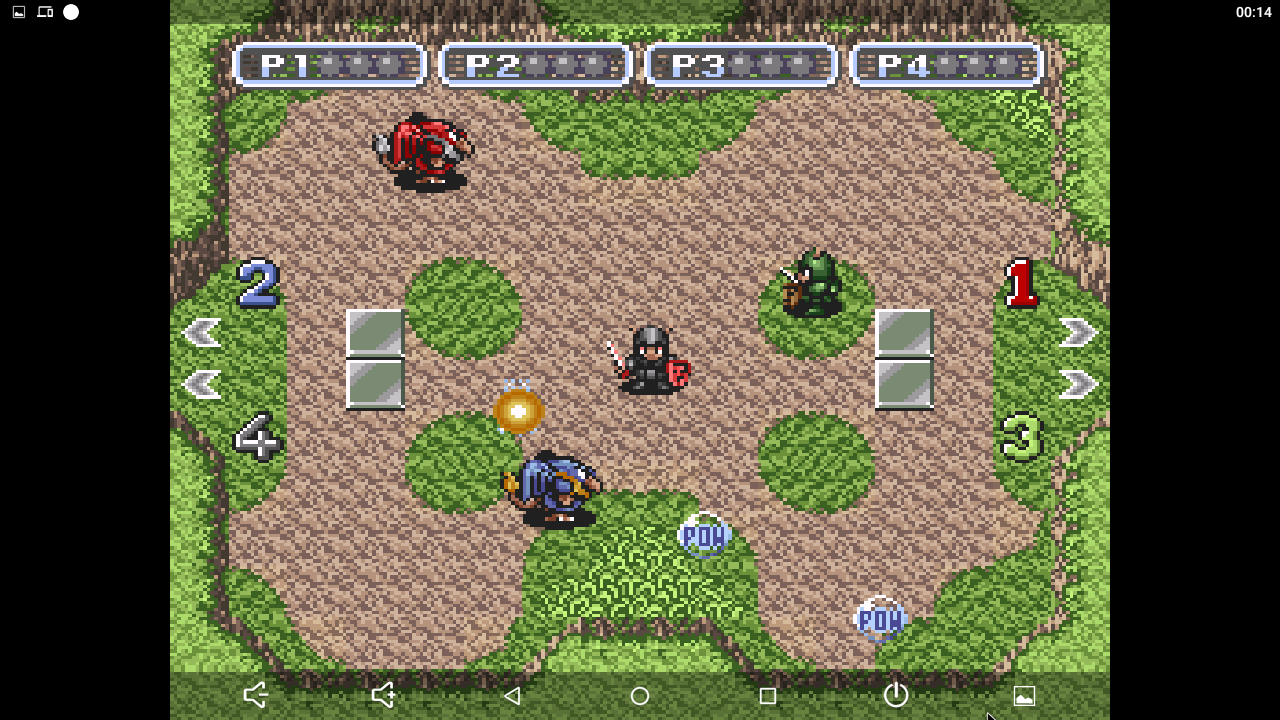
Figure 12 is one of the very few games on Android that supports 4 players in a screen as well as gamepads.
Figure 12 - Multi-player game
Figure 3 is a screenshot of Firestrikers for SNES.
Controller Area Network (CAN) Bus: Implementation for ODROID-C1+ and ODROID-XU4
February 1, 2018By Justin LeeODROID-C1+, ODROID-XU4, Tinkering, Tutorial
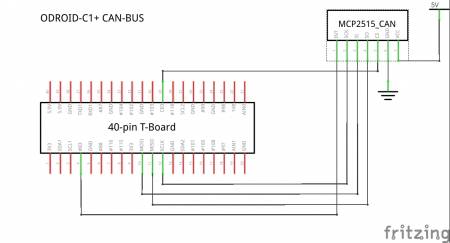
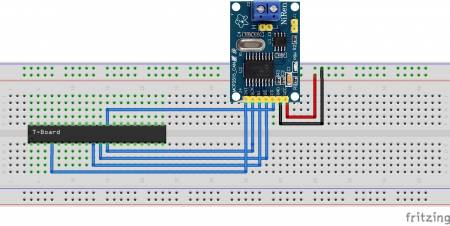
This article explains how to enable the CAN bus on ODROID-C1/C1+/C0 via HW SPI interface. Detailed instruction to exchange data with a MCP2515 Bus Monitor board is also documented.
H/W connection
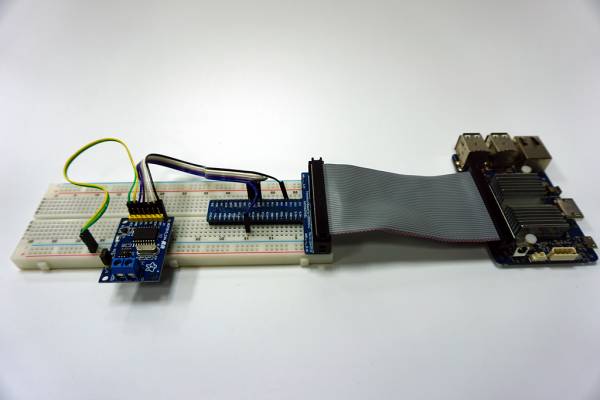
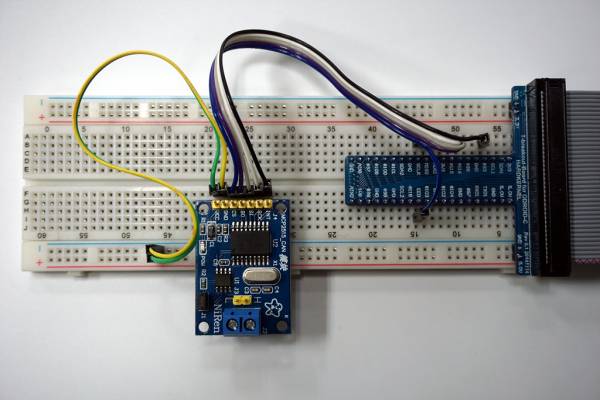
The following products are required to configure the hardware:
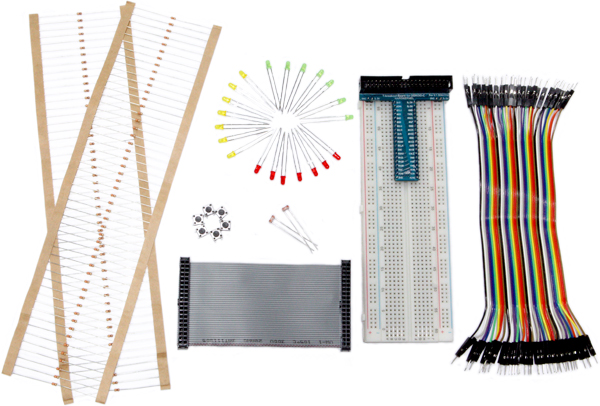
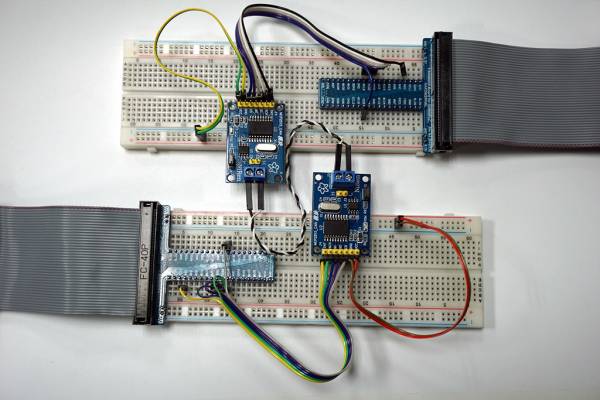
Figure 6 - Connect the CAN module and ODROID-C1 using tinkering kit
Before installing the software, you must modify the mcp2515 driver to set the amlogic GPIO IRQ. Apply this patch to your kernel. Unzip the zip file and type “git apply odroid-c1-mcp251x.patch”. Then, edit arch/arm/boot/dts/meson8b_odroidc.dts and uncomment the can0 section.
Enable the CAN controller kernel driver
ODROID-C1 platform with a MCP2515 chip the configuration is: Linux Kernel Configuration > Networking support > CAN bus subsystem support > CAN device drivers > Platform CAN drivers with Netlink support > CAN bit-timing calculation > Microchip MCP251x SPI CAN controller
Then, reflash the kernel and root file system. See these instructions for how to build and install the kernel.
Verifying CAN support configuration
Load all the required drivers, using the sudo password of “odroid”:
# ls /sys/class/net/
can0  eth0  ip6tnl0  lo  sit0
# ifconfig can0
can0      Link encap:UNSPEC  HWaddr 00-00-00-00-00-00-00-00-00-00-00-00-00-00-00-00
          NOARP  MTU:16  Metric:1
          RX packets:0 errors:0 dropped:0 overruns:0 frame:0
          TX packets:0 errors:0 dropped:0 overruns:0 carrier:0
          collisions:0 txqueuelen:10
          RX bytes:0 (0.0 B)  TX bytes:0 (0.0 B)
Power on the CAN hardware
Set the bitrate before all operations, similar to the following example where the bitrate of the can0 interface is set to 125kbps:
# ip link set can0 type can bitrate 125000 triple-sampling on
# ifconfig can0 up
# ifconfig
can0      Link encap:UNSPEC  HWaddr 00-00-00-00-00-00-00-00-00-00-00-00-00-00-00-00
          UP RUNNING NOARP  MTU:16  Metric:1
          RX packets:0 errors:0 dropped:0 overruns:0 frame:0
          TX packets:0 errors:0 dropped:0 overruns:0 carrier:0
          collisions:0 txqueuelen:10
          RX bytes:0 (0.0 B)  TX bytes:0 (0.0 B)

eth0      Link encap:Ethernet  HWaddr 00:1e:06:10:18:1c
          UP BROADCAST MULTICAST  MTU:1500  Metric:1
          RX packets:0 errors:0 dropped:0 overruns:0 frame:0
          TX packets:0 errors:0 dropped:0 overruns:0 carrier:0
          collisions:0 txqueuelen:1000
          RX bytes:0 (0.0 B)  TX bytes:0 (0.0 B)
          Interrupt:40

lo        Link encap:Local Loopback
          inet addr:127.0.0.1  Mask:255.0.0.0
          inet6 addr: ::1/128 Scope:Host
          UP LOOPBACK RUNNING  MTU:65536  Metric:1
          RX packets:1360 errors:0 dropped:0 overruns:0 frame:0
          TX packets:1360 errors:0 dropped:0 overruns:0 carrier:0
          collisions:0 txqueuelen:0
          RX bytes:108256 (108.2 KB)  TX bytes:108256 (108.2 KB)
Installing SocketCAN utils
The package “can-utils” is a collection of CAN drivers and networking tools for Linux. It allows interfacing with CAN bus devices in a similar fashion as other network devices.
$ sudo apt install can-utils
Type the following commands to perform a loopback test on a single CAN port:
# ifconfig can0 down
# ip link set can0 type can bitrate 125000 loopback on
# ifconfig can0 up
# ip -details link show can0
5: can0: <NOARP,UP,LOWER_UP,ECHO> mtu 16 qdisc pfifo_fast state UNKNOWN mode DEFAULT group default qlen 10
    link/can  promiscuity 0
    can <LOOPBACK,TRIPLE-SAMPLING> state ERROR-ACTIVE restart-ms 0
          bitrate 125000 sample-point 0.875
          tq 500 prop-seg 6 phase-seg1 7 phase-seg2 2 sjw 1
          mcp251x: tseg1 3..16 tseg2 2..8 sjw 1..4 brp 1..64 brp-inc 1
          clock 10000000
The following command shows the received message from the CAN bus:
$ candump can0
In a second terminal, the following command sends 3 bytes on the bus (0x11, 0x22, 0x33) with the identifier 500:
$ cansend can0 500#11.22.33
To test the CAN-bus link between 2 ODROID-C1 boards, first connect the CANL and CANH pins of two ODROID-C1 boards.
Figure 7 - connecting the CANL and CANH pins of two ODROID-C1 boards
Power-up both boards, then type the following into the shell of both boards for configuration the CAN bus device:
$ modprobe can_raw
$ modprobe spicc
$ modprobe mcp251x mcp251x_enable_dma=1
$ ip link set can0 type can bitrate 125000 triple-sampling on
$ ifconfig can0 up
Type the following to the shell of board 1 (which is used for testing receiving over can0 device):
$ candump can0
Type the following to the shell of board 2 (which is used for testing sending data packets over can0 device):
$ cansend can0 500#11.22.33
At this point, board 1 will receive the data packet sent from board 2:
Please tell us a little about yourself.
I’m a 34 year old software developer from Bucharest, Romania. I graduated from the Polytechnic University of Bucharest with a degree in computer science. My job title is “blockchain developer”, but that means I mostly develop software in Java, Javascript and Go. My team focuses on the enterprise market for blockchain applications. My main programming language used to be C++ but times are changing. My wife works for a large telecom company as a business analyst, so we are a family that spends a lot of time with screens.
Cristian’s hamster’s interests usually gravitate around chewing things
How did you get started with computers?
I got my first computer for Christmas sometime in the early 90s and it was a HC90 Romanian computer, i.e. a Sinclair ZX Spectrum clone (Z80 CPU). A lot of people my age got started on those by programming BASIC. I mostly played games on it, and did some childish programming using the included BASIC interpreter.
What attracted you to the ODROID platform?
I like the raw computing power. I was already familiar with single board computers (SBCs), since I have played with quite a few of them, but when you start running more and more services on them, they show their limitations. As far as I can tell, the ODROID-XU4 is still the most powerful ARM SBC for general server stuff.
How do you use your ODROIDs?
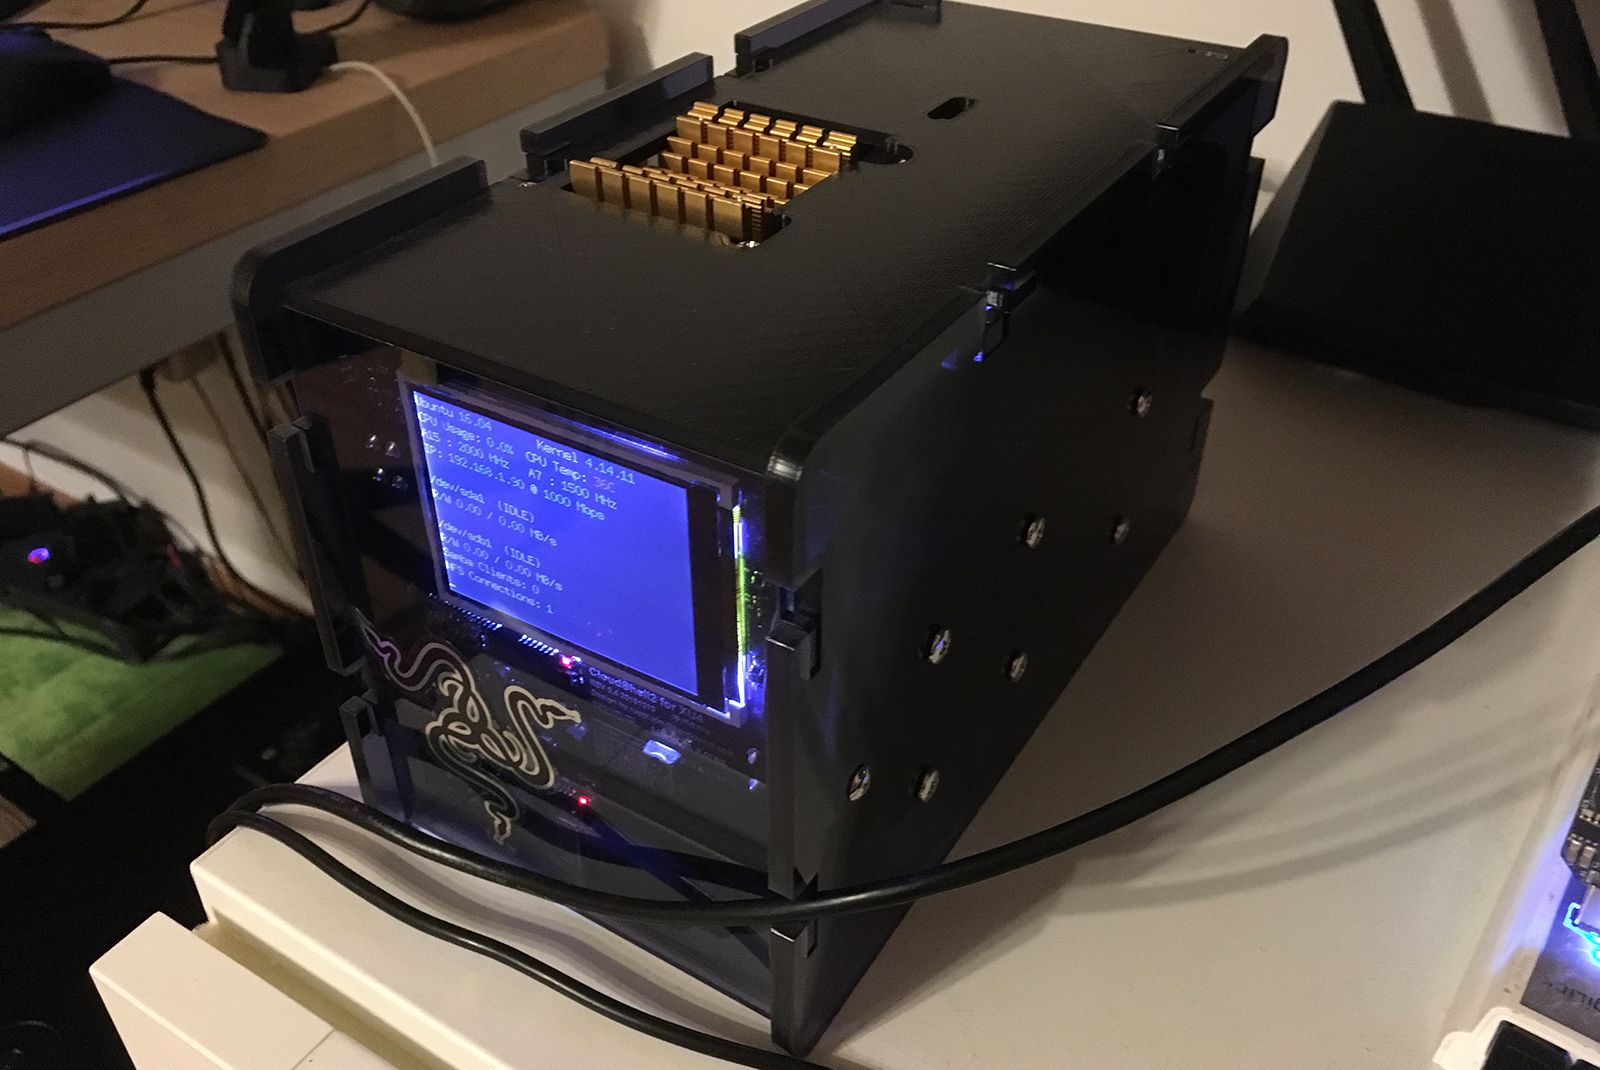
My ODROID-XU4 is my general purpose Network Attached Storage (NAS), using a Cloudshell2 enclosure and some Logical Volume Manager (LVM) magic to make the storage easily extendable. I run quite a few media-centric services on it like Emby, Sonarr and Radarr. I also host my WordPress blog on the XU4 (https://www.cristiansandu.ro/). It also has a homebridge service for connecting some Philips Hue lights, as well as a custom service that I wrote which uses the IR receiver to execute some commands when I press a button on my TV remote for dimming and turning off the lights. I probably forgot something, but the ODROID-XU4 just keeps on giving. I used to also experiment with Docker containers on it, but I think it needs more RAM.
My ODROID-C2 has the boring job of being a media center running LibreELEC, and is hooked to the TV for all our media needs. I used to also have an Ambilight-like setup using an Arduino as a driver for the LED strip, but it didn’t prove to be very popular in our living room. I plan to redo the setup with some SMD LEDs.
My older ODROID-C1+ got repurposed as a PiHole device to filter out ads and other evil things on my home network. I also use it to experiment with hardware sensors, such as a system to control my AC that I built last summer. It’s sort of a staging device for new services, and it runs DietPi so that it can be as lean as possible.
My even older ODROID-C1 has the job of being a Lakka TV console, but it doesn’t get a lot of attention lately, so I will probably move it to some other task. I used an ODROID-HC1 as a secondary backup NAS and a WordPress server. Unfortunately, due to some water dripping on it (don’t ask!), it died.
Which ODROID is your favorite and why?
My ODROID-C2 is the frontend for my media, so I like it a lot, but the ODROID-XU4 is clearly the powerhouse of my setup, so the ODROID-XU4 is so far the best ODROID for me, especially with passive cooling because I don’t like fans.
Cristian 3D-printed a custom top for his ODROID-XU4 that has space for the heat sink
What innovations would you like to see in future Hardkernel products?
Hardkernel is already doing a great job, and I can clearly see the NAS/media center applications for your products, but I also think there is some space for more gaming related stuff, specifically portable gaming. I really liked the community project of a portable console built around an ODROID-C0. Right now, I am also looking at portable solutions for game streaming from my home PC using Moonlight. I am not sure if it’s an innovation, but I would like a fancy serial camera port on ODROIDs so that I can connect compact camera boards for robots and other purposes.
What hobbies and interests do you have apart from computers?
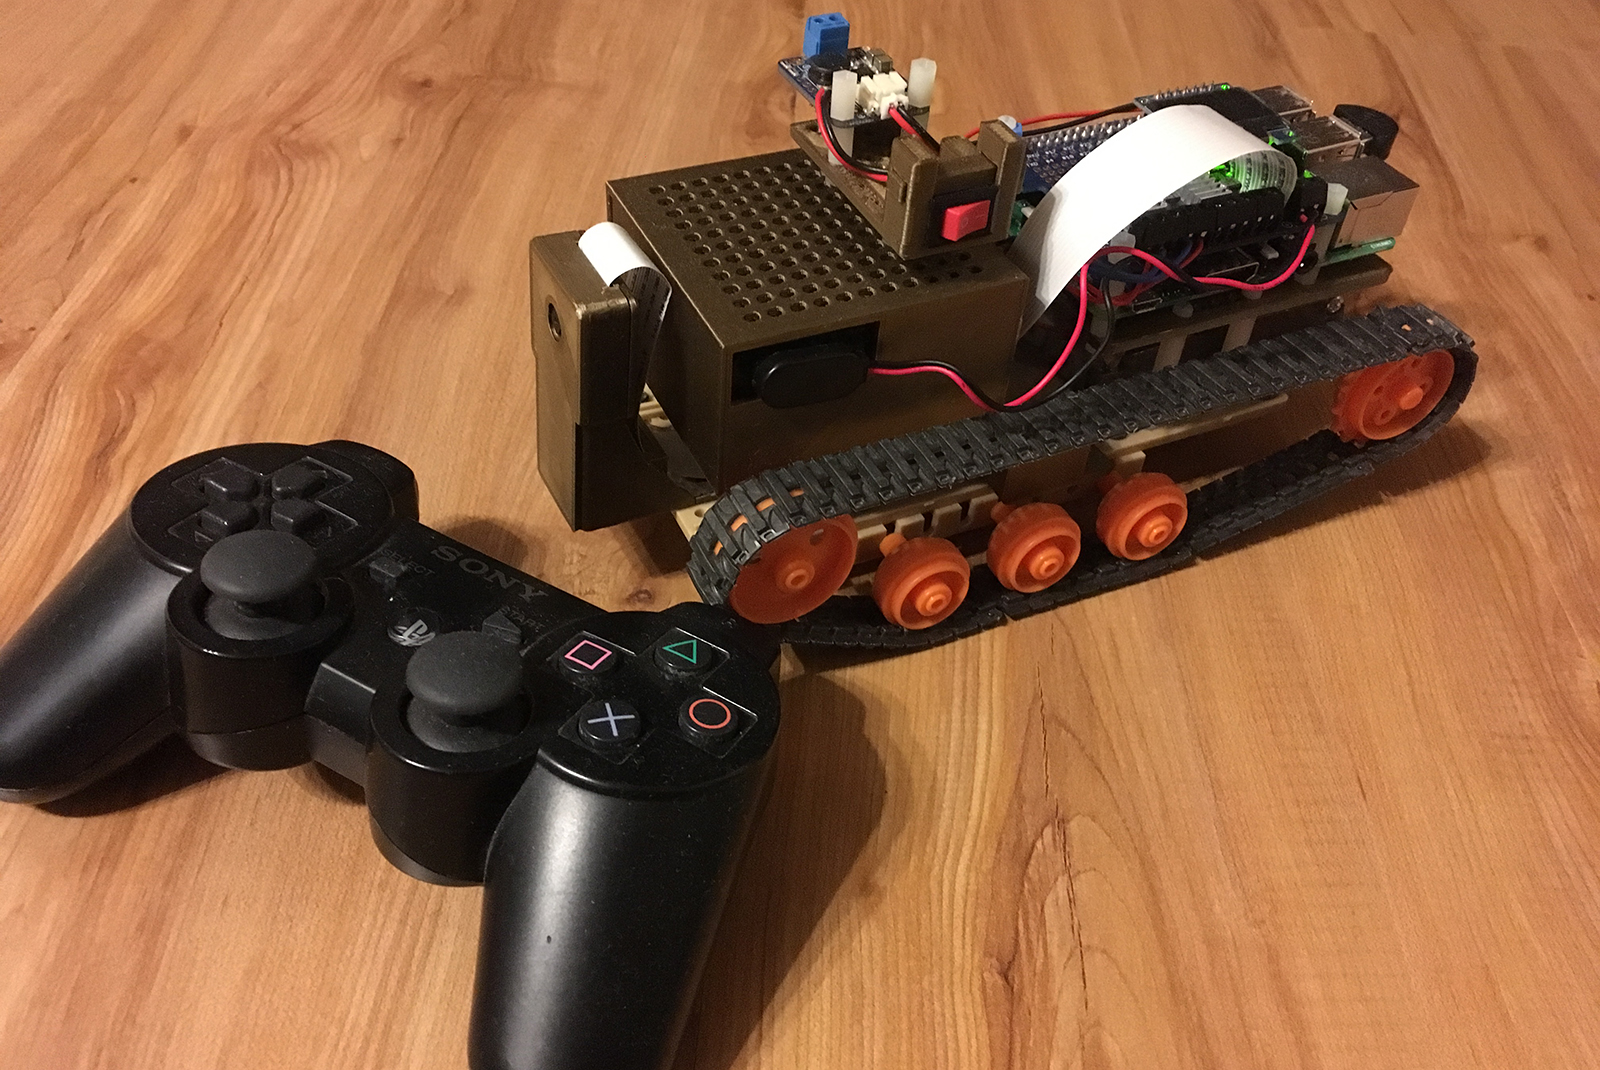
What, there is a world outside of computers? I am also very invested in 3D printing. I own an Original Prusa i3 MK2, which I use to create cases for my ODROIDs and the occasional Baby Groot bust and more. I also used it to build parts for my custom roving robot. The robot can be controlled via a web interface as well as with a PS3 controller.
Cristian created a custom roving robot, controllable with a PS3 controller or web interface
My interest in 3D printing probably came from my interest of messing with electronics, which started initially with just Arduino and similar microcontroller based stuff along with SBCs, but now I am trying to learn more about discrete parts and Integrated Circuits (ICs) and how it all works.
Like most everyone, I like travelling, and I think I get around quite a bit. Someday I hope I to visit Japan as I am fascinated by their culture and their video games. I don’t read as much as I want to, but it’s definitely an interest. I try to read fiction and not just non-fiction or technical material.
I am also probably addicted to TV shows, specifically Sci Fi/Fantasy shows. Is that a hobby?
I enjoy movies, too, and I’ve seen hundreds of them, and there are many more hundreds that I want to see.
What advice do you have for someone wanting to learn more about programming?
I do most of my personal projects in Python, and I feel that’s a very good programming language to get started with. There are a ton of sites that teach programming these days, but I think you should get into programming as a way to do something that you are passionate about, like designing your own smart washing machine. These days, you can run MicroPython, which is a variant of Python, on ESP8266/ESP32 microcontrollers and combine the ease of use of Python with the fun of electronics projects. If that’s something you are curious about, start there. I find that I am always motivated when I can see an end goal to my learning, such as discovering that I can build a robot with Python!