

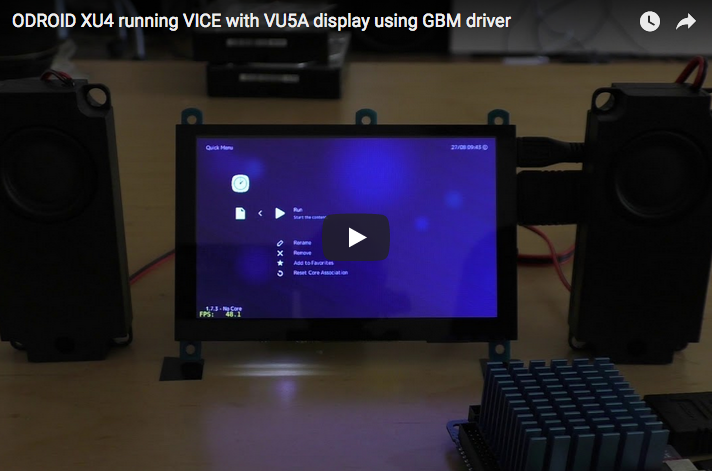
This is a guide to install GBM-enabled user space drivers and build retro gaming emulators. First, we will showcase the use of the Mali GBM enabled userspace library. We will show how well it works, and for what it can be used. We will use the ODROID-VU5A display to showcase the samples.
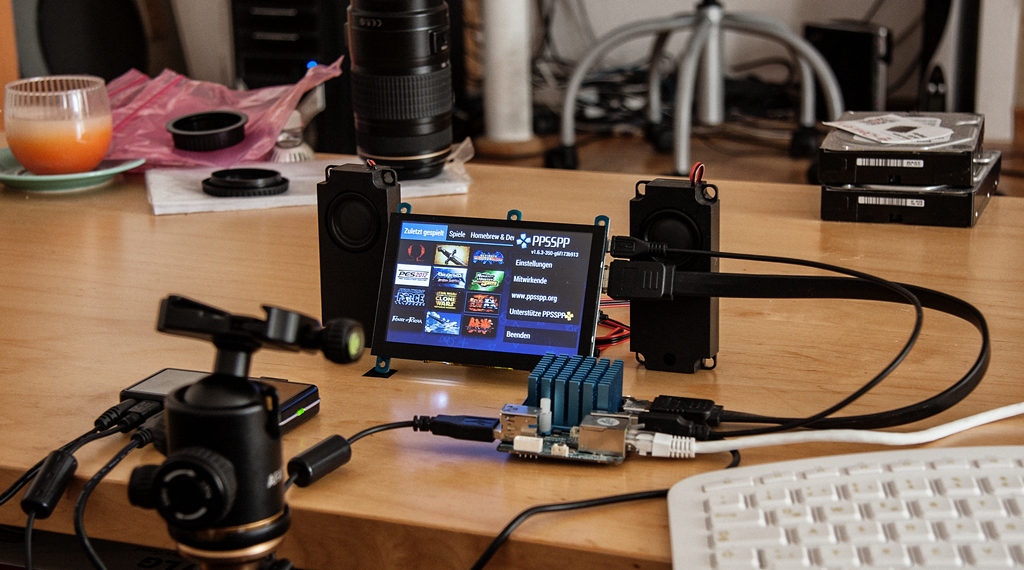
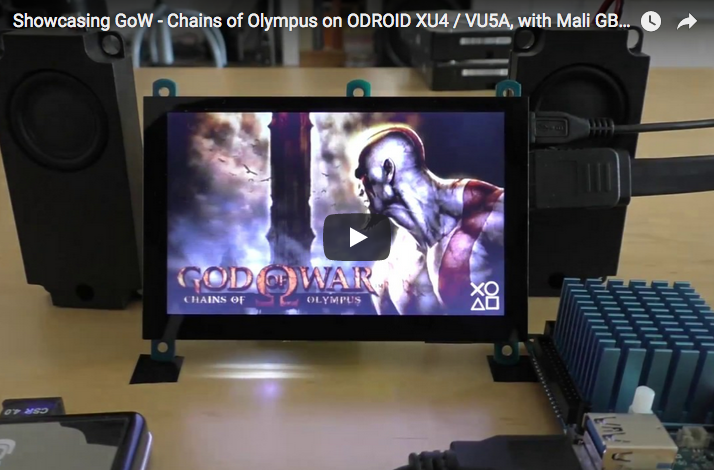
We will install an Ubuntu 18.04 minimal image for XU4 and prepare the use of the GBM Mali Driver for it. As a result, PPSSPP will run to emulate the games well without any tearing. The video showcasing GoW - Chains of Olympus on ODROID-XU4 can be found at https://youtu.be/QegJlwflkZk.
Install the image
Download the image: ubuntu-18.04-4.14-minimal-odroid-xu4-20180531.img.xz from https://odroid.in/ubuntu_18.04lts/. Extract it and write the image to the boot media, using the the online guide described at Hardkernel’s wiki.
Boot the ODROID-XU4 using the boot media and use the login credentials:
Username: root Password: odroid
Update the system software using the commands:
$ apt update && apt full-upgrade -yInstall dependent components:
$ apt-get install mali-x11 libx11-dev libsm-dev libxext-dev git cmake mercurial libudev-dev libdrm-dev zlib1g-dev pkg-config libasound2-dev alsa-utils htop bc ifupdown2 net-tools libssl1.0-dev mlocate bluez libfreetype6-dev libgbm-devAdd the odroid user and add the userid to groups:
$ adduser odroid usermod -aG Sudo,adm,audio,operator,input,video,tty,staff,games,users, plugdev,netdev,bluetooth,disk odroidLogin with the newly created user:
$ su - odroidEnable color prompt:
$ sed -i '1iforce_color_prompt=yes' ~/.bashrc
$ su odroid
Turn the mali-x11 display driver in the GBM enabled one. This is normally relatively easy to do by only updating eglplatform.h which is multi platform (ie. fbdev x11 and GBM). However, we need to update the other headers also.
$ cd /usr/include/EGL
$ sudo rm eglplatform.h
$ sudo wget https://www.khronos.org/registry/EGL/api/EGL/eglplatform.h
$ cd /usr/include/GLES2
$ sudo rm *
$ sudo wget \
https://www.khronos.org/registry/OpenGL/api/GLES2/gl2platform.h
$ sudo wget https://www.khronos.org/registry/OpenGL/api/GLES2/gl2.h
$ sudo wget https://www.khronos.org/registry/OpenGL/api/GLES2/gl2ext.h
$ cd /usr/include/GLES3
$ sudo rm *
$ sudo wget https://www.khronos.org/registry/OpenGL/api/GLES3/gl3.h
$ sudo wget https://www.khronos.org/registry/OpenGL/api/GLES3/gl31.h
$ sudo wget https://www.khronos.org/registry/OpenGL/api/GLES3/gl32.h
$ sudo wget \
https://www.khronos.org/registry/OpenGL/api/GLES3/gl3platform.h
Now get the new driver binary:
$ cd ~
$ wget http://deb.odroid.in/bigmali.tar
$ tar xf bigmali.tar libmali.so
$ sudo mv libmali.so /usr/lib/arm-linux-gnueabihf/mali-egl/.
Add a missing symbolic link:
$ sudo ln -s /usr/lib/arm-linux-gnueabihf/mali-egl/libmali.so \
/usr/lib/arm-linux-gnueabihf/libGLESv1_CM.so.1
Add a new directory, open up vi editor for /usr/local/lib/pkgconfig/gbm.pc file:
$ sudo mkdir /usr/local/lib/pkgconfig
$ sudo vi /usr/local/lib/pkgconfig/gbm.pc
Add the following section into the new file:
prefix=/usr/local
exec_prefix=${prefix}
includedir=${prefix}/include
libdir=${exec_prefix}/lib
Name: libgbm
Description: A small gbm implementation
Version: 19.0.0
Cflags: -I${includedir}
Libs: -L${libdir} -lgbm
Save and close vi. Add symbolic links for libgbm:
$ cd /usr/local/lib/
$ sudo ln -s /usr/lib/arm-linux-gnueabihf/mali-egl/libmali.so libgbm.so
$ sudo ln -s libgbm.so libgbm.so.19
$ sudo ln -s libgbm.so.19 libgbm.so.19.0.0
$ sudo ldconfig
Fetch gbm.h and delete the one from mesa:
$ cd /usr/include
$ sudo rm gbm.h
$ sudo wget -O gbm.h https://pastebin.com/raw/5QUd011t
Download SDL2, build and install it:
$ cd ~
$ hg clone http://hg.libsdl.org/SDL SDL2
$ cd SDL2
$ ./configure --disable-video-opengl --enable-video-kmsdrm
After the configure step is finished you should see this line:
Video drivers : dummy x11(dynamic) kmsdrm(dynamic) opengl_es1 opengl_es2 vulkanNow we have to edit SDL_config.h to permanently dlopen our libgbm.so.19 instead of the libgbm.so.1 from Mesa. Build and install it:
$ sed -i -e 's/libgbm.so.1/libgbm.so.19/g' include/SDL_config.h
$ make -j7
$ sudo make install
After the build completes we can test:
$ cd test $ ./configure $ make -j7 $ ./testgles2
You should see a spinning cube, wait some seconds and quit with ESC key. If you are using the VU5A, you will notice something like this which indicates it is too slow:
INFO: 56.89 frames per secondIt should reach 60 fps, if not it is a real problem for emulators. If they try to just hold 60 fps and they cannot, then it will really slow down things a lot. We can observe further using PPSSPP game intro videos.
Building the Kernel for >60fps on VU5A
We have to patch the kernel to get more than 56fps processing. Until we publish the needed changes in the mainline kernel, we will have to do it on our own.
The pixel clock and probably some H or V sync timing values of HDMI PHY config are not right for the VU5A Display. Details can be found at https://goo.gl/CVJYS6. Hardkernel took the closest one but they choose it to be on the lower side of 60fps. For emulation it is better to choose the higher side of 60fps, so at the end we will have a fixed frame rate of 64fps.
Ensure you have enough space on the system storage, and then Fetch the kernel source. We will select the HDMI PHI config from the next higher pixel clock, as what is really inside this HDMI PHY config is unknown to the public. We have asked several developers but no one could give me an answer, only in kernel 3.10 there is some small code to change this 32byte long config. So only some few bytes are known, but they do not change the refresh rate.
$ git clone https://github.com/hardkernel/linux.git
$ cd linux
$ wget -O VU5A.patch https://pastebin.com/raw/aWEYArWL
$ patch -p1 < VU5A.patch

$ make odroidxu4_defconfig
$ make -j7
$ sudo cp arch/arm/boot/zImage /media/boot/.
$ sudo cp arch/arm/boot/dts/exynos5422-odroidxu4.dtb /media/boot/.
$ sudo make modules_install
Reboot and test the fps value again:
$ cd SDL2/test
$ ./testgles2
Now you should see something like this:
INFO: 64.01 frames per secondNow we will build PPSSPP and then RetroArch with GBM KMSDRM backend, including some libretro’s.
Building PPSSPP
PPSSPP is a PSP emulator for Android.
Fetch the source and apply a needed patch:
$ cd ~
$ git clone --recursive https://github.com/hrydgard/ppsspp.git
FFmpeg needs to be built before the PPSSPP binary is built. The pre-built binaries are all for soft floating points and we need hardfp:
$ ./linux_armhf.sh
$ cd ..
Before we can start to compile we have to turn our copy of /usr/include/GLES2/gl2ext.h into a vendor specific one by disabling the use of GL_EXT_buffer_storage. A backup file is created gl2ext.h.back. Our Mali library does not include/export that function so we cannot define it.
$ sudo sed -i.bak '/^\#ifndef GL_EXT_buffer_storage$/,/^$/d' /usr/include/GLES2/gl2ext.hYou may want to set the use of only 4 cores in FFmpeg for tinkering and experimenting. I have observed that FFmpeg with threading does not work out very well when all cores are chosen with HMP (switching higher demanding tasks from LITTLE to the BIG CPU's). For this you can edit the file Core/HW/MediaEngine.cpp at line number 475, and change to use only 4 cores (better for switching from 4 LITTLE to 4 BIG instead using all 8 cores).
However, this was observed in Moonlight with game streaming 1080p video files. PPSSPP video files are not that big and maybe therefore not so CPU intensive so that may only impact very little to nothing:
av_dict_set(&opt, "threads", "4", 0);Now, we need to generate the Makefile.
$ cmake -DUSING_EGL=OFF -DUSING_GLES2=ON -DUSE_FFMPEG=YES -DUSE_SYSTEM_FFMPEG=NO .Start compiling the binary:
$ make -j7If you are using the VU5A you will now have touchscreen capabilities in menu and you can also enable 'On-Screen touch controls' if you want. You can watch the video at https://youtu.be/QegJlwflkZk?t=374. You can now brand your emulated PPSSPP to an unique region by generating a locale for it. In my case, I used de_AT:
$ sudo locale-gen de_AT.UTF-8
$ sudo update-locale LANG=de_AT.UTF-8
Some games may use it for In-Game Language. The download at https://goo.gl/BhHLxm contains my settings for GoW, including some texture replacements for Star Wars, The Clone Wars and Star Wars, and The Force Unleashed. These games are playable
The PPSSPP config directory would look like this:
odroid@odroid:~$ tree -d .config/ppsspp/
.config/ppsspp/
└── PSP
├── PPSSPP_STATE
├── SAVEDATA
│ ├── ULES01284SAVE00
│ └── ULES01376SYSDATA
├── SYSTEM
│ └── CACHE
└── TEXTURES
├── ULES00981
└── ULES01284

10 directories
Build and configure RetroArch

A video of this can be viewed at https://youtu.be/6Ewgov7_TXM. In addition to the fetching RetroArch, we need a small patch which prevents us to have the menu with only a black background:
$ git clone https://github.com/libretro/RetroArch.git
$ cd RetroArch
$ wget -O retro.patch https://pastebin.com/raw/1SCeb8EG
$ patch -p1 < retro.patch
$ ./configure --enable-opengles3 --enable-opengles --enable-neon \ --enable-floathard --enable-freetype
$ make -j7
$ sudo make install
$ retroarch
Apply some useful settings. This is a suggestion to you to setup RetroArch, after it is installed you do not have to follow that tutorial anymore. Update the Assets (Icons, background pictures and stuff). You can find needed information at the menus below:
MainMenu -> Online Updater -> Update AssetsWe suggest you also update these packages:
Core Info Files, Joypad Profiles, Database, GLSL ShadersAlso, you could use the Core Updater to get some emulators. Next, enable Advanced Settings:
Settings -> User Interface -> Show Advanced Settings -> ONEnable Threaded Video, and it will boost up emulation a lot:
Settings -> Video -> Threaded Video -> ONEnable FPS counter, it is helpful to see how fast the emulation runs, especially when you setup things:
Settings -> Onscreen Display -> Onscreen Notifications -> Display Framerate -> ON

Settings -> Onscreen Display -> Onscreen Notifications -> Show frame count on FPS Display -> OFF

Settings -> Driver -> Audio Driver -> alsathread
and if you are using VU5A:
Settings -> Onscreen Display -> Onscreen Notifications -> Notification size -> 18

Settings -> Onscreen Display -> Onscreen Notifications -> Notification X position -> 0.010

Settings -> Onscreen Display -> Onscreen Notifications -> Notification Y position -> 0.010
If you already have games installed on your ODROID-XU4, scan for them using Import Content -> Scan Directory and select the root game folder to let RetroArch scan for your games. They will appear on the right side of the menu after some time.
Build and configure Versatile Commodore Emulator
A video of this can be viewed at: https://youtu.be/ItkppnXWd9U
First let us install Vice libretro and then mame libretro.
Install the prerequisite:
$ sudo apt-get install bisonDownload the source and apply the no-border patch for VIC-II Commodore machines if you want. This will remove the border of C64 and C128 machine models, the games are way better to view without it. This is a quick way to do it. A better approach would be to add it to the libretro config.
If a game draws inside those borders it will not work and the system will probably segfault, but not a lot of games are drawing into the border.
$ git clone https://github.com/libretro/vice-libretro.git
$ cd vice-libretro
$ wget -O noborder.patch https://pastebin.com/raw/VwtSDj50
$ patch -p1 < noborder.patch
Start to build a Commodore machine of your choice. The valid machine types are:
x128, x64, x64sc, x64dtv, x64scpu, xplus4, xvic, xcbm5x0, xcbm2, xpetYou must add a EMUTYPE variable followed by the machine type you want to build. If you do not add this variable, then x64(C64) is the default machine type.
$ make EMUTYPE=x64 -f Makefile.libretro -j7If you want to build more then one machine type, do not forget to run the clean command on the project, otherwise the core will not work:
$ make EMUTYPE=x64 -f Makefile.libretro -j7 clean
RetroArch config
Copy the binary into RetroArch core folder:
$ cp vice_x64_libretro.so ~/.config/retroarch/cores/.Start RetroArch and select the vice core - either start the core without game or with it. Hit the Guide button on your game controller or F1 on the keyboard and scroll down to Options enter it and disable DriveTrueEmulaton->OFF. It will take a very long time to load a game and set Controller0Type to joystick.
You can also enable an Aspect Ratio of 16:10. It is a good compromise between 4:3 and 16:9
Settings -> Video -> Aspect Ratio -> 16:10With the Start button you can activate the nuklear GUI settings (Select button has to pressed once to activate mouse) from there you can choose the C64 Joyport, machine cpu, sid type and more. The Onscreen keyboard is activated with the x button (Xbox layout)
Build and configure Reicast core - a Dreamcast emulator
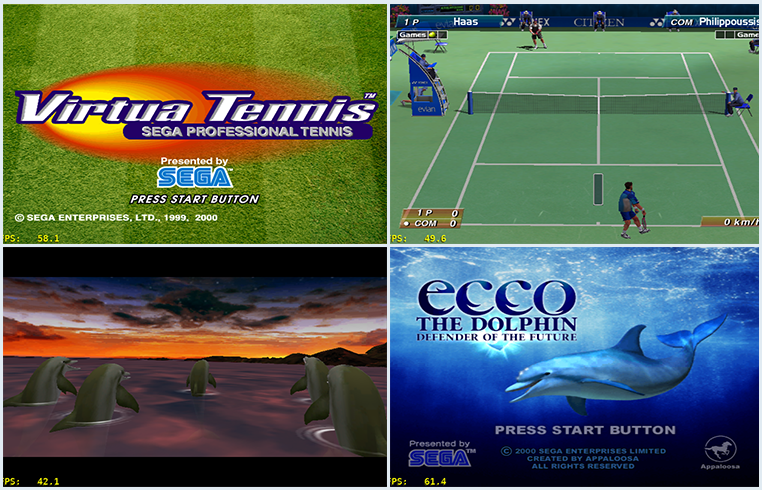
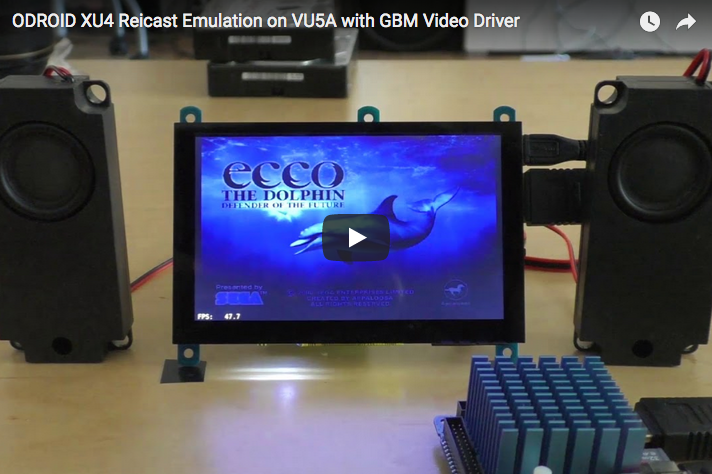
The video link can be found at https://youtu.be/j0jEUcQx-vM. Download the source and apply a patch as usual:
$ cd ~
$ git clone https://github.com/libretro/reicast-emulator.git
$ wget -O xu4.patch https://pastebin.com/raw/pfVjnVs3
$ patch -p1 < xu4.patch
$ platform=odroid ARCH=arm make -j7
$ strip reicast_libretro.so
$ cp reicast_libretro.so ~/.config/retroarch/cores/.
First you need some bios for NAOMI and Dreamcast. Some good links to obtain and use them are https://goo.gl/a5JbMT and https://docs.libretro.com/library/reicast/. If you want to know the md5 checksum of the NAOMI bios file you can take a look into the core info file:
/home/odroid/.config/retroarch/cores/reicast_libretro.infoInside a game open RetroArch menu and go to core options find the following settings and change them to the following values, which are the most important to get a decent speed:
reicast_framerate = "normal"
reicast_enable_rttb = "enabled"
reicast_threaded_rendering = "enabled"
For comments, questions, and suggestions, please visit the original post at https://forum.odroid.com/viewtopic.php?f=98&t=32173.
Be the first to comment