

It was always a 20th-century dream that there will be an era when every electrical apparatus at home will be controlled by a single click from any web enabled device, such as a PC, tablet, or smart TV, from everywhere. Τhis era has come, and today we will present you with a way to control any electrical device with a single click from any other device that has access to the web.
We will use a spotlight as an example, but this could be easily substituted with a refrigerator, a washing machine, or an electric coffee pot, for example. We did one simplification, however, which is to electrify the spotlight with 12V DC instead of 220V AC current, primarily for safety reasons. We encourage the users of this guide to do the same, as it is very easy to expose oneself to hazardous electric shocks!
The relay module we use with the ODROID-C2 in this project can easily be connected to a 220V power source, driving any electric device (up to 10A). Experienced users can try to work with these voltages, making sure to take all safety precautions. Let us delve into the endless potential of the ODROID-C2.
Hardware requirements
- ODROID-C2 (http://bit.ly/1oTJBya)
- 5V 1/2/4/8 Channel Relay Board Module ARM AVR DSP PIC (http://ebay.eu/2ncLWD8)
- Lamba JM/84211 3W 3000K 12V or any other compatible spotlight
- Dupon wires female-to-female, male-to-male (http://ebay.eu/2mDWf6Q)
- 4 X LS 14500 3.7V 2300mAh Li-ion batteries (http://ebay.eu/2m0F7EI)
Software requirements
- Ubuntu 16.04 v2.0 from Hardkernel (http://bit.ly/2cBibbk)
- Python 2.3 or 3.3 preinstalled with Ubuntu
- WiringPi Library for controlling the ODROID-C2 GPIO pins. You can learn how to install this at http://bit.ly/2ba6h8o
- CoffeeCup Free HTML Editor (http://bit.ly/2lCxgB8)
- PuTTY * - We are going to need to be able to connect to our ODROID-C2 via SSH, and PuTTY is the perfect client to do this (http://bit.ly/2kFVngX)
- FileZilla - We are going to need a way to transfer files onto the ODROID-C2 using SFTP, which is FTP over SSH (http://bit.ly/1gEw9op)
Connecting it together

The design of this project is very simple, and the Songle relay plays the most critical role. We have connected the GND of the Songle relay with the pin6 of ODROID-C2 (GND). The VCC pin of the relay is connected directly to pin2 of ODROID-C2, which provides 5V to this circuit and electrifies the electric coil of the relay). Finally, the INT1 pin of the relay is connected with pin7 of our ODROID, which is the pin that actually controls the relay, which is the ONs and OFFs of this device. From the other side of the Songle relay, there is a simple switch on which we have connected the spotlight through the battery or the mains. Please refer to the schematic in Figure 1 for a clear idea of this circuity. As a technical reference regarding the ODROID-C2 pins, we have used the excellent PIN Map provided by Hardkernel at http://bit.ly/2aXAlmt. According to this map, pin2=5V, pin6=GND and pin7=GPIOX.BIT21 (General Purpose Input/Output Pin). All of the connections were made by using the Dupon female-to-female, male-to-male or male-to-female wires. Now that our hardware is ready, let us see how to build the software and bring it all together.
Designing a simple web page
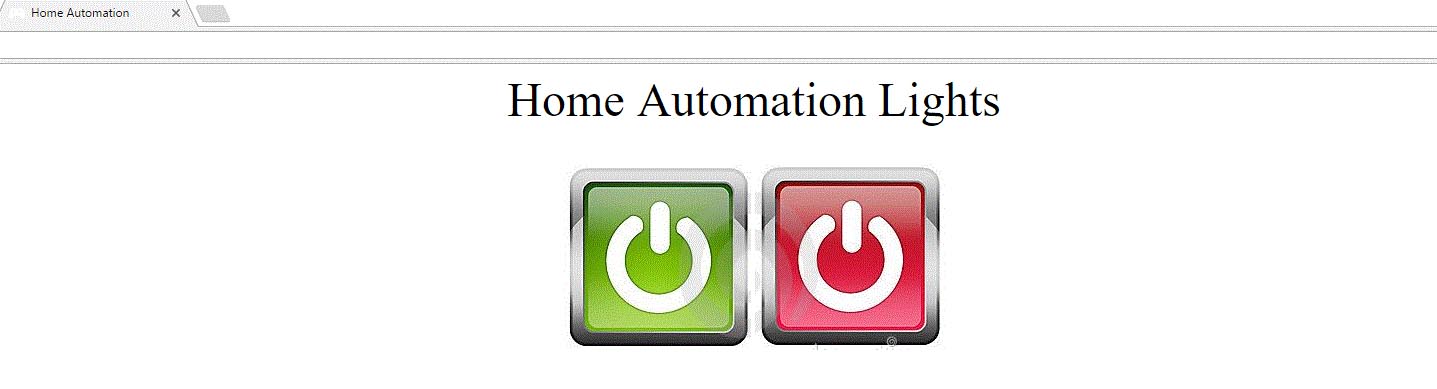
We used the free CoffeeCup HTML editor to design a simple HTML web page for controlling the spotlight. On this page, we added the images of two buttons in order to control the spotlight, represented by the ON and the OFF buttons. Please refer to Figure 2 for a view of this page. The whole project is controlled by using a Web UI. In order to achieve this, we have hyperlinked those buttons to the relevant Python scripts songleon.py and songleoff.py that control the ON and OFF of the spotlight. Instructions on how to write those programs in Python are provided on the section called “Connecting the Application to the Web below.
When you finally design your website, make sure that your home page is called index.php and not index.html, just to keep things uniform. However, we are only going to be using two PHP scripts, songleon.php and songleoff.php, to control the spotlight. The Python and PHP code we need to write is very simple and well documented.
Installing the server
In order to use the ODROID-C2 as a web server in this project, we have to install all of the necessary server software components. In addition, since we want a simple HTML server, we will install Apache with PHP (server-side scripting-language) support on the ODROID-C2. The following steps can be performed with PuTTY. Accessing the ODROID-C2 with this SSH client is well documented. All you need is the ODROID-C2's IP address.
Apache server software is the most widely used web server software today. Here’s how to install Apache with PHP support:
odroid@odroid:~# sudo apt-get install apache2 php libapache2-mod-phpWhen prompted to continue, enter “y” for yes. Next, enable and start Apache:
odroid@odroid:~# systemctl enable apache2
 odroid@odroid:~# systemctl start apache2
 odroid@odroid:~# systemctl status apache2
Test Apache
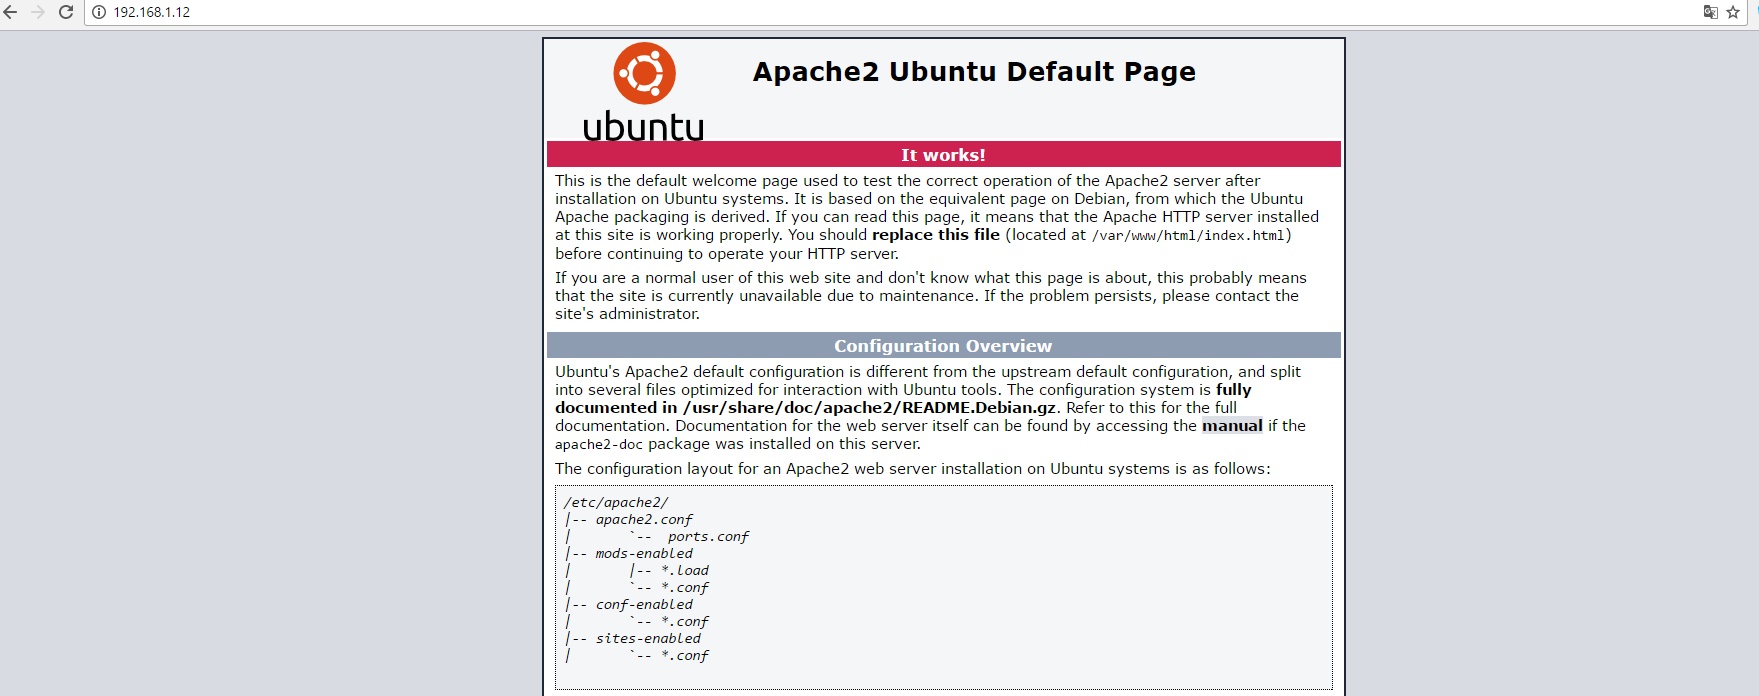
Open your web browser and navigate to http://localhost/ or http:///. This is the address of your ODROID-C2 on your local network. You can find it by just typing:
odroid@odroid:~# ifconfigYou will see a page similar to one shown in Figure 3.
Test PHP
To test PHP, create a sample testphp.php file in Apache document root folder:
odroid@odroid:~# sudo nano /var/www/html/testphp.phpAdd the following lines and save the file: Restart the Apache service.
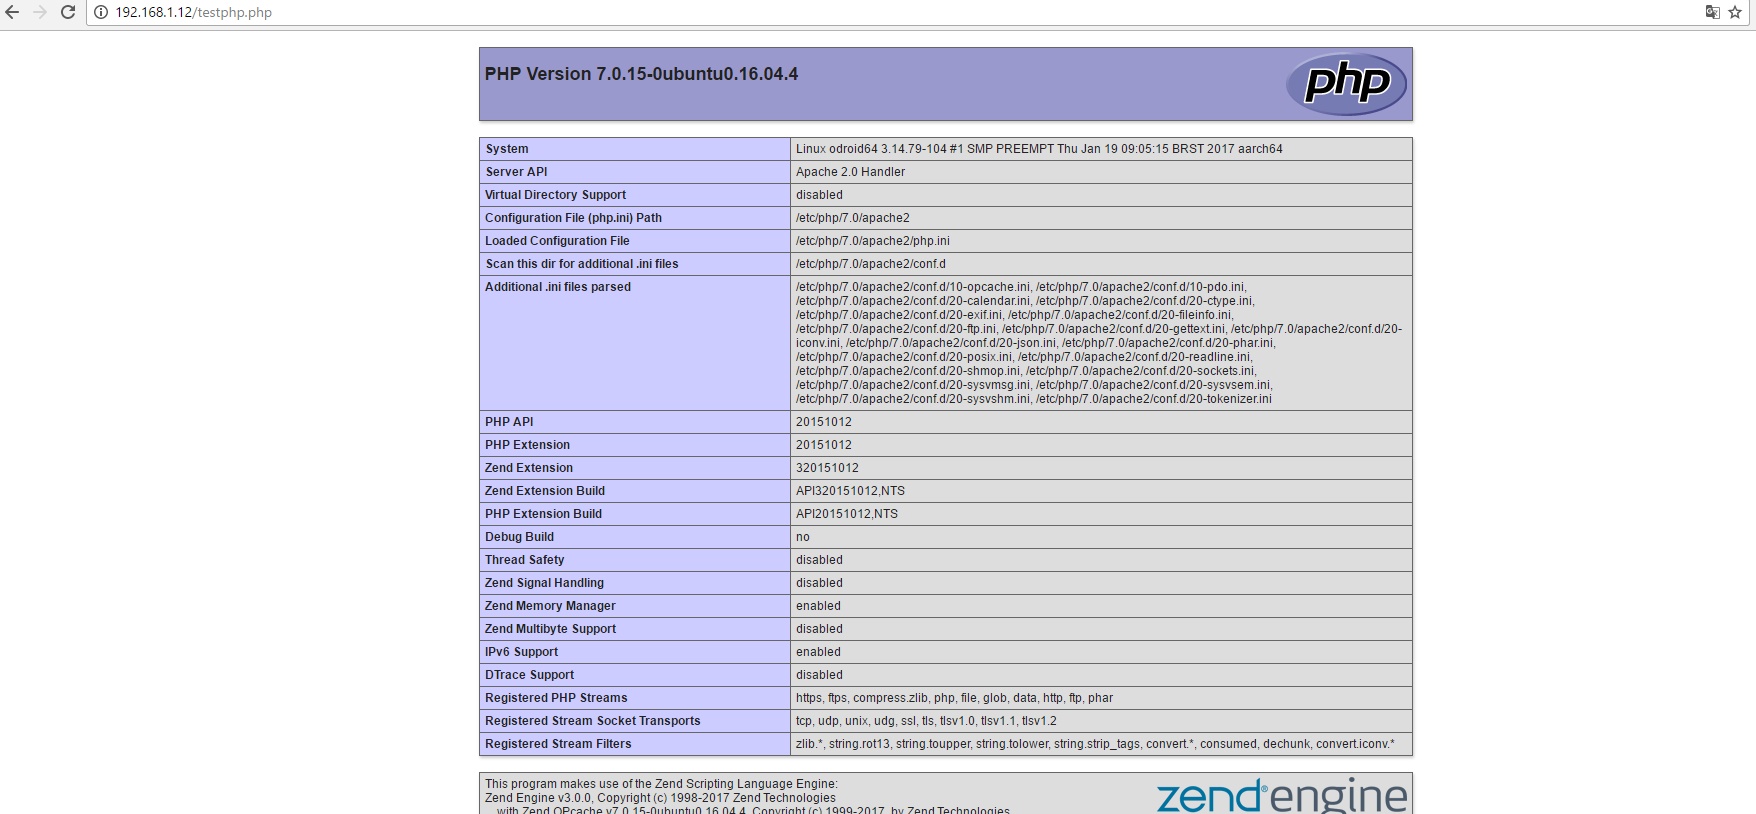
$ sudo systemctl restart apache2Navigate to http://server-ip-address/testphp.php. It will display all the details about PHP such as, version, build date and commands, to name a few. Pleaser refer to Figure 4 below.
Installing FTP
Install an FTP server such as vsftpd using the following command:
$ sudo apt-get install vsftpdEdit the FTP configuration file by typing:
$ sudo nano /etc/vsftpd.confand make the the following changes:
- Hit ctrl+W and search for anonymous_enable=YES, and change it to anonymous_enable=NO
- Remove the # from in front of local_enable=YES
- Remove the # from in front of write_enable=YES
- Skip to the bottom of the file and add force_dot_files=YES
- Hit ctrl+X to exit and enter y to save and hit to confirm:
Then, restart vsftpd:
$ sudo service vsftpd restart
Publishing to the web
By now, you should have a website that you can transfer over to the ODROID-C2. Once you have performed all the previous steps and have verified that you can view your website on another computer, we can move onto making the website turn ON our lamp using the 5V 1/2/4/8 Channel Relay Board Module ARM AVR DSP PIC.
Inside your website directory, create a new PHP file called songleon.php containing the following code snippet, then save the file:
Next, create a folder in the website directory called “scripts”, then create a subfolder inside it called “lights”, and inside there, create a new file called songleon.py. This will be the python script that turns our lamp on. Inside there, enter the following code, then save the file:import wiringpi2 as odroid odroid.wiringPiSetup() odroid.pinMode(7,1) odroid.digitalWrite(7,0)Go back to your web page in design/edit mode, and make sure the hyperlink for your “on” button links to the songleon.php. Now, when you click the button, the songleon.php script will execute the songleon.py python script, resulting in the lamp turning on. We are finally ready to make it turn off.
Inside the website directory, create a new file called songleoff.php. Inside this, file enter the following code snippet, then save it:
<!--?php system("echo odroid | sudo -S python /var/www/html/scripts/lights/songleoff.py"); header( 'Location: 'index.php' ) ; ?-->
Again, make sure your file path is the same, so that this works. Also, set your redirection rules to redirect to the page of your choice. Then, make a new file in the scripts\lights\ folder called sognleoff.py. Inside this file, enter the following code, then save the file:
import wiringpi2 as odroid
odroid.wiringPiSetup()
odroid.pinMode(7,1)
odroid.digitalWrite(7,1)
Add a hyperlink to songleoff.php to your “off” button, which should make your lamp turn off. You now have a website that can control your lights!
Transfer to Apache
It is very easy to login into your ODROID-C2 apache web server with Filezilla as soon as you know the ODROID-C2’s IP address. If you have previously logged in with SSH into your ODROID-C2 with PuTTY, you can find it out by typing:
odroid@odroid:~# ifconfigYou have to give your name and password of “odroid” and “odroid”. You will be immediately taken to the ODROID-C2 root file system. From there, navigate to /var/www/html/ folder, and inside this directory, copy the files from your local drive to the above directory. Here are all the files and folders that you have to copy from this local directory:
- index.php
- songleon.php
- songleoff.php and finally the folder /scripts/lights/ with
- songleon.py and songleoff.py
Now you are done with the main part of project. One final word of advice: in order for you to have access to the execution of the scripts controlling the spotlight (songleon.py and songleoff.py), you have to change the permissions/rights of all the files and folders previously mentioned. We recommend just for the sake of this project to give them full access with read, write, and execute privileges for root:
$ sudo chown 755 /var/www/html/index/phpIn addition, you have to modify the sudoers file with nano editor:
$ sudo nano /etc/sudoersProvide your password for any modifications and add the following line:
www-data ALL=(ALL) NOPASSWD ALL after this line: %sudo ALL=(ALL:ALL) ALL
Testing the applications
Let’s see if everything is working. From your computer, laptop, or tablet, navigate to your ODROID-C2’s IP address in the browser, and click the “on” button. Are your spotlights lightening up your room? Now it’s the click the “off” button. Click it and see your room’s spotlight switched off. Success!

Final notes
We could give you further guidance on how to control any electrical device remotely from the office, during travelling, or you are in an emergency. This is not a difficult step now that you've got the basic circuit working in your local network, but be advised that such a step comes with a security risk. Hackers may be interested in controlling your server by taking advantage of a weak password, a commonly used port, or wrong router settings. For that reason, we advise you to make your network secure and even change the password for the user ODROID-C2 to a stronger one if you are implementing electric device control. You now have the knowledge you need to build something innovative and inspiring for you and your peers.
Be the first to comment