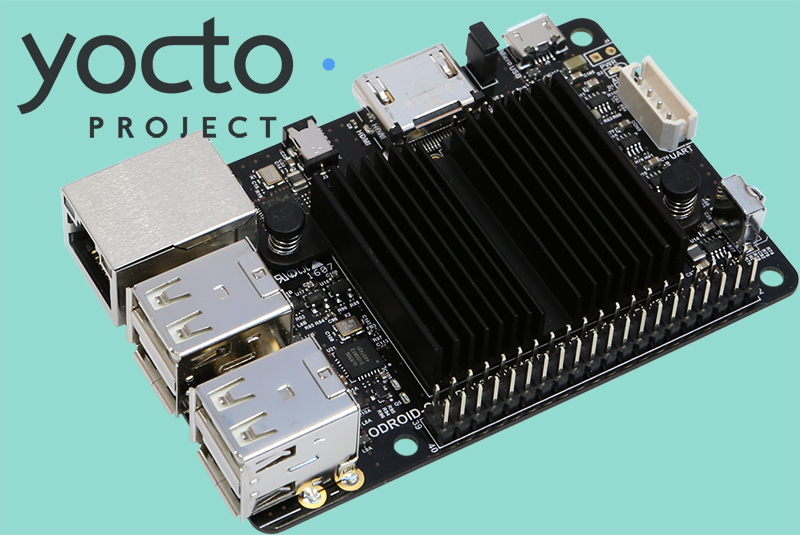
The Yocto project is an open source project that provides a flexible set of tools for building custom Embedded Linux distributions for embedded and IoT devices. Support is included for all major CPU architectures prevalent in the embedded industry. Through collaboration, industry wide workflows are created for embedded developers to enable sharing of software stacks and technologies. The same workflows, infrastructural templates, and configurations also provides a place for hosting BSP layers. Yocto project releases happen every six months, April and October.
This article describes the fundamental building blocks and process for building a custom ODROID-C2 Linux image. The same steps can be used for other ODROID machines. Yocto is the industry standard tool for building custom, complex Embedded Linux systems using the latest Open Source technologies such as Qt5, QtWebEngine, and Grafana.
Host System Setup and Prerequisites
The Yocto project requires a Linux based build system and supports all major Linux desktop and server distribution, a list of supported distributions is maintained at https://www.yoctoproject.org/docs/current/ref-manual/ref-manual.html#detailed-supported-distros. The Yocto build system builds most of host dependent packages itself which provides more consistency across different linux distributions. However, certain packages are expected to be pre-installed on the host build system. For a debian-like headless system, the following packages need to be installed:
$ sudo apt-get install gawk wget git-core diffstat unzip texinfo gcc-multilib build-essential chrpath socat cpio python python3 python3-pip python3-pexpect xz-utils debianutils iputils-pingThere is a full list of host development system requirements at https://www.yoctoproject.org/docs/current/yocto-project-qs/yocto-project-qs.html#qs-native-linux-build-host.
Getting Sources
Yocto project uses the concept of layers for creating a workspace. The core layer provides all the common pieces and additional layers change the software stack as required. The following instructions are based on the upstream master; however, using a release branch -- e.g., “sumo” or newer would be possible as well.
$ git clone -b master git://git.yoctoproject.org/poky.git yocto-odroid
$ cd yocto-odroid
Download the ODROID BSP layer:
$ git clone -b master git://github.com/akuster/meta-odroidInitialize the setup:
$ source yocto-odroid/oe-init-build-envWe now have a common core layer workspace where we can build an emulator and reference board based images -- e.g. qemuarm. We can then add the ODROID BSP layer into the project so that we can build for ODROID boards:
$ bitbake-layers add-layer ../meta-odroidNext, choose ODROID-C2 as our machine:
$ echo 'MACHINE = "odroid-c2"' >> conf/local.confThe workspace is now ready to start a build.
Build
The Yocto project build system provides some sample reference images for various use cases. Here, a graphical image is built which is based on X11 and matchbox. There are several additional reference images available at https://www.yoctoproject.org/docs/current/ref-manual/ref-manual.html#ref-images.
$ bitbake core-image-satoThis build will take a while depending on the power of the build machine and can vary from 20 mins to several hours.
Flashing an SD card
After a successful build, the build artifacts are provides under “tmp/deploy/images/odroid-c2” directory. A tool like Etcher can be used to create a bootable SD card. This can also be done using shell command-line, like dd. However, caution must be observed since, if the wrong device is chosen, it can overwrite a hard disk belonging to the build host.
$ cd tmp/deploy/images/odroid-c2
$ xzcat core-image-sato-odroid-c2.wic.xz | sudo dd of=/dev/sdX bs=4M iflag=fullblock oflag=direct conv=fsync status=progress
Ensure that sdX points to mounted SD-Card, this can be confirmed with dmesg after inserting the Card
% dmesg|tail
[  +0.000149] scsi host6: usb-storage 4-4:1.0
[  +0.000077] usbcore: registered new interface driver usb-storage
[  +0.002803] usbcore: registered new interface driver uas
[  +1.005024] scsi 6:0:0:0: Direct-Access     TS-RDF5  SD  Transcend    TS37 PQ: 0 ANSI: 6
[  +0.291506] sd 6:0:0:0: [sdb] 15523840 512-byte logical blocks: (7.95 GB/7.40 GiB)
[  +0.000682] sd 6:0:0:0: [sdb] Write Protect is off
[  +0.000003] sd 6:0:0:0: [sdb] Mode Sense: 23 00 00 00
[  +0.000688] sd 6:0:0:0: [sdb] Write cache: disabled, read cache: enabled, doesn't support DPO or FUA

ODROID BSP Layer
The ODROID BSP layer supports multiple ODROID machines, primarily using kernel and bootloader (u-boot) based on upstream sources. There is a sample machine config for ODROID-C2, odroid-c2-hardkernel, which uses Hardkernel supported kernel and u-boot.

As of today, the following BSP elements are supported:
- Linux Mainline - 4.14(LTS) and 4.16
- Linux HardKernel - 3.14(EOL) and 3.16(LTS)
- U-Boot - 2018.01 as well as u-boot-hardkernel 2015.10
- Mali 450 prebuilt drivers r6p1 and Mali t62x prebuilt drivers r10p0_00rel0
- Support for Hardkernel 3.5inch LCD module is added as well odroid-lcd35
Unleashing Yocto Project Ecosystem
There are many layers available (see the Layer Index at http://layers.openembedded.org/layerindex/branch/master/layers/) which can be added to build more complex images. For example, you can add the meta-qt5 layer in order to build a Qt5 based system using QtWebEngine technology for kiosks. Figure 3 shows a grafana dashboard running in a Kiosk Browser built using QtWebEngine on ODROID-C2 -- all built from source using the Yocto Project.


Be the first to comment