

Back in December 2017, I rebuilt my Odroid XU4 home media server (https://goo.gl/6tT6rt) because I was having some issues with the previous setup. Unfortunately, that rebuild was not focusing on aesthetics or cable management, just functionality, because I needed the server up and running and did not care how it looked. In March 2018, I received my 34" curved screen monitor (https://goo.gl/WekKF9) and then cable management and aesthetics became important, so I decided to do something about the server.
I am not using a fully enclosed case, since I like the look of the separate components being mounted on a single sheet of acrylic, which gives it an industrialized look. I would like to have a top clear sheet, but I have not been able to find stand-offs that are tall enough to support one.
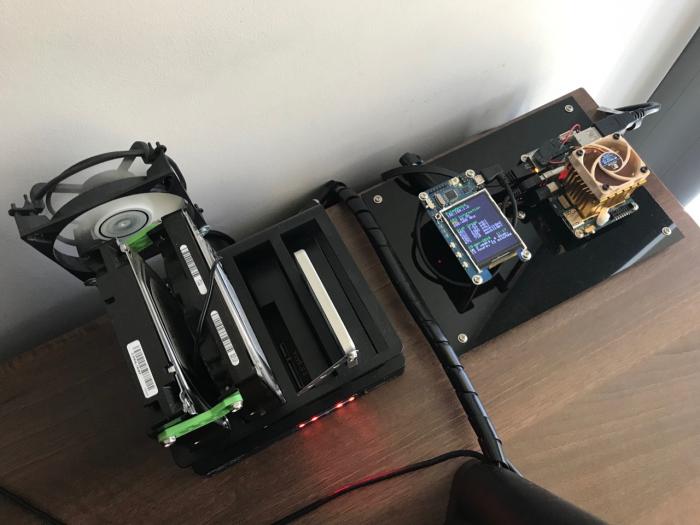
The issue that I was trying to solve here was around cable management. I had two separate power supplies: one for the HDD dock and then another for the XU4 itself. This was not ideal, especially since I had to use an international power adapter on the XU4 power supply (US to Australian). It was messy, since I wanted to use one power supply, but I needed two voltages: 12V for HDD dock and 5V for the XU4.
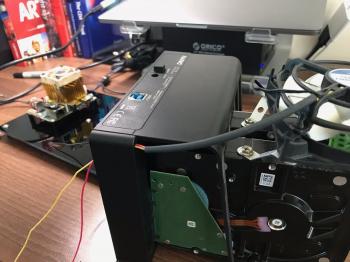
My solution was to use the 12V HDD dock power supply, and get a 12V to 5V DC-DC converter (https://goo.gl/gKjnzG) to power the XU4. The power supply could provide enough current for both. That resolved the voltage issue. Next, I had to get the 12V to the DC-DC converter. I already had a power splitter cable on the HDD dock that was powering the cooling fan and the dock itself, so I wanted to reuse it. That meant rewiring the fan. This part was easy. I took apart the dock, drilled a small hole to get fan wires through and wired the fan directly into its DC jack. It was a total hack but it did the trick.
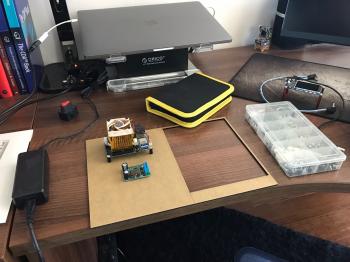
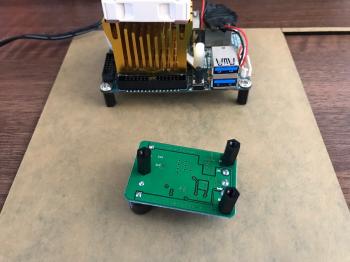
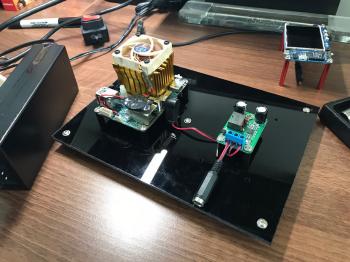
Now that I had the wiring more or less figured out, I needed to get started on mounting everything in place. I had a sheet of 3mm black acrylic around, so decided to use it as the base (after cutting it down to size). I used a whole bunch of black nylon standoffs (https://goo.gl/auDiwD) to keep the XU4 and the DC-DC converter in place. I also used the same standoffs under the base: one in each corner with a center-mounted standoff.
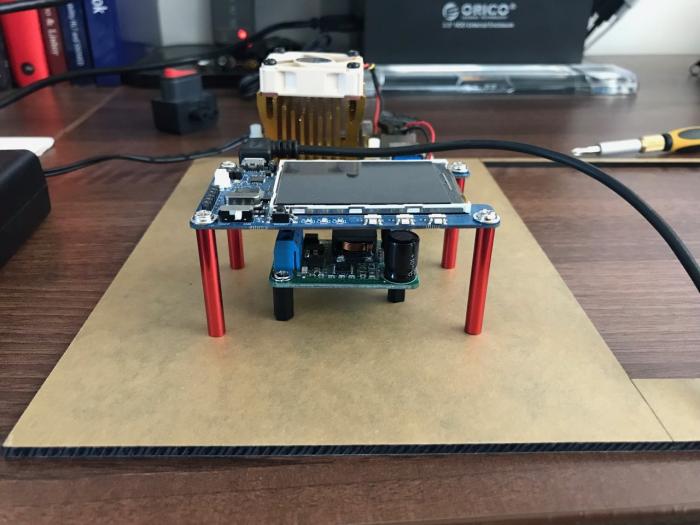
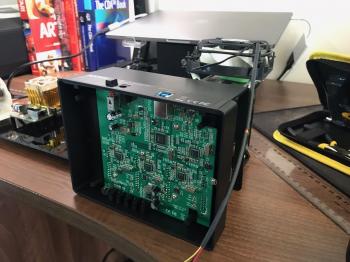
To keep everything neat, I wanted to stack the display over the top of the DC-DC converter. For that, I used some nice 35mm red aluminium standoffs (https://goo.gl/G6JTsv). The height worked out really well.
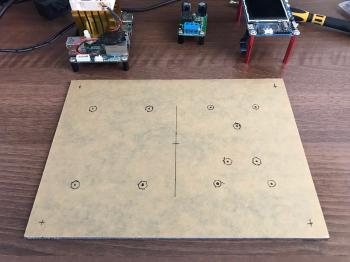
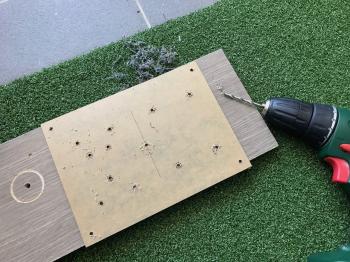
Then it was a matter of marking out all the standoff positions and drilling holes for them.
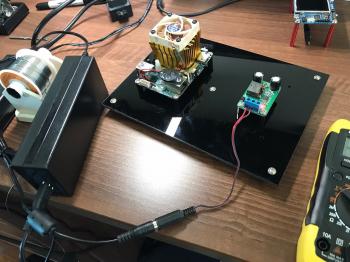
After securing the XU4 and the DC-DC converter in place. I did the basic wiring from the power supply to the DC-DC converter and made sure the voltages were all correct. Once the voltages were verified, I finalized the wiring between the DC-DC converter and the XU4. The right angle DC jack (https://goo.gl/GvN8KY) came in handy here.
After connecting everything, the server was ready to go. It sits behind my monitor and looks neat and tidy with no cables showing.
The heatsink on the XU4 is not the original one. I replaced it a while back as described in another article caleld ODROID-XU4 standard heatsink and fan replacement. For comments, questions and suggestions, please visit the original article at https://goo.gl/6TL9BT. If you’d like to read more articles by Igor, go to https://www.igorkromin.net/index.php/category/odroidxu4/.
Be the first to comment