
I thought many people would be interested in an easy to follow guide on how to use the oCam and ODROID-XU4 for object tracking using OpenCV. This guide will walk you through the steps on how to create and run an object tracking application. The ability to track a specific object over multiple frames is a key technology in applications such as automatic surveillance or robotics. The following example code will track an object using color properties from the image frame.
Setup
To get started, you will need the following items, all of which are available from the Hardkernel store:
- ODROID-XU4
- Memory module, either eMMC or micro SD card, installed with Ubuntu.
- oCam
In addition, you will need to install the following software packages, which can be installed using the Synaptic Package Manager application:
- gcc
- wget
- OpenCV
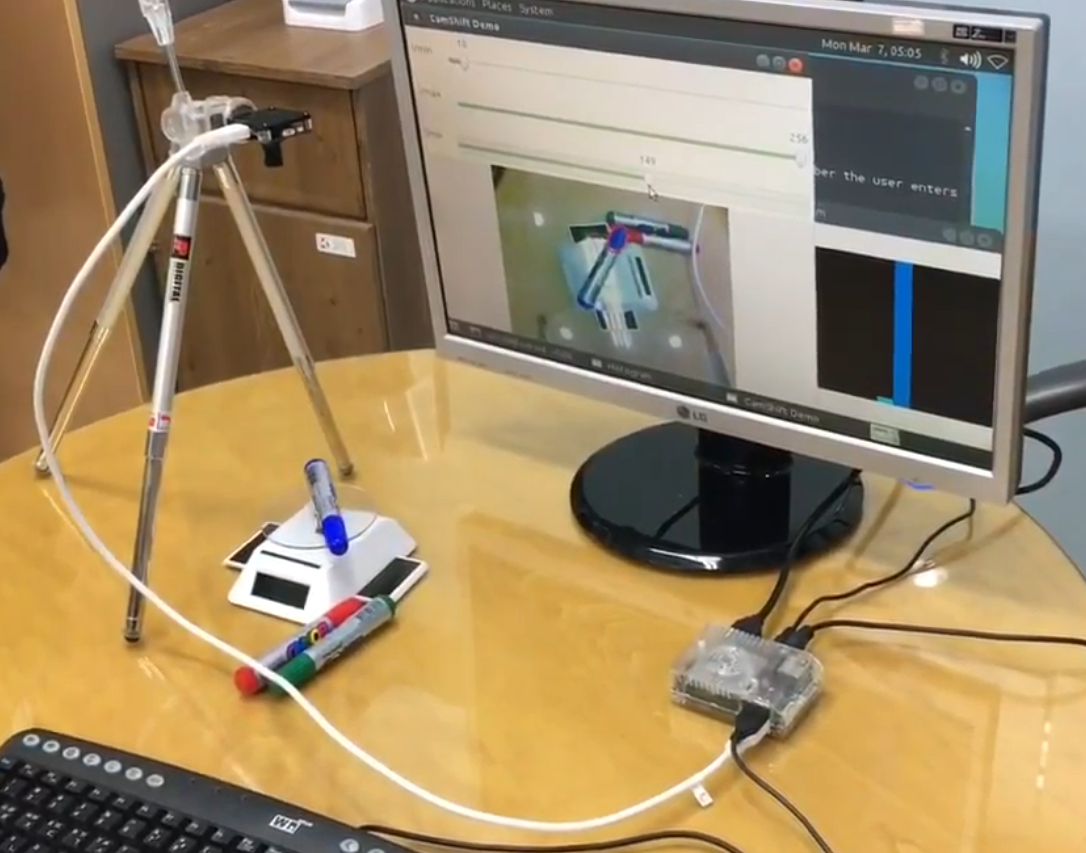
To prepare your system, open a terminal window and enter the following commands.
$ sudo apt-get update && apt-get dist-upgrade
$ sudo reboot
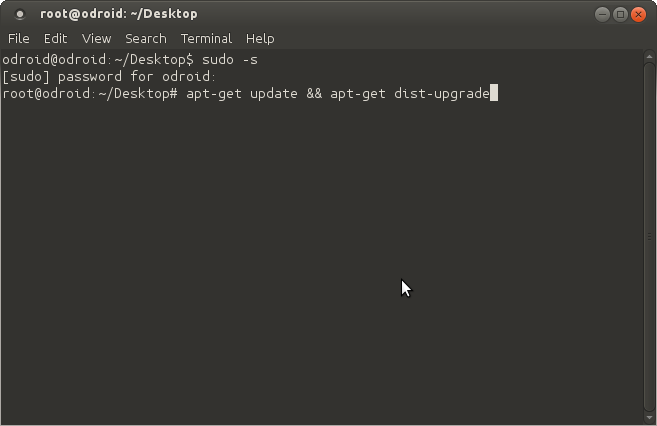
The first command will update the package list and install a newer distribution update if it is available. The second command will reboot the ODROID. After updating the package list and distribution, install OpenCV by entering the following command:
$ sudo apt-get install libopencv-devAs of March 2nd 2016, the latest version of OpenCV is 2.4.9.
Build
Our example is based on the Camshift (Continuously Adaptive Mean Shift) algorithm, which is a type of Meanshift algorithm, and is used to track an object. More information about these algorithms can be found at http://bit.ly/1pPduzS. In our code, we will use the cvCamShift() function from the OpenCV library in order to provide the camshift algorithm. The following text gives more information about the cvCamShift() function:
RotatedRect CamShift(InputArray probImage, Rect& window, TermCriteria criteria)

Parameters:
probImage – Back projection of the object histogram. See calcBackProject().
window – Initial search window.
criteria – Stop criteria for the underlying meanShift().

Returns:
Result rectangle
To download the camshiftdemo source file, use the following command, or download the file from your web browser by visiting http://bit.ly/21ykrRF:
$ wget
https://raw.githubusercontent.com/\
Itseez/opencv/2.4/samples/\
cpp/camshiftdemo.cpp
Now we are ready to build camshiftdemo.cpp using the following command:
$ g++ camshiftdemo.cpp -o demo \
-O2 -lopencv_core -lopencv_imgproc \
-lopencv_highgui -lopencv_video
Here are the meanings of the compiler options:
- o demo makes an executable binary file called “demo” - O2 specifies an optimization Level of 2. For more infomation about g++’s optimization settings, please refer to http://bit.ly/1OOnopO. - l links an external library, we used this to link for four libraries: openvc_core, open_cv_imgproc, opencv_highgui, and opencv_video.
Running the application
Once the oCam is connected to the ODROID-XU4, we are ready to start the object tracking demo using the following command:
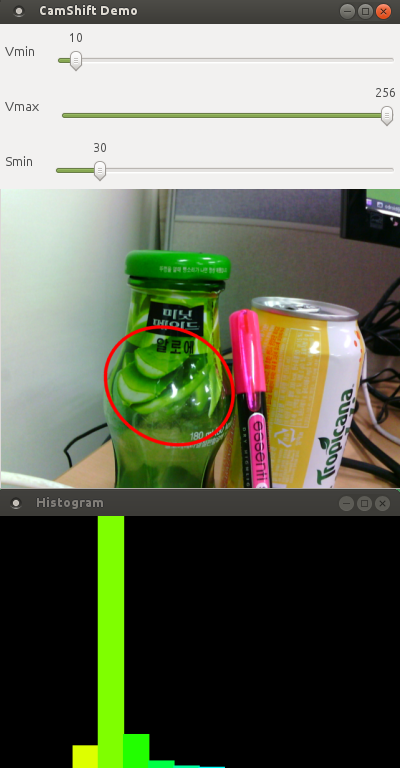
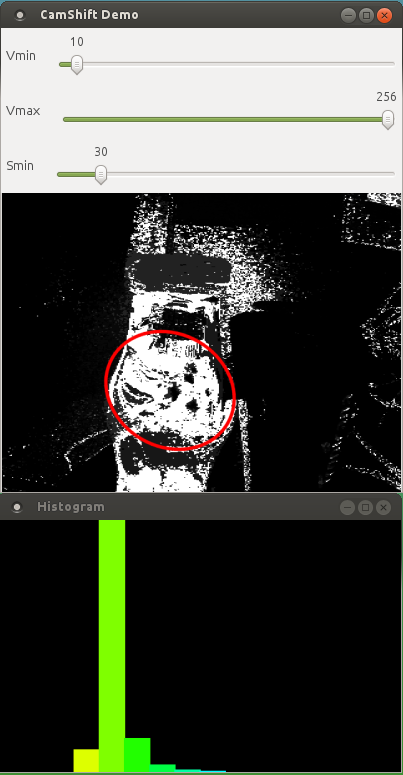
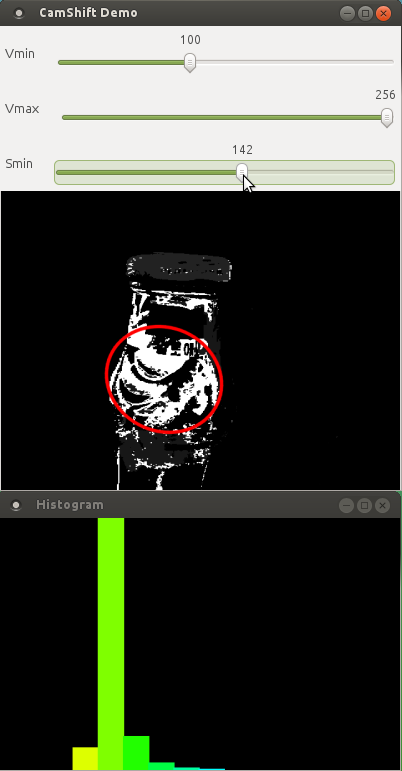
$ ./demoThe CamShift Demo window has three sections: a control bar panel, a camera image panel, and a histogram panel. Using the top 2 sliders, Vmax and Vmin, you can control the color value range. The bottom slider, Smin, controls the saturation range. These sliders help limit the image area within which you track a specific object. Please refer to the detailed explanation about the hue, saturation, and value model of the color space at http://bit.ly/1L6R7zM. You can start the object tracking by clicking and dragging on the part of the camera image you wish to be tracked with the mouse. Figure 4 shows the application running while viewing a selected area on a juice bottle.
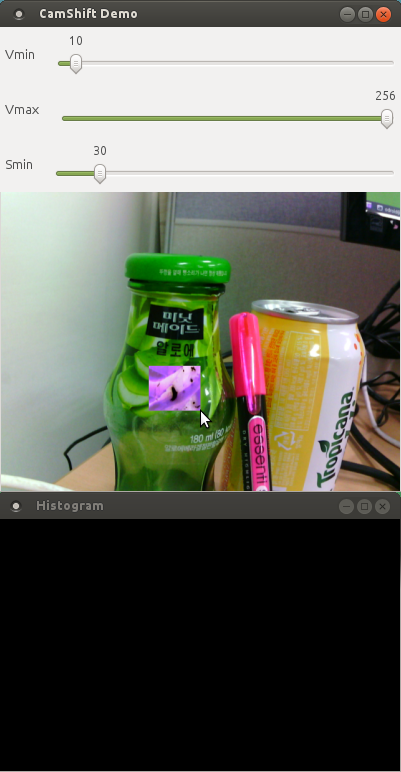
The histogram window shows the color components within the selected image area over the object being tracked. You can turn on and off the histogram window by pressing the “h” key. You can also change the normal view mode to back to the projection view by pressing the “b” key. Figures 6 and 7 show the different view modes. Further details about back projection can be found on the OpenCV page at http://bit.ly/1Rqc1MH.
To clear the selection, press the “c” key. You can start tracking a new object by selecting another area the same way as before. Take a look at the video available at http://bit.ly/21zZllS. It shows a live view of the object tracking demo covered in this guide using an oCam and ODROID-XU4.

Be the first to comment