

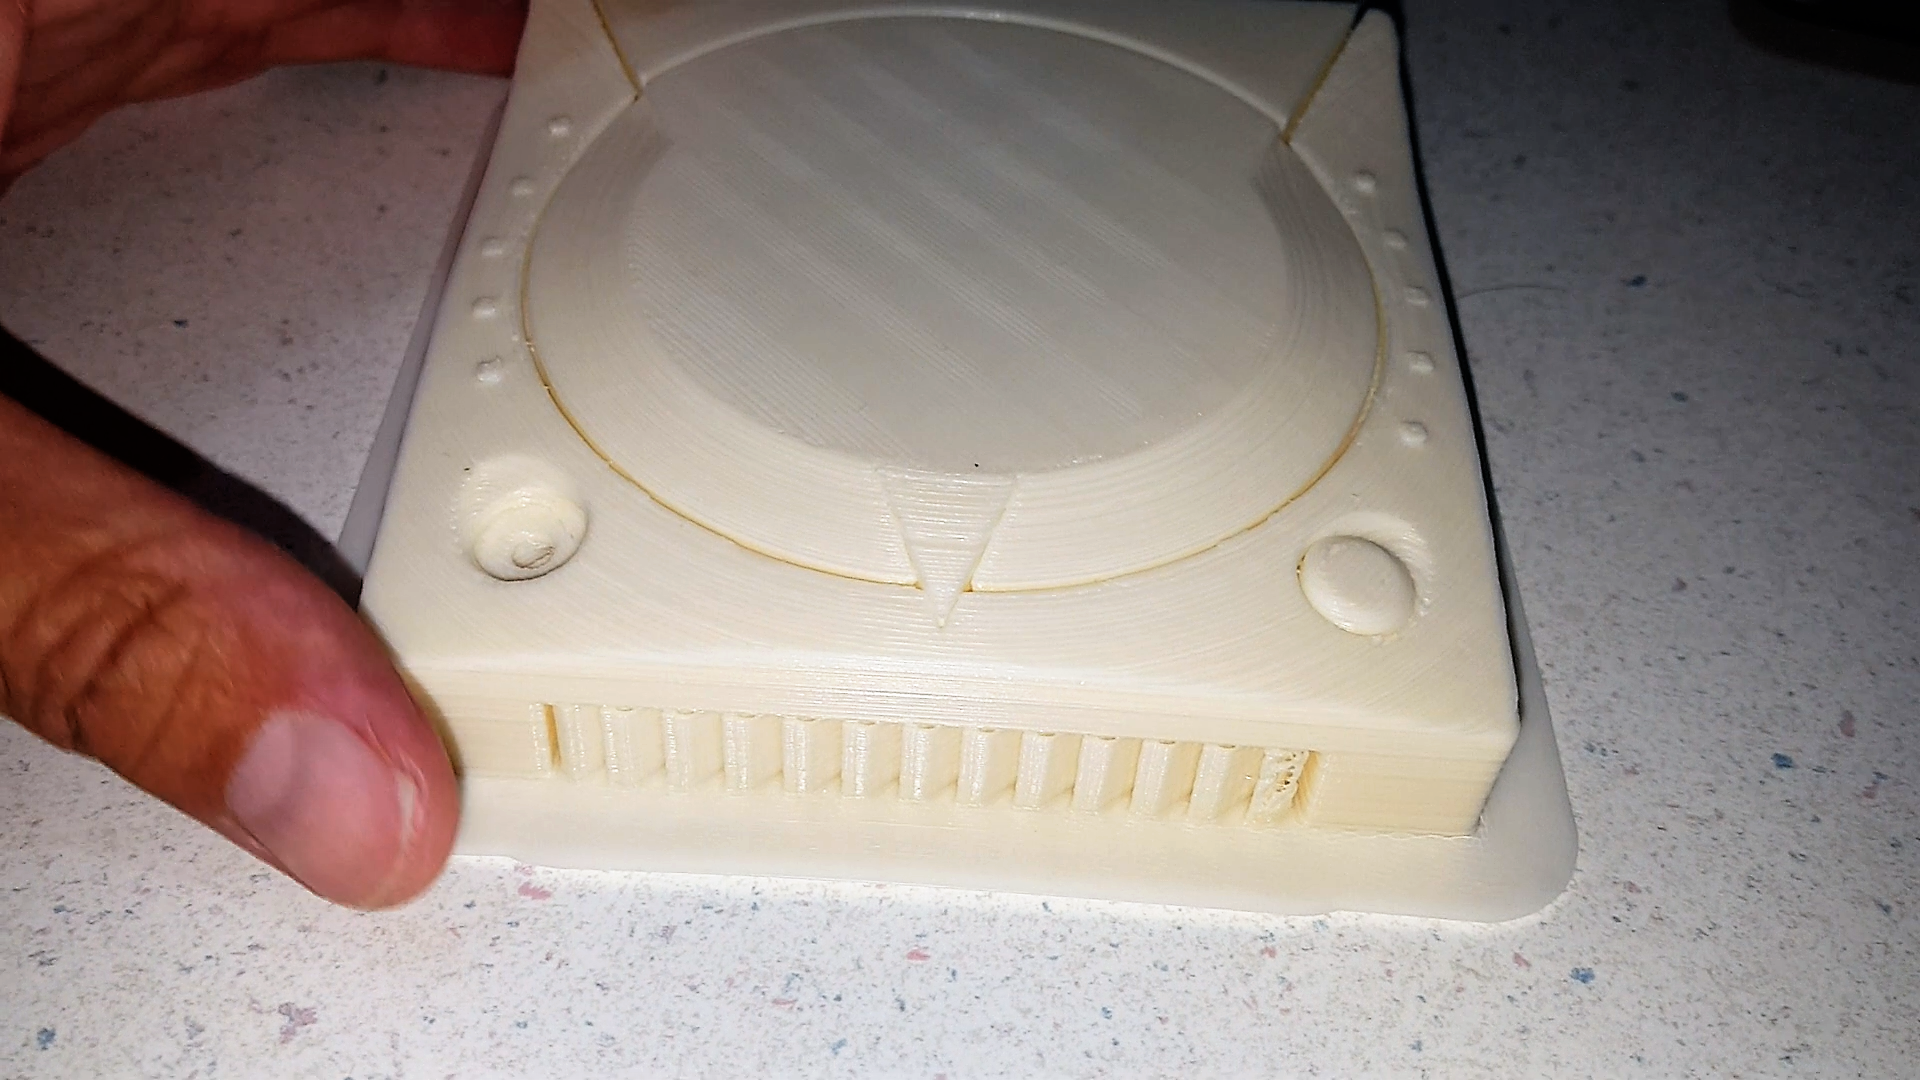
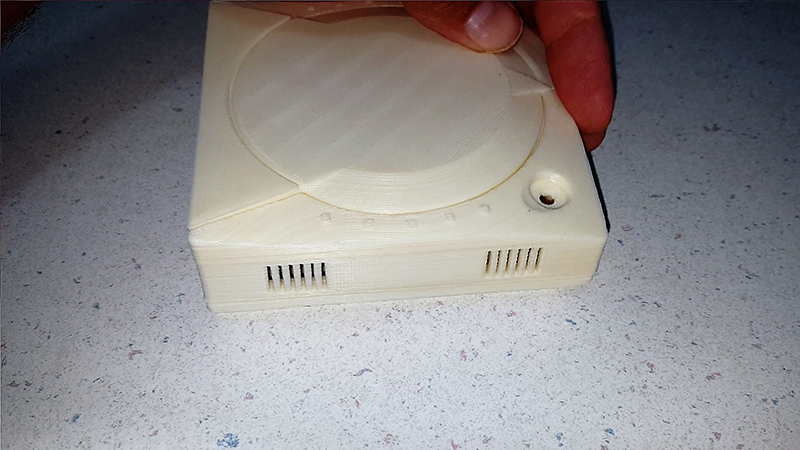
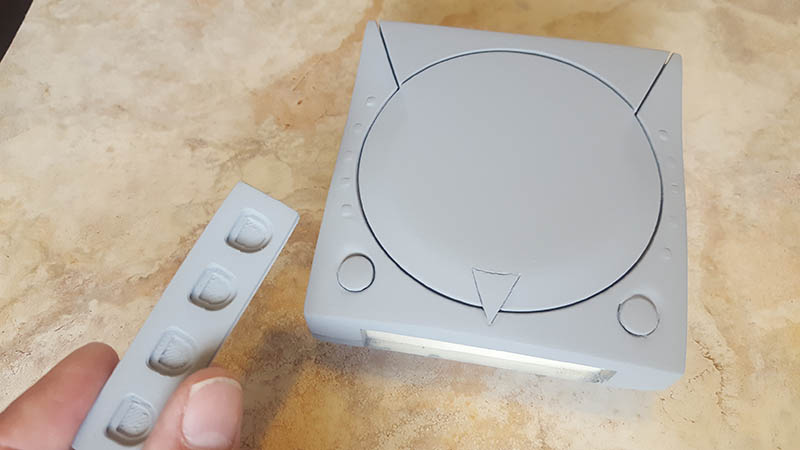
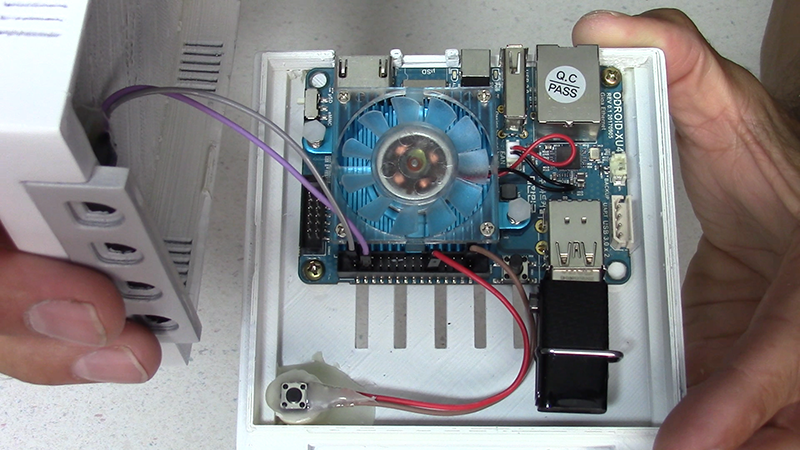
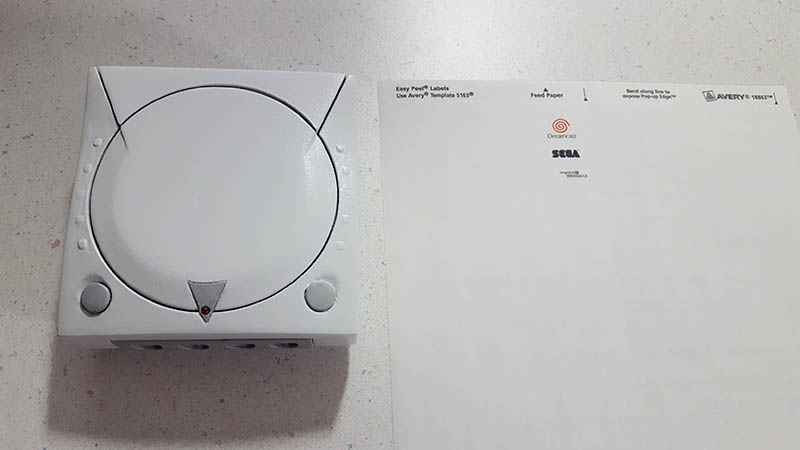
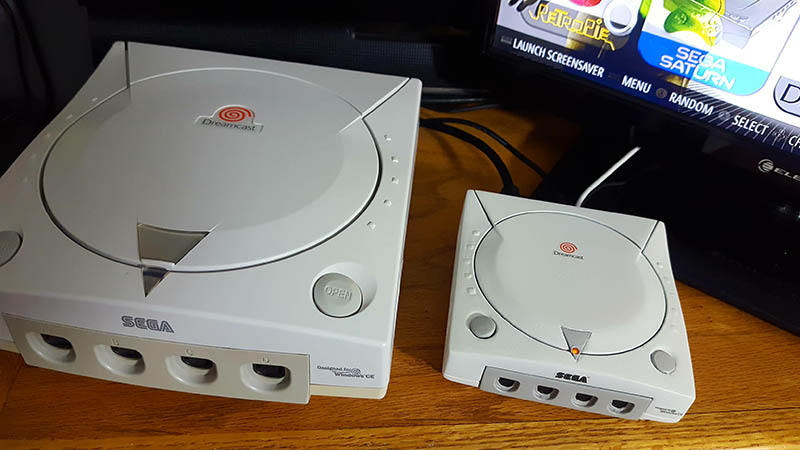
This is a Dreamcast case designed for the ODROID-XU4 single board computer which can play DC games very well. This is designed as a snap-together case but some fine trimming may be needed, to snap together properly. Case dimensions should be already pre-saved at 4.25"x4.25". it will have to be printed at these dimensions in order for the ODROID-XU4 to fit properly.
Print Settings
- Printer Brand: XYZprinting
- Printer: da Vinci 1.0 Pro 3in1
- Rafts: Yes
- Supports: Yes
- Resolution: 1mm
- Infill: 30%
- Filament: generic abs white
I added supports and rafts were used where needed, printing in 1mm layers.
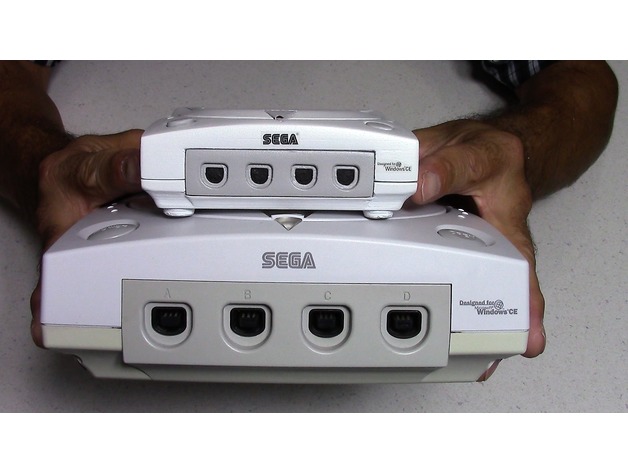
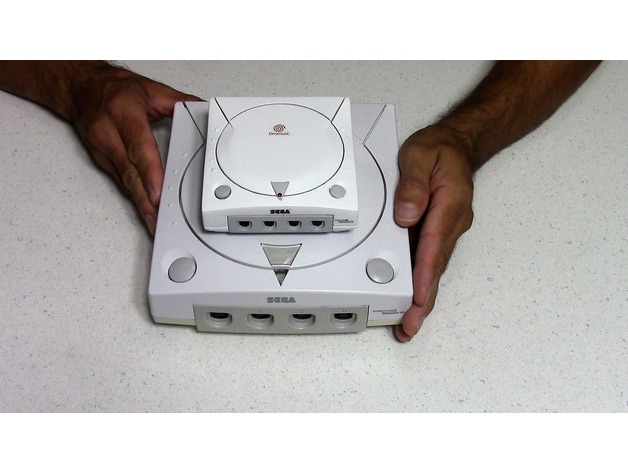
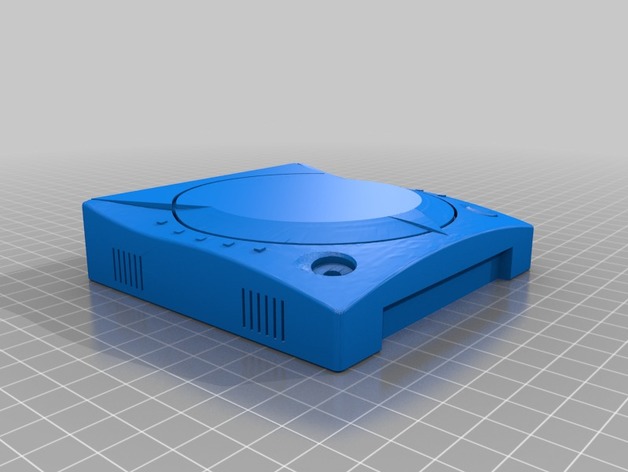
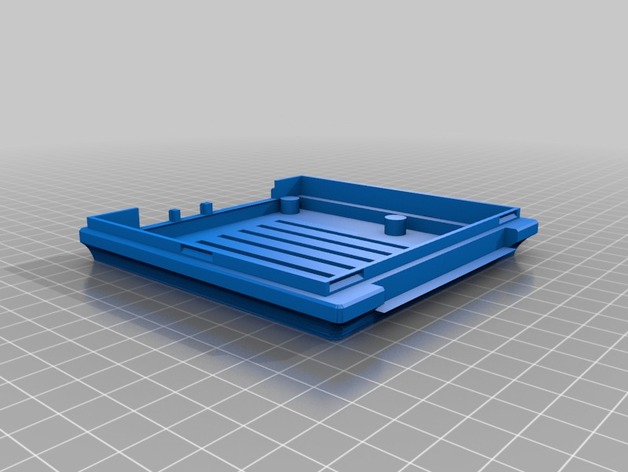
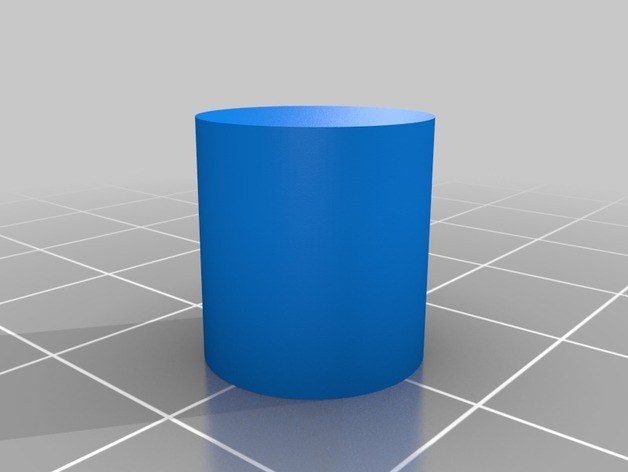
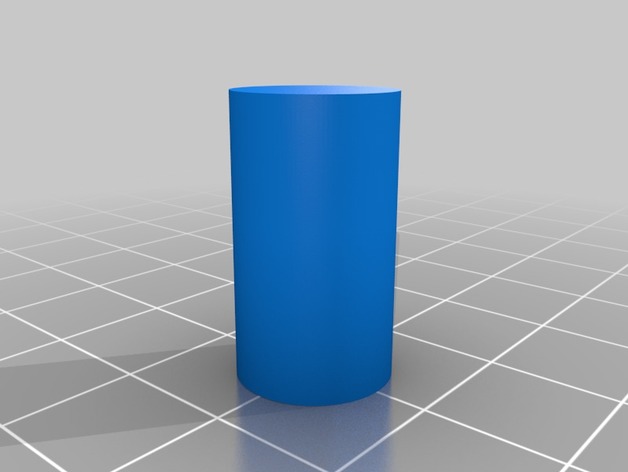
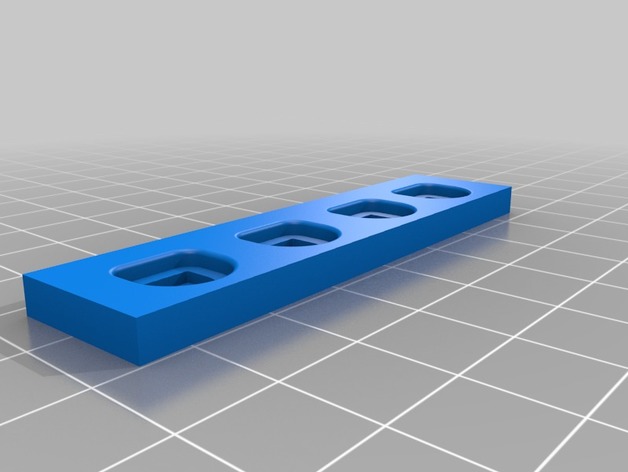 Figure 5 - Printing process
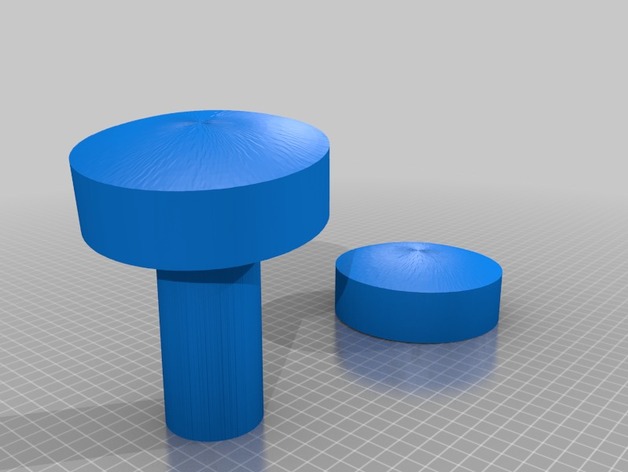
Figure 6 - Printing process
Post-Printing
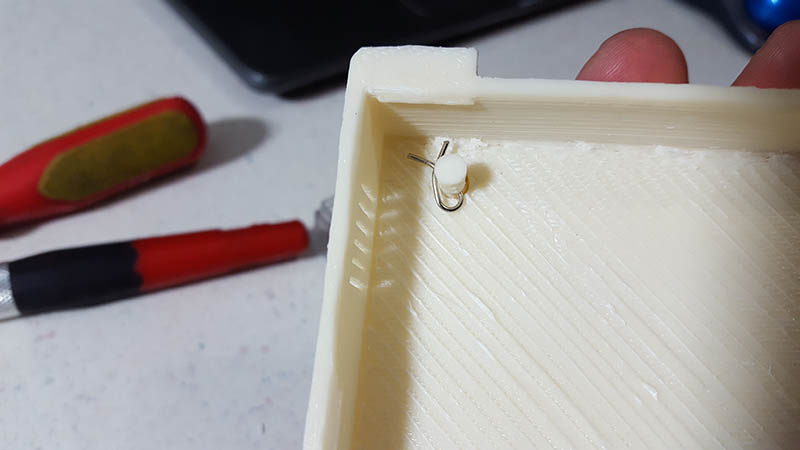
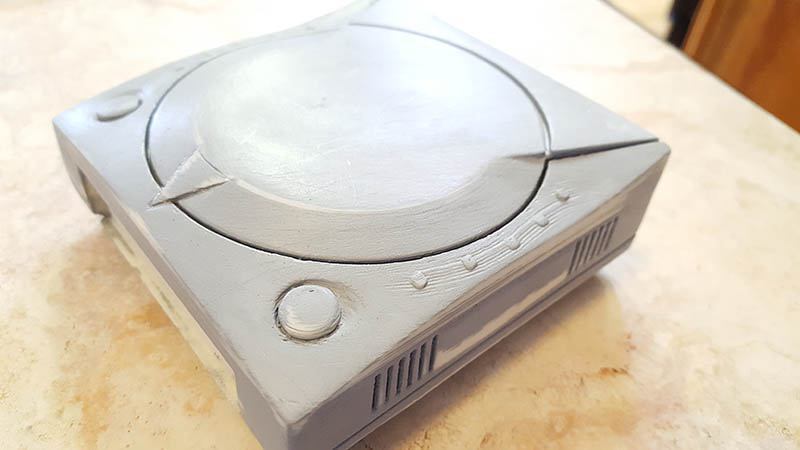
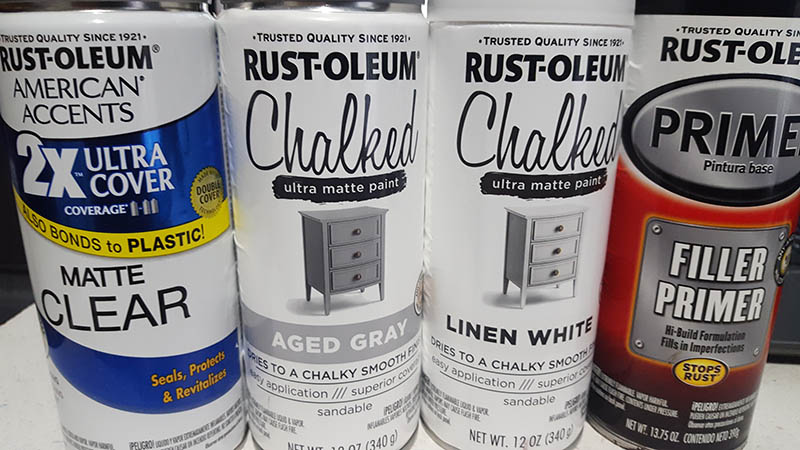
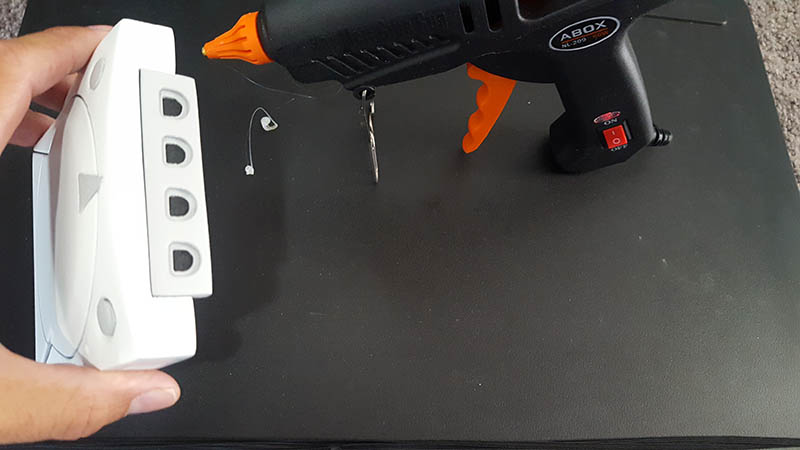
Some extra work was required to achieve realism. I used an exacto knife and small putty knife to remove supports & rafts, then sanded all parts with 120 grit. I fit all electronics inside case some drilling and trimming required, then removed electronics. I used 2 coats of filler primer to fill imperfections then wet sanded 1st coat with 360 grit and 2nd coat with 600 grit. Then then painted with matte white and matte gray, and applied a matte clear coat.

For comments, questions and suggestions, please visit the original article at https://www.thingiverse.com/thing:3119657.
Be the first to comment