
Last month in my article, Build Your Own ODROID-HC1 BitTorrent Seed Server, I demonstrated how an ODROID-HC1 can make an excellent little BitTorrent seed server. However, now that you are up and running and your torrent files have all been downloaded (or downloading), how do you access those downloads in a sane way? In this month’s article, I will assume you have already got your BitTorrent seed server setup and working per the article in the April 2019 issue. I will walk you through the next steps: giving yourself access to the downloaded files over the samba protocol, effectively turning your BitTorrent seed server into a very capable NAS.
We already know two key facts about our BitTorrent seed server:
- Our BitTorrent files get downloaded to /home//ssd/torrents, where is whatever your Linux username is, and
- We know the IP address of our BitTorrent seed server.
Samba provides the SMB/CIFS protocols to Linux and Unix/Unix-like operating systems. This brings Windows networking interoperability, offering fast and secure file and printer sharing within a mixed network. It is what allows you to right-click a folder on the Linux desktop, choose “Sharing” and share the folder to your network. However, with a headless server, it may not be quite as clear how to find the ability to share your folders. If we try to access our BitTorrent seed server’s network shares from a Windows machine, we will simply receive a timeout error.
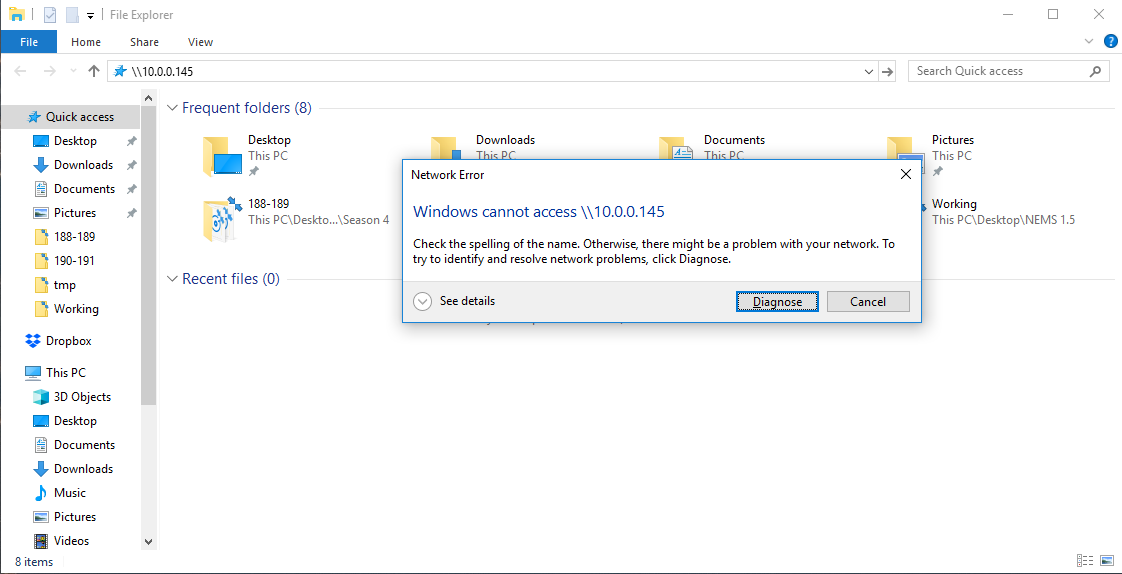
This is because there is no Windows-compatible file sharing integrated into my BitTorrent seed server. Now, let us be clear: When I say “Windows-compatible,” do not get the wrong impression. SMB/CIFS is perfect for Linux as well, and is in fact the go-to for network file sharing via Samba. It is just that Microsoft was the first to really utilize IBM’s SMB/CIFS protocols back in the mid-90s, bringing file sharing to its MS-DOS environment. Samba came along around the same time, working hard to provide MS-DOS users with network access to files hosted on Unix servers. Now in 2019, SMB/CIFS is a long established cross-platform file sharing protocol used on all major platforms. So, first things first: we need to install Samba itself. Access your BitTorrent seed server via SSH and type the following:
$ sudo apt update
$ sudo apt install samba
The first command updates the available package information from the various repositories on our system. The second command installs the most current version of Samba from these repositories, activating it as a system daemon using the default configuration.
Tip: Remember when running sudo apt update, if you receive an error about things being in the future, check and correct your system date and begin again. Personally, I like to add a real time clock battery to my ODROID-HC1 to avoid this error and ensure timestamps are correct on all my files.
Now, with Samba installed and active, we should be able to go to \\10.0.0.145 on Windows or smb://10.0.0.145 on Linux (replacing 10.0.0.145 with whatever your server’s IP address is) and while it will not provide any shares, there should be no errors or timeout. The next step is to actually add a share. The process we typically use – right-clicking a folder and choosing “Share” – is going to be done programmatically using the Samba configuration file.
Open your Samba config file for editing with this command:
$ sudo nano /etc/samba/smb.confWithin the resulting nano editor, press ALT + / to jump to the end of the file. On a new line, let us add our /home//ssd/torrents folder as a read-only network share. Why read-only? These are BitTorrent seeds. If you allow writing, even browsing to the folder would do things like create hidden thumbnail cache files within the folders, resulting in broken checksums and your seeds failing. We want them to be only read-only so we can access them from our network without affecting their ability to continue seeding. If you ever wish to remove a torrent, you can do this from within Transmission’s web interface.
Add the following to the smb.conf file, remembering to change to whatever your Linux path is in the path line, and the correct username in valid users.
[torrents]
read only = yes
path = "/home//ssd/torrents"
guest ok = no
valid users =
Save your work by pressing CTRL-O (that is O for write-Out), followed by CTRL-X to exit.
The next step is to actually create your Samba user access. Samba does not use the Linux user credentials, but instead maintains its own list of users and passwords, which we must create with the following command (again, replacing with whatever your username is in valid users in the config file).
$ sudo smbpasswd -aNow, Samba should be ready to share your torrents folder on the SSD drive of your ODROID-HC1. Let’s test it. A quick restart of Samba will ensure the new configuration is loaded.
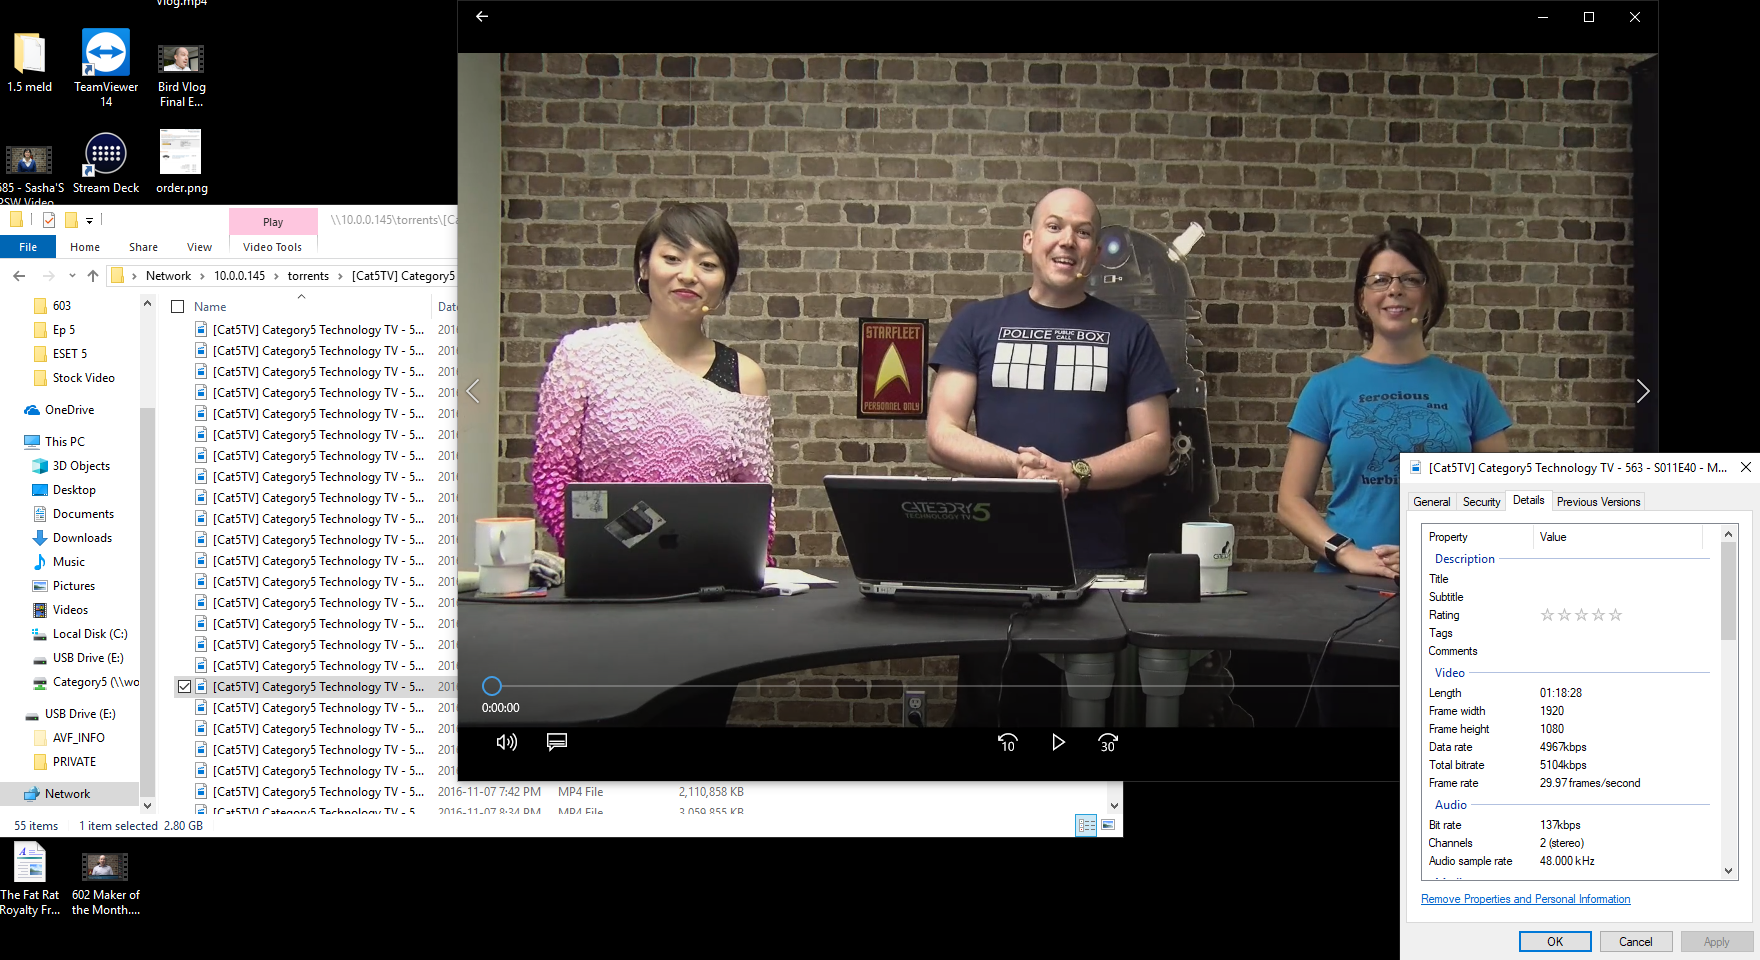
$ sudo systemctl restart smbdNow, navigate to your BitTorrent seed server’s network share from a computer on your LAN via \\10.0.0.145\torrents on a Windows computer or smb://10.0.0.145/torrents on Linux system, replacing my IP with your own server’s IP address.
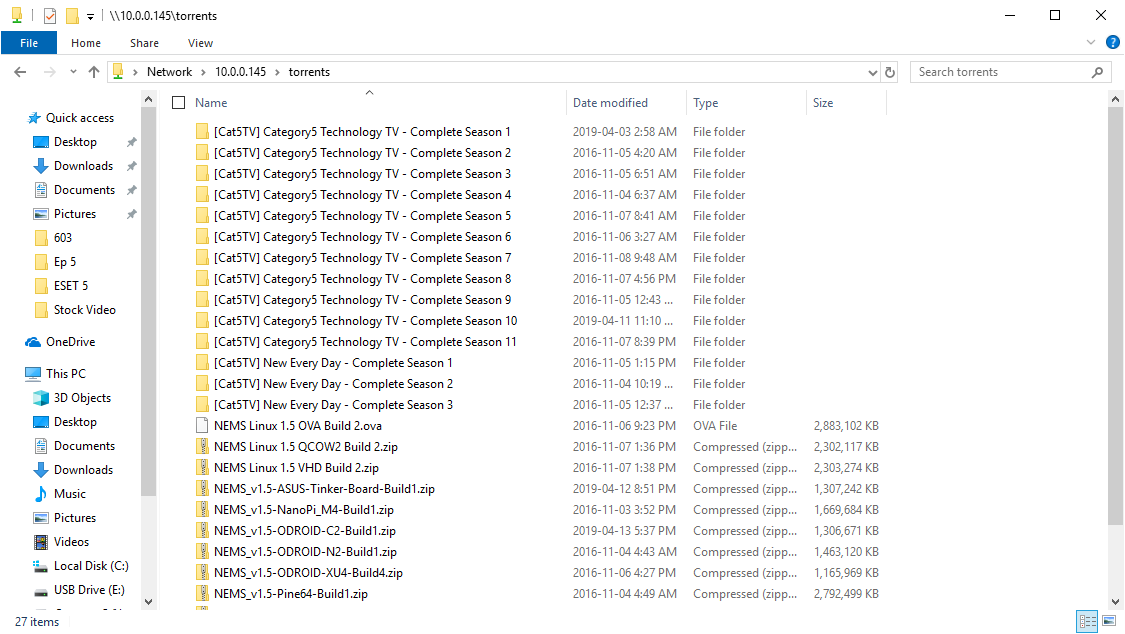
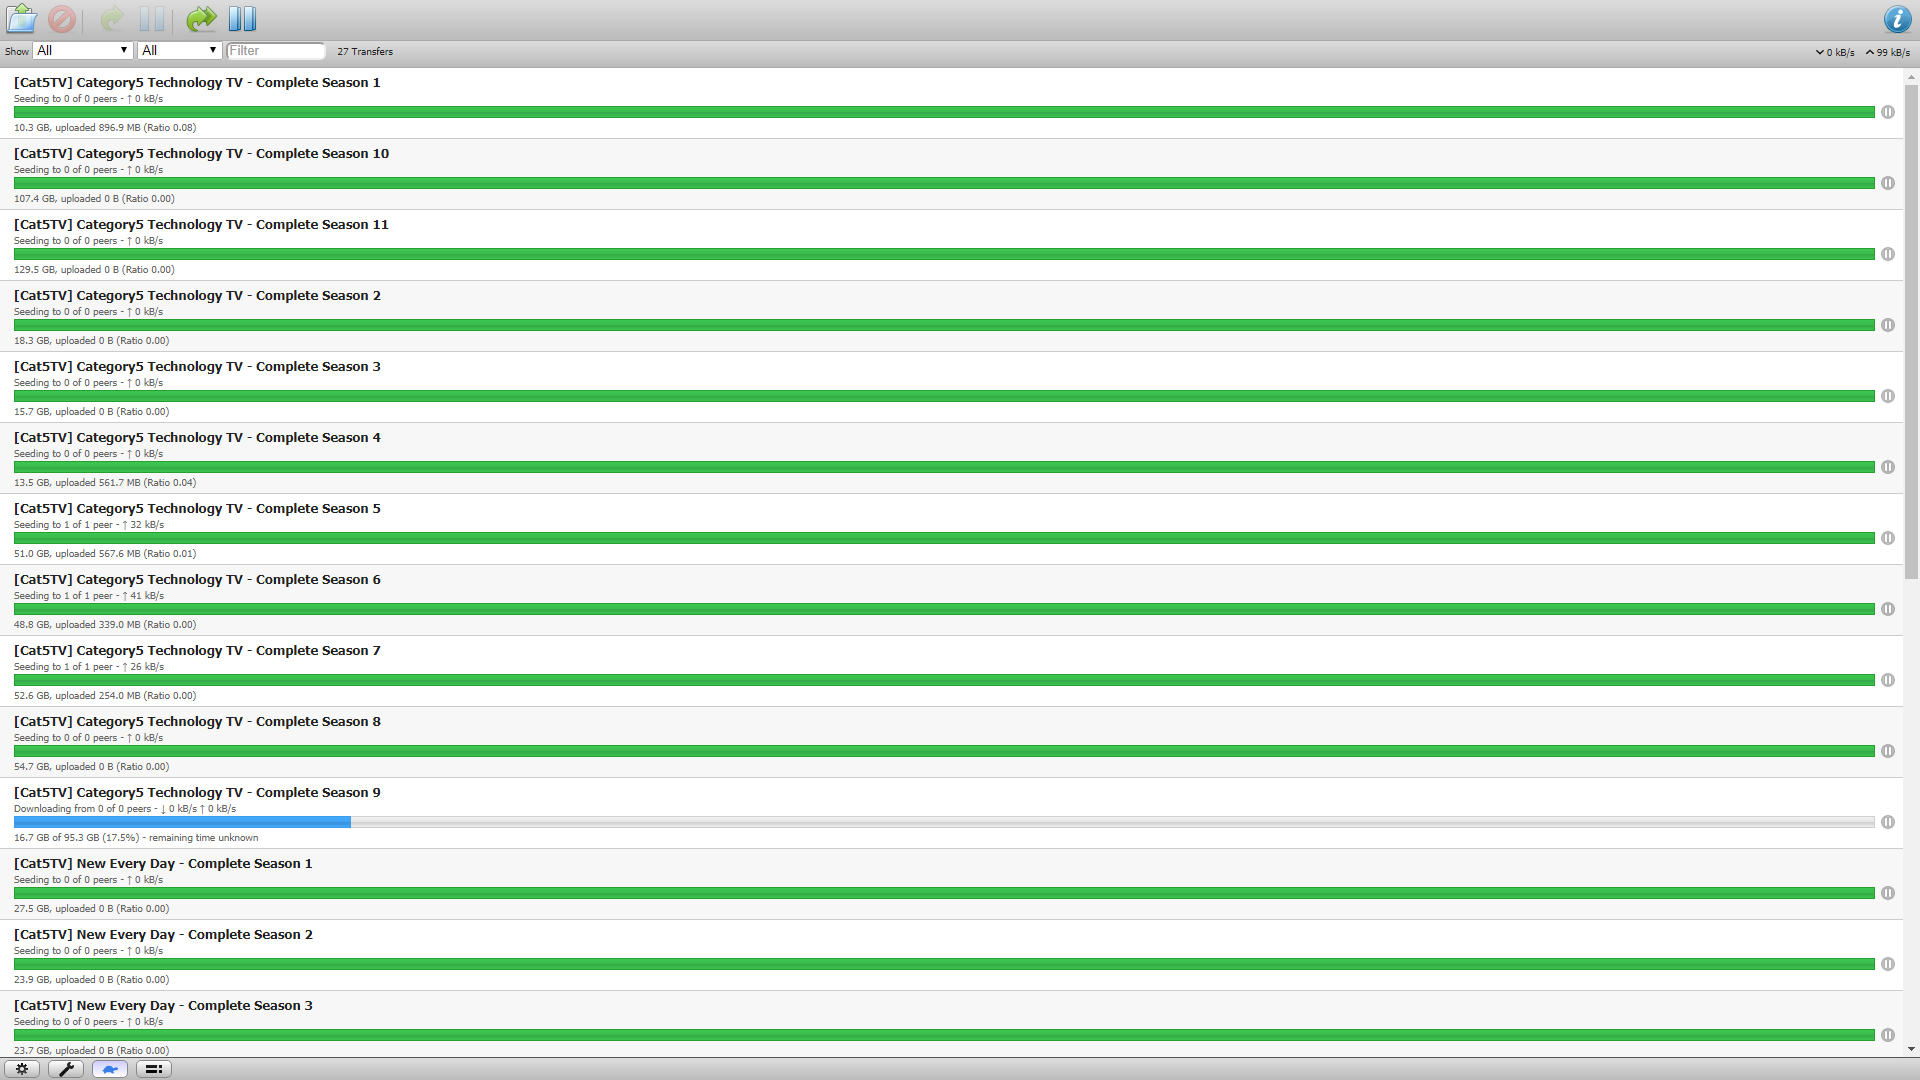
Now, there you have it. In two short lessons, you have successfully setup both a BitTorrent download/seed server and made it into a NAS so you can access the content from any computer on your network. All on a tiny little ODROID-HC1. Feel free to download complete seasons of my webcast, Category5 Technology TV to your server from https://torrent.category5.tv or grab the latest version of NEMS Linux for the ODROID-N2, ODROID-XU4 or ODROID-C2 from https://nemslinux.com
About the Author
Robbie Ferguson is the host of Category5 Technology TV and creator of NEMS Linux. His TV show is found at https://category5.tv/ and his blog is https://baldnerd.com/.
Be the first to comment