
Although I normally only talk about the ARM based ODROID boards I want to talk about the ODROID-H2 today and something that you can do on it. Since the ODROID-H2 is a standard x86_64 (amd64) board you can do exactly the same configuration steps that you perform on every other x86_64 PC or Laptop running Linux.
This is my experience with a software package called Anbox, an Android “emulator” for Linux, I will explain how to set it up, what I did with it, and what problems I encountered and how I solved them. Consider this more of a journey than a quick step by step guide, as I explain how I discovered various installation and configurations secrets.
Anbox
Anbox is a new form of Android emulation, where you can run Android directly on your Linux OS rather than booting Android directly on the system or running it in a VM.
There are other existing tools already that can do the same thing but, those are normally rather huge, several GB of storage just to start the emulator, for example Android Development Studio.
Anbox uses LXC so called Linux Containers a technique similar to Docker, where you can run an OS in an encapsulated environment but still share the system’s Kernel and resources. This also means, if you’re ODROID-H2 has 16GB RAM technically your Android runs with 16 GB RAM as well.
To do this, there is a feature available in both the Kernel of Linux and Android that is needed for this, it’s called Ashmen and Binder, these are two modules available for the Kernel.
Installing Kernel Modules
Rarely any Kernel comes pre-compiled with it, but luckily there are DKMS modules available for this.
There’s a very nice guide on how to get started with this: https://docs.Anbox.io/userguide/install_kernel_modules.html
In short here are the two things you can do: 1. Install dkms modules from PPA:
$ sudo add-apt-repository ppa:morphis/Anbox-support
$ sudo apt update
$ sudo apt install linux-headers-generic Anbox-modules-dkms
2. Install dkms modules from GitHub:
https://github.com/Anbox/Anbox-modules
I suggest using the PPA or to create your own deb file as it will automatically install all files you need and put them in the correct location.
The Kernel modules will create /dev/binder and /dev/ashmem as new devices which are required for Android to access the resources of our host system. Do not be alarmed if you don’t see them right away. Either you have to load the Kernel modules manually or have to wait until we install Anbox itself.
Installing Anbox
The main distribution of Anbox is via snap packages, which is widely available on many Ubuntu systems and some other Linux distributions, as well. The second option is to install deb packages directly from your OS repository.
Starting from Debian Stretch (backports) or Ubuntu 19.04 aAbox exists as official package in your repository. I tried it on my ODROID-H2 on Debian Buster but also got it to work on my Laptop using Ubuntu 18.04. As I said earlier, it's only officially available on Ubuntu 19.04, but if you know how, you can build it on Ubuntu 18.04 as well (which is what I did).
Since the ODROID-H2 comes with Ubuntu 19.04 though you should not have any issues installing it.
Either way, you should make sure you have enough space under /var/. If you have your system partitioned and not using a single partition for the entire OS, make sure you have enough space under /var/ for all the applications you want to install. This can easily stack up to 20 GB or more depending on what you want to try.
Why you should prefer deb packages over snap packages
The reason why you should use the deb packages for Anbox is simple, same as with the Kernel modules, if you install Anbox as a deb package it comes with a lot of stuff already installed and prepared for you. You have a service called Anbox-container-manager which is managed by systemd and takes care of all the little background tasks for you. It will automatically start the kernel modules for /dev/binder and /dev/ashmem as well as a virtual network adapter for your Android box so you have access to the Internet.
It’s very convenient and allows for easy manipulation later on if you want to try new things.
Snap packages on the other hand have some major issues.
The biggest benefit of the snap package is that it comes with an Android.img file right away, while if you install the deb file you will have to download the Android.img file yourself (I’ll explain that later).
While snap packages generally work, I advise against using them as snap packages are inflexible and can cause major issues if you want to add Google Apps, for example, or if you want to try out patches.
I first started off with snap packages and it worked “ok-ish” but when I tried to install Google Apps (Gapps) via a script the system failed to start and it took me a day or two to figure out that the issue was with snap packages in general and not the version of Anbox, or the Gapps I was using.
Snap packages are a locked containers, you can not change them in any way, means you can’t change settings, update applications, exchange the Android image and so on unless you install a new snap package of this application.
In order to alter the snap package and add Gapps for example, you need to work with a “overlay-fs” for the snap package, where it will combine a folder you created with the data provided by the snap package. For me the moment I turned on the overlay-fs, even without any changes, most of my applications no longer worked.
With the deb package you do not have these restrictions and you can change the Android.img file directly, as well as manipulate the rootfs or data folder of the Android image if you need to. This allows you to place files directly in your virtual file system or in the img file itself, which is impossible with the snap packages.
So my advice: although it’s their main focus for distribution of Anbox; stay away from the snap packages!
First start
What do you need to start your first Android experience with Anbox?
Well with the snap packages nothing at all you can start it right away, but since we said we don’t want to use snap packages we need an Android image to work with.
Some technical background
You’re running Anbox in a LXC container this means it’s not “emulated” it’s also not really “virtualization” although that’s very close to it. You use the same hardware and Kernel that you have on your main OS. Which means your Android OS must match the configuration of your PC.
Obtaining an Android image
This means we need an x86_64 (amd64) Android Image. This may sound complicated, but don’t worry, others have already done all the work and you only need to download an image from here: https://build.Anbox.io/Android-images/ as you can see there are several images available. You can choose anyone that has “amd64” in its name. Let’s go with the latest one for now: https://build.Anbox.io/Android-images/2018/07/19/Android_amd64.img.
All of these images are Android 7.1.1 as this is used by most emulators.
Download the above image and rename it to Android.img copy the file on the system where you installed Anbox (via deb or from your repository) to /var/lib/Anbox/
$ sudo wget https://build.Anbox.io/Android-images/2018/07/19/Android_amd64.img -O /var/lib/Anbox/Android.imgThat’s it you’re ready to go.
Remember the Anbox-container-manager service from earlier?
On start it checks if an Android.img file is present in that folder and if so it will automatically start the kernel modules and the network bridge needed for internet access in Anbox.
Since we now have an Android.img placed under /var/lib/Anbox/ it’s time to start the service:
$ sudo service Anbox-container-manager restartPlease note I used restart as you might have to use the command later on again, and so you already have it in your command history.
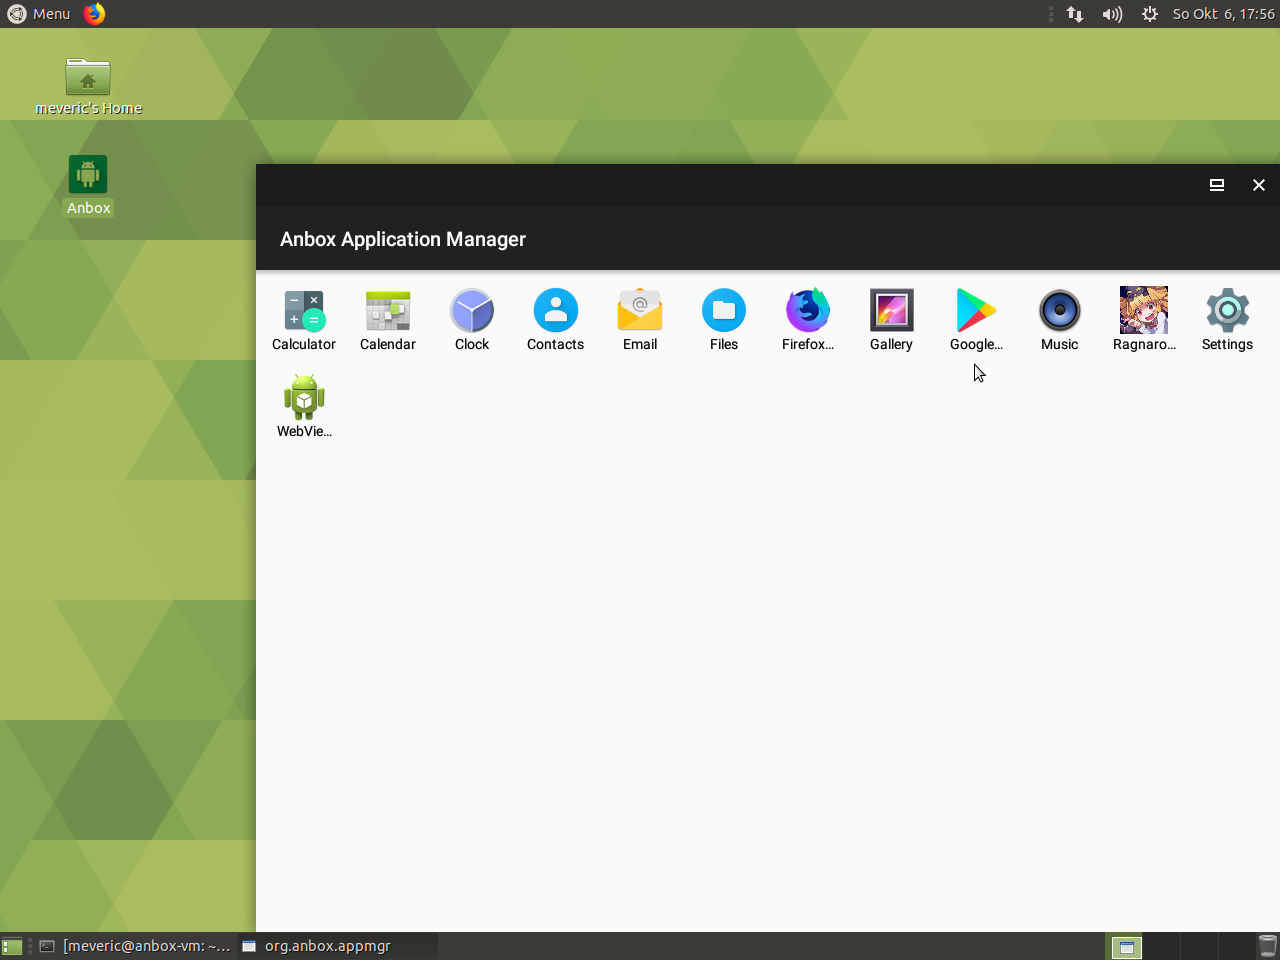
If you check your start menu and search for Anbox (under accessories) you should see a very minimalistic home screen with only a few applications.
Calculator, Calendar, Clock, Contacts, Email, Files, Gallery, Music, Settings and WebViewer are probably the only applications you can see. And although they all work fine except for “Settings” you probably never gonna need any of the other applications. Still if you see this screen that means Anbox is up and running.
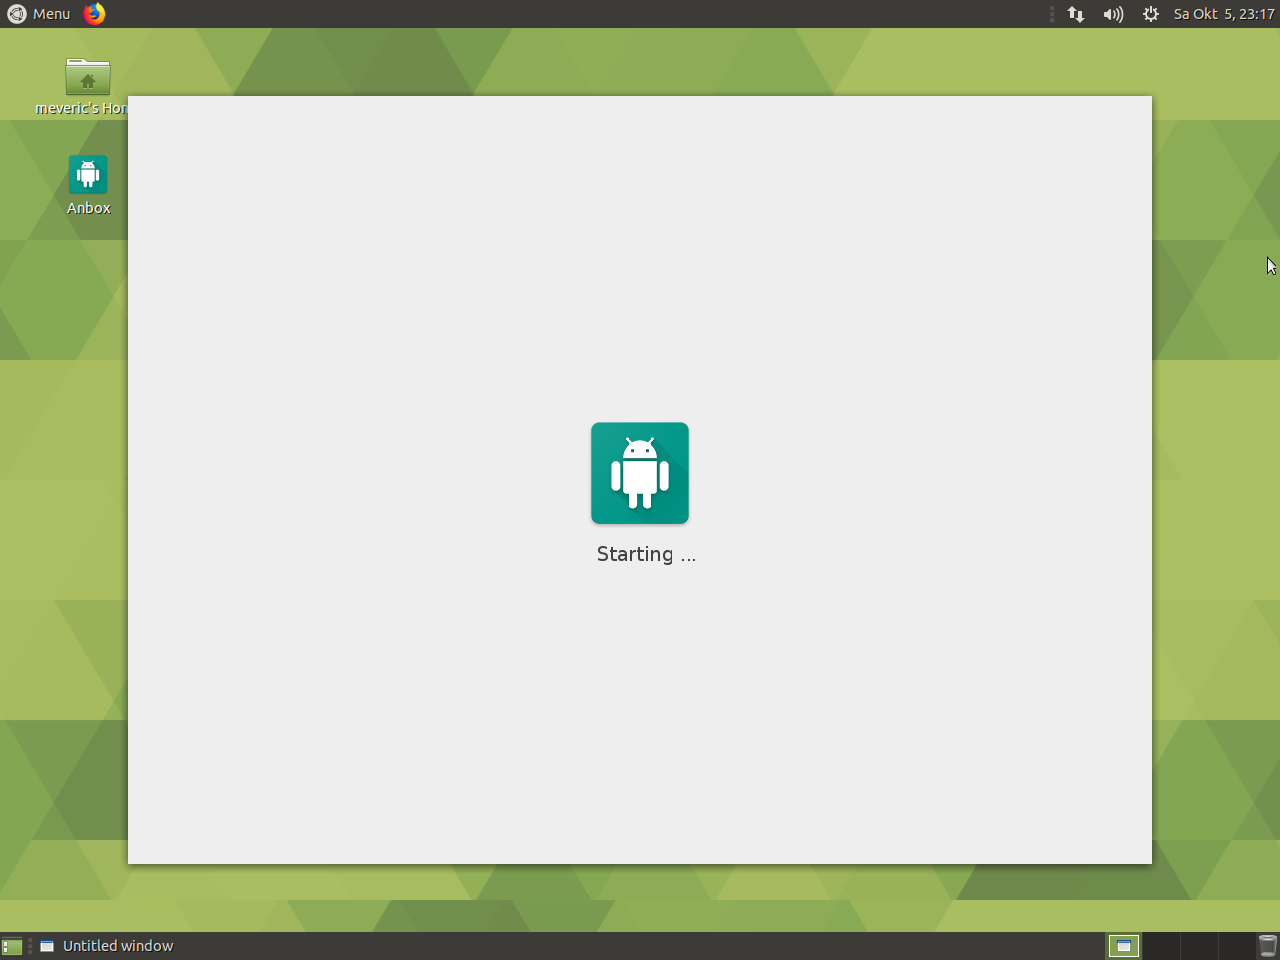
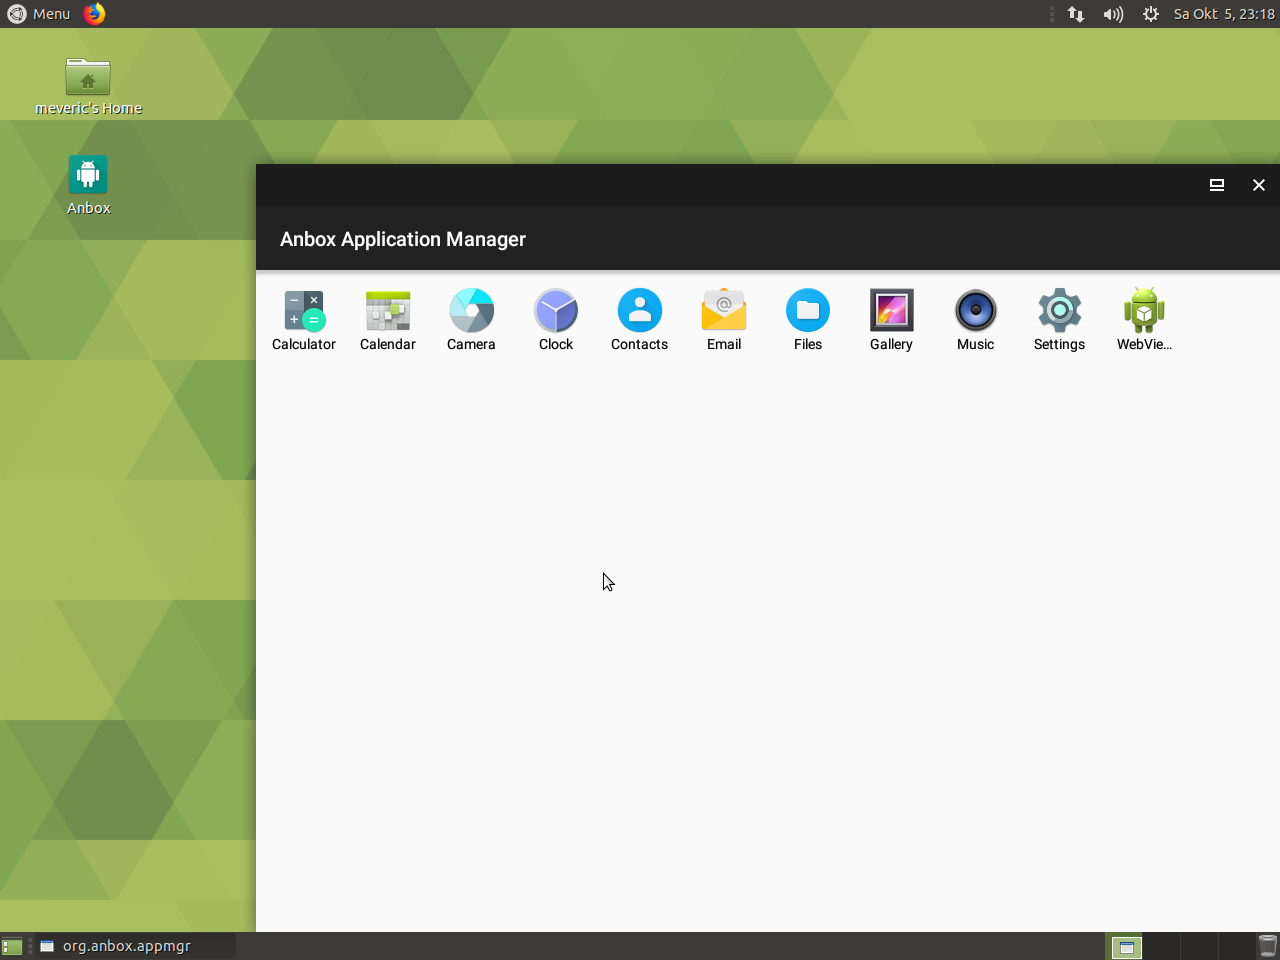
Starting Anbox for the first time (may take some seconds) Anbox application menu with default applications
Installing applications - part 1
Having “Android” up and running is nice and dandy but if you can only run your calendar or the clock, this will get boring rather quickly. So what we need is a way to install applications. There are several different ways to do this.
Let's start with the easiest one, which requires you to already have .apk files available.
First we need to install Android-toolbox which is available on your OS:
$ sudo apt install Android-tools-adbWith that you can install applications easily by typing:
$ adb installAndroid toolbox is meant for ALL Android systems not specifically for Anbox.
It searches any connected device and allows you to interact with it.
If Anbox is up and running you can use adb to install application into the system.
Please Note: If you have an Android device, such as a smartphone or tablet, connected on your Linux PC/Laptop/ODROID H2 you might end up installing applications on this device, so make sure you use it only when the Anbox is running (unless you know what you do).
You may wonder where you can get apk files for installing? There are several different locations where you can download apk files, often programs or games have download links on their website and there are also sites like APKMirror (https://www.apkmirror.com/) which allow you to download apk files directly for your system.
Important Note
Remember you downloaded the Android_amd64 image? This means you have an x86_64 based Android image and you can only run x86 or x86_64 Android applications, or applications that do not require a specific binary format. If you look at APKMirror you can see what architecture packages have before you download them. Make sure to download x86.
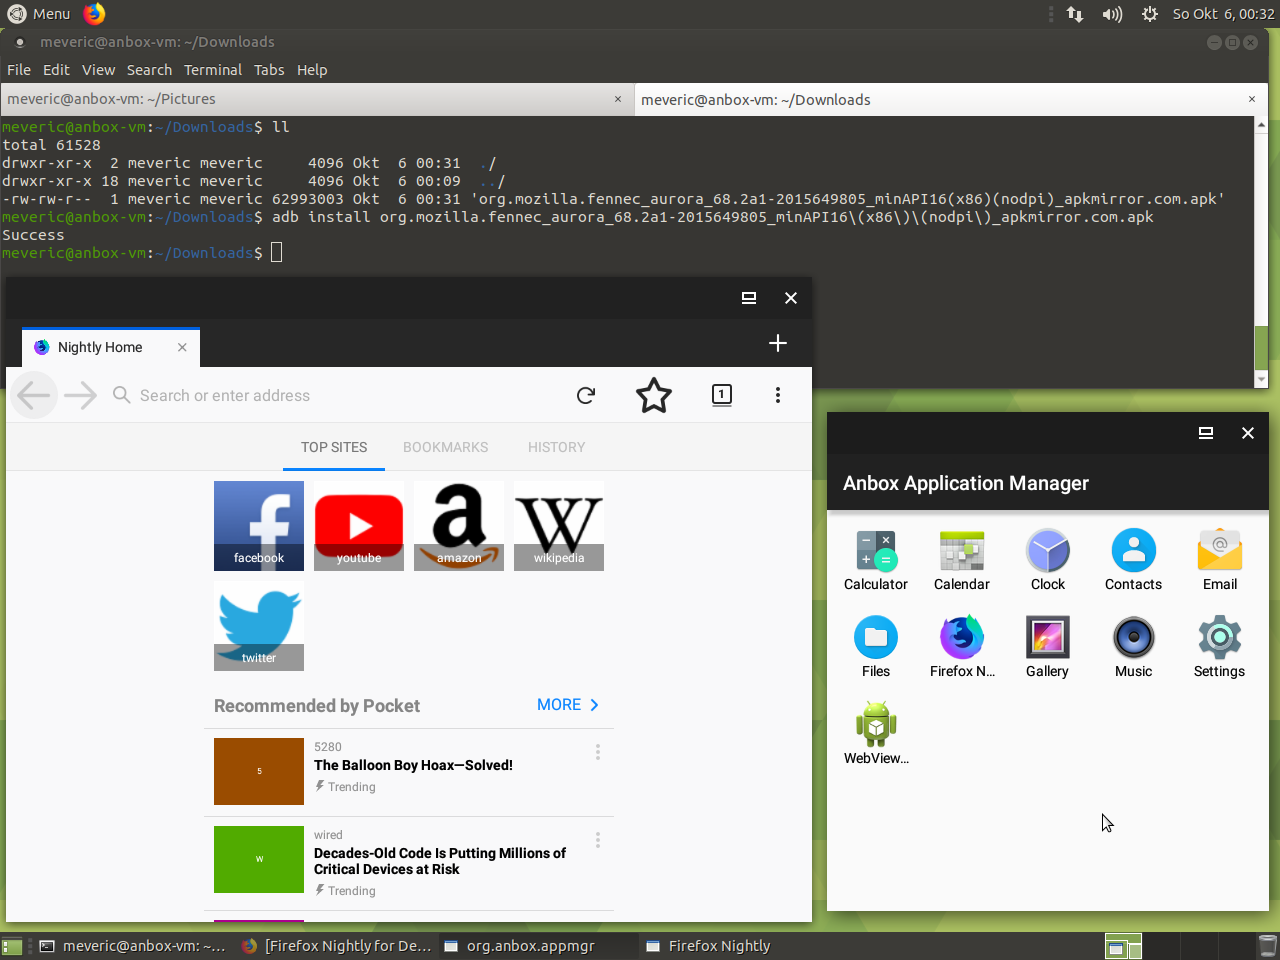
With this you can already install the first few applications and test around with Anbox. To be honest my goal when I started using Anbox was it to run Ragnarok M – Eternal Love. So, my first real test was to download the APK file from their website and to install it. So I downloaded the apk from their website, and 1.3 GB later I installed it via adb:
$ adb install 155603_20190.1563284609.apkThanks to the wonders of SSD a few seconds later the game was installed, I pressed the button and the game started, which I later found out was not only impressive for the first application I tried, but in fact very lucky (more to that later).
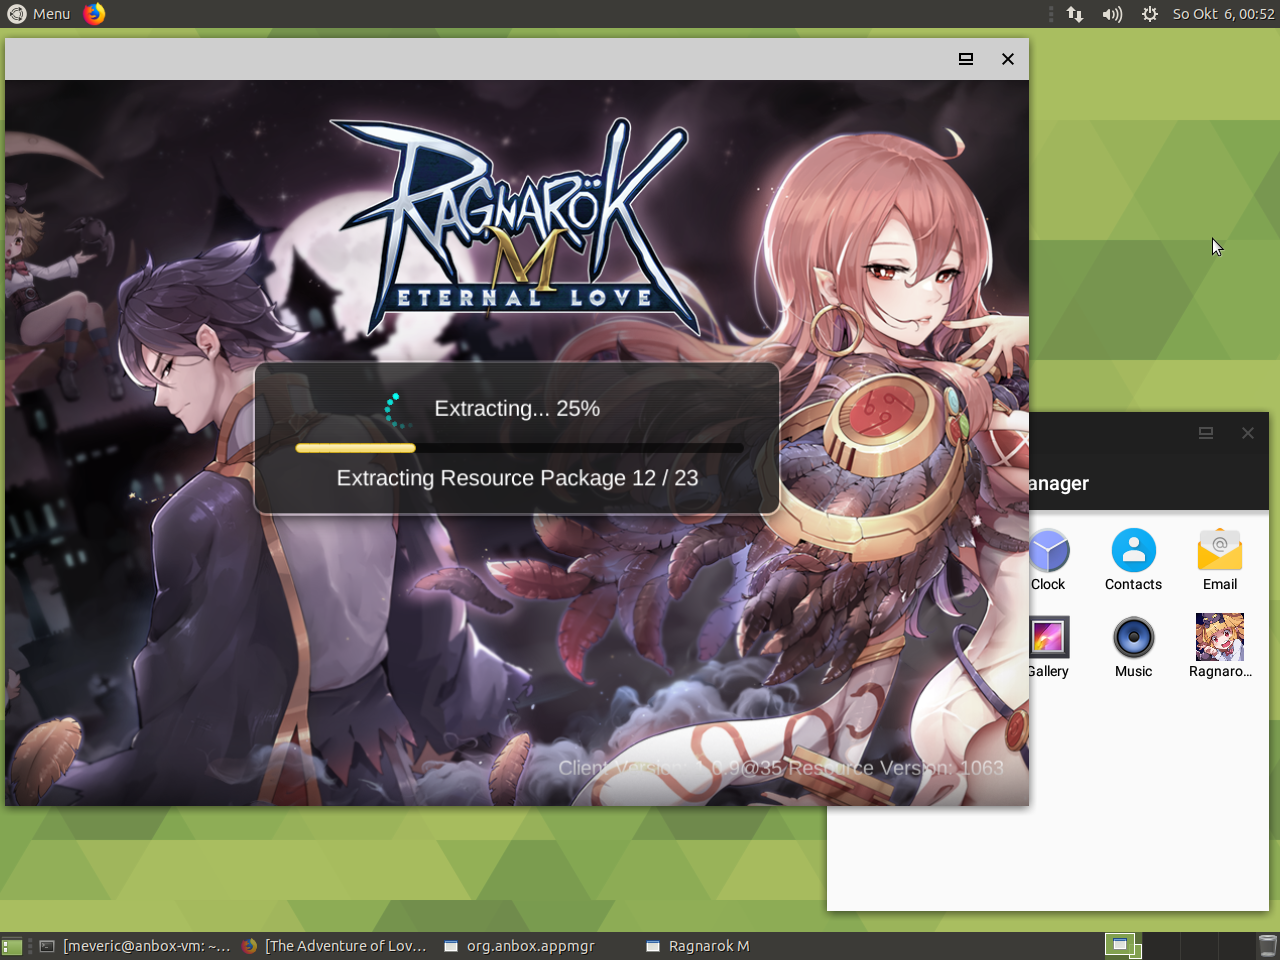
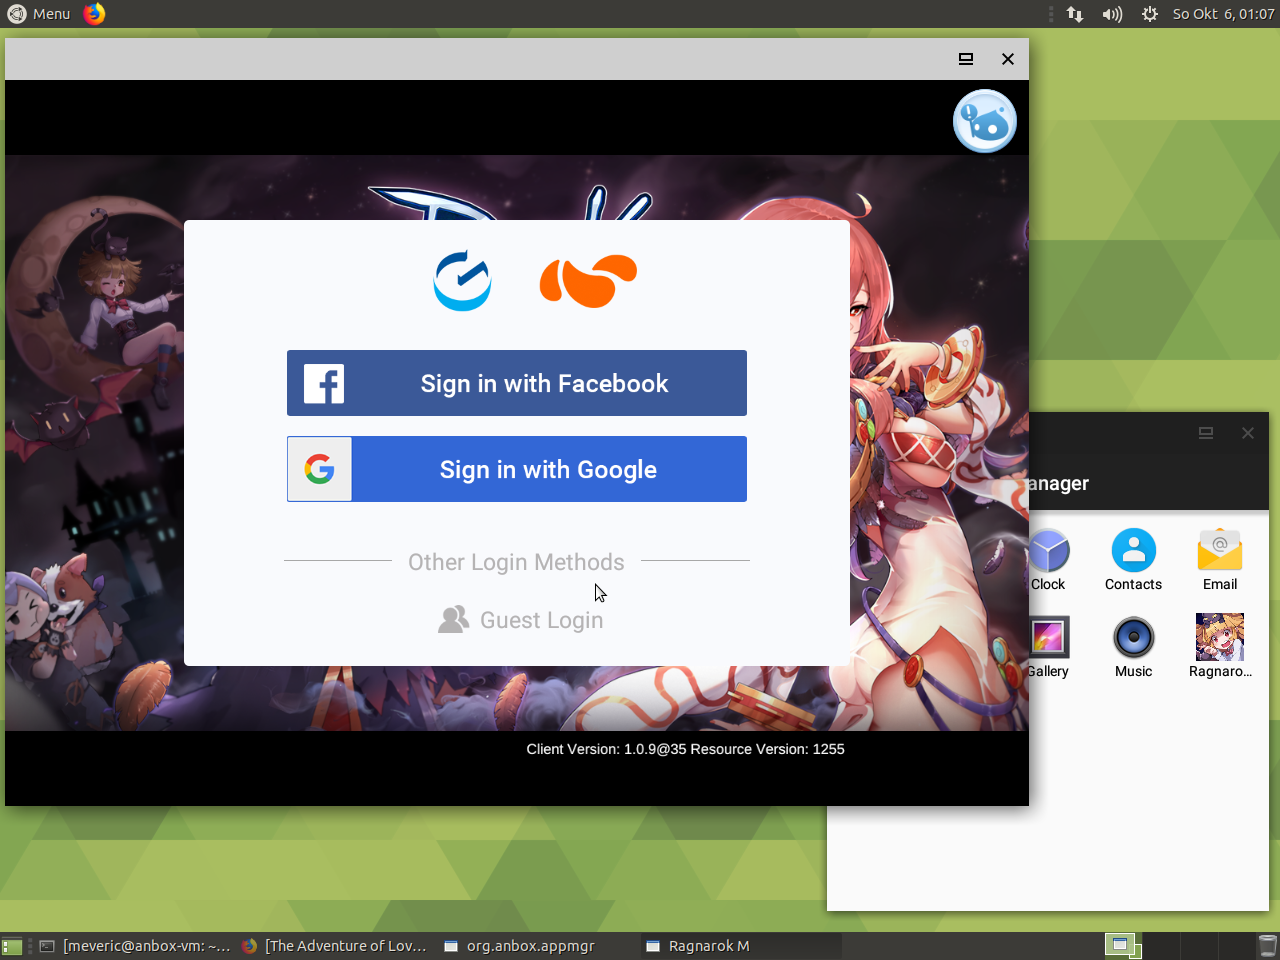
The game started and as it’s the case with these online games started downloading and installing updates, which was fine with me, so I sat down and waited, happy to see the game was a lot faster than on my tablet (no surprise here). After the updates I was greeted by the login screen and this is where my problems started.
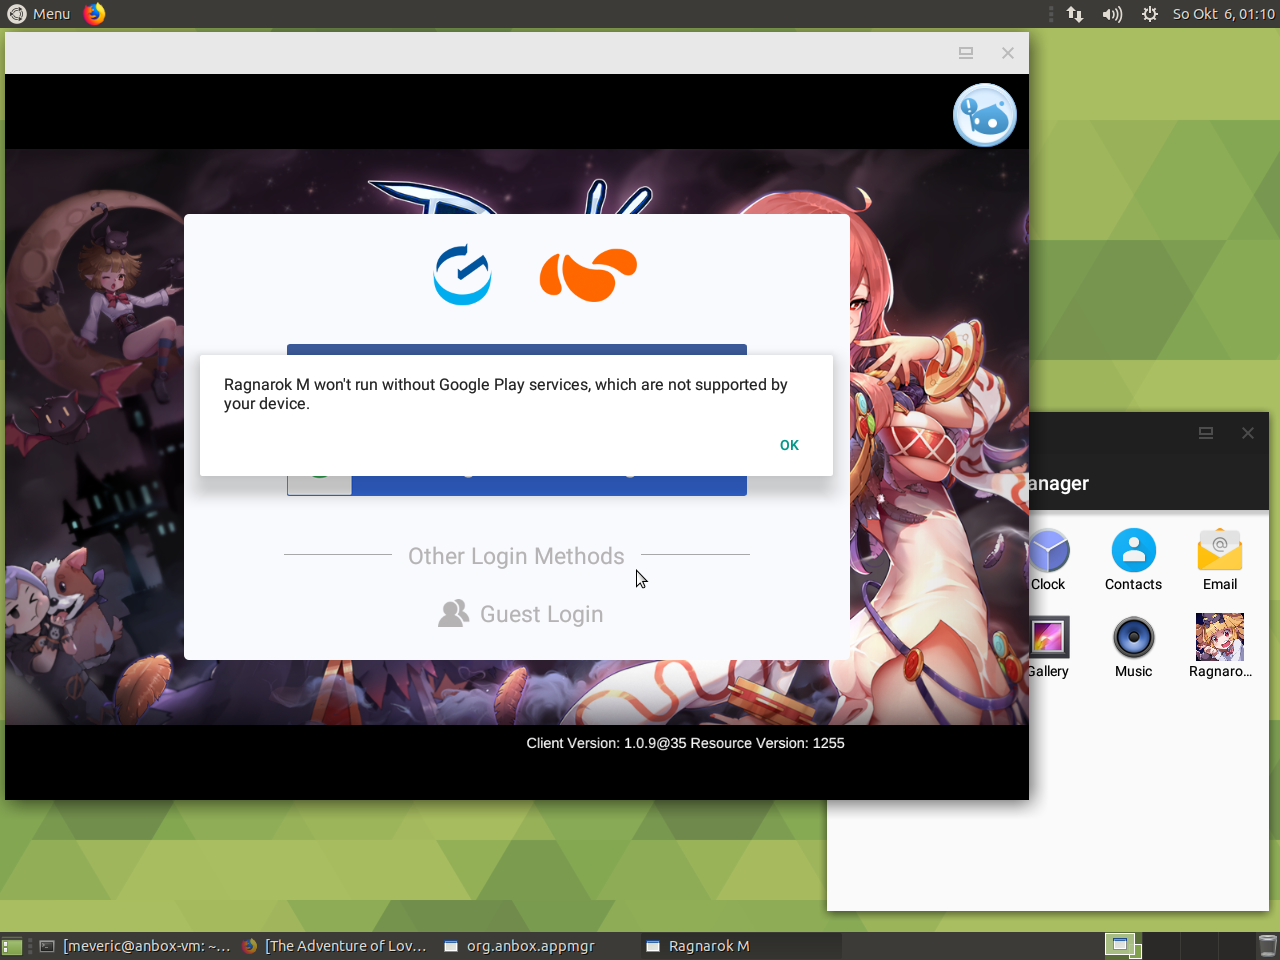
This is where my ordeal started and where I wasted an entire day to figure out the problem was the snap packages. But before we go into details and how to solve this some general observations which we are about to fix Installing applications part 2 – Gapps and other packages
If you headed over to APKMirror you probably noticed that most applications and games are only available for arm or arm64 (armeabi-v7a, armeabi, arm64-v8a) very few are available for x86.
This is true, as most games and applications are written for smartphones and tablets and those devices normally have an ARM processor. Therefore the selection of application directly running on x86 Android is very limited.
Aside from that you will have a hard time finding your favorite games on APKMirror in fact I had a hard time finding anything working as is.
Most games will only be available once you installed Gapps and the google play store, but even then with x86 the selection would be very little. Many applications rely on Google Play services, even if you have the apk file for installation the programs require Google Play services to work, therefore installing Gapps is very important.
Installation of Gapps and Houdini
There are several ways to install Gapps for Anbox, but they are not very easy and therefore we should trust other people that already did make all the work for us and wrote a script for this. There are currently two that are important for us:
https://github.com/geeks-r-us/Anbox-playstore-installer/raw/master/install-playstore.sh which is a script for installing gapps and houdini if you for whatever reason decided to use the snap package. It will create an overlay FS and extract the files there. This might work for you, for me it rendered Anbox unusable after running.
The other one is:
https://github.com/Arucard1983/Anbox-playstore-installer/raw/debian/install-playstore.sh The later one targets deb installation specifically and works directly with the Android.img rather than an Overlay FS. So let’s give it a try:
$ wget https://github.com/Arucard1983/Anbox-playstore-installer/raw/debian/install-playstore.sh
$ chmod +x install-playstore.sh
$ sudo apt install lzip curl
$ sudo ./install-playstore.sh
For those interested in what it does here: It will download open-gapps from sourceforge as well as houdini_y and houdini_z from the Android-x86 project. They will be extracted, and added to the image. Houdini are wrapper libraries that allow you to run arm and arm64 Android binaries in an x86 environment. The script will alter the Android.img so it no longer only serves as a x86 and x86_64 image but also as an arm and arm64 image. Which means after that you can install and run all the other applications previously not available or only for arm and arm64 on the system as well, it will add some optimization and configuration so it is working correctly.
Afterwards, it creates a new Android.img file and replaces the original one with the new one that has gapps and arm and arm64 support.
The entire process only takes a couple minutes for downloading extracting and repacking the image.
The sudo command is only required to place the new image file into /var/lib/Anbox, where only root has access, if you run it without sudo it will still create the Android.img file and you can later on manually copying the file.
$ sudo install-playstore.sh --cleanwill remove the Anbox-work directory that was created during the process, but you can also remove that path manually as it’s no longer required.
Setting up Google Play Services
After a reboot if we start Anbox we now have an additional symbol for the Google Play Store which will allow us to install applications and games directly from the store, but before we can do this we need to setup the permissions for the Google Play Services and Store.
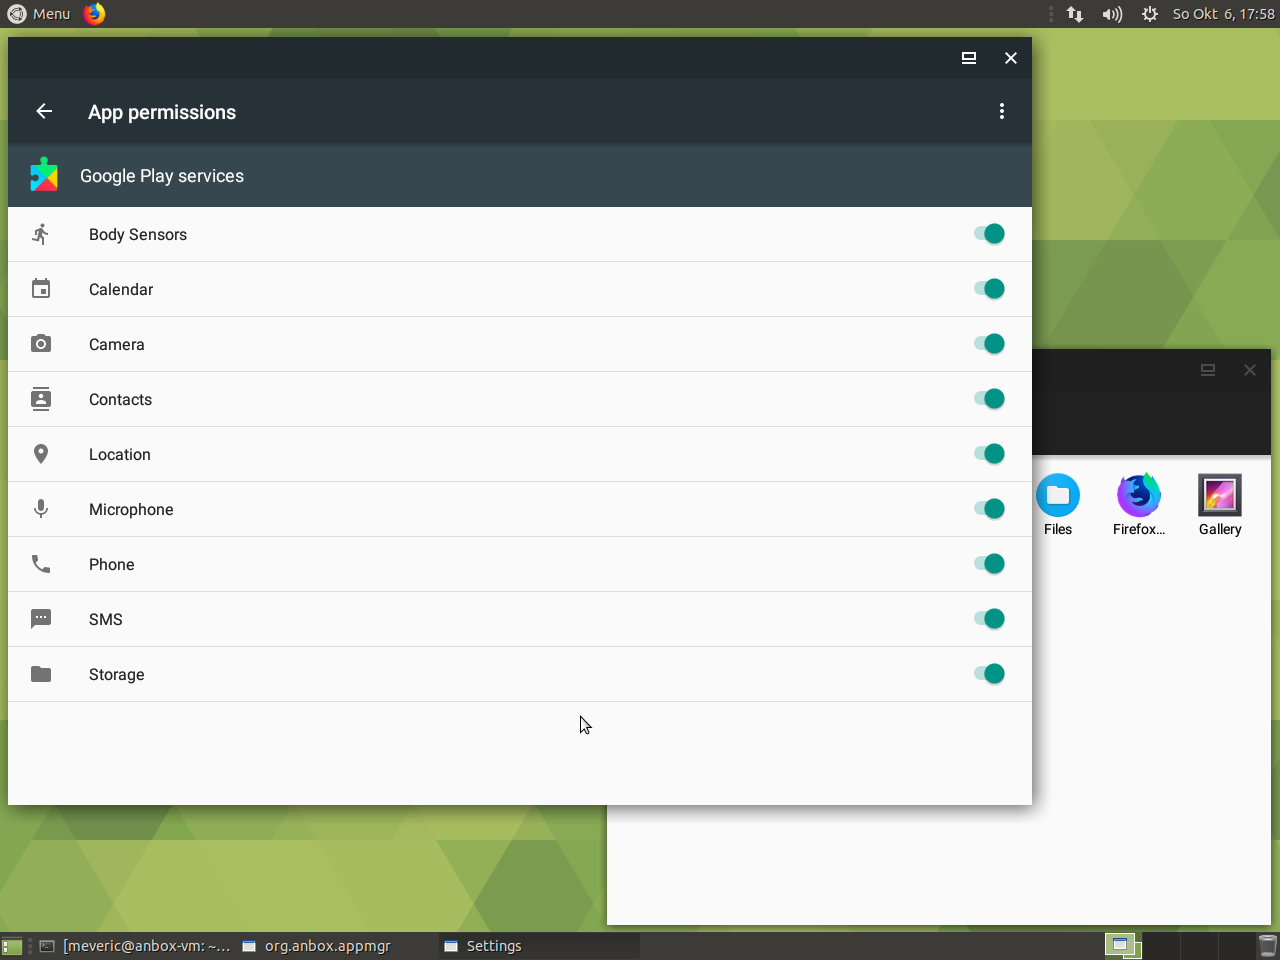
For this open your Settings, go to Apps, search and click on Google Play Services.
Below the buttons you see Storage, and after that you see Permissions, which are either empty or a rather short list. Click on permissions and grand Google Play Services all permissions on the list (see figure 8). Repeat the same with the Google Play Store.
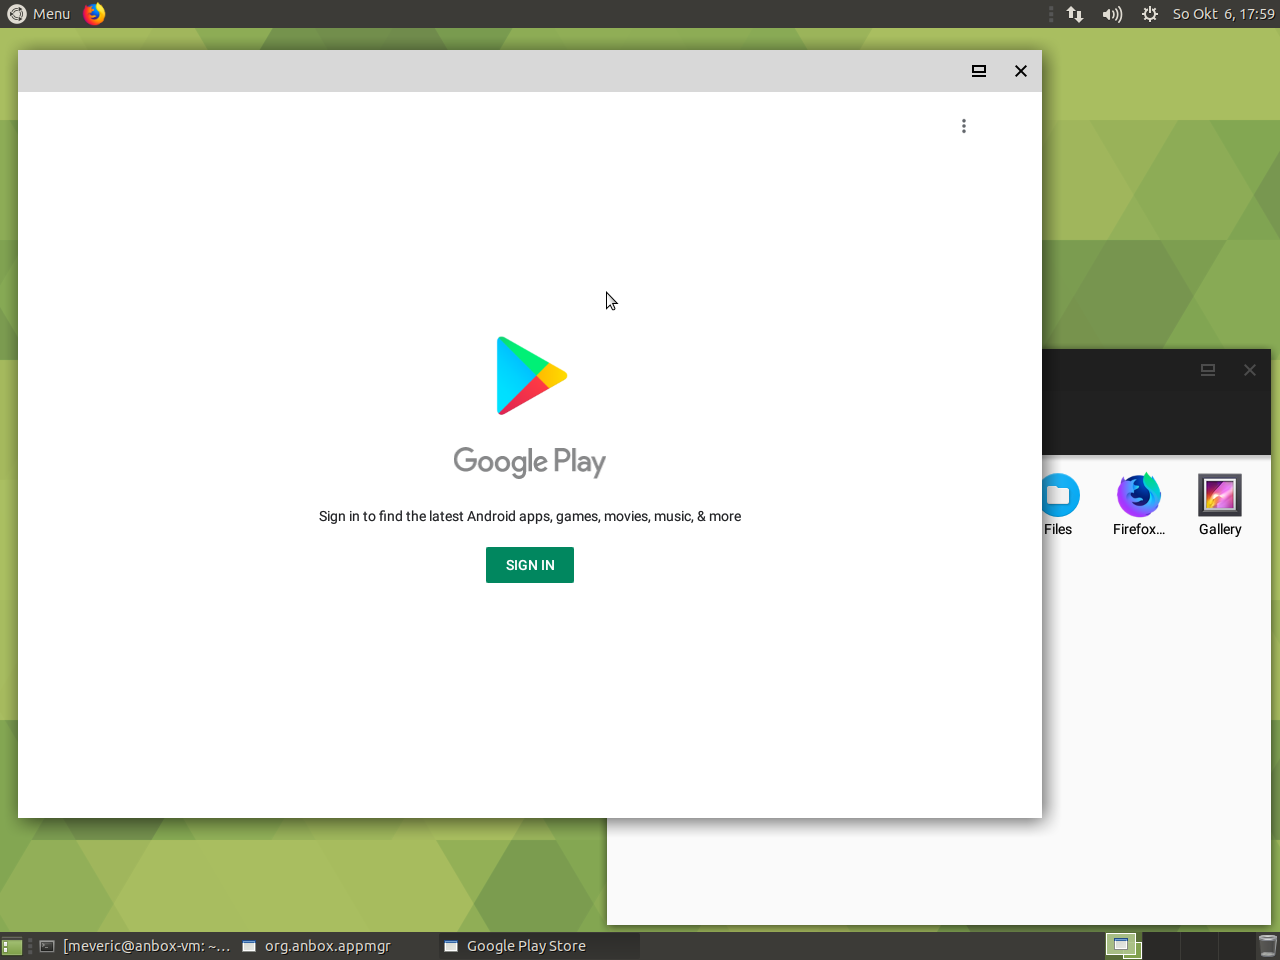
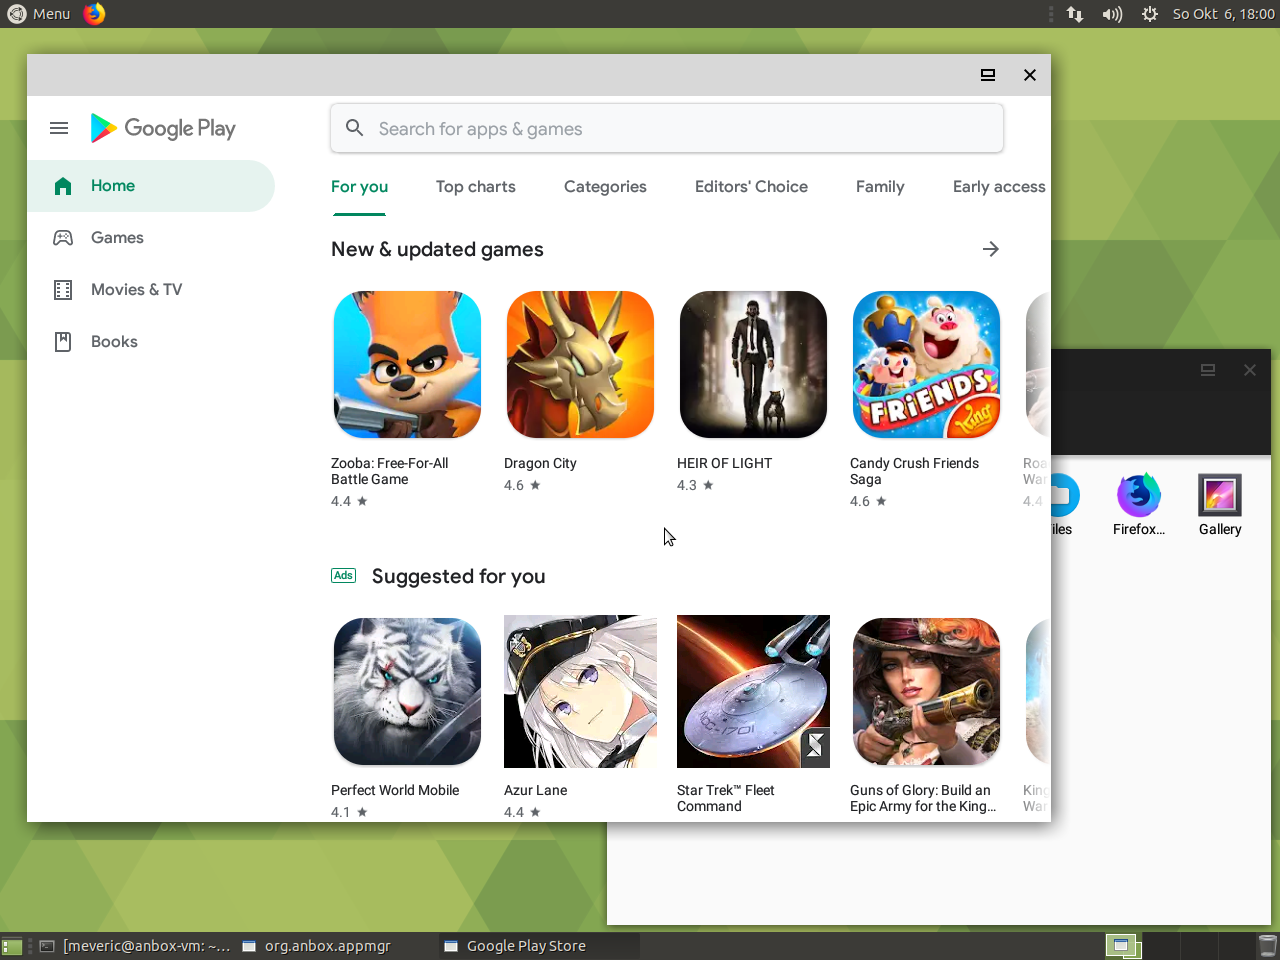
If you’ve done everything right you should be able to start the Google Play Store and are greeted with a SIGN IN button. Once you logged in with your Google Account you can see the play store and can start installing software. And just to prove it’s working:
Getting to hear and being able to do the same should be rather easy to follow and did not involve too much knowledge. It took me a while to figure this out but I guess my infos should speed up the process if you want to try this yourself.
But although at this point you’re able to use and explore Anbox, my journey was not over yet as my original goal was to run Ragnarok M on the PC instead of my tablet. Which I haven’t achieved yet.
Touch Support
When I first booted up Ragnarok after I added Google Play Services and could finally log into the game, I kinda expected finally being able to play the game, but I had trouble with logging into my character. In fact I had trouble doing anything. If I clicked something, nothing happened. After some investigation it became clear what was the issue.
As I said earlier, most games are developed with cellphones and tablets in mind. These devices normally don’t have a mouse attached and therefore many games are written only to support touch input. The version of Anbox that comes with Ubuntu 19.04 and Debian Stretch/Buster supports both mouse and touch input. This means if you have a mouse connected it will react as a mouse, if you have a screen that has touch input it will use the touch. Since not everyone has a screen with touch support mouse will most likely be the default input for your use-case, as it is with me.
Since the game I wanted to play did not have mouse support, I did some more research and ended up with a patch that allows for mouse input to act as touch instead of a mouse. At this point we have two options and I will explain both to you.
Patching the Debian package
One way is to create our own deb package based on one of the OS with a patch that will allow us to use the mouse as a touch input.
Please note: this step requires you to recompile the software as well as installing development headers and compiler on your system. If you do not want to do this, I provide already patched versions of these packages under: https://oph.mdrjr.net/meveric/other/Anbox/ where you can download the package for your OS.
I also included a package for Ubuntu 18.04 in case you’re using the LTS release, as I do on my Laptop.
In order to start this step make sure you have activated the source lists activated for your OS repository.
Go to Software and Updates, inside your Control Center for example, and make sure the “Source Code” box is checked.
For those who want to build the Software themselves here are the steps required:
$ mkdir -p ~/sources
$ cd ~/sources
$ apt source Anbox
$ cd Anbox-0.0~git20190124
$ sudo apt build-dep Anbox
$ wget https://oph.mdrjr.net/meveric/other/patches/Anbox/touch-support.diff
$ patch -p1 < touch-support.diff
$ dpkg-buildpackage -b
$ sudo dpkg -i ../Anbox_0.0~git20190124-1_amd64deb
Please Note: the actual version (Anbox_0.0~git20190124) may differ depending on what OS you use so adjust this part accordingly.
This will build and install Anbox with touch support. Once you restart Anbox and use the new binary to start your games touch support will work.
Building latest version of Anbox from Github
Instead of patching an older version of Anbox, you can also build the latest version available on Github from Anbox. You won’t need the patch for touch support as this is already included in the latest version.
$ mkdir -p ~/sources
$ cd ~/sources
$ sudo apt install git libdw-dev libdwarf-dev binutils-dev libboost-serialization-dev libboost-thread-dev libboost-test-dev
$ git clone https://github.com/Anbox/Anbox
$ cd Anbox
$ sudo apt build-dep Anbox
$ mkdir build
$ cd build
$ cmake -DCMAKE_BUILD_TYPE=Release ..
$ make -j4
$ sudo make install
This will build and install the latest version of Anbox. Since this version will be installed to /usr/local/bin and not to /usr/bin you can install the deb package from your OS and the version from github side by side and can switch back and forth between them.
This is why we installed the deb version of Anbox as this allows us to easily change from one version to another by simply editing one file, which is /etc/systemd/system/multi-user.target.wants/Anbox-container-manager.service (you might remember this from earlier)
When you edit the file with sudo and your favorite text editor you’ll find a line:
ExecStart=/usr/bin/Anbox container-manager --daemon --privileged –data-path=/var/lib/AnboxThis just needs to be changed to:
ExecStart=/usr/local/bin/Anbox container-manager --daemon --privileged –data-path=/var/lib/AnboxSo it starts the binary you’ve just build. Then just restart the system.
After that it uses your newly compile version of Anbox.
If at a later point in time (after a couple of weeks or so) you want to build the latest version of Anbox again, just do:
$ cd ~/sources/Anbox/build
$ git pull
$ make -j4
$ sudo make install
That’s all and you’ll always have the latest version. Does that mean it works now? With this I was finally able to play Ragnarok M on my Laptop (or ODROID-H2) and let me tell you it’s working mighty fine! It’s surprisingly stable which I did not expect.
With this you’re now prepared to try out Anbox and play Android games directly under Linux, and yes this is currently the best I can give you for Anbox, no more improvements from my side for now. But not everything is nice and shiny
Ok, let’s be honest, although it’s already impressive that doesn’t mean you can throw your Android tablet away just yet. Remember when I said earlier that I was very lucky that the first game I tried (Ragnarok M) was running at all?
That’s sadly something you should keep in mind. The number of applications and games that DO work are VERY limited. If you get one out of ten to work, than that’s a GOOD intersection. I have about 75 Android games on my Humble Bundle library as downloadable .apk files. Out of which less than 10 worked. This is not related to graphics issue, but more that the games don’t start at all. Which in return is actually an issue with the “graphics” I think, but on a different level.
When you try out applications and no new window opens, the game won’t work, you can stop trying.
Often the games hangs at this point even if you hear sounds, music or whatever, it won’t work. Sometimes it’s best just to restart the Anbox-container-manager service rather than waiting for the application to timeout so you can click something else.
If I understand it correctly this is mostly related to the way the Anbox works. It uses EGL calls to create a window in which the application runs. For this the application must support “Window Mode”, imagine it similar to the YouTube app, when you start it and then go back you have a tiny window on your mobile device that can be dragged around. If an application supports something similar to this, it will likely work. If it does not, then it won’t work.
This basically means most “older” applications won’t work as window mode was unheard off in their days. In fact, the newer an application is the more likely it will work. Some apps are written in a way that they are compatible with emulators, such as my Ragnarok M that I wanted to get to work, and with that support window mode in one way or another. In fact I found quite a lot of these online games MMORPGs and others that do work quite well.
You’re also limited to OpenGL ES 2.0 applications. So if an application requires OpenGL ES 3.x it won’t work.
There’s also a sound issue, all sounds are delayed about 1 second. So you see things on the screen but hear them about one second later, which can be irritating. I’ve seen a patch to reduce this audio lag significantly but when I tried the patch, the games stopped working altogether when sound started.
But I guess they will fix this at some point.
What CAN you run
As terrible as it might sound, you can still run some really nice games on Anbox.
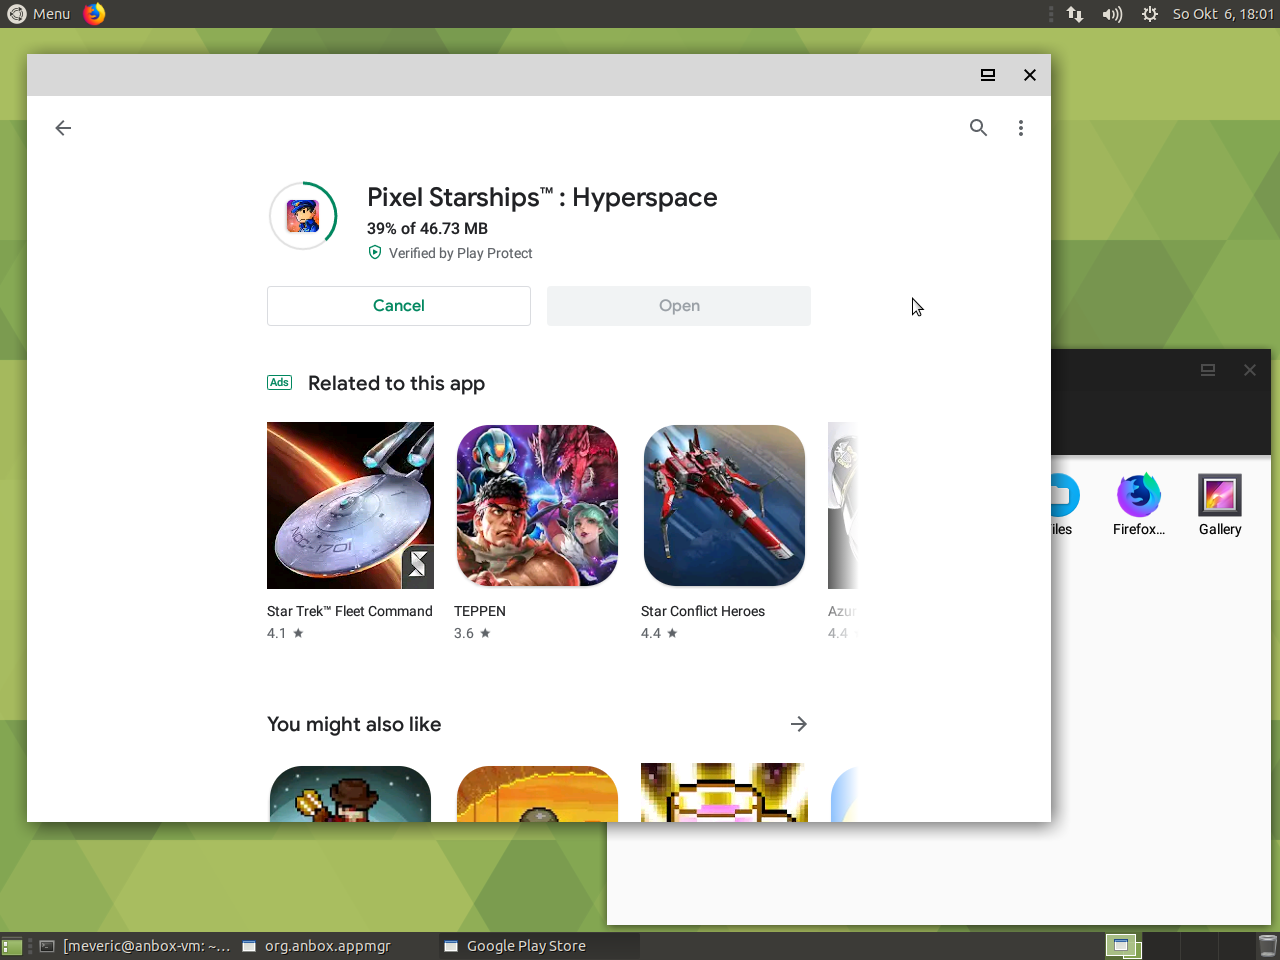
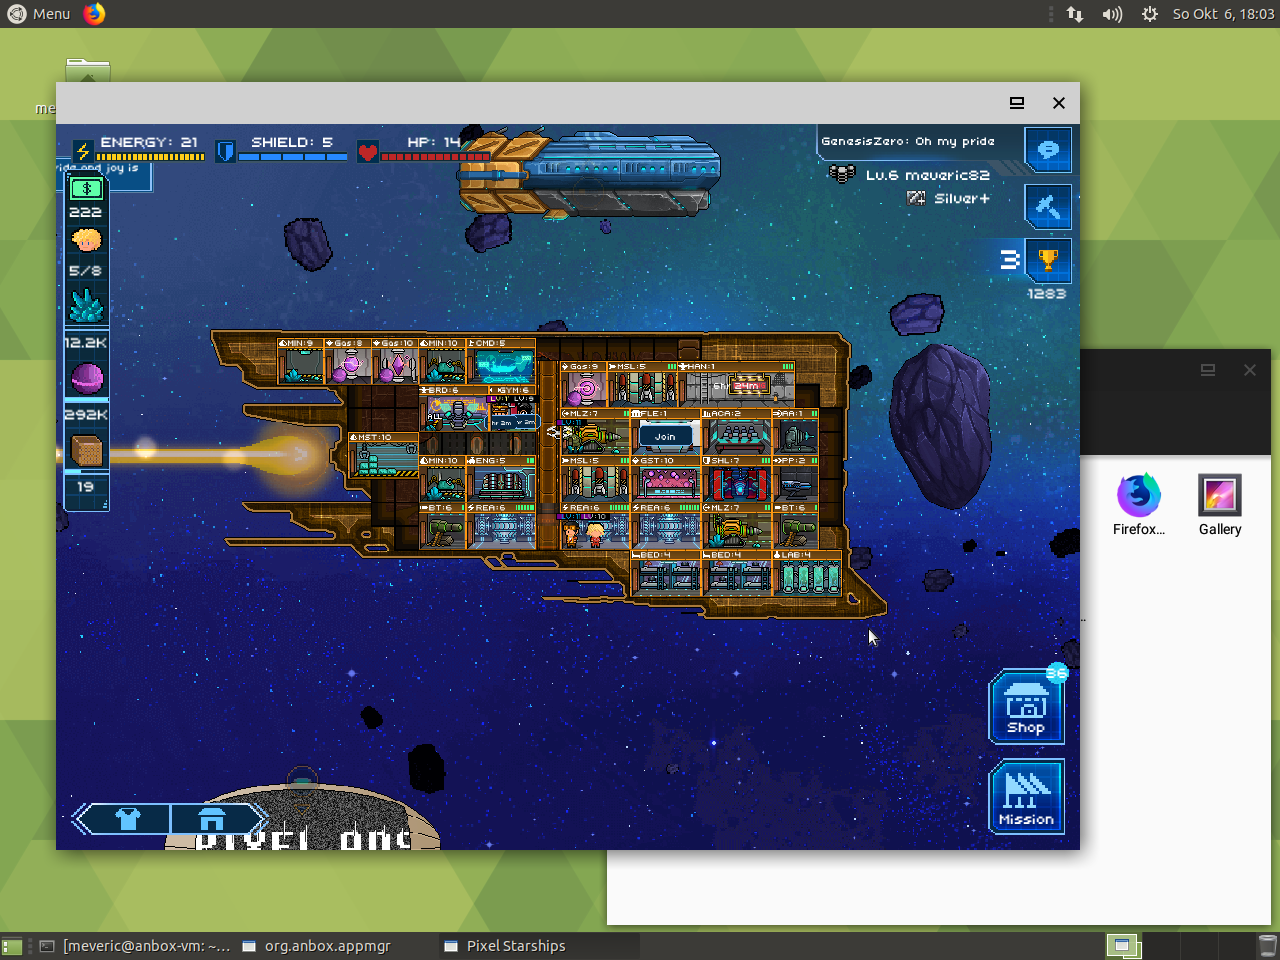
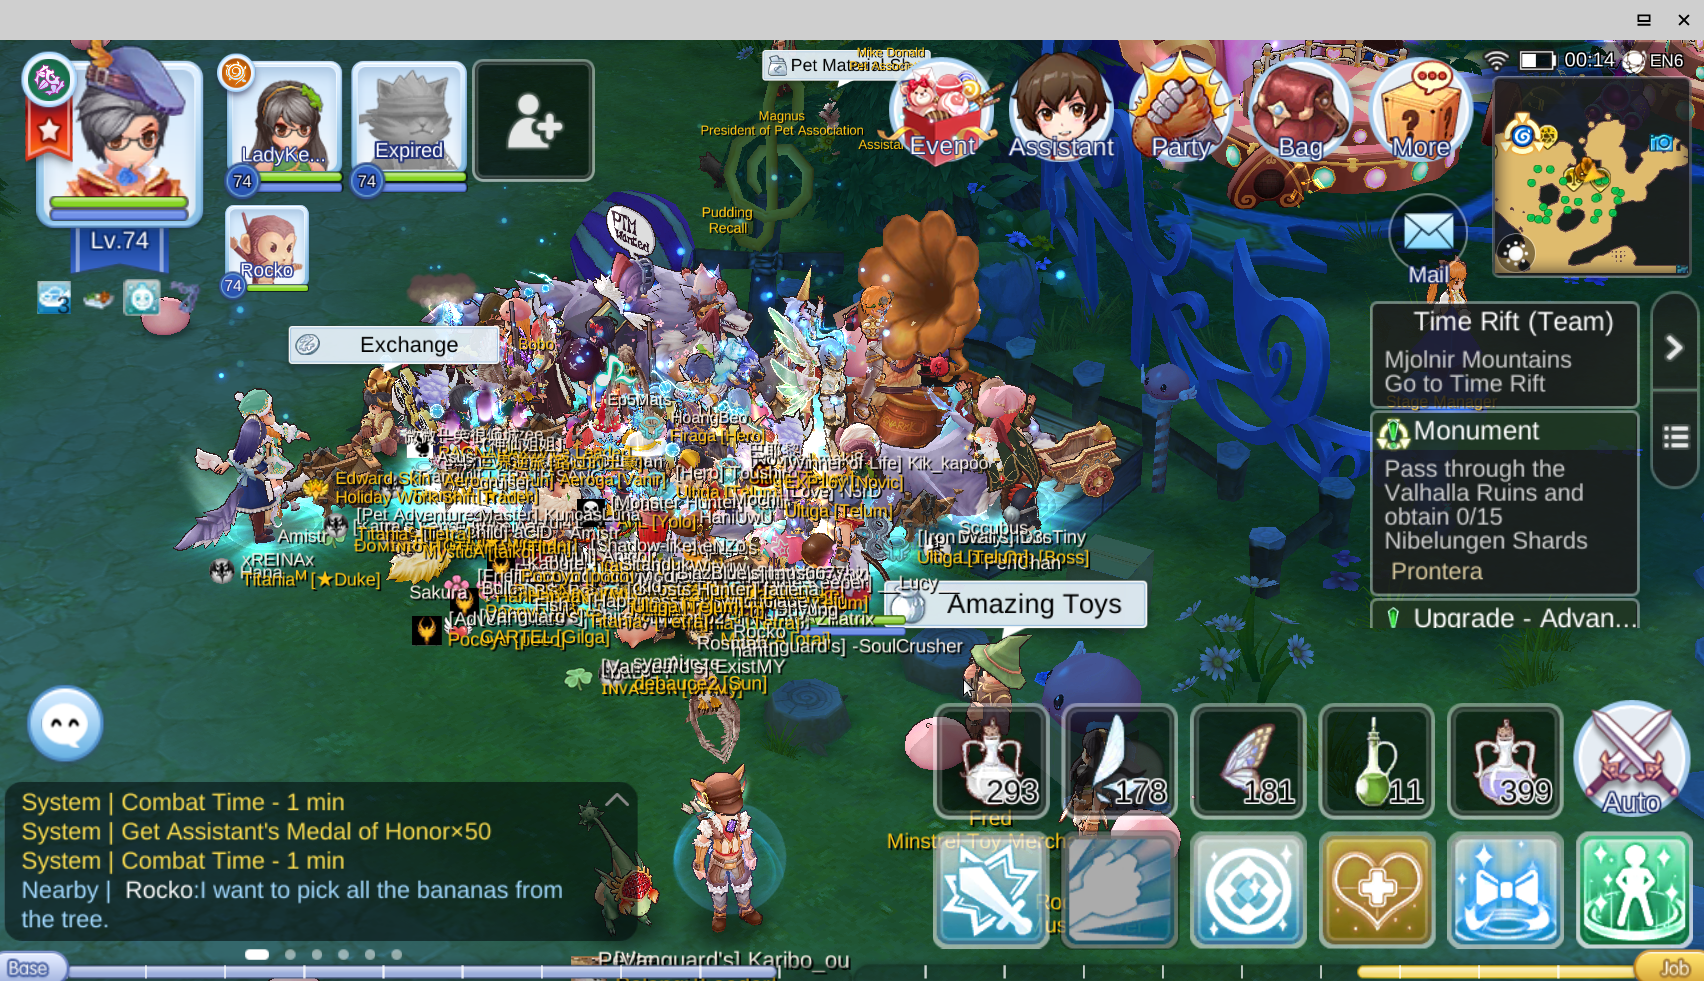
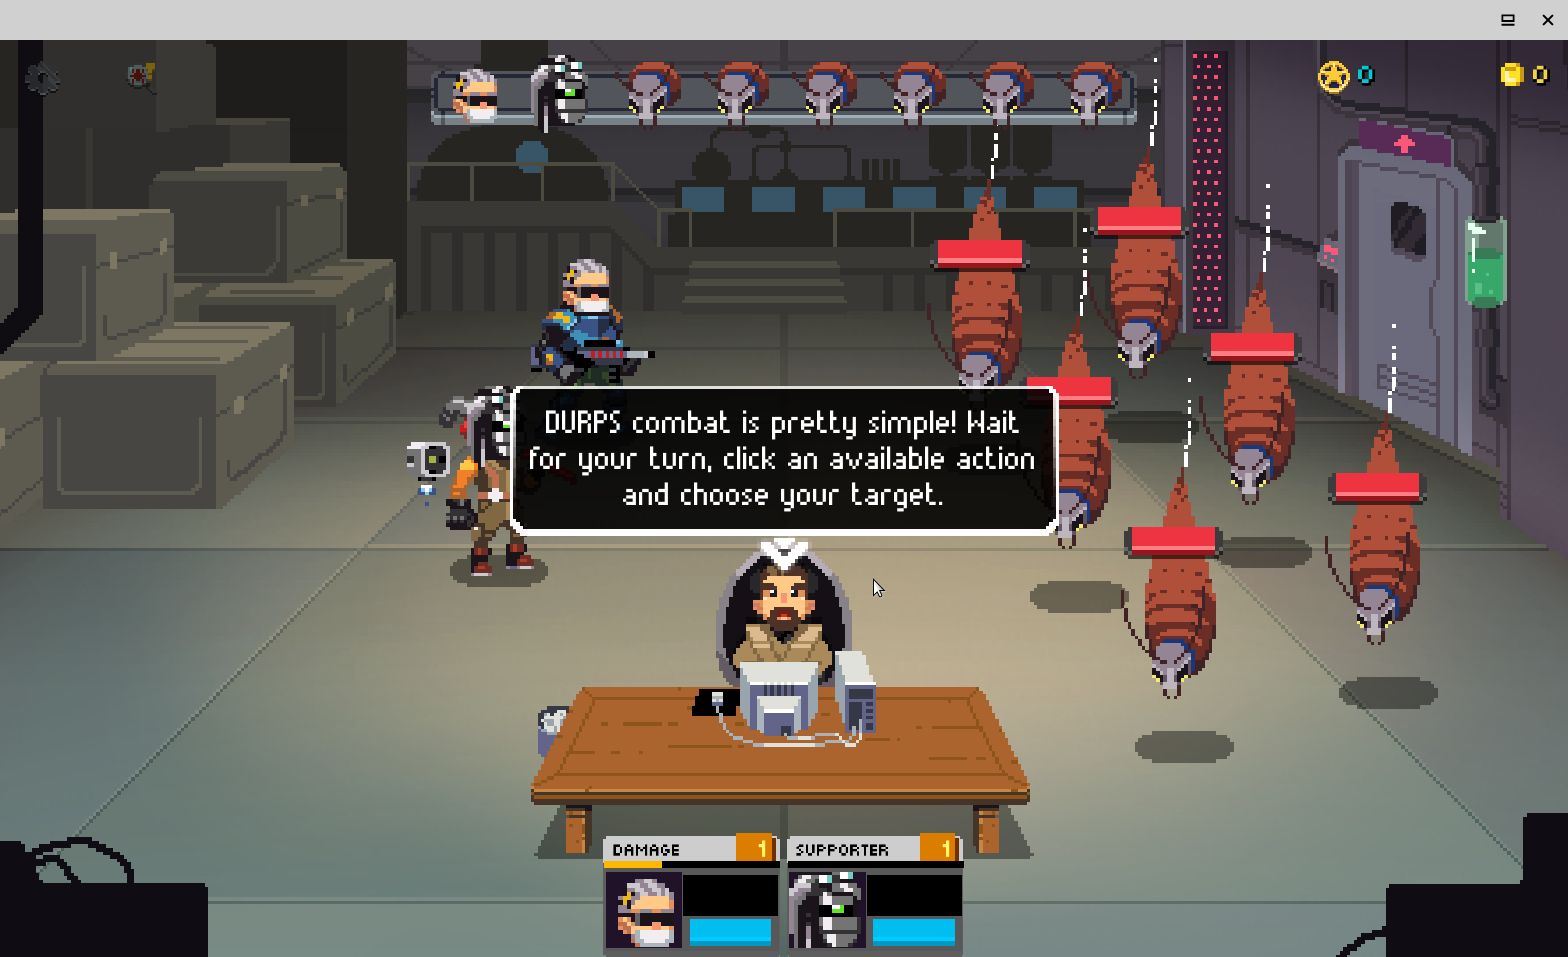
You’ve already seen Ragnarok M which looks actually quite nice and has high resolution graphics. It’s a really nice MMORPG and me as a fan of the original Ragnarok Online MMORPGs enjoy this game for months now. I’ve also shown pictures of Pixel Starships another game that I’m enjoying for some time now, although it’s more casual.
Anodyne is an old-school dungeon crawler where your main weapon turns out to be a broomstick.
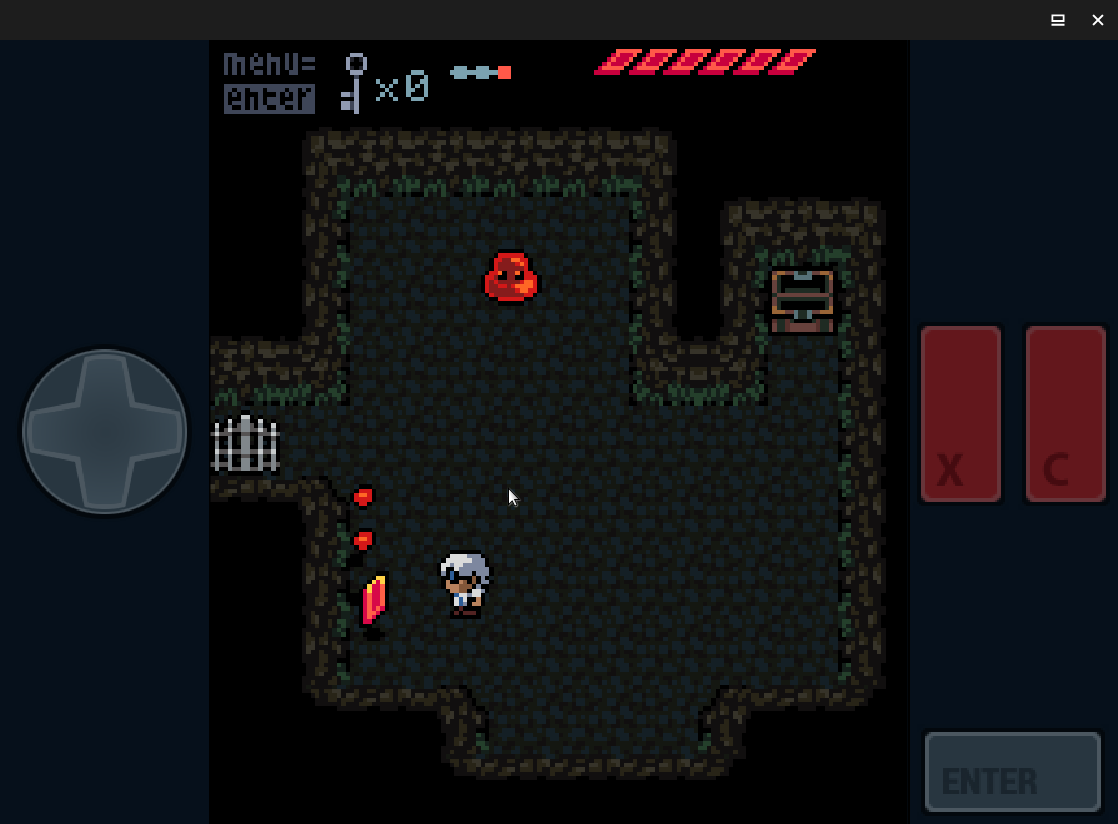
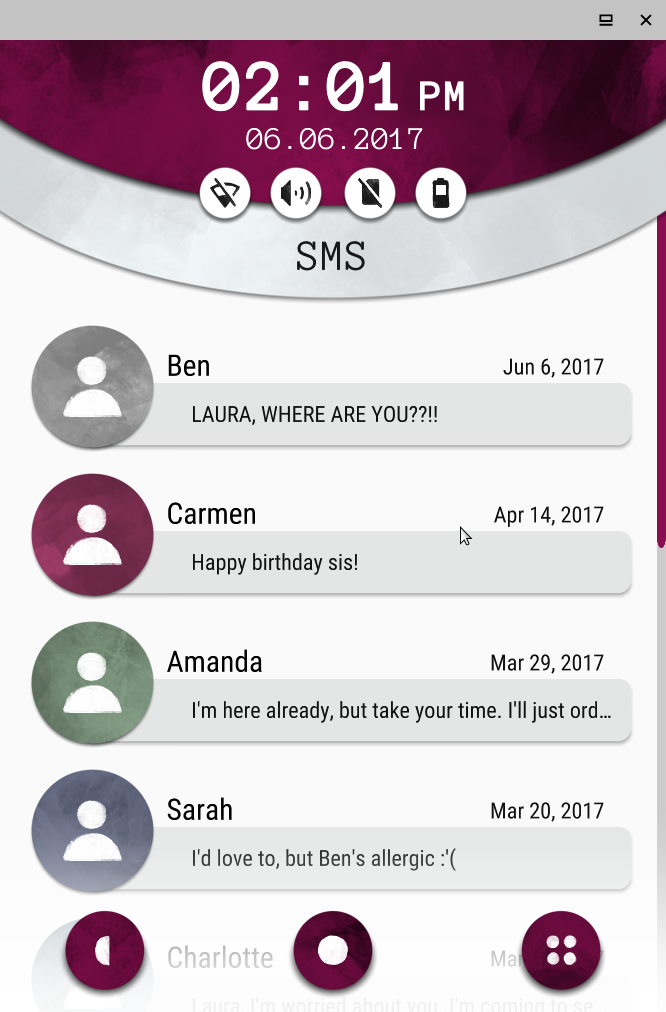
It’s quite fun and is completely controllable by keyboard, means you don’t need to try to navigate with your mouse around the screen. It’s actually quite fun despite it’s minimalist graphics. Another Lost Phone: Laura's Story is a game where you found the phone of someone called Laura and it seems something bad happened to her. You try to find out more about her by going through her phone, checking pictures, messages and so on. As the game progresses you have to guess passwords by combining clues, figure out who the persons in the pictures are and how they are related to Laura. It might not look impressive but this is actually running on the Unity Engine. It’s interesting to solve the different little puzzles and find out who are the different people who contact you and who’s lying about what.
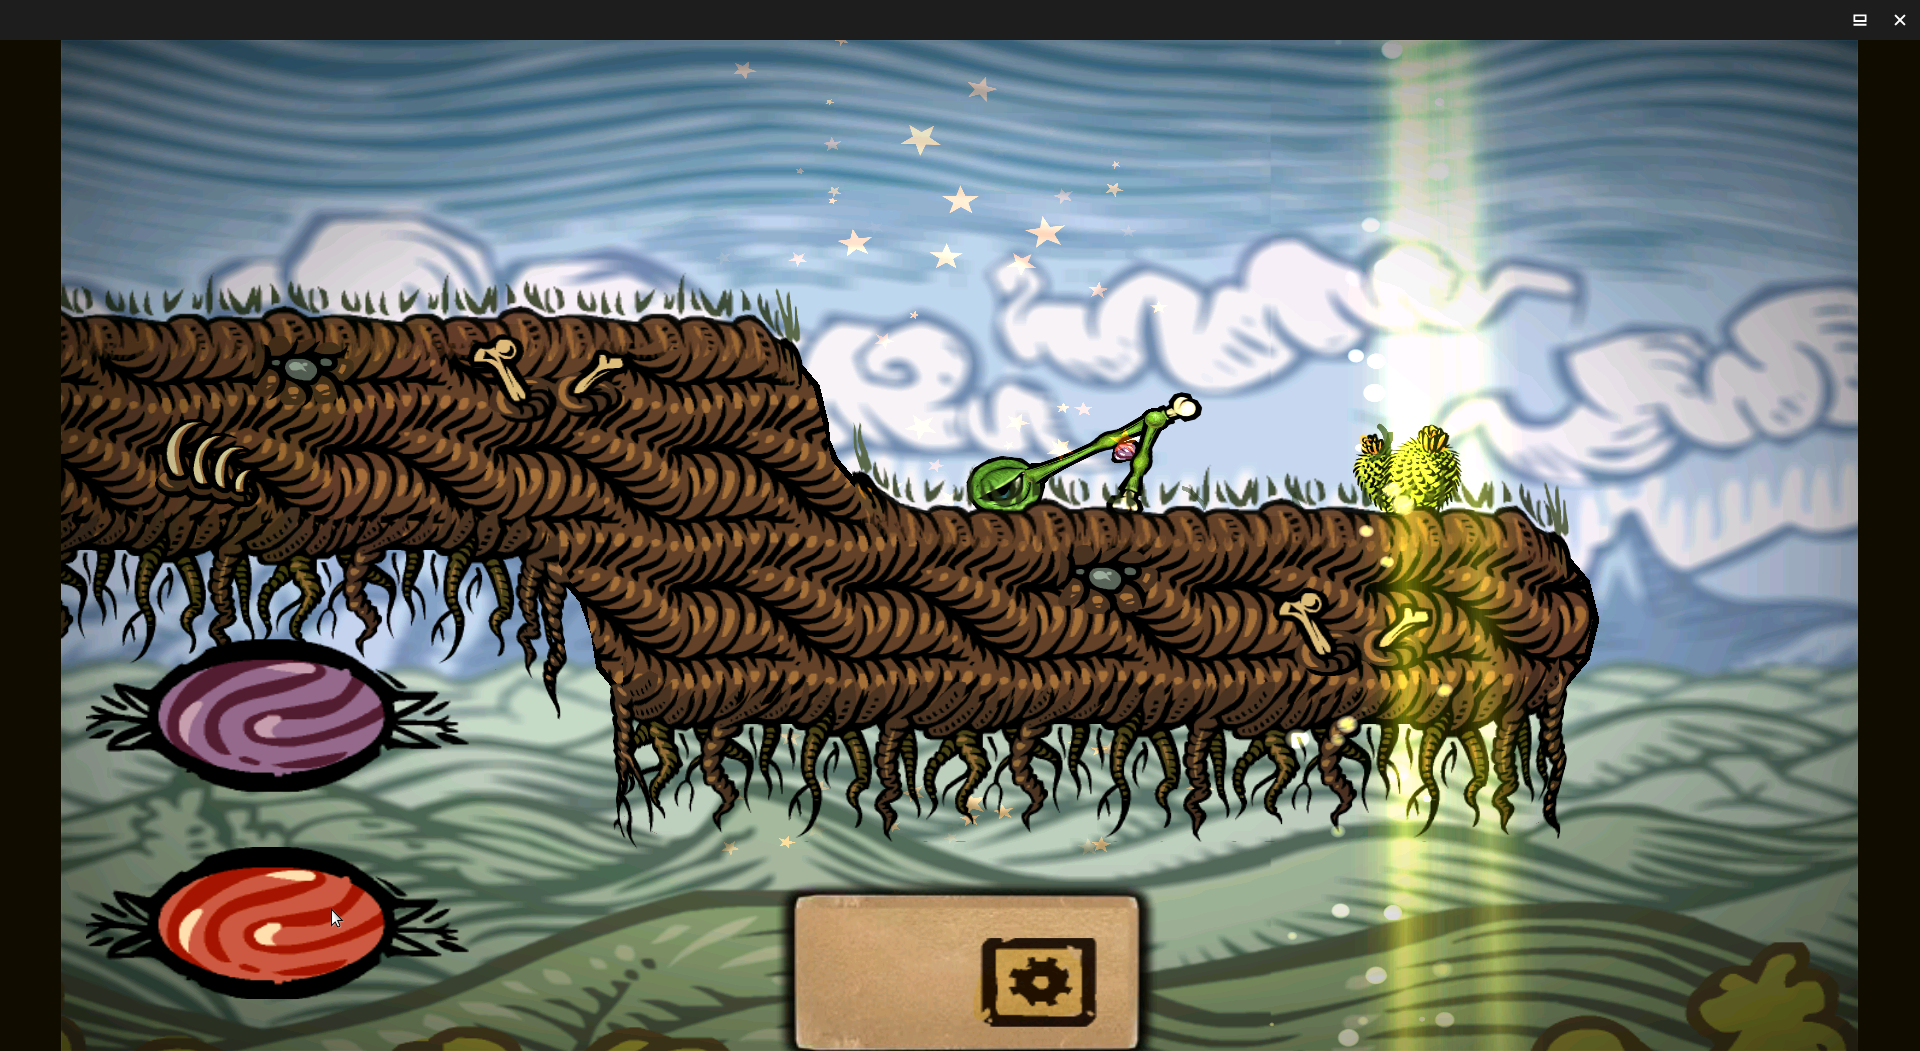
Incredipede is a nice puzzle game, you have two buttons that make your Quozzle move it’s muscles and legs and need to collect items and push them into a light than follow as well. It can be quite hard as it moves very strange. In harder modes you can actually build your own Quozzle to achieve your goal.
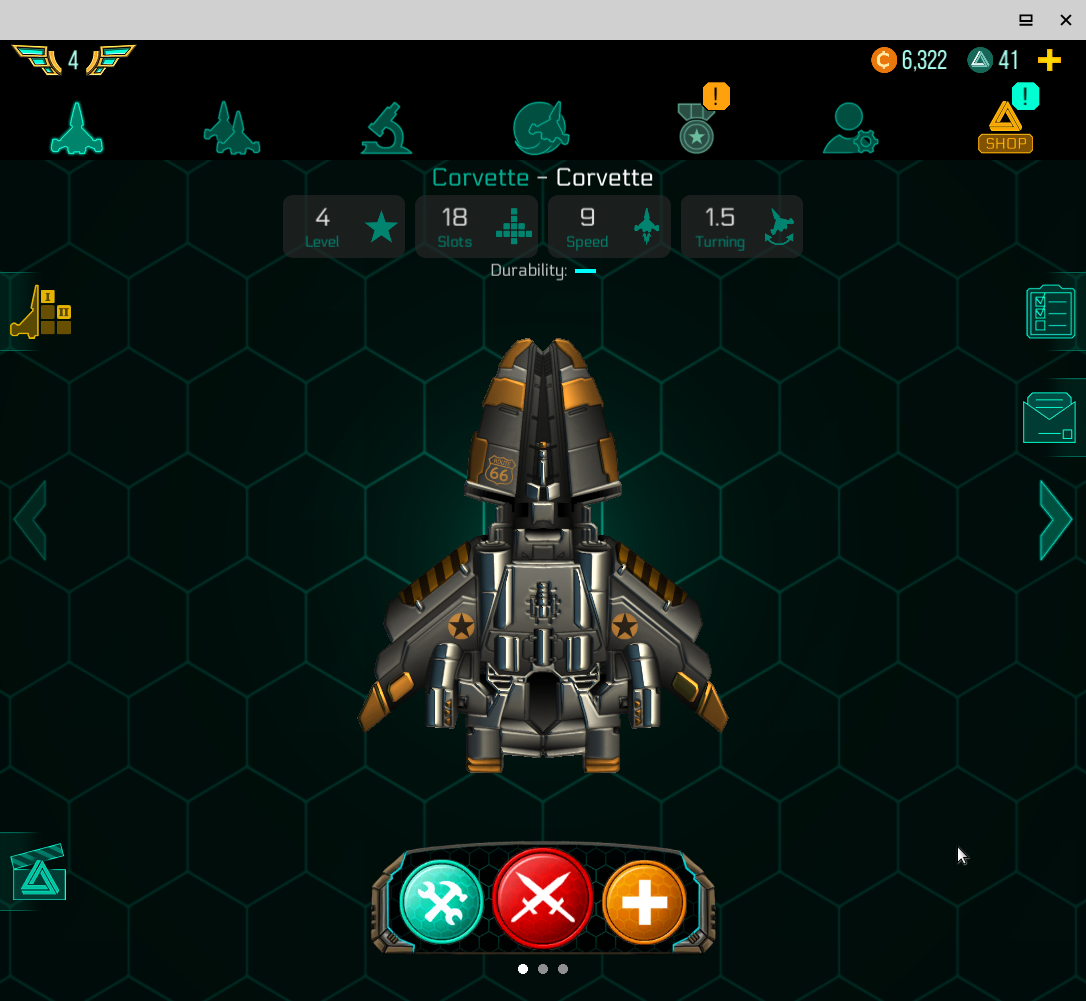
Space Arena is a game where you build your own spaceship, well, more like the internals.
You buy a layout plan and fill it with weapons, reactors, shields, propulsion system, etc. after that you send it against an opponent If you win, you get experience, and money which in return allow you to buy more stuff. Not very original but it can be fun for a while.
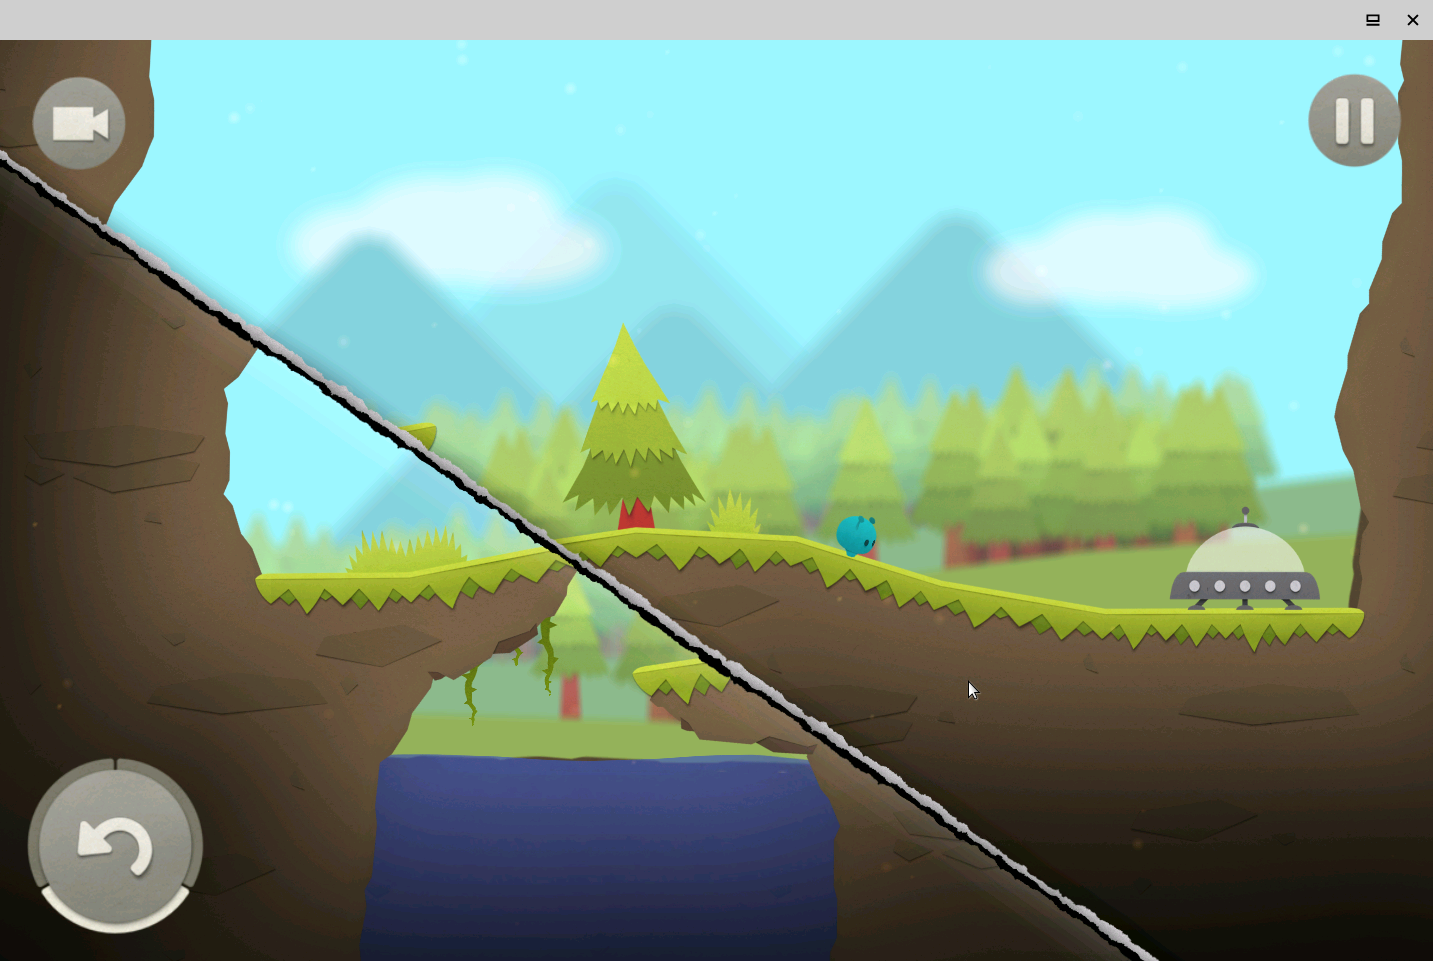
In Splitter Critter you can cut the world into slices and then move them pieces to put them back together the way you need it. For this you can open new paths or move not your little guys to the ledge above, but the ledge above to down to your little guys.
This game is a really fun puzzle game, cute and colorful. You need to find a path to your space ship, to get to the next level, but not only do you need to make a path towards your ship, it also means you often have to avoid dangerous creatures or use the abilities of your little aliens to your advantage (jumping for example). It’s a really fun game and I can highly recommend it.
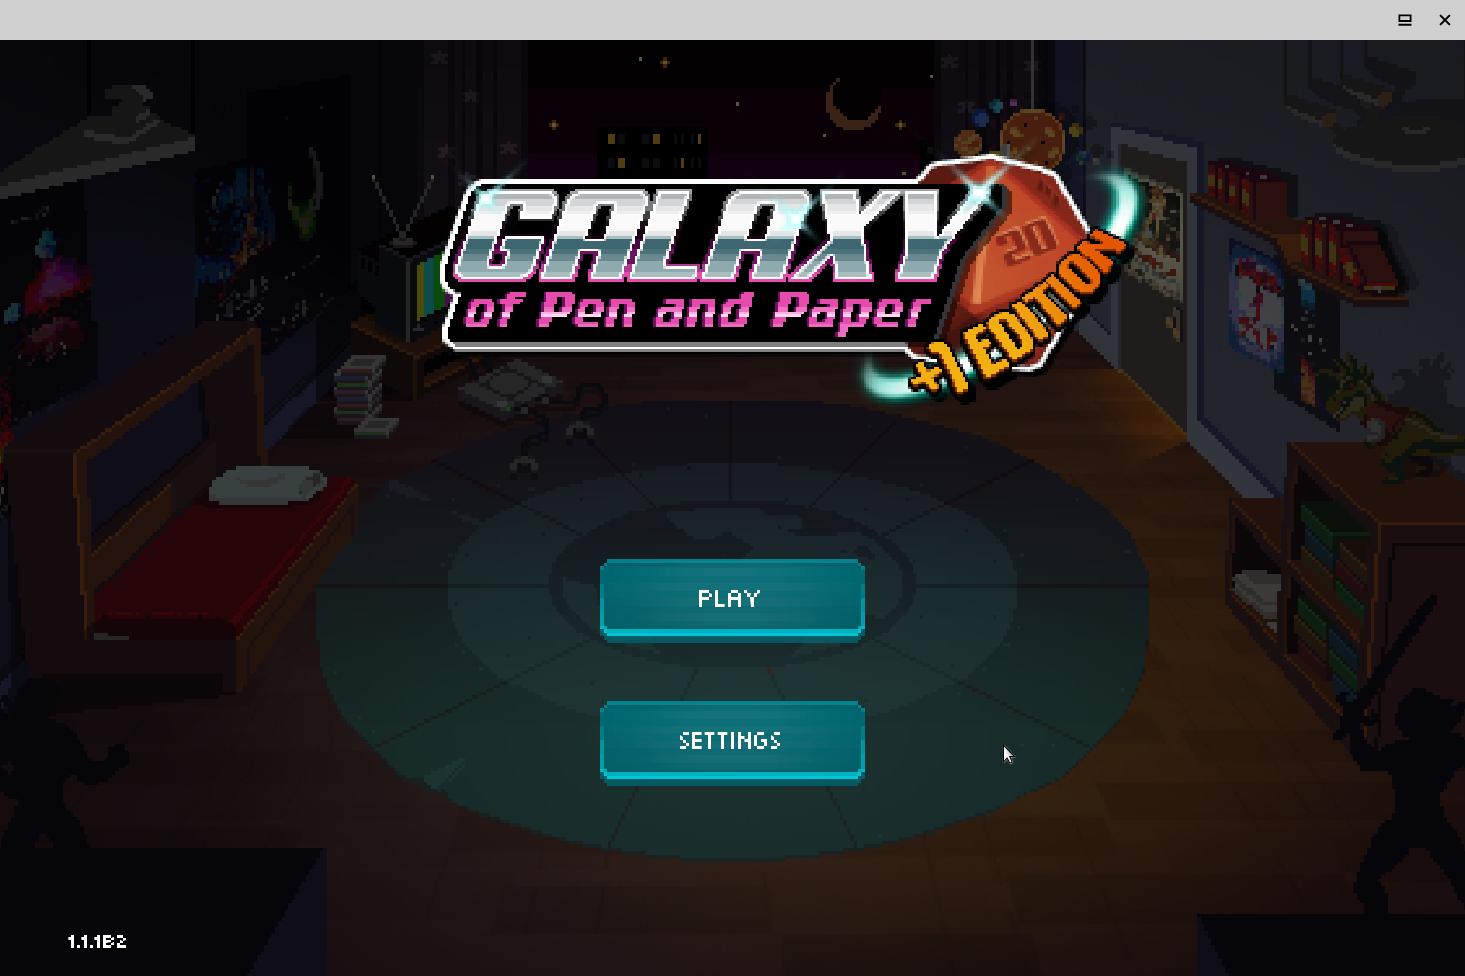
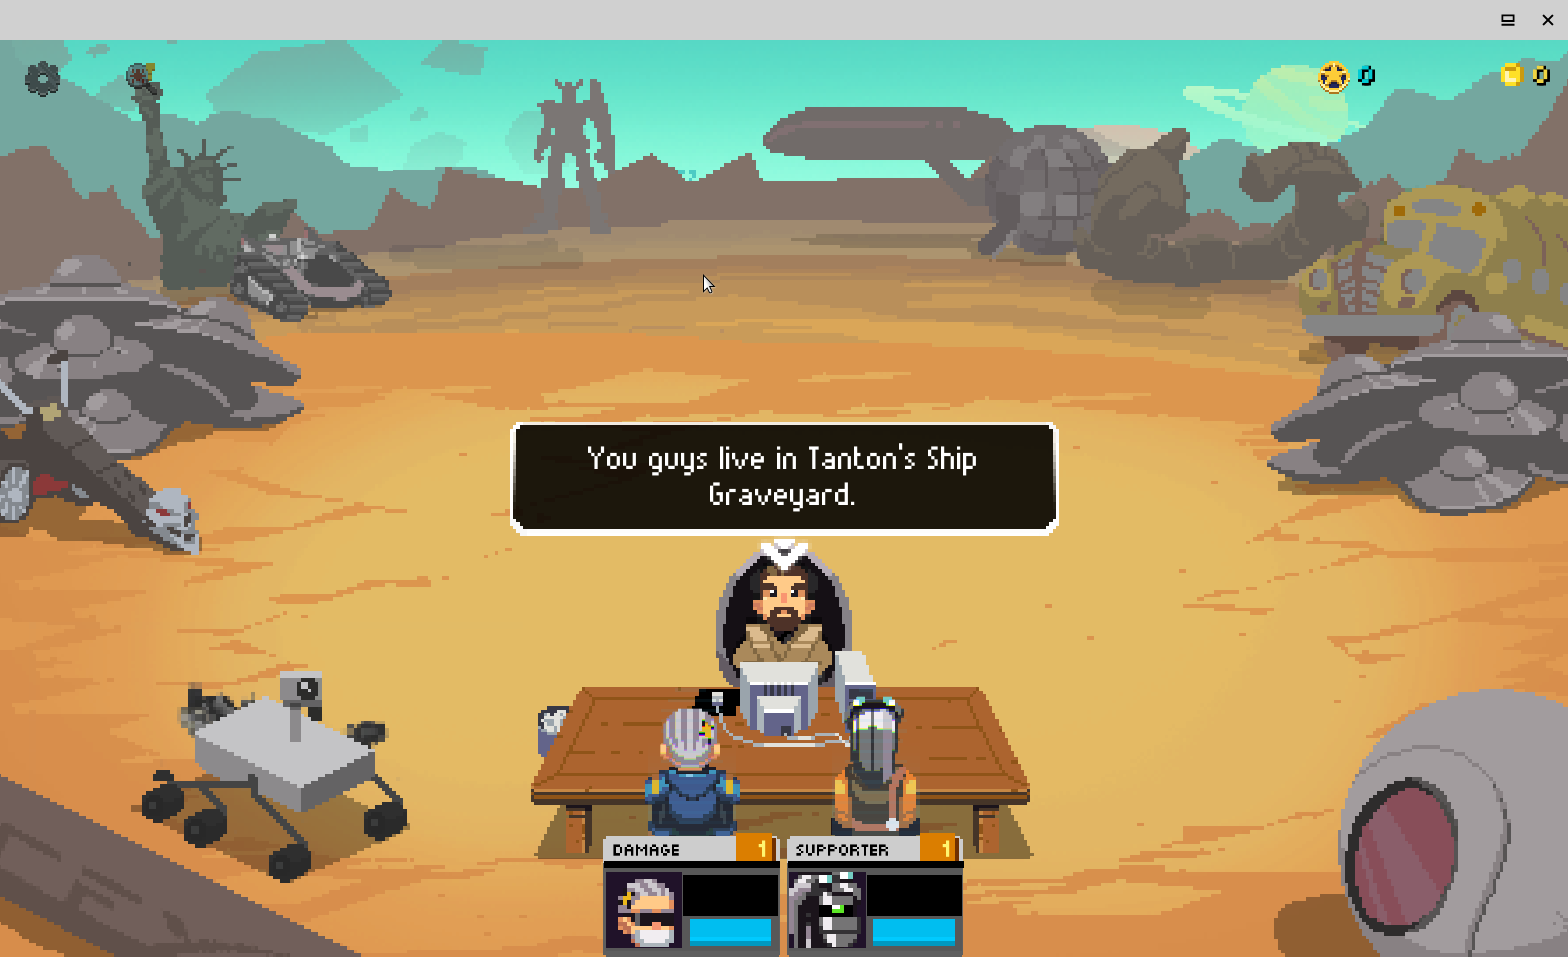
Galaxy of Pen and Paper is really a new type of RPG game as you play an RPG game in this RPG game. Confusing? The game starts with you creating a game master (G.M.) and some characters and he will tell the story that you play out like every good RPG starts.
This game is hilarious and really fun to play. I already played it on my smartphone on my last vacation and it’s really fun. You can create your own quests by selecting the monsters you want to fight and how many. You get quests from NPCs and can travel between stars. It makes fun of Star Wars, Star Trek and everything RPG and Space related. I had some graphical issues with Anbox, nothing serious just some glitches here and there, but the overall game is really fun. There is also a game called Knights of Pen and Paper which is pretty much the same in a fantasy setting, I haven’t tried that one but I imagine it to be working as well.
Another 2D game would be Space Life, where you hunt monsters, gather items buy weapons and ships. Fun for a little while but not too impressive.
You may wonder, does that mean you’re limited to 2D games like the ones above?
Certainly not! Ragnarok M is already a 3D game although you might not see it on the first glance but every character and most of the world is in 3D, you can swing the camera around your char or fly over the map in a flying whale or something. Believe me it’s real 3D.
But there is more: Raid: Shadow Legends is a very impressive 3D game that works just fine on Anbox. It has amazing graphics and with hundreds of playable characters, weapons, and upgrades there’s a lot to explore.
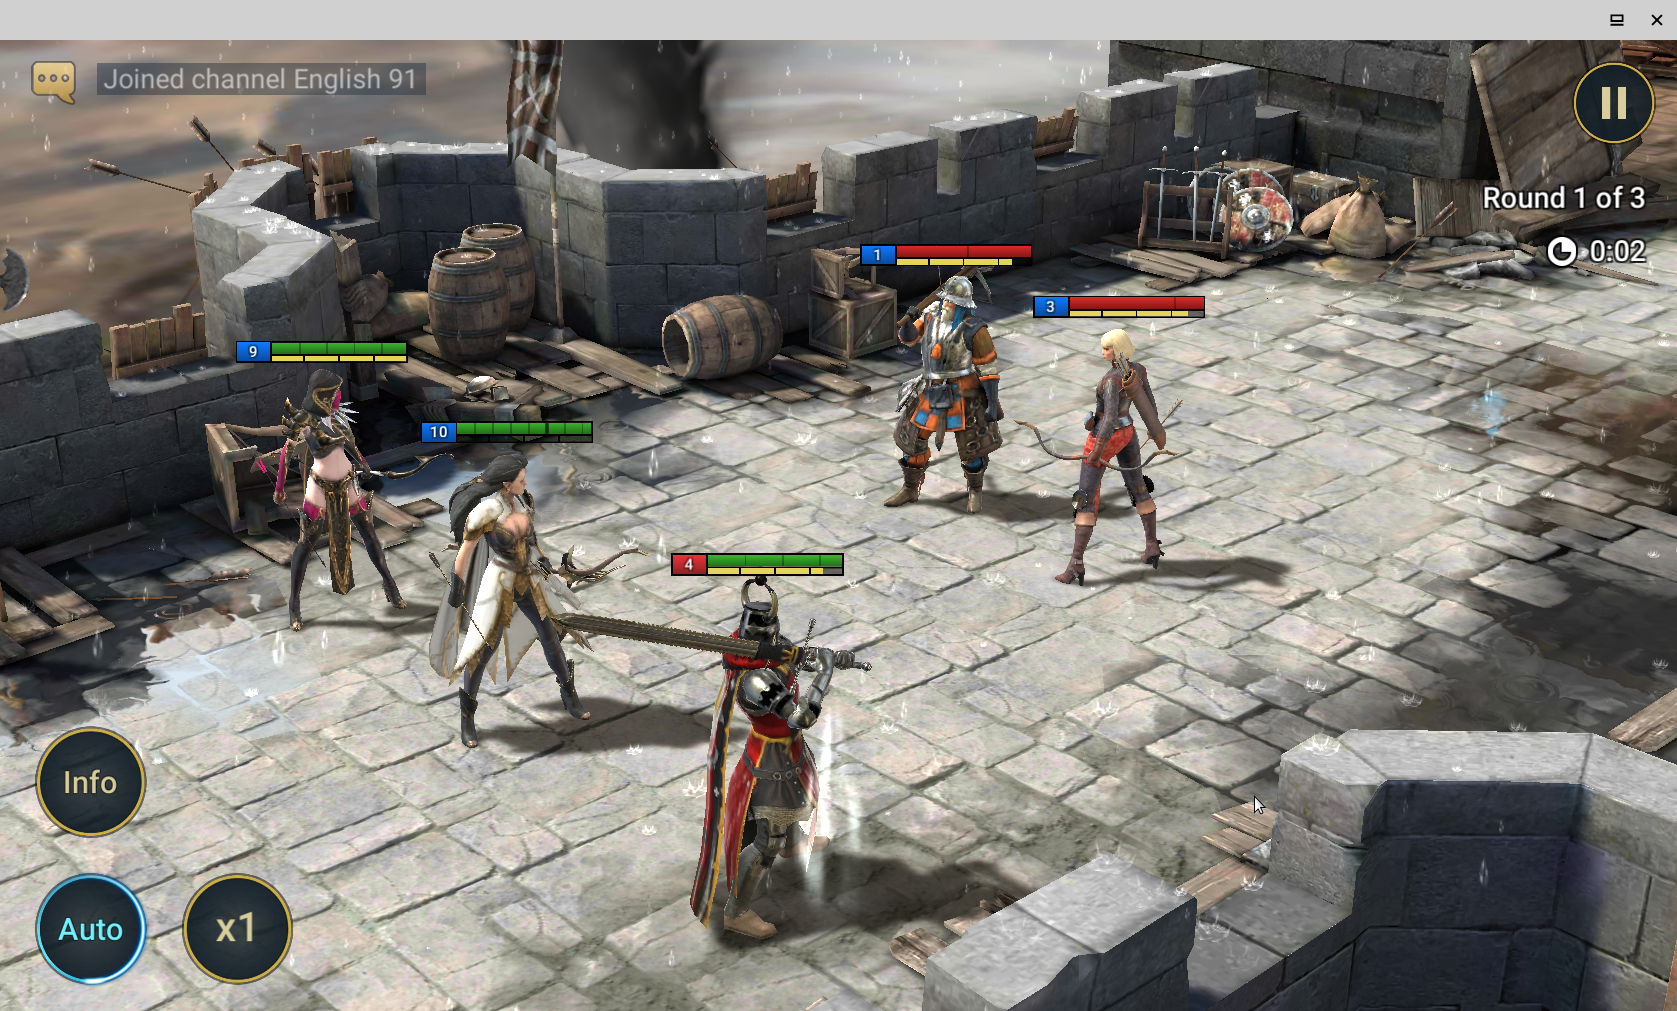
There is a nice background story that helps with the fights of the game. The game also features a lot of commercials for in-app purchases, so it’s probably not for people that are easily influenced by this. There’s another game that I haven’t had time to explore in detail yet it’s called Tales of the Wind and is an MMORPG in the Tales series.
This anime style MMORPG is very good looking even the starting screen is already impressive with nice large detailed characters. Same goes for the character creation screen. Both shows what kind of graphics you can expect.
In game there are quite some cut scenes in “In-Game graphics” which look rather good and are fun to watch. I only played it for a couple of minutes up to now as I am afraid I get myself too deep into it for the moment.
Anbox seems to run rather well with big titles or MMORPGs as they probably are build with emulators in mind to allow the use of a mouse and keyboard. Tales of Wind also allows you to walk around with ASWD which shows how much they planned ahead with this game.

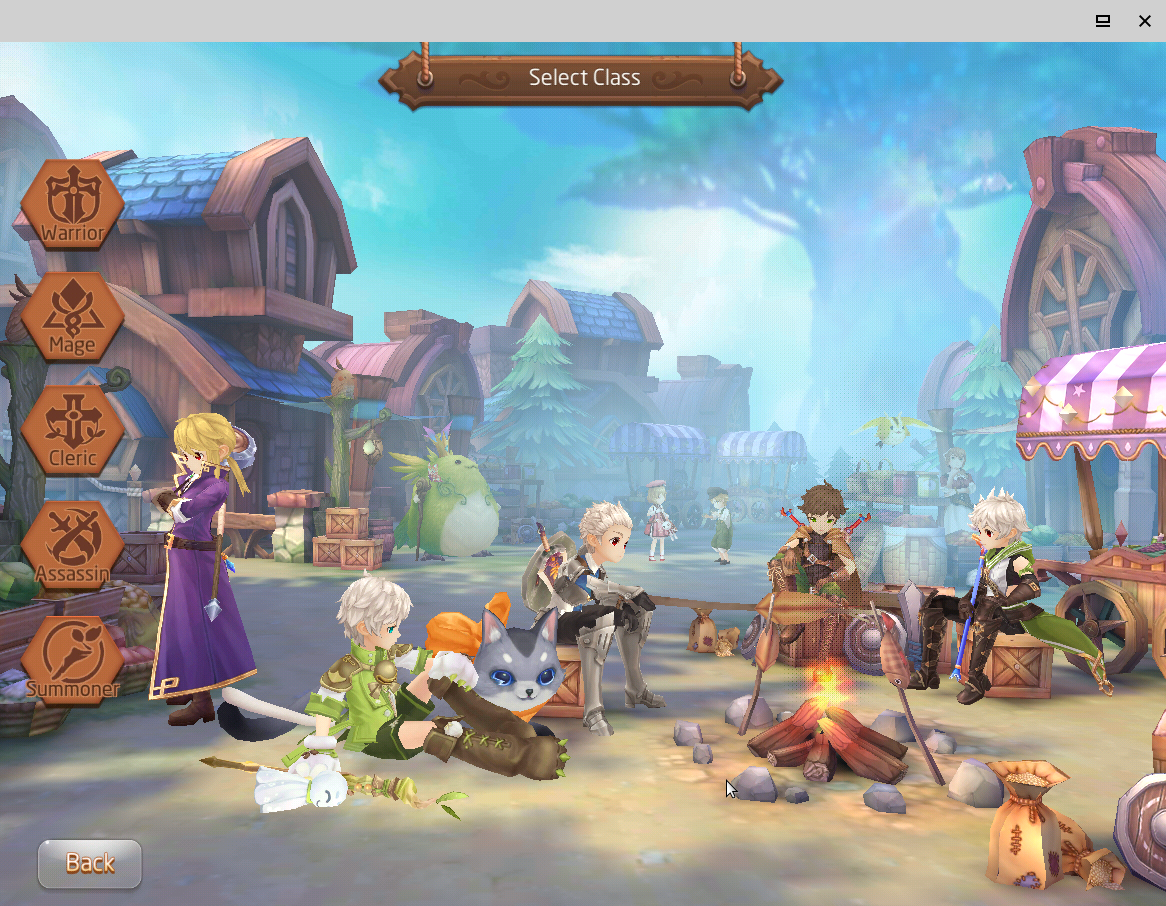
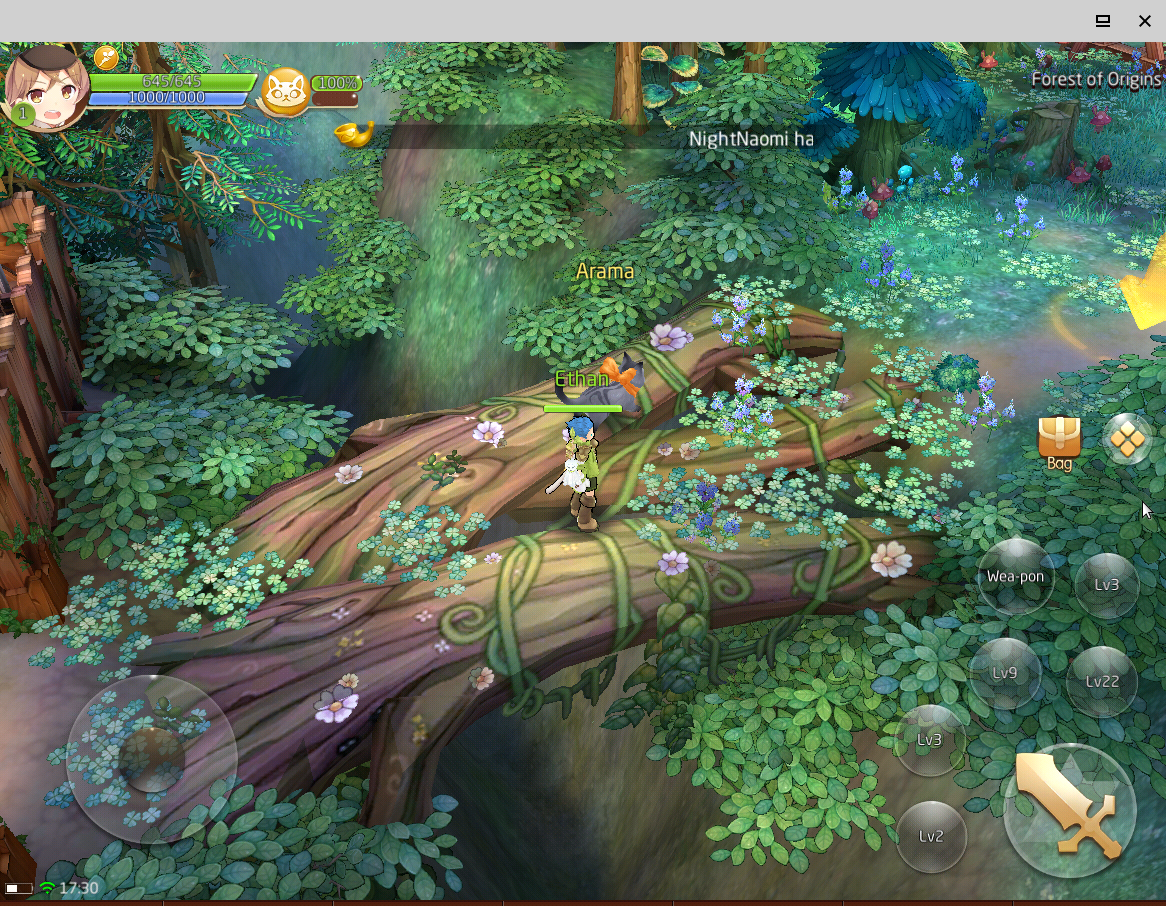
(Figure 23 - Tales of Wind a beautiful anime style MMORGP) (Figure 24 - Character select screen of Tales of the Wind) (Figure 25 - The in game graphics are really colorful and full of details)
Generally the software was built with x86 CPUs in mind. It relies on SSE for some features which is only available on x86 systems. Still since technically there is nothing much behind it that should prevent it from running on armhf or arm64 it should be possible to run it on other ODROIDs as well.
If you check Debian Stretch and Buster you’ll even find install packages readily available in the Debian Repositories for both armhf and arm64. If we dig further you’ll even find an Android_armhf and Android_arm64 image on the download page I showed you earlier:
https://build.Anbox.io/Android-images/2017/08/04/Android_1_arm64.img https://build.Anbox.io/Android-images/2017/06/12/Android_1_armhf.img
So they even tested it out with armhf and arm64 at some point. I can tell you up front, if it would be that easy the article would not have been around the ODROID-H2 but, instead of how to run it on the XU4 or C2. Still there are signs that indicate it should work.
While investigating I found the following links:
https://github.com/Anbox/Anbox/issues/1214 https://skmp.dev/blog/Anbox-rpi4/
This indicates it should be possible. I tried to follow this guide but I wasn’t able to get it working (yet). The armhf image on the download site from Anbox itself has some issues and doesn’t work that way. skmp mentioned in his guide that he rebuild the armhf image, and so did I, but it’s very different from what he says. In his guide he said he needed to download about 40 GB for the build environment for Android, and a total of about 100 GB to build the software.
In his blog he does not explain how he did this, he only points to another link and said he followed that guide, but following the link there is no real guide but only another link which you should follow to download the build environment.
I did this and let’s say it did not download 40 GB but more like 130 GB, still in the end I was able to create an armhf image as well and it looks very similar to the one created by skmp.
But when I tried to use this instead of the one directly from Anbox I didn’t get much further. From what I can see it seems to have issues with the graphics and to be honest the graphics of the Mali GPU are a little bit special. I also wasn’t able to compile a new arm64 image yet.
It’s also somewhat tricky to get /dev/binder and /dev/ashmem to run on ODROIDs. While the DKMS module should work it doesn’t work with each Kernel version so I ended up activating both by default in the normal Kernel images for ODROIDs as these are specific for each Kernel version. That way it should be available in the latest Kernels of all my images even without compiling the DKMS modules.
Maybe someone else has more luck in getting Anbox to work on armhf or arm64 ODROIDs I would very much appreciate it.
Final Thoughts
Anbox is a very nice project, I wished the arm and arm64 support would be better for it and we could run it on ODROIDs as it would open up even more possibilities on ODROIDs.
Anbox offers a lot of options to work with, for example running Anbox in a single window mode, which might help running certain applications that do not support opening windows.
Overall, I’m very excited about this project as it might well be that it allows us to run many more applications directly under Linux in the future and with a little luck even on arm and arm64 devices.
Be the first to comment