How To Disassemble The ODROID-GO Advance

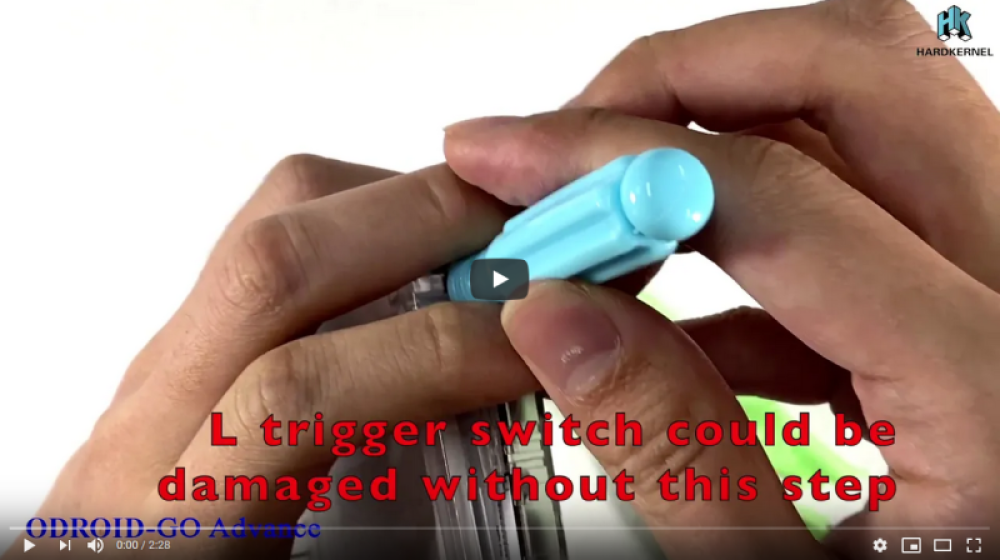
Disassembling the ODROID-GO Advance is fairly straightforward, and involves removing the screws from the outer case and carefully pulling apart the front and back pieces. However, during this process, one of the components is vulnerable to breakage if done imprecisely.

Figure 1 - SW15 can easily be bent during disassembly if care is not taken

Figure 2 - The SW15 component can also become separated from the board during disassembly

Figure 3 - The SW15 component can also become separated from the board during disassembly

Figure 4 - Another view of the board with SW15 accidentally removed

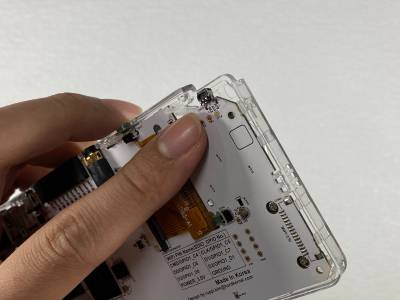
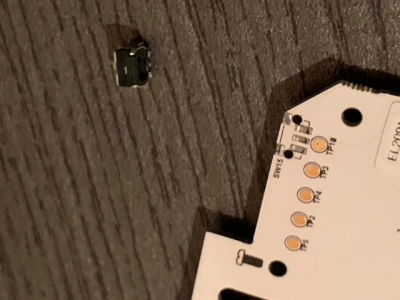
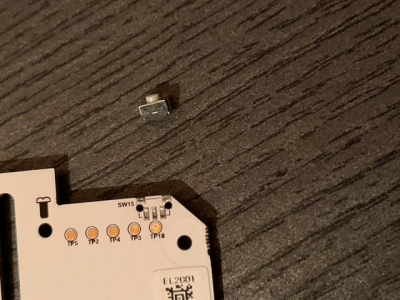
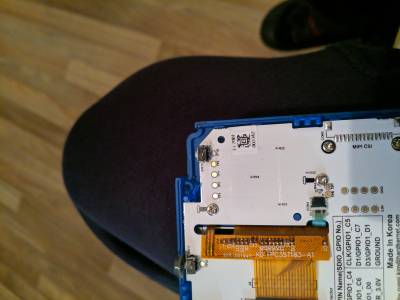
To prevent SW15 from breaking during disassembly of the OGA, please follow the instructions shown in the video at https://youtu.be/bUC-s6KQFpo and take it apart very carefully. For more information, please visit the original Wiki article at https://wiki.odroid.com/odroid_go_advance/go_adv_disassembling.

Figure 5 - ODROID-GO Advance disassembly video

Be the first to comment

Leave a Reply