There are two options for installing Android on an ODROID-C2. Hardkernel offers a pre-installed eMMC or microSD card, which would only require installing Google Play. Alternatively, the Android OS may be downloaded from the Hardkernel website and installed manually onto the eMMC or microSD card. The required materials for running Android on an ODROID-C2 are listed below:
- ODROID-C2 http://bit.ly/1oTJBya
- 5V/2A Power supply US: http://bit.ly/2ugY0Xe, EU: http://bit.ly/1X0bgdt, Worldwide: http://bit.ly/OhMyWx
- Memory card pre-installed with an operating system eMMC: http://bit.ly/2vq2TCq, microSD card: http://bit.ly/2u1fM5I
- HDMI cable: http://bit.ly/2uSu3Ay
- Monitor or TV with an HDMI port
Watch the video https://youtu.be/fEyeMTS3idU at to see how easy it is to get started! If you do not have a memory card pre-installed with an operating system, please follow instructions below to install it onto the memory card.
In addition to all the items listed above, you will need a PC in order to install Android OS to the memory card. An instructional video is available at https://youtu.be/9Zi2_OTSl_I and https://youtu.be/NyQif1j2WkA. Note that the Smart Power 2 power supply http://bit.ly/2j3hhcv is used in the video.
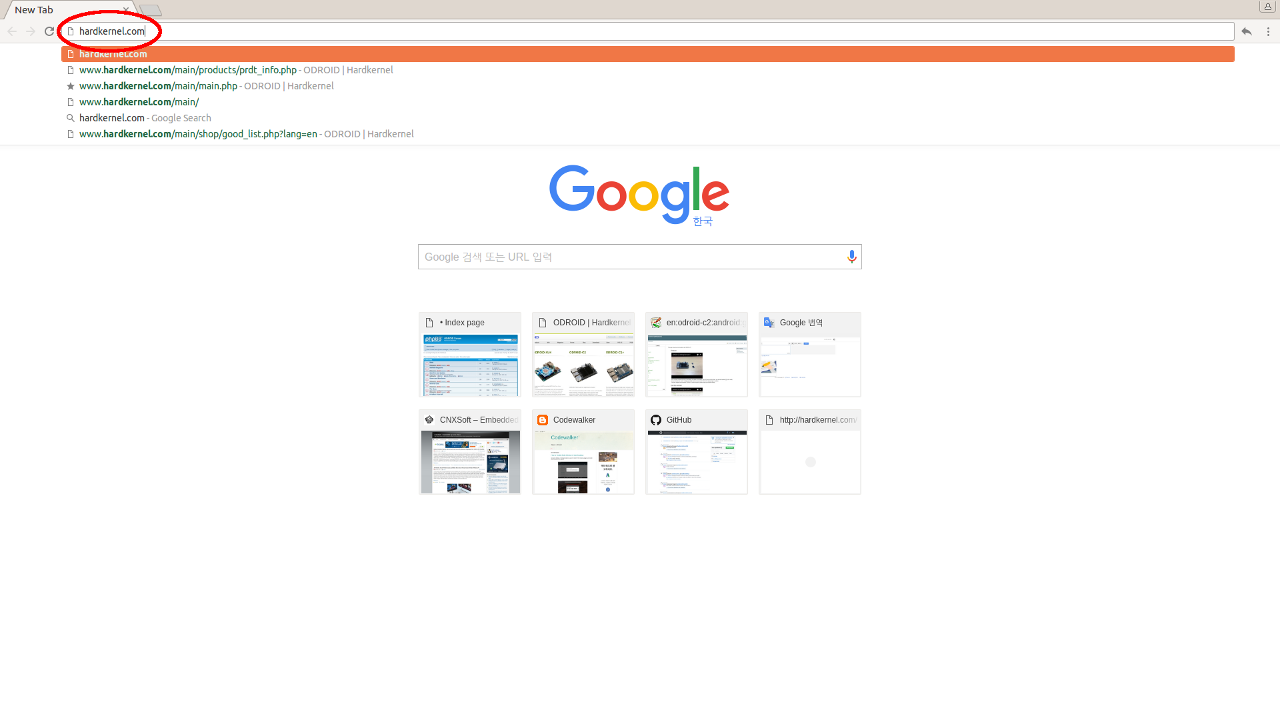
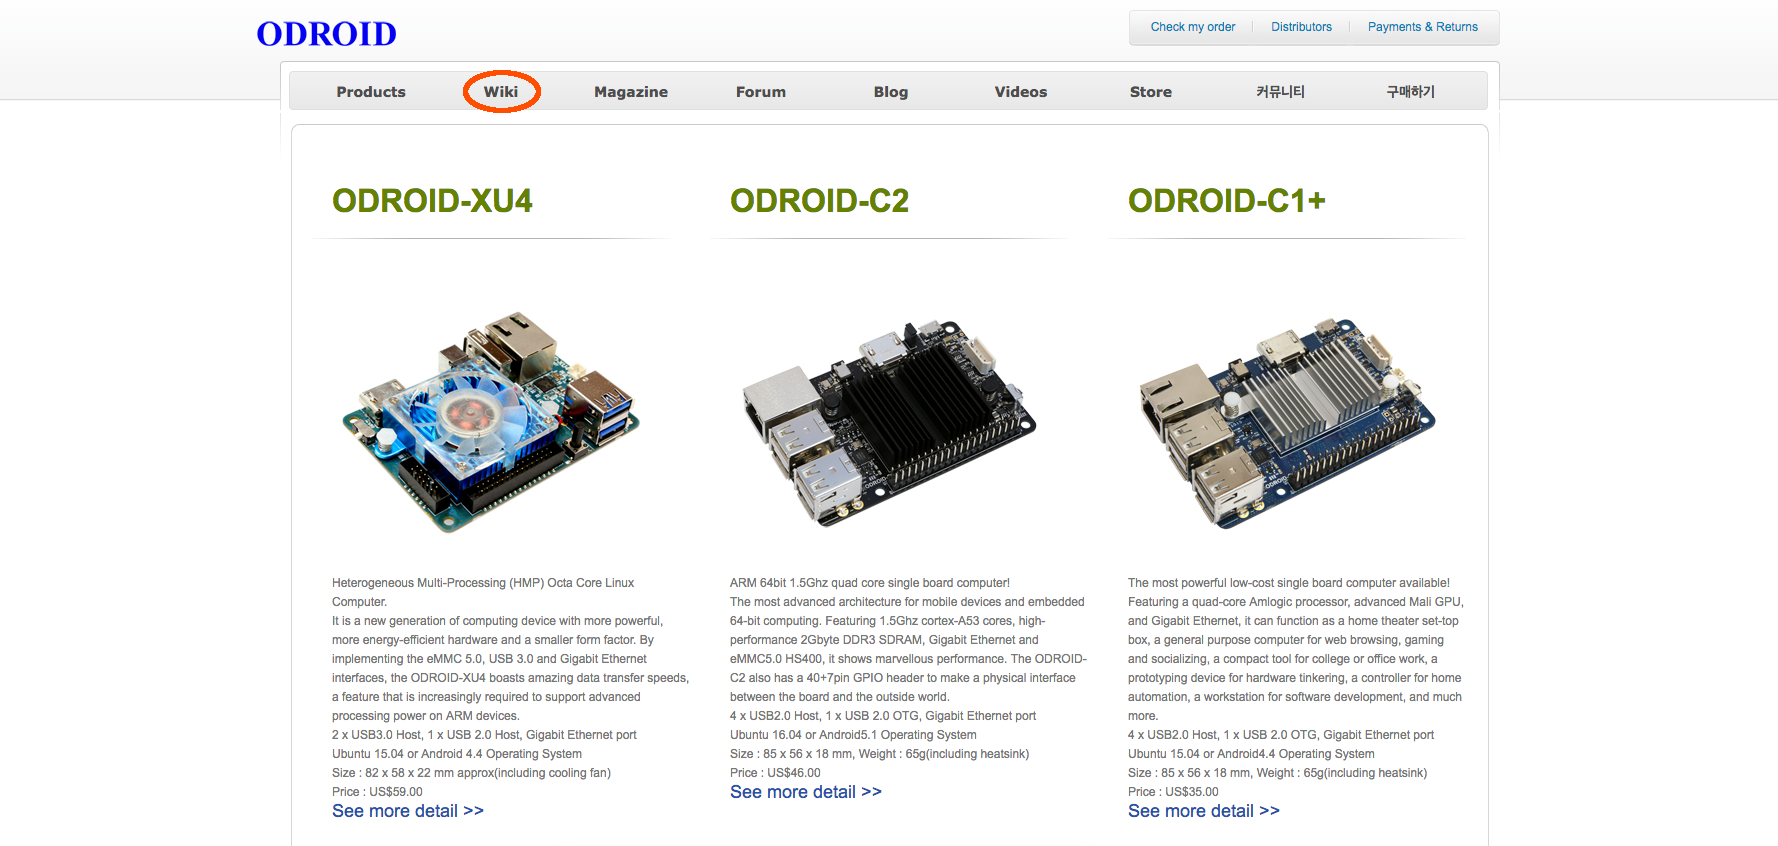
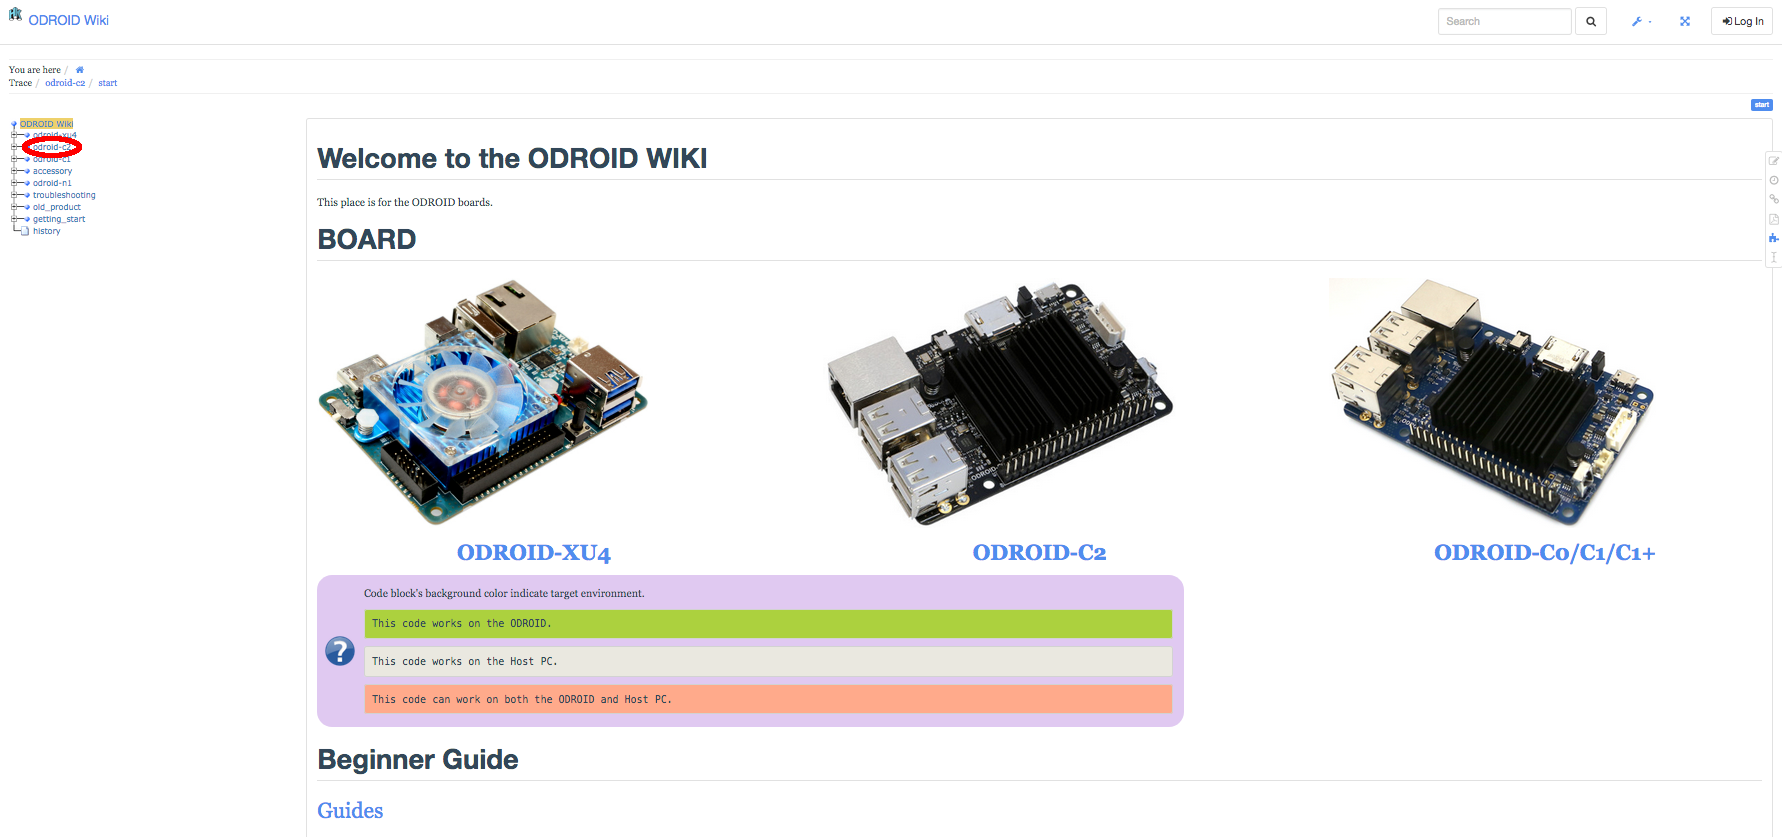
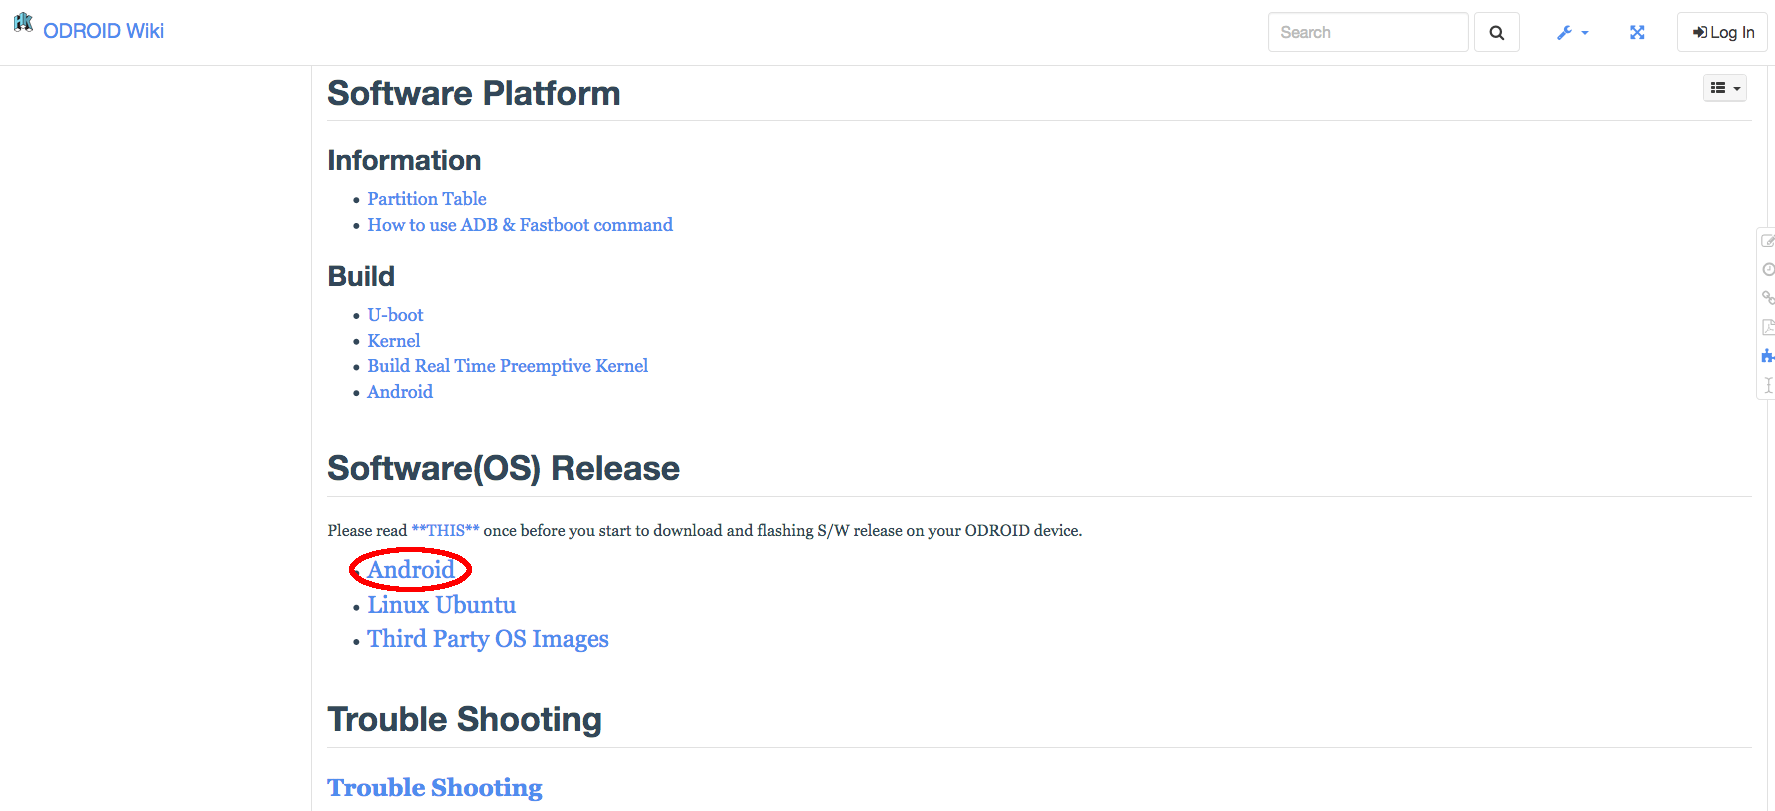
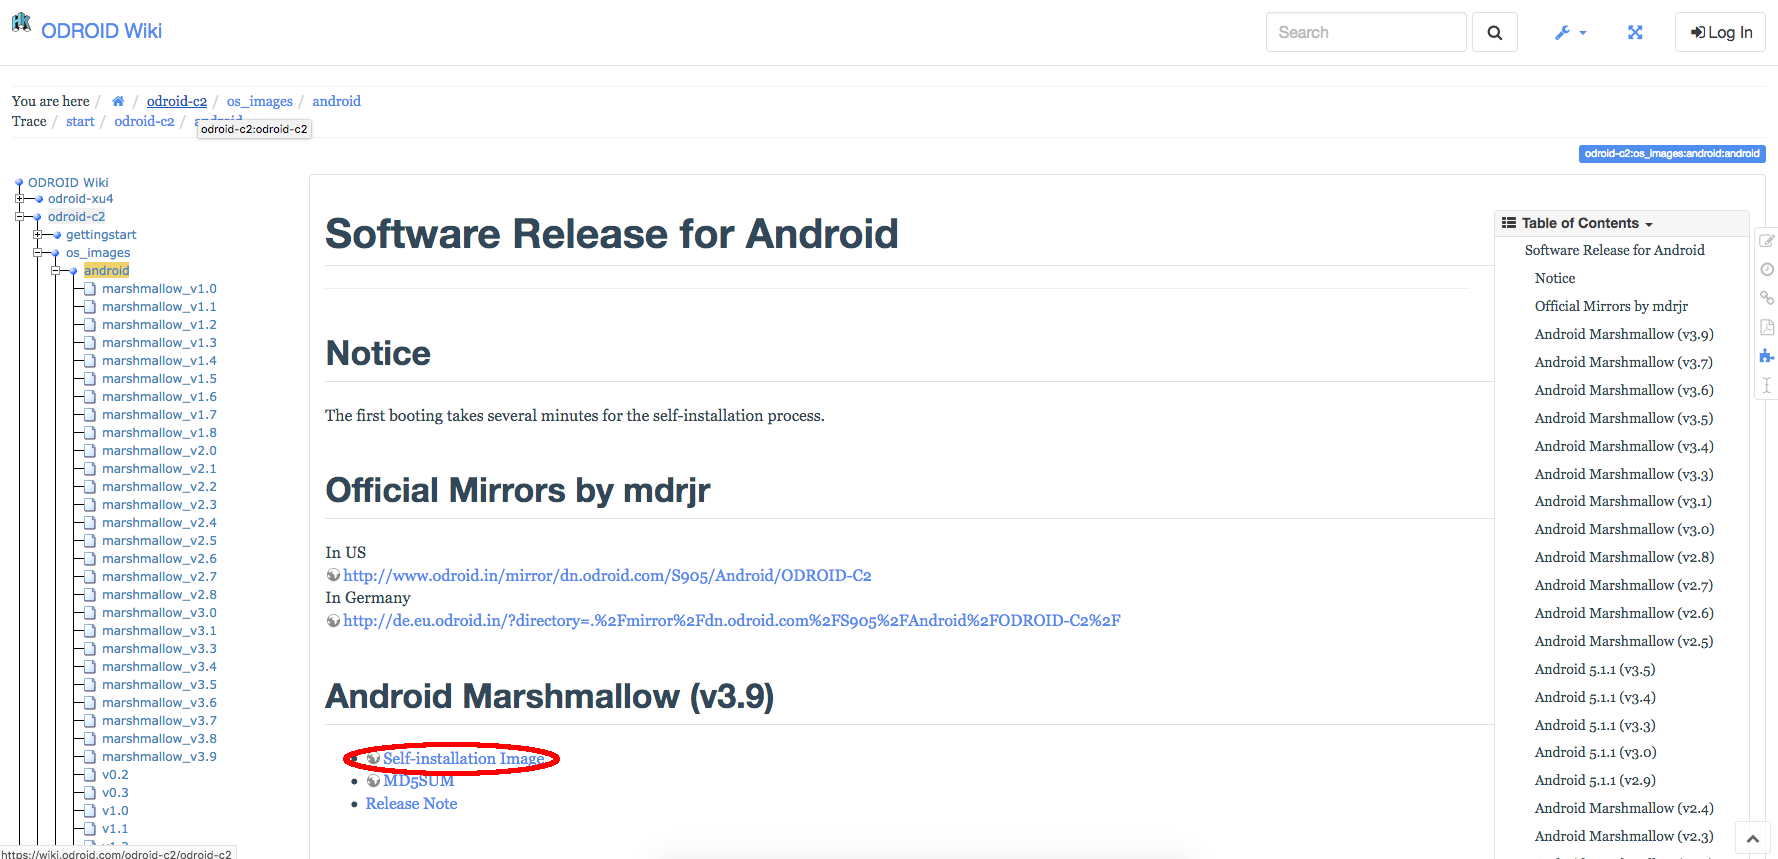
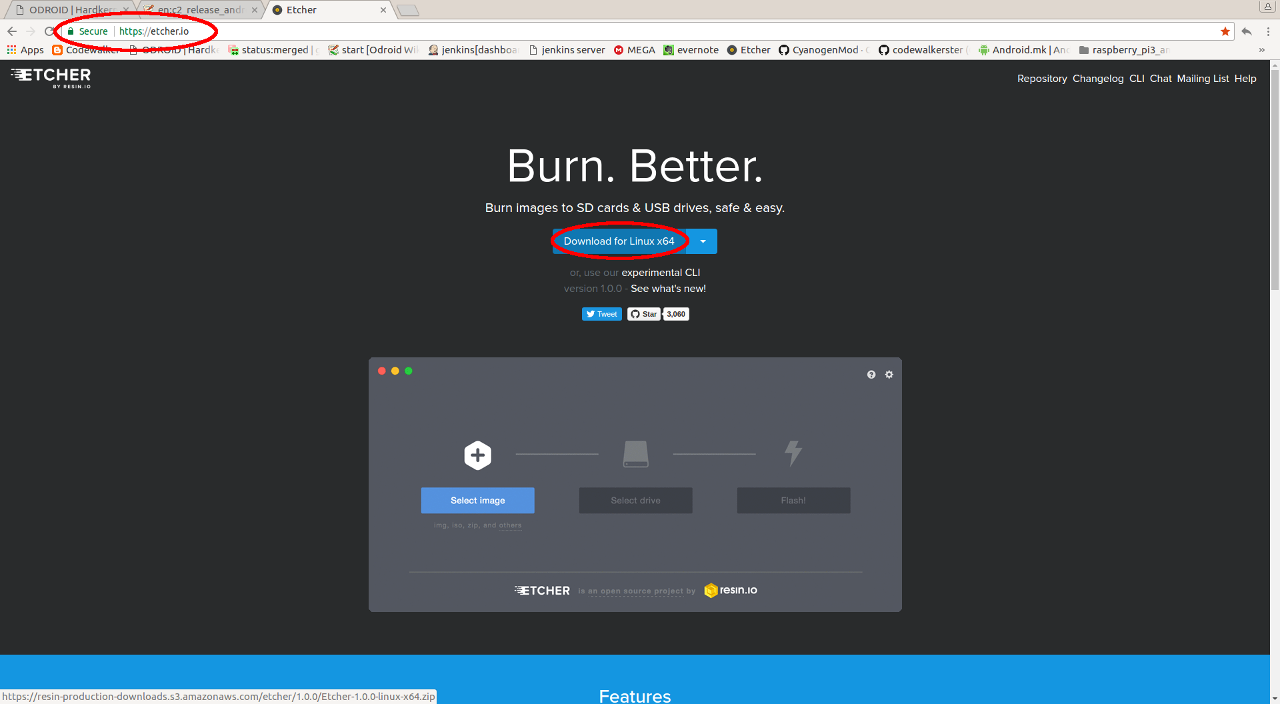
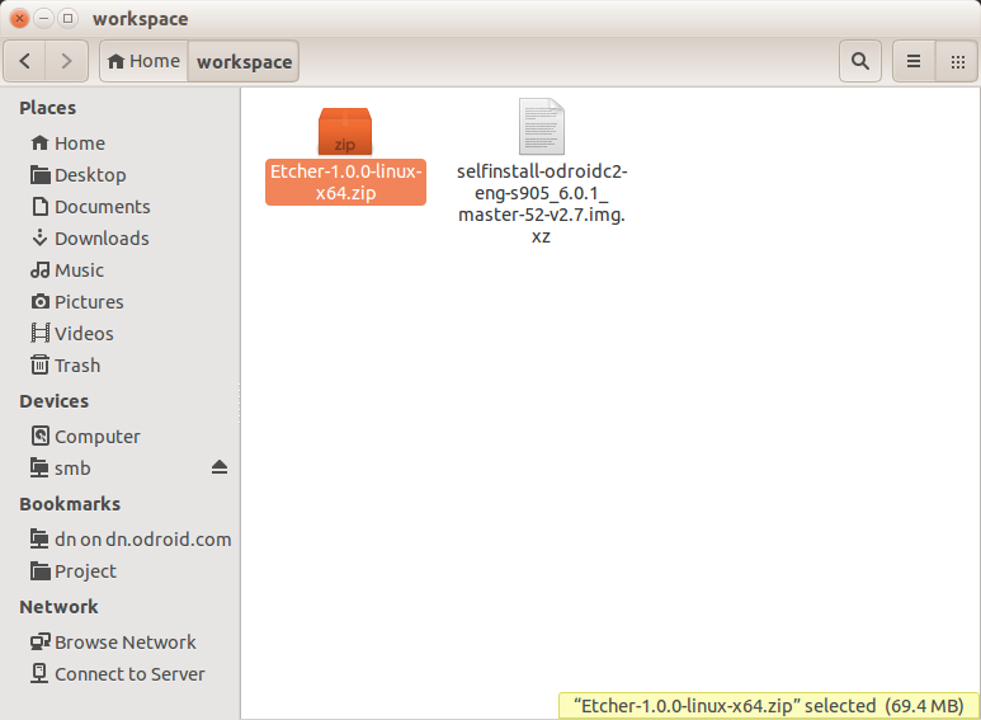
First, download the Android operating system from the Hardkernel Wiki at http://bit.ly/2tMhk3R. Make sure to wait for the complete download. To install, or “flash”, Android to the memory card, we recommend using Etcher, as described at http://bit.ly/2HAk7iw. You can download Etcher from https://etcher.io/. Etcher works on Mac OS, Linux and Windows, and is the easiest option for most users. Etcher also supports writing OS images directly from the zip file, without any unzipping required. To install the OS on an eMMC module, you will need an eMMC module reader (http://bit.ly/2ugIKK8) and a USB multi reader (http://bit.ly/2vpTv1y) to connect it to your PC.
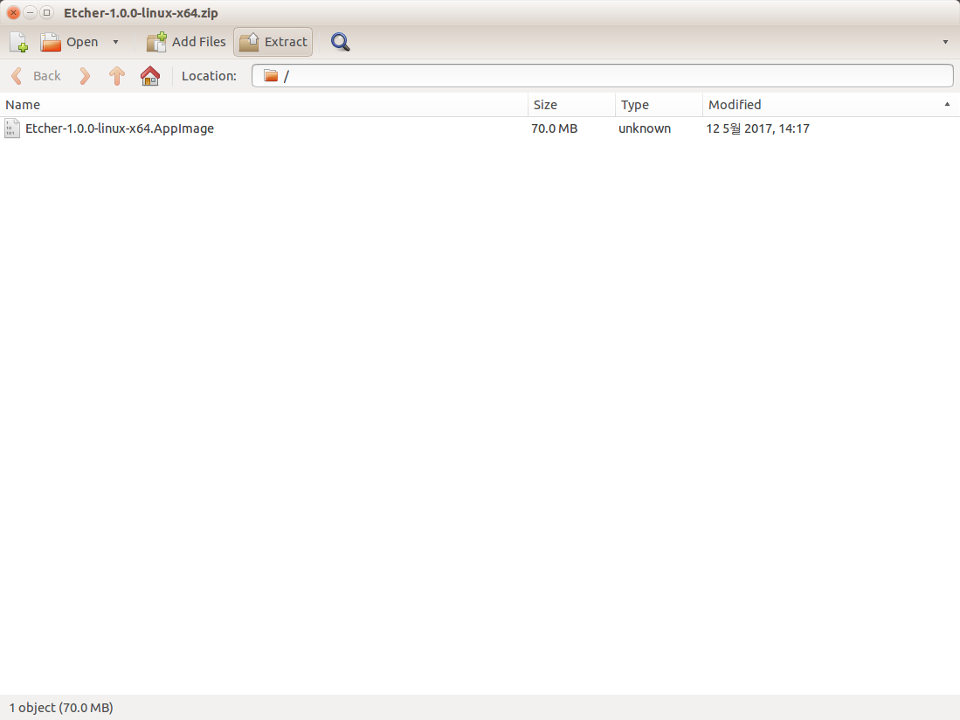
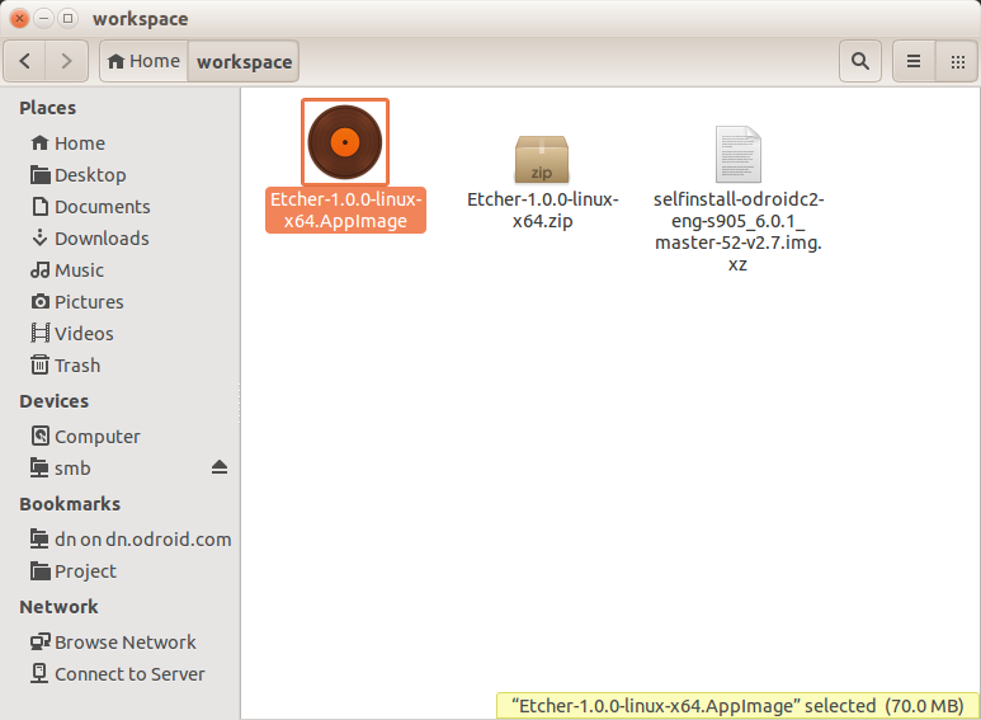
To install Android on an eMMC, follow the instructional video at https://youtu.be/XfJY4KxLxps. If using a microSD card, watch https://youtu.be/SnrqyoUBry4.
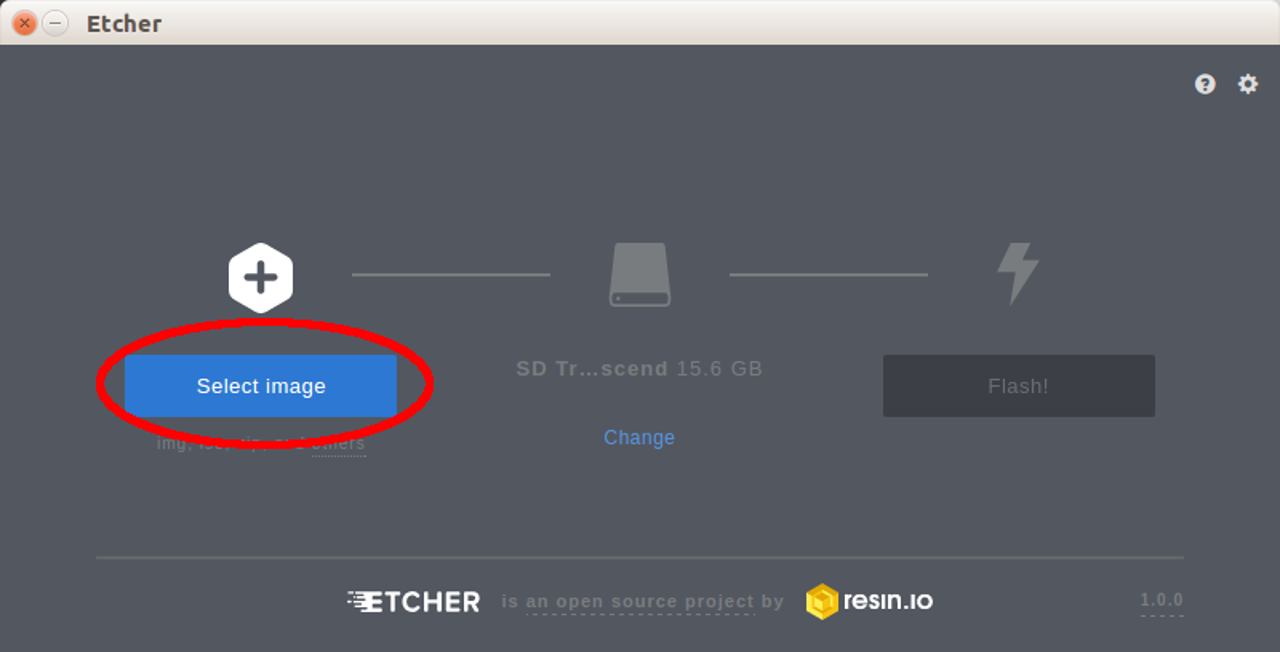
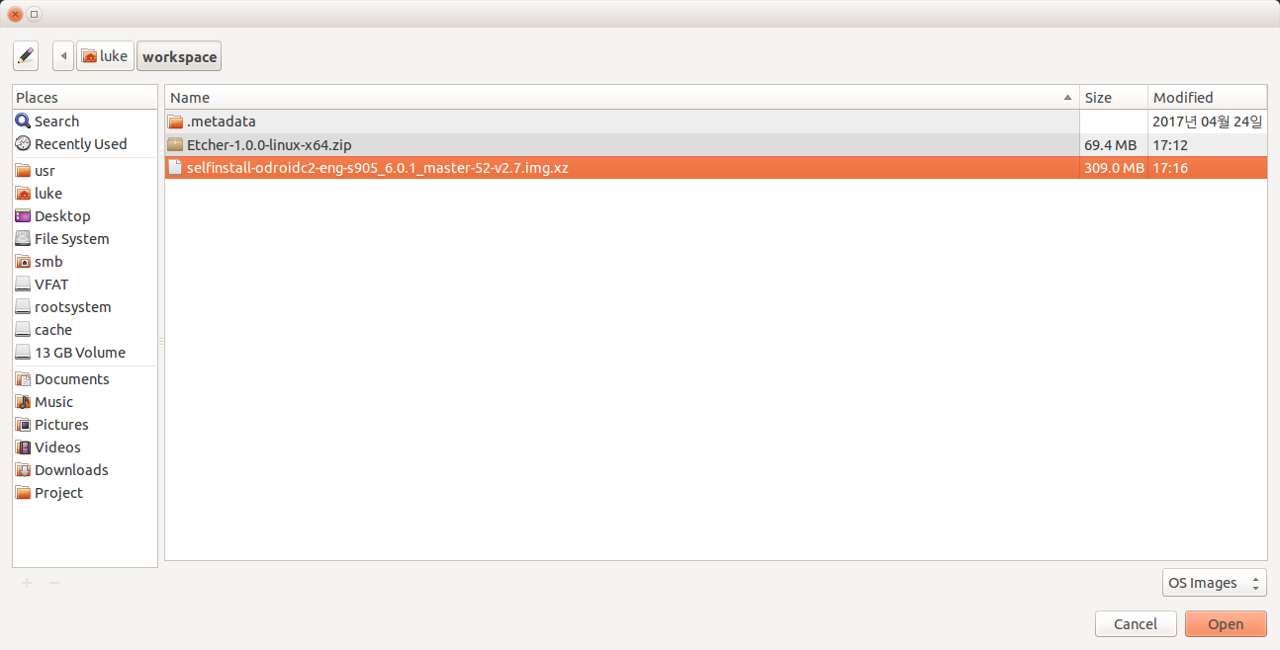
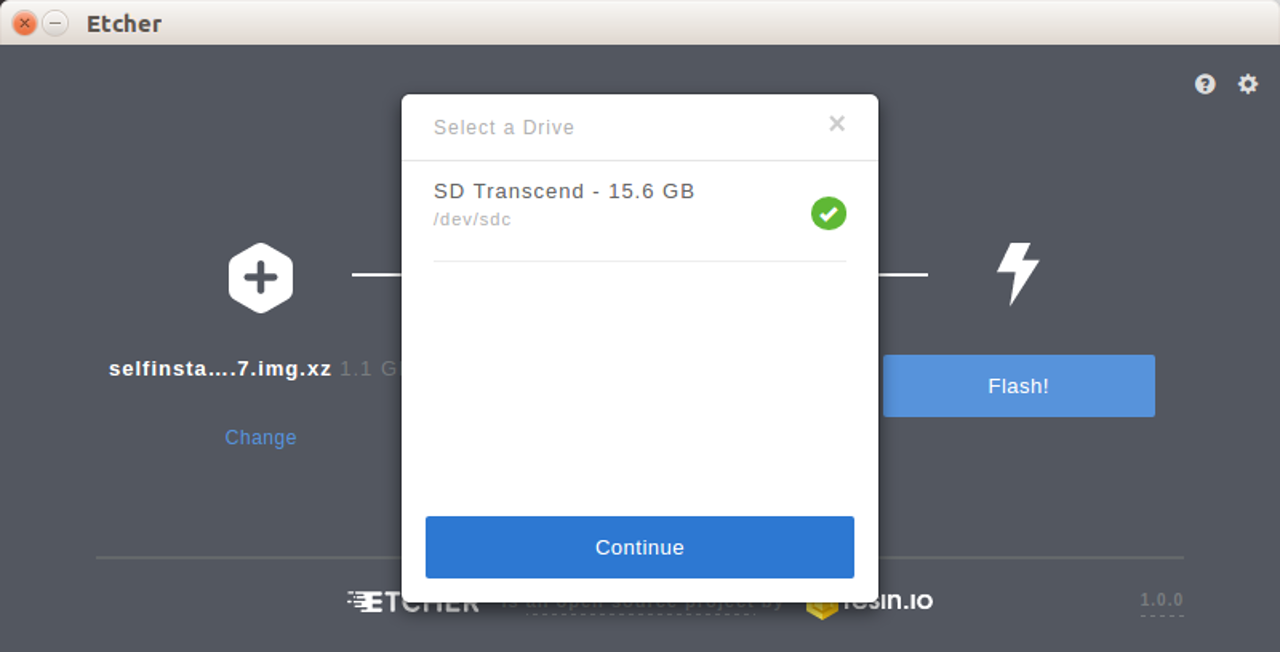
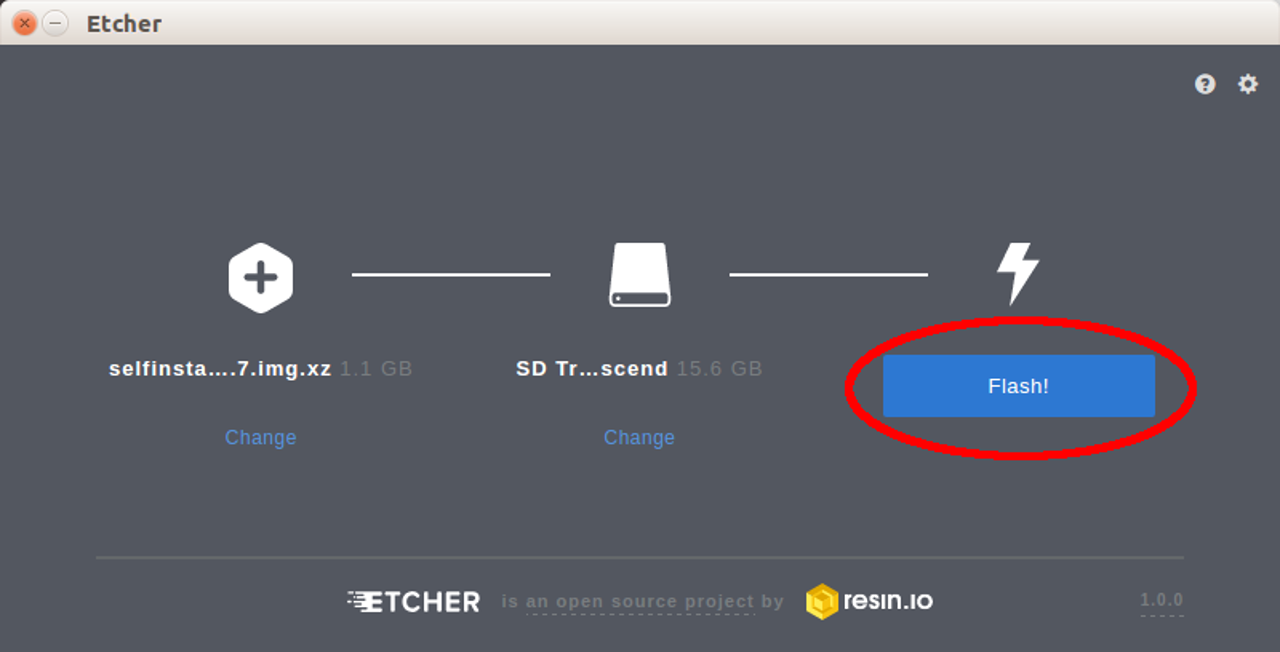
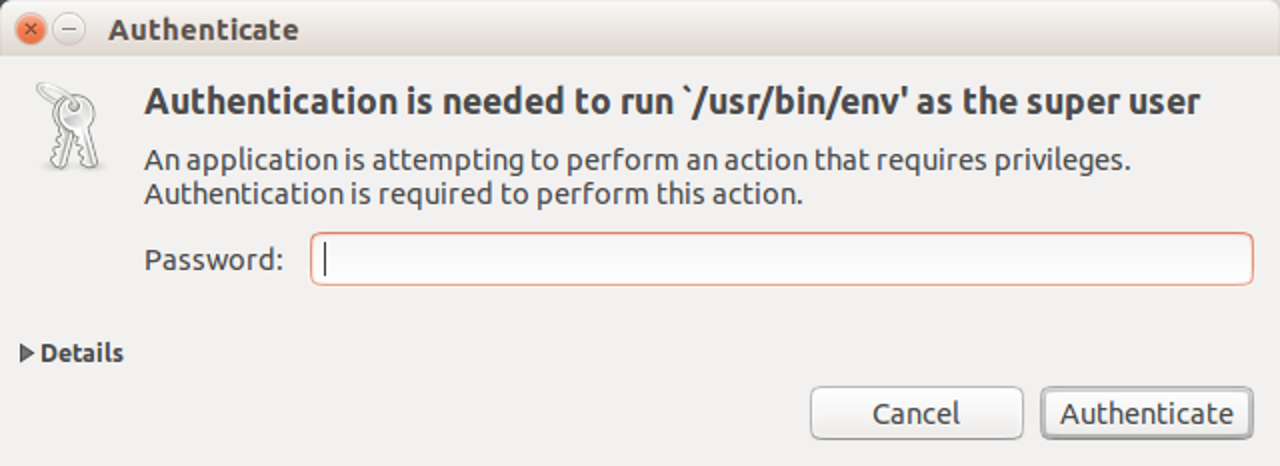
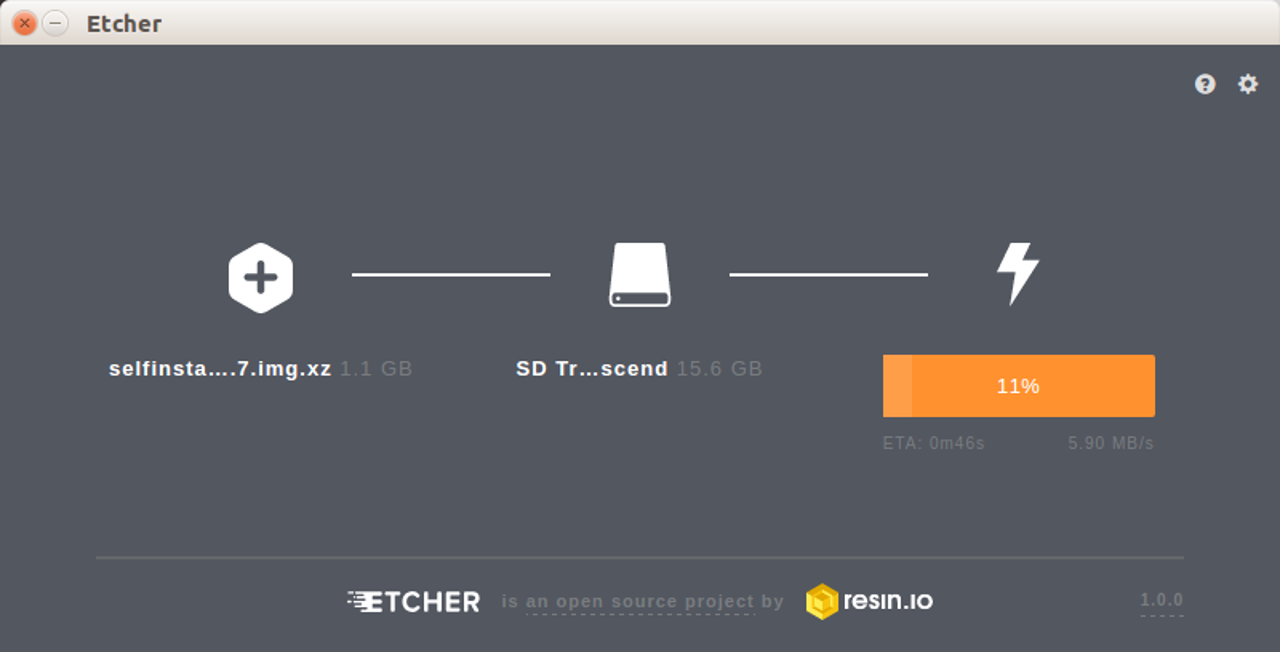
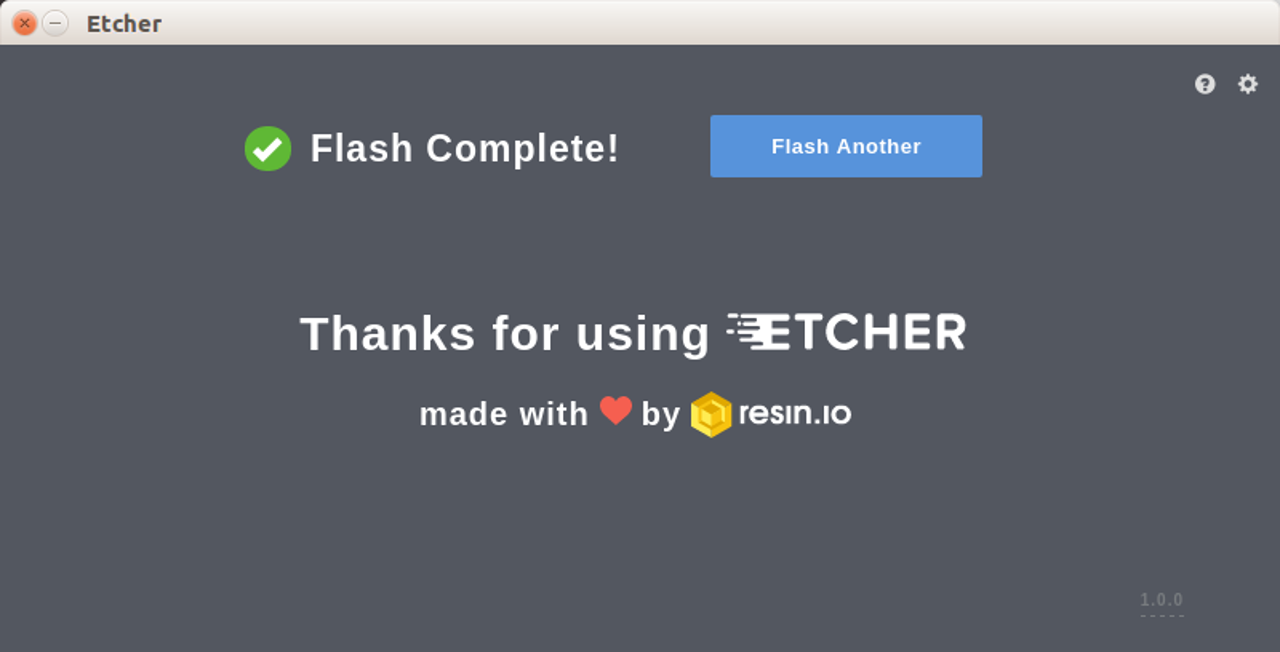
When OS installation is complete on the memory card, connect the HDMI cable to your ODROID-C2, then plug the power supply. After a few seconds, you will see the home screen of Android. For more information, please visit the original Wiki article at article at http://bit.ly/2uhhlrj.
Installing Google Play
To install Google Play onto an ODROID-C2, the following items are required:
- ODROID-C2 http://bit.ly/1oTJBya
- Internet connected via Ethernet cable http://bit.ly/2vg6v9I or WiFi module http://bit.ly/22nyxra
- If you want to download Google Play to a PC and transfer it to the C2, you will need to connect the C2 to PC via an OTG cable http://bit.ly/2vqf6H5.
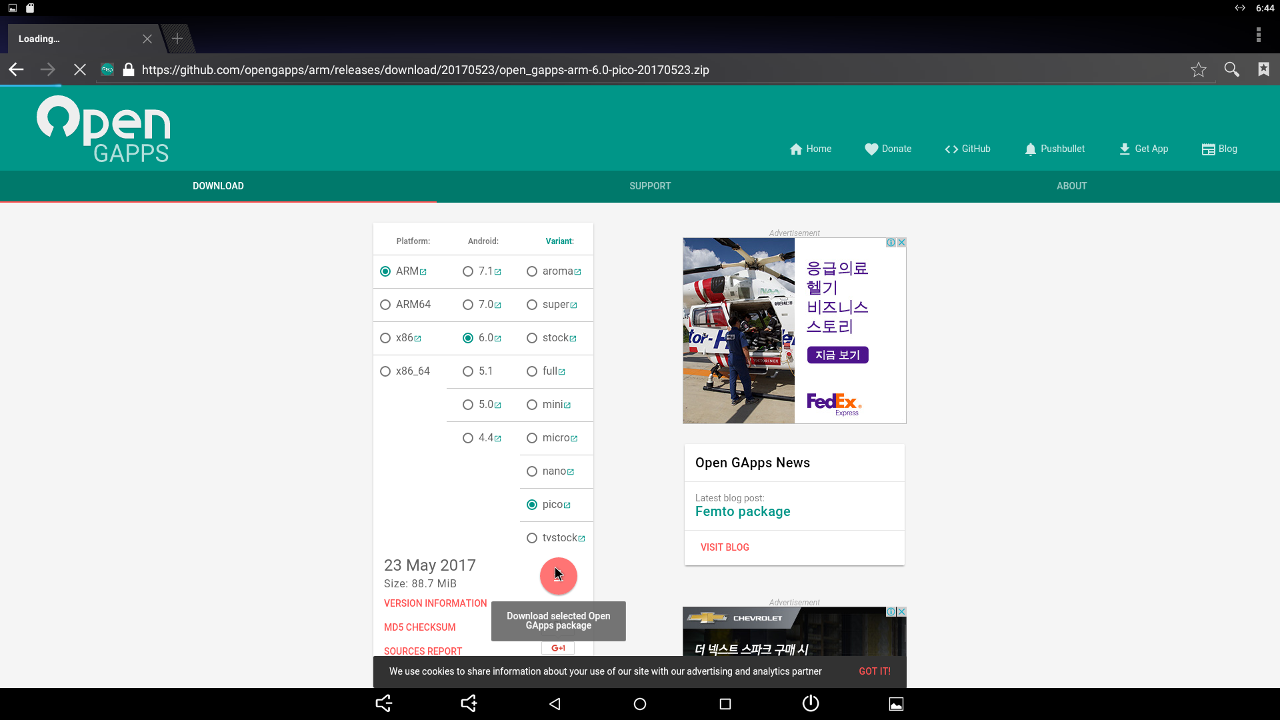
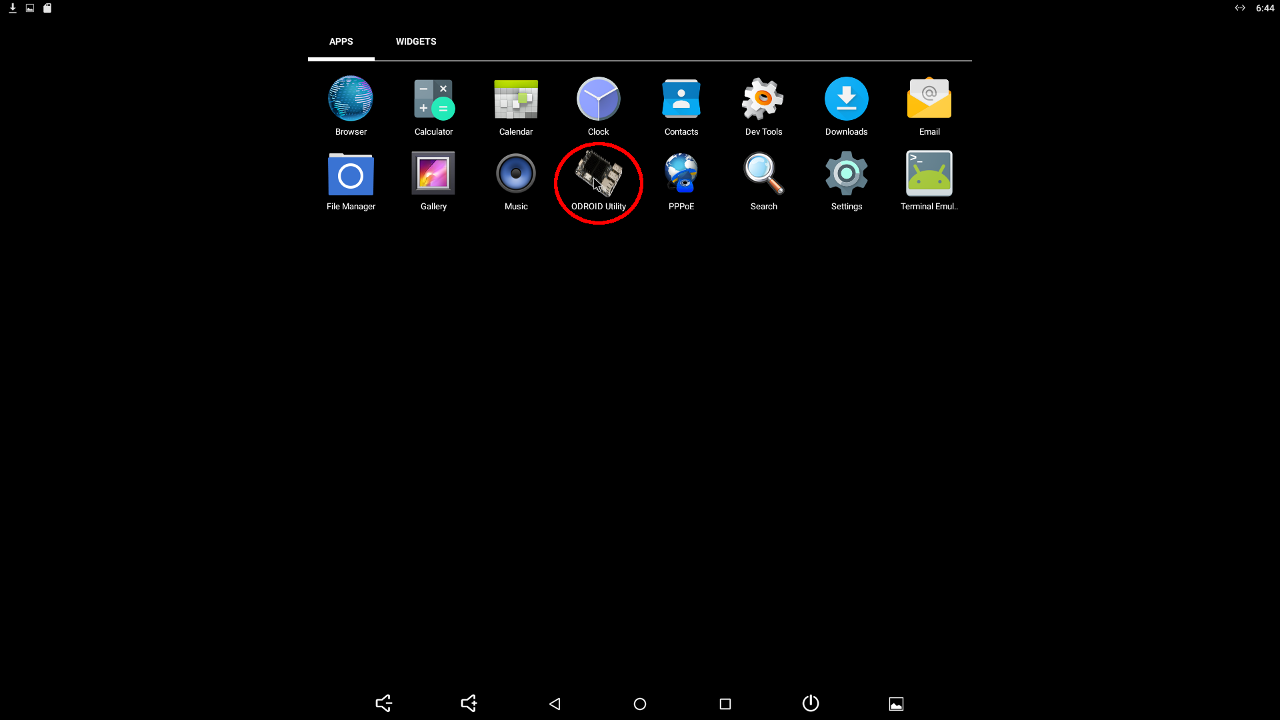
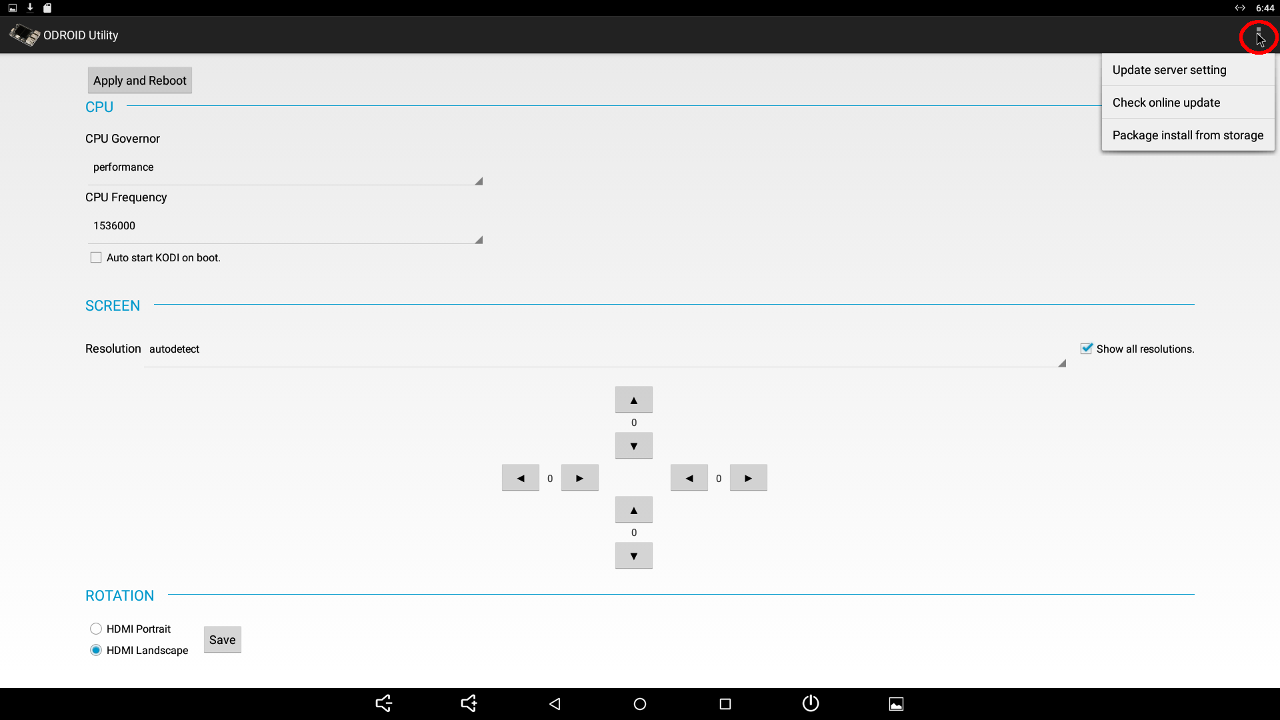
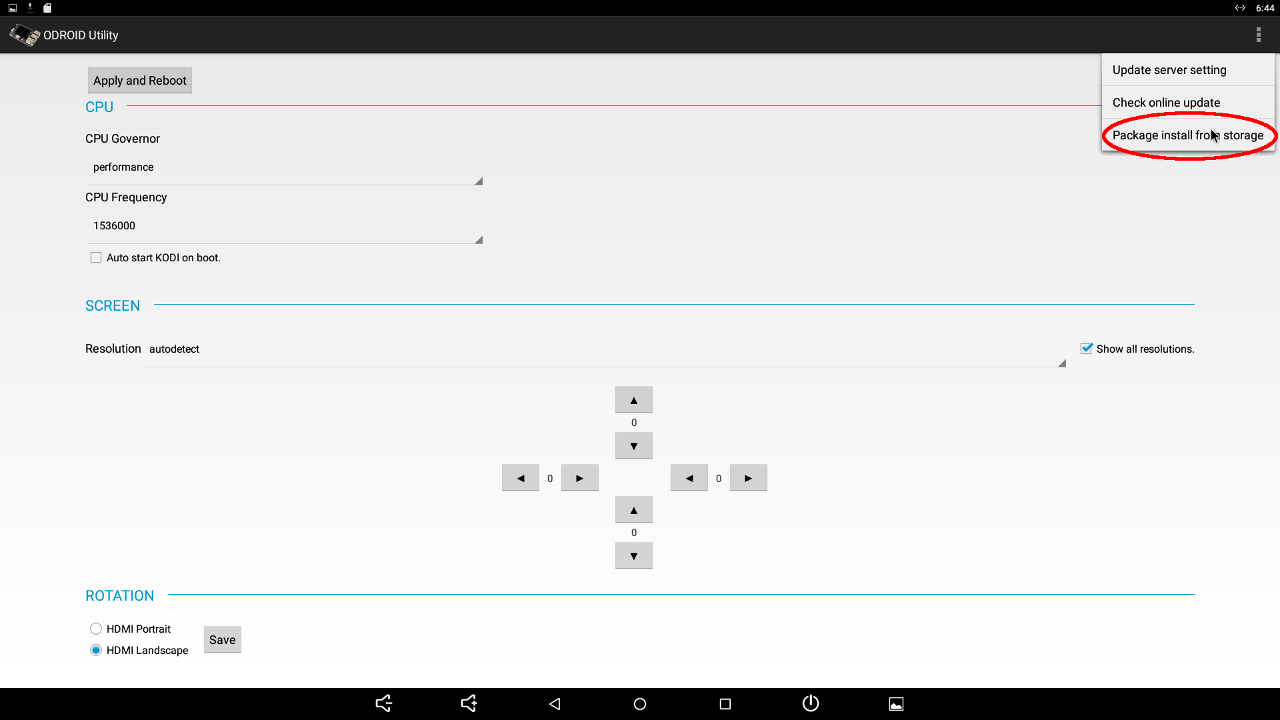
An instructional video is available at https://youtu.be/PKO8ZKJM_0c. The images below highlight the main steps in the video. Open the browser on ODROID-C2 and visit http://opengapps.org. We recommend using the “pico” version, but the ODROID-C2 also supports micro and nano versions.
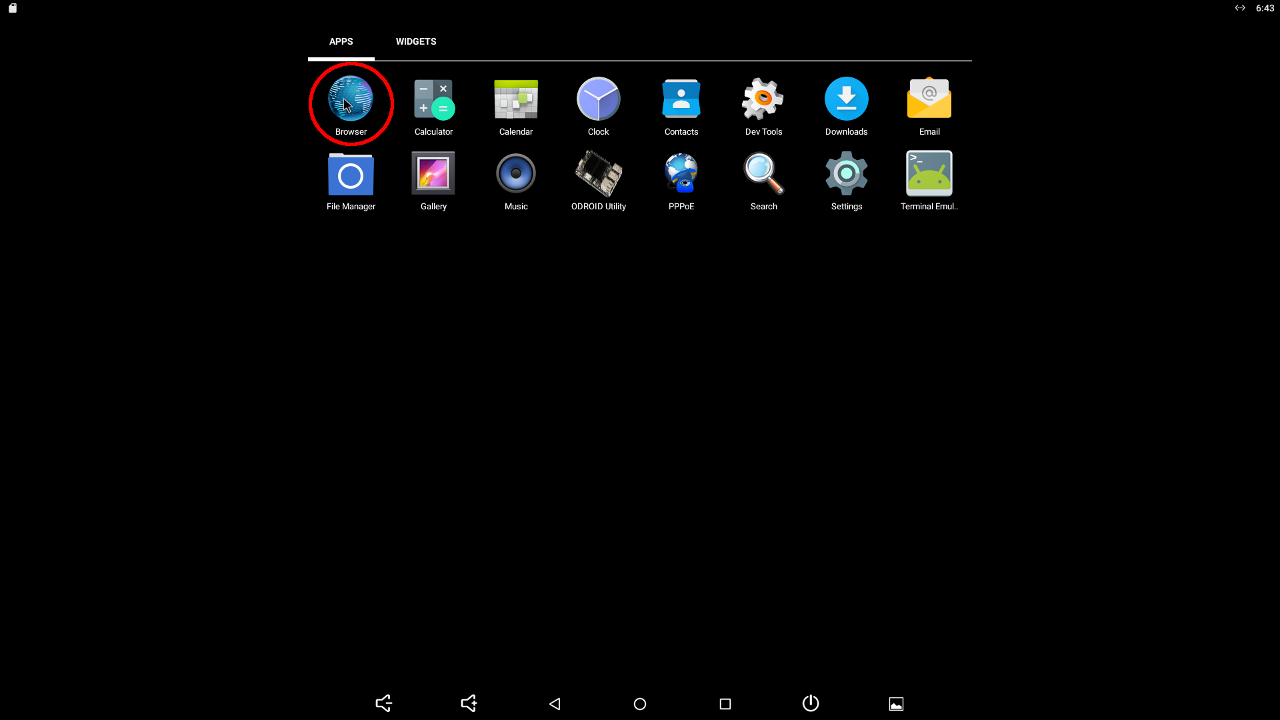
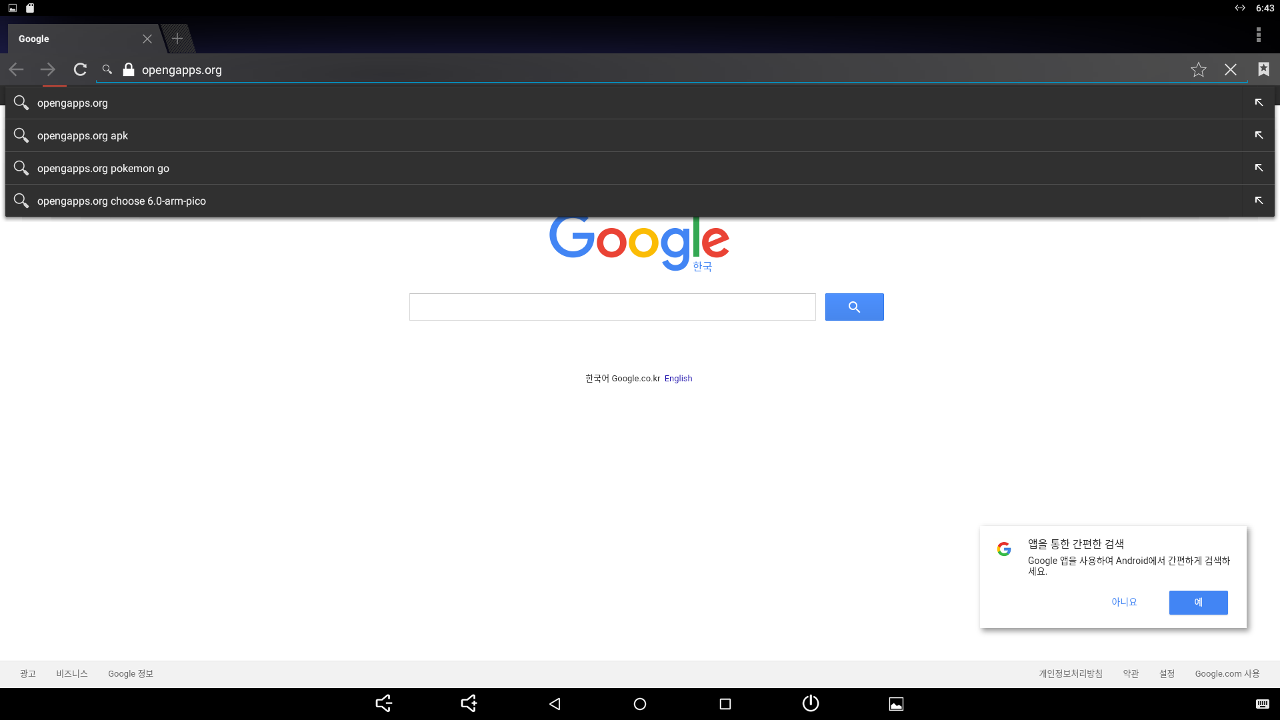
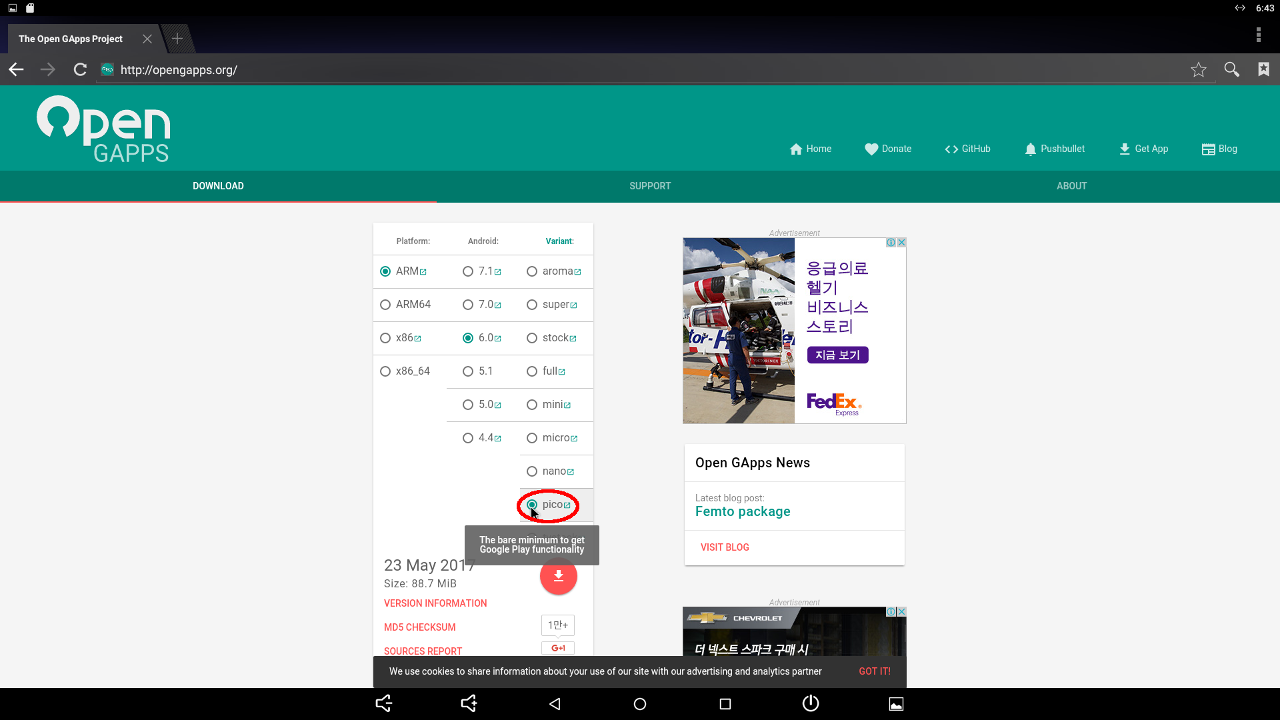
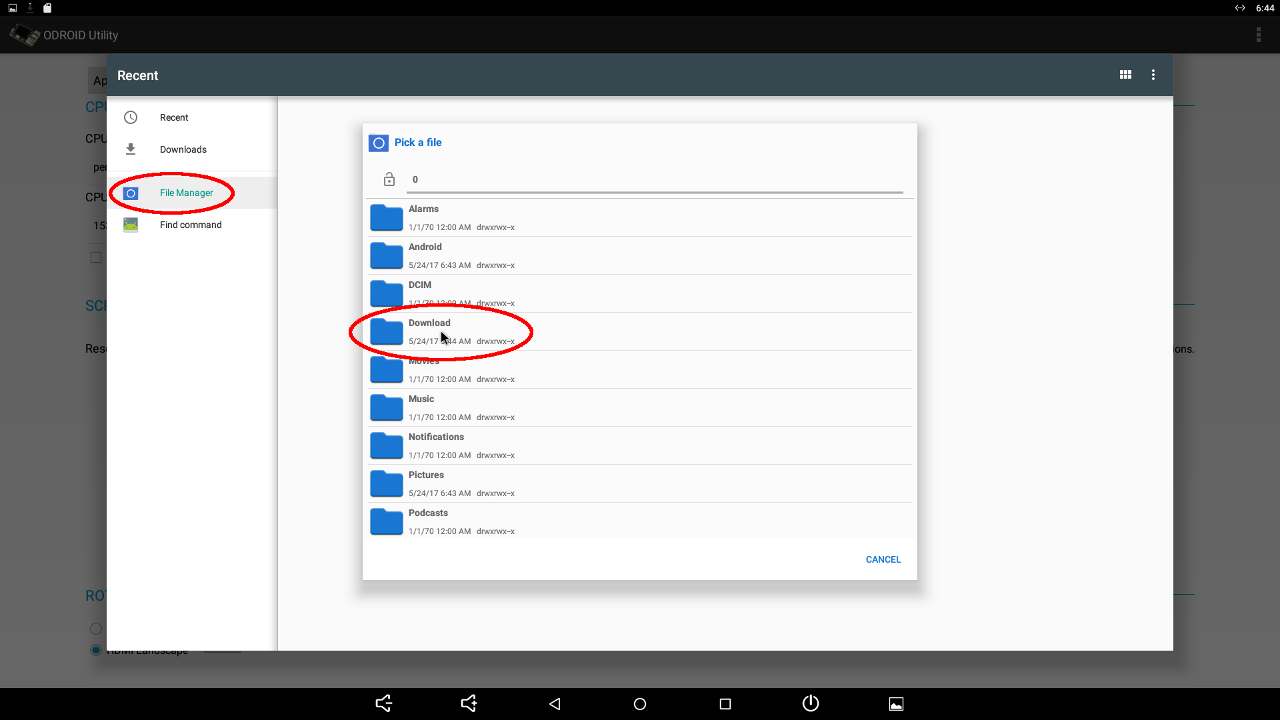
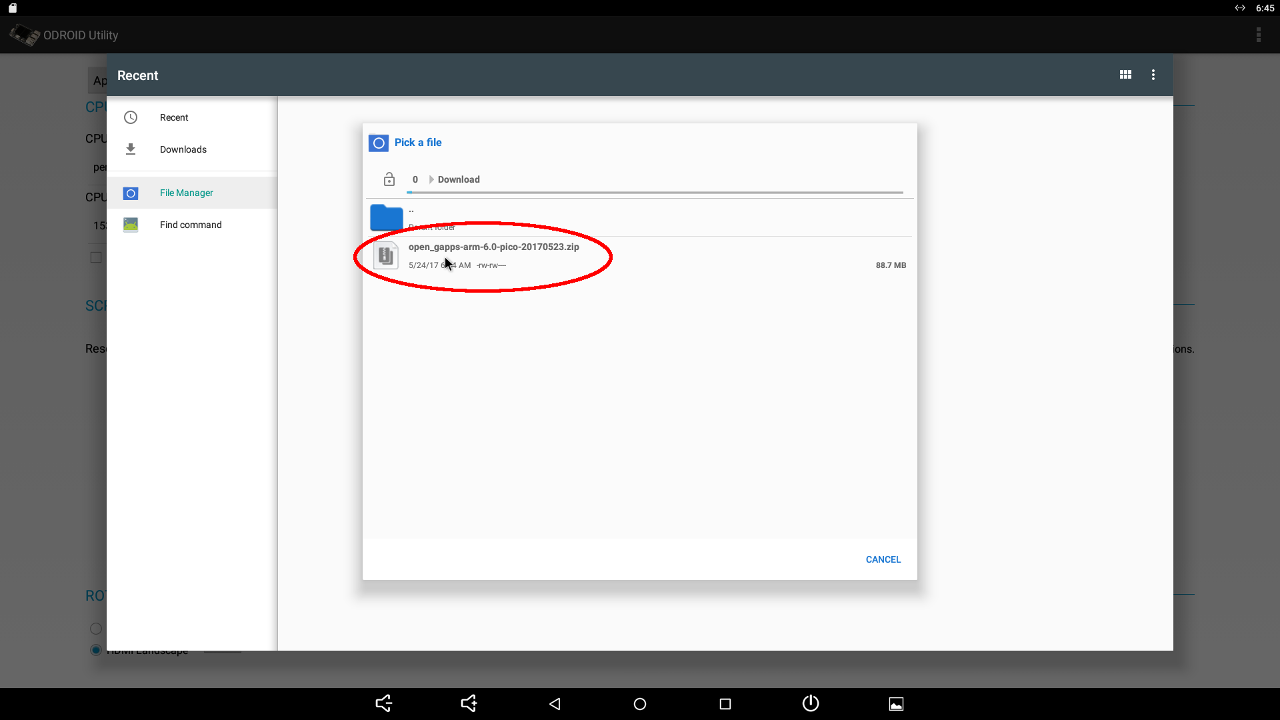
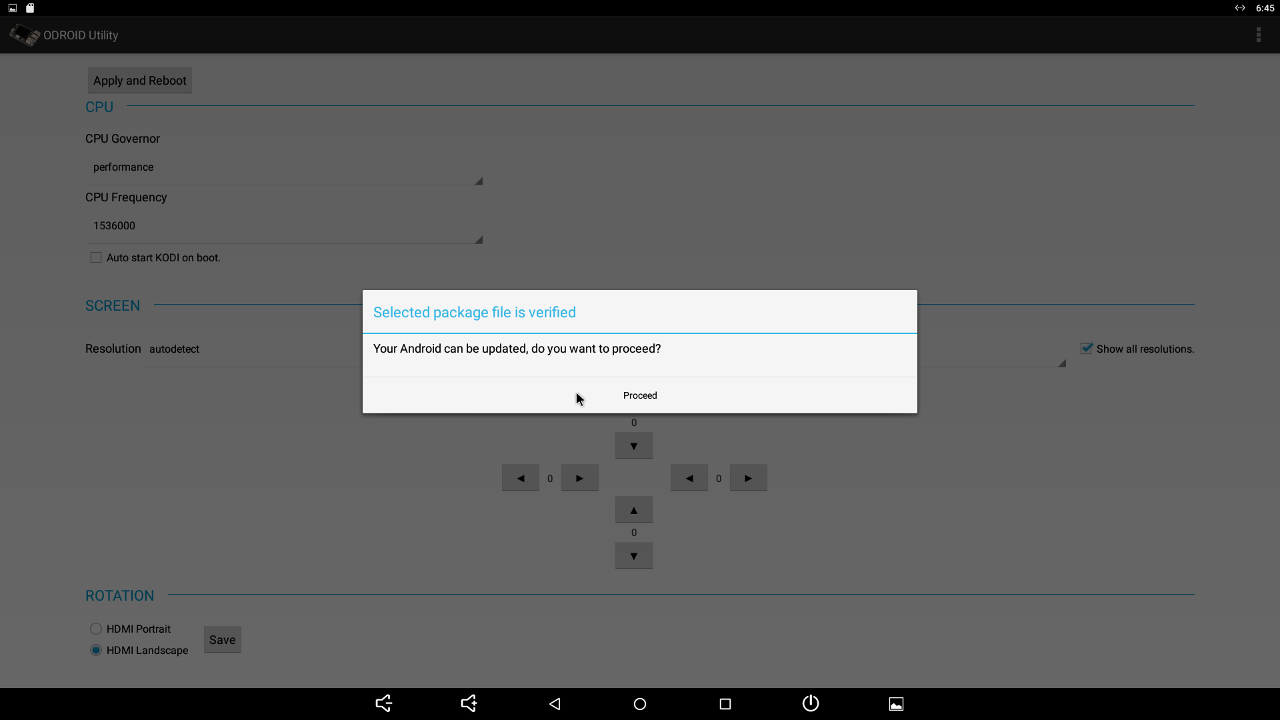
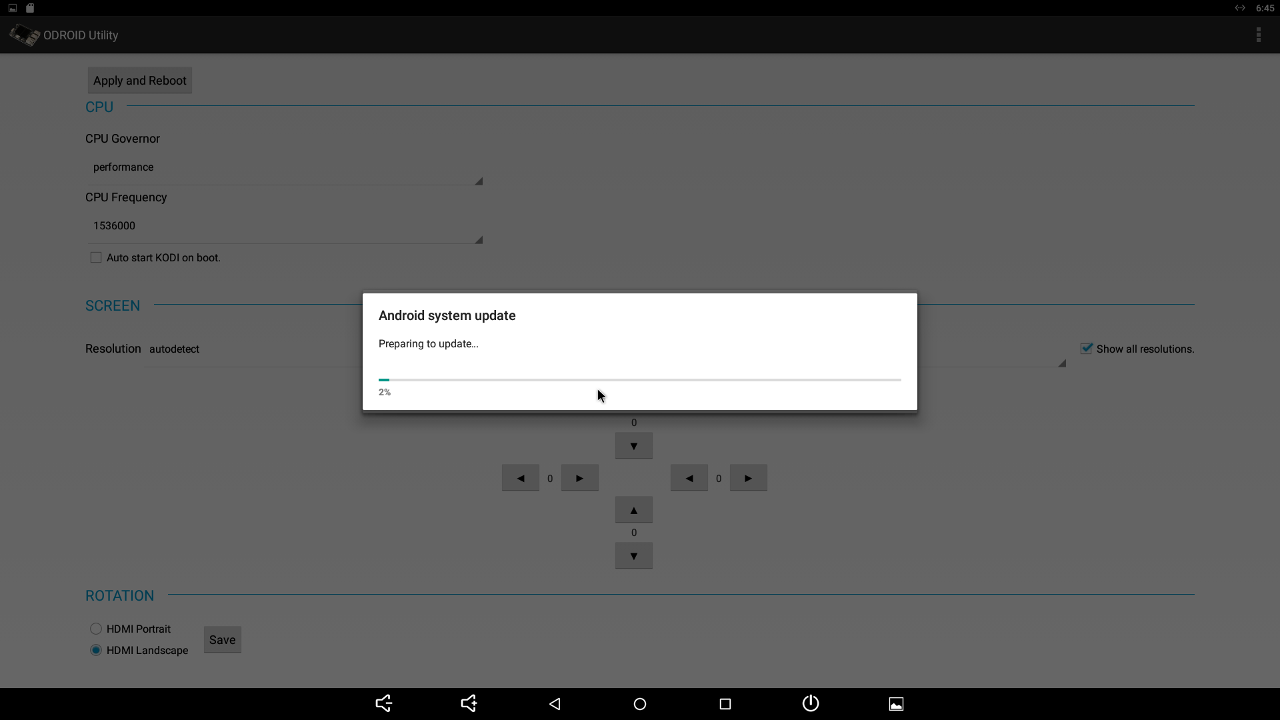
The video at https://youtu.be/wOhAgkkWnjI shows how to login to your Google account and open Google Play.
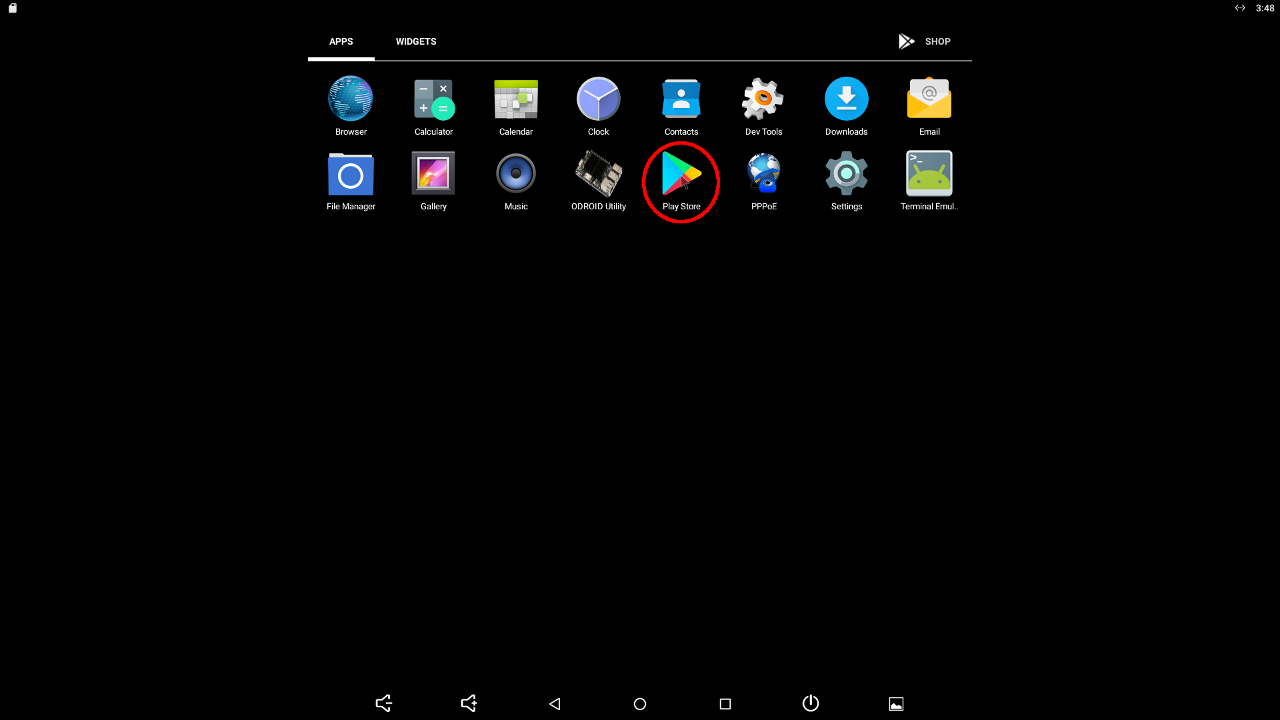
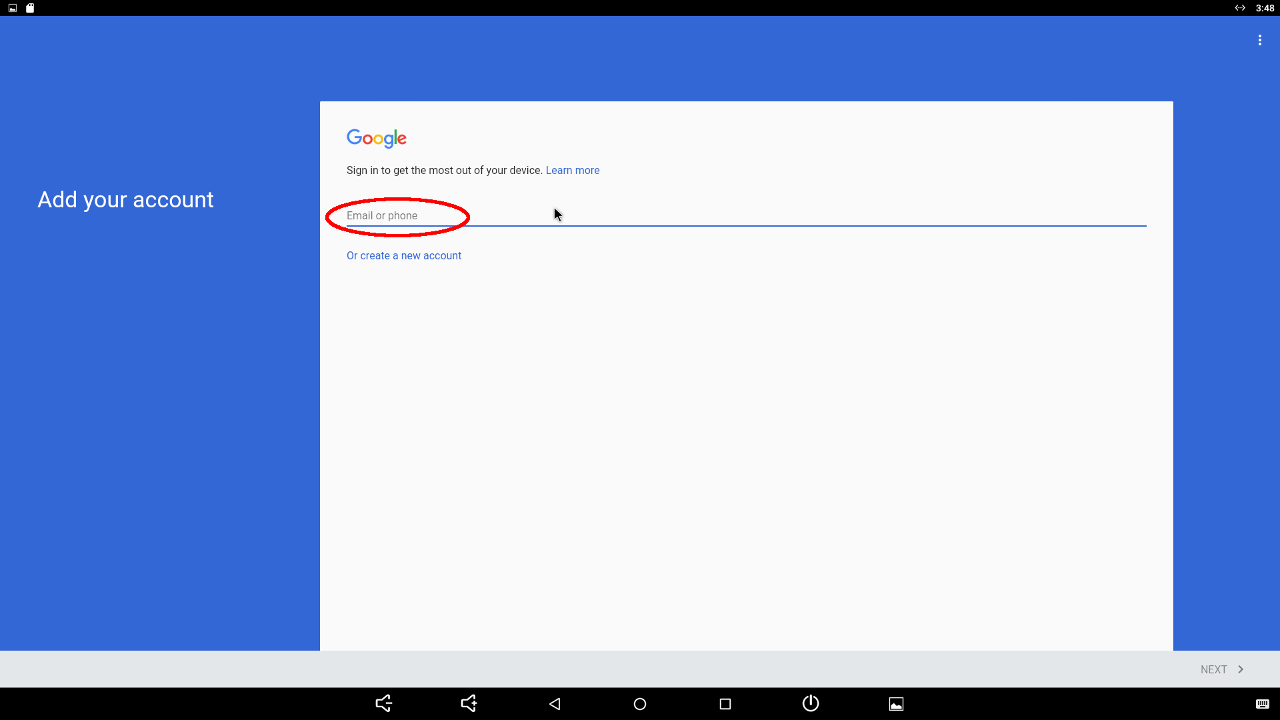
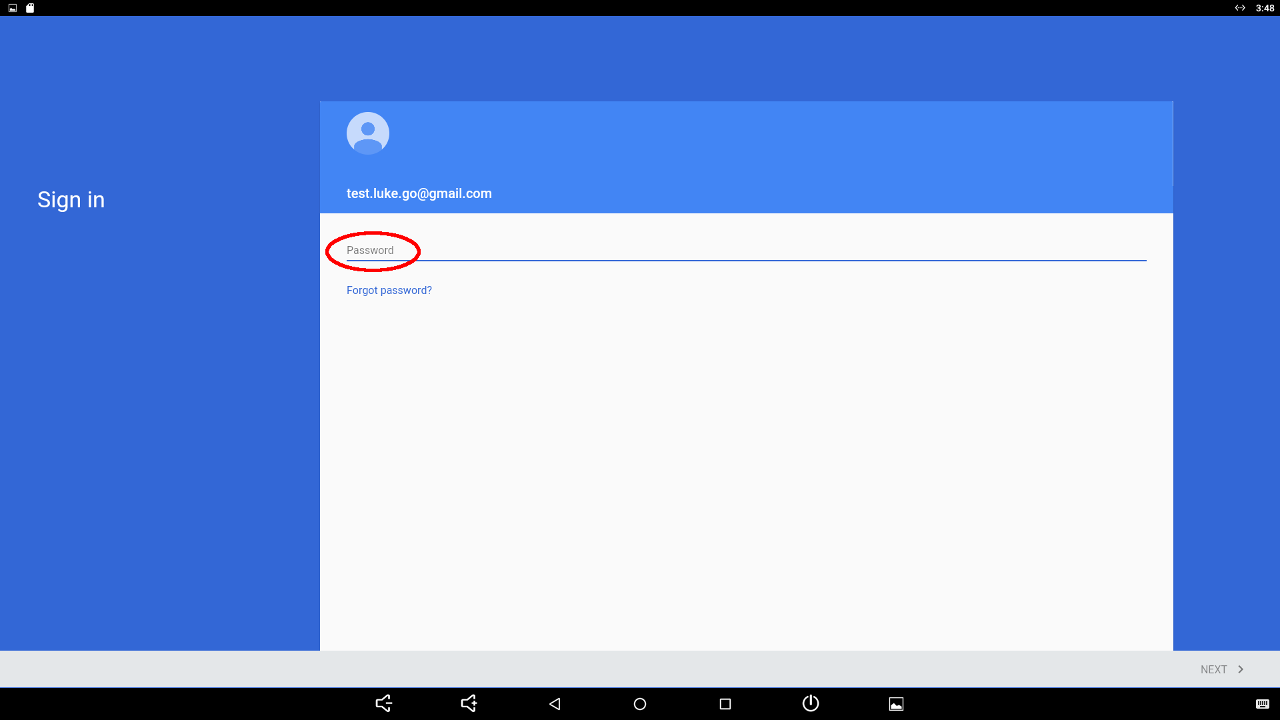

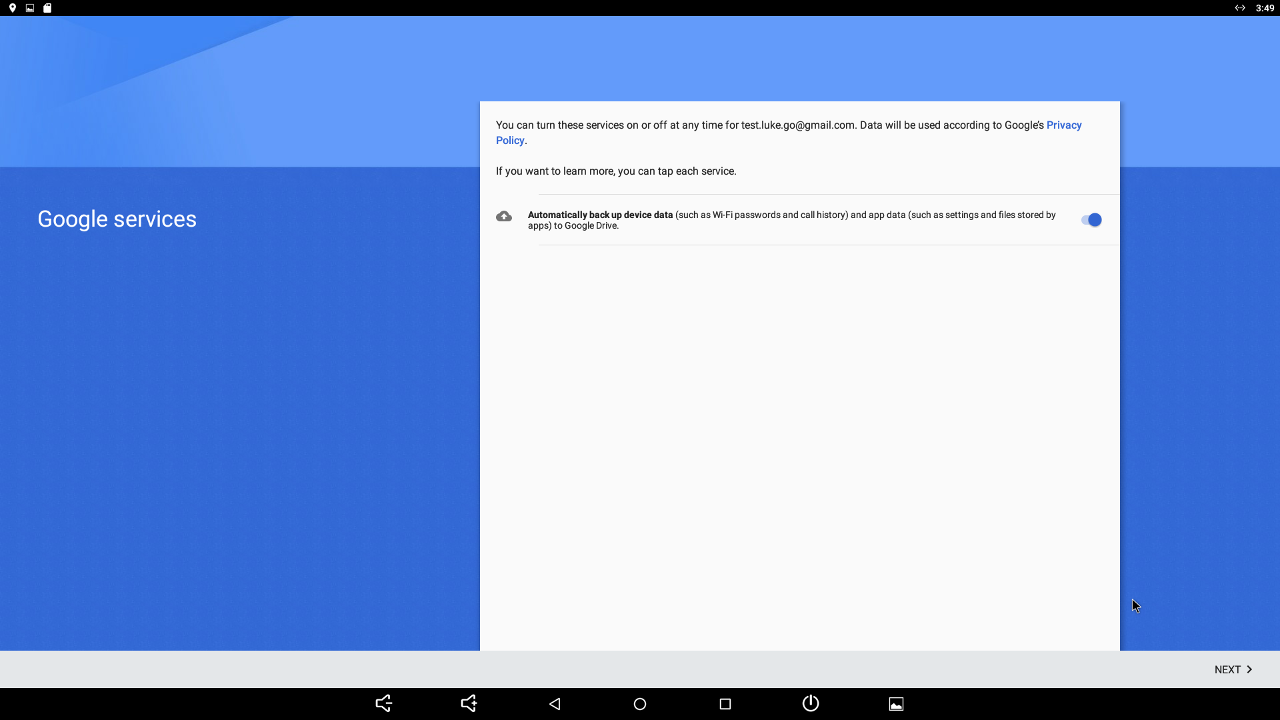
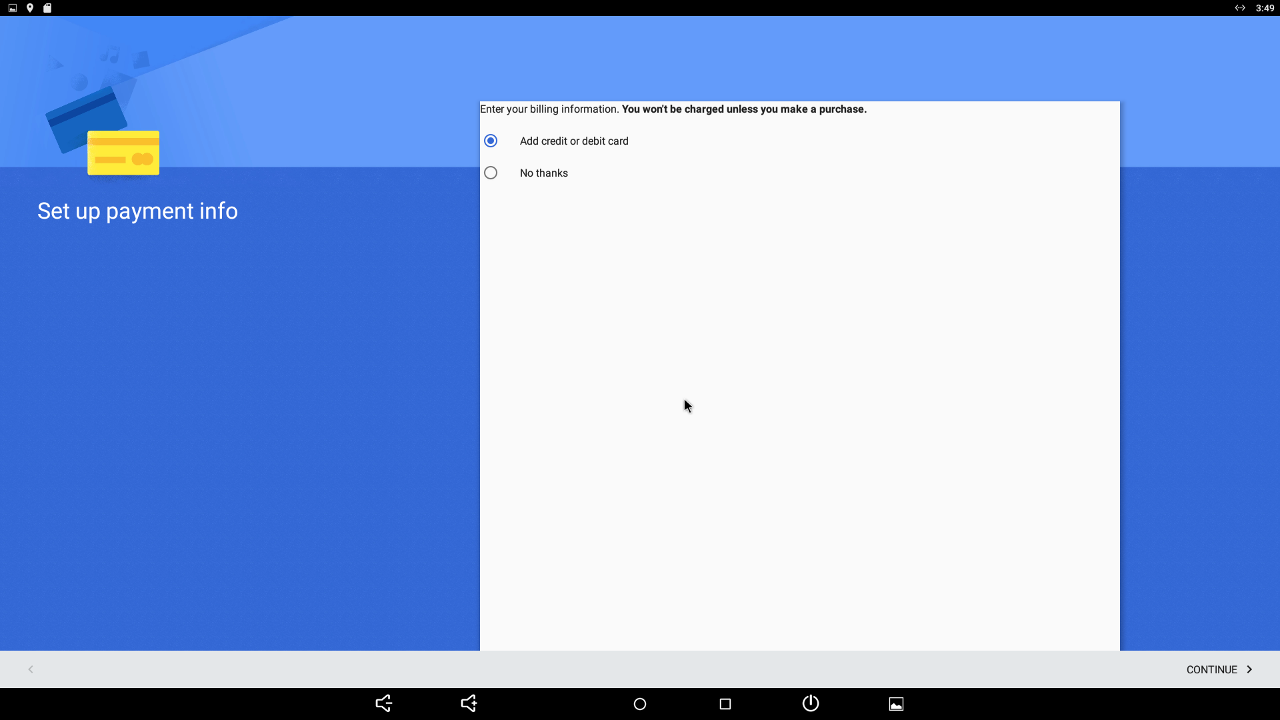
For more information, please visit the original Wiki article at http://bit.ly/2vqgz0c.

Be the first to comment