
Now that you have your cool new retro gaming console all set up and you're enjoying playing some retro games, let's take a moment to think about what else we can do with our ODROID device. You'll need a Monku Retro device, like the one we show you how to build here (R1, R2), and here (R3). You can use it to create an expansion SD card for the AtGames line of Sega Genesis handheld devices. We'll show you how to prepare the SD card, which can only be done on a Linux based system, aka, your ODROID. This is actually pretty cool. The device isn't as awesome as an ODROID-GO but it does play Sega Genesis games very well and it has support for extending the game list with your own ROMs. Get your ODROID device ready and let's start the tutorial.
Tools Needed
- A Monku Retro 1, 2, 3 / ODROID-C1+, ODROID-C2, ODROID-XU4. It is expected these devices are configured with Ubuntu and MATE. Click here for R1 and R2 devices, and here for R3 devices.
- One AtGames Sega Genesis Handheld - $53.99
- One 8GB or greater Micro SD Card - $8.00
- SD card to USB Converter - $9.99
The SD Card
As it so happens, you can't use a Mac or a Windows machine to create a properly supported SD card for the AtGames series of Sega Genesis handhelds. It also just so happens that your ODROID device running Ubuntu is one of the only devices that can create a properly working one. Get the tools you'll need ready. I've laid out those that we'll need for this tutorial below.

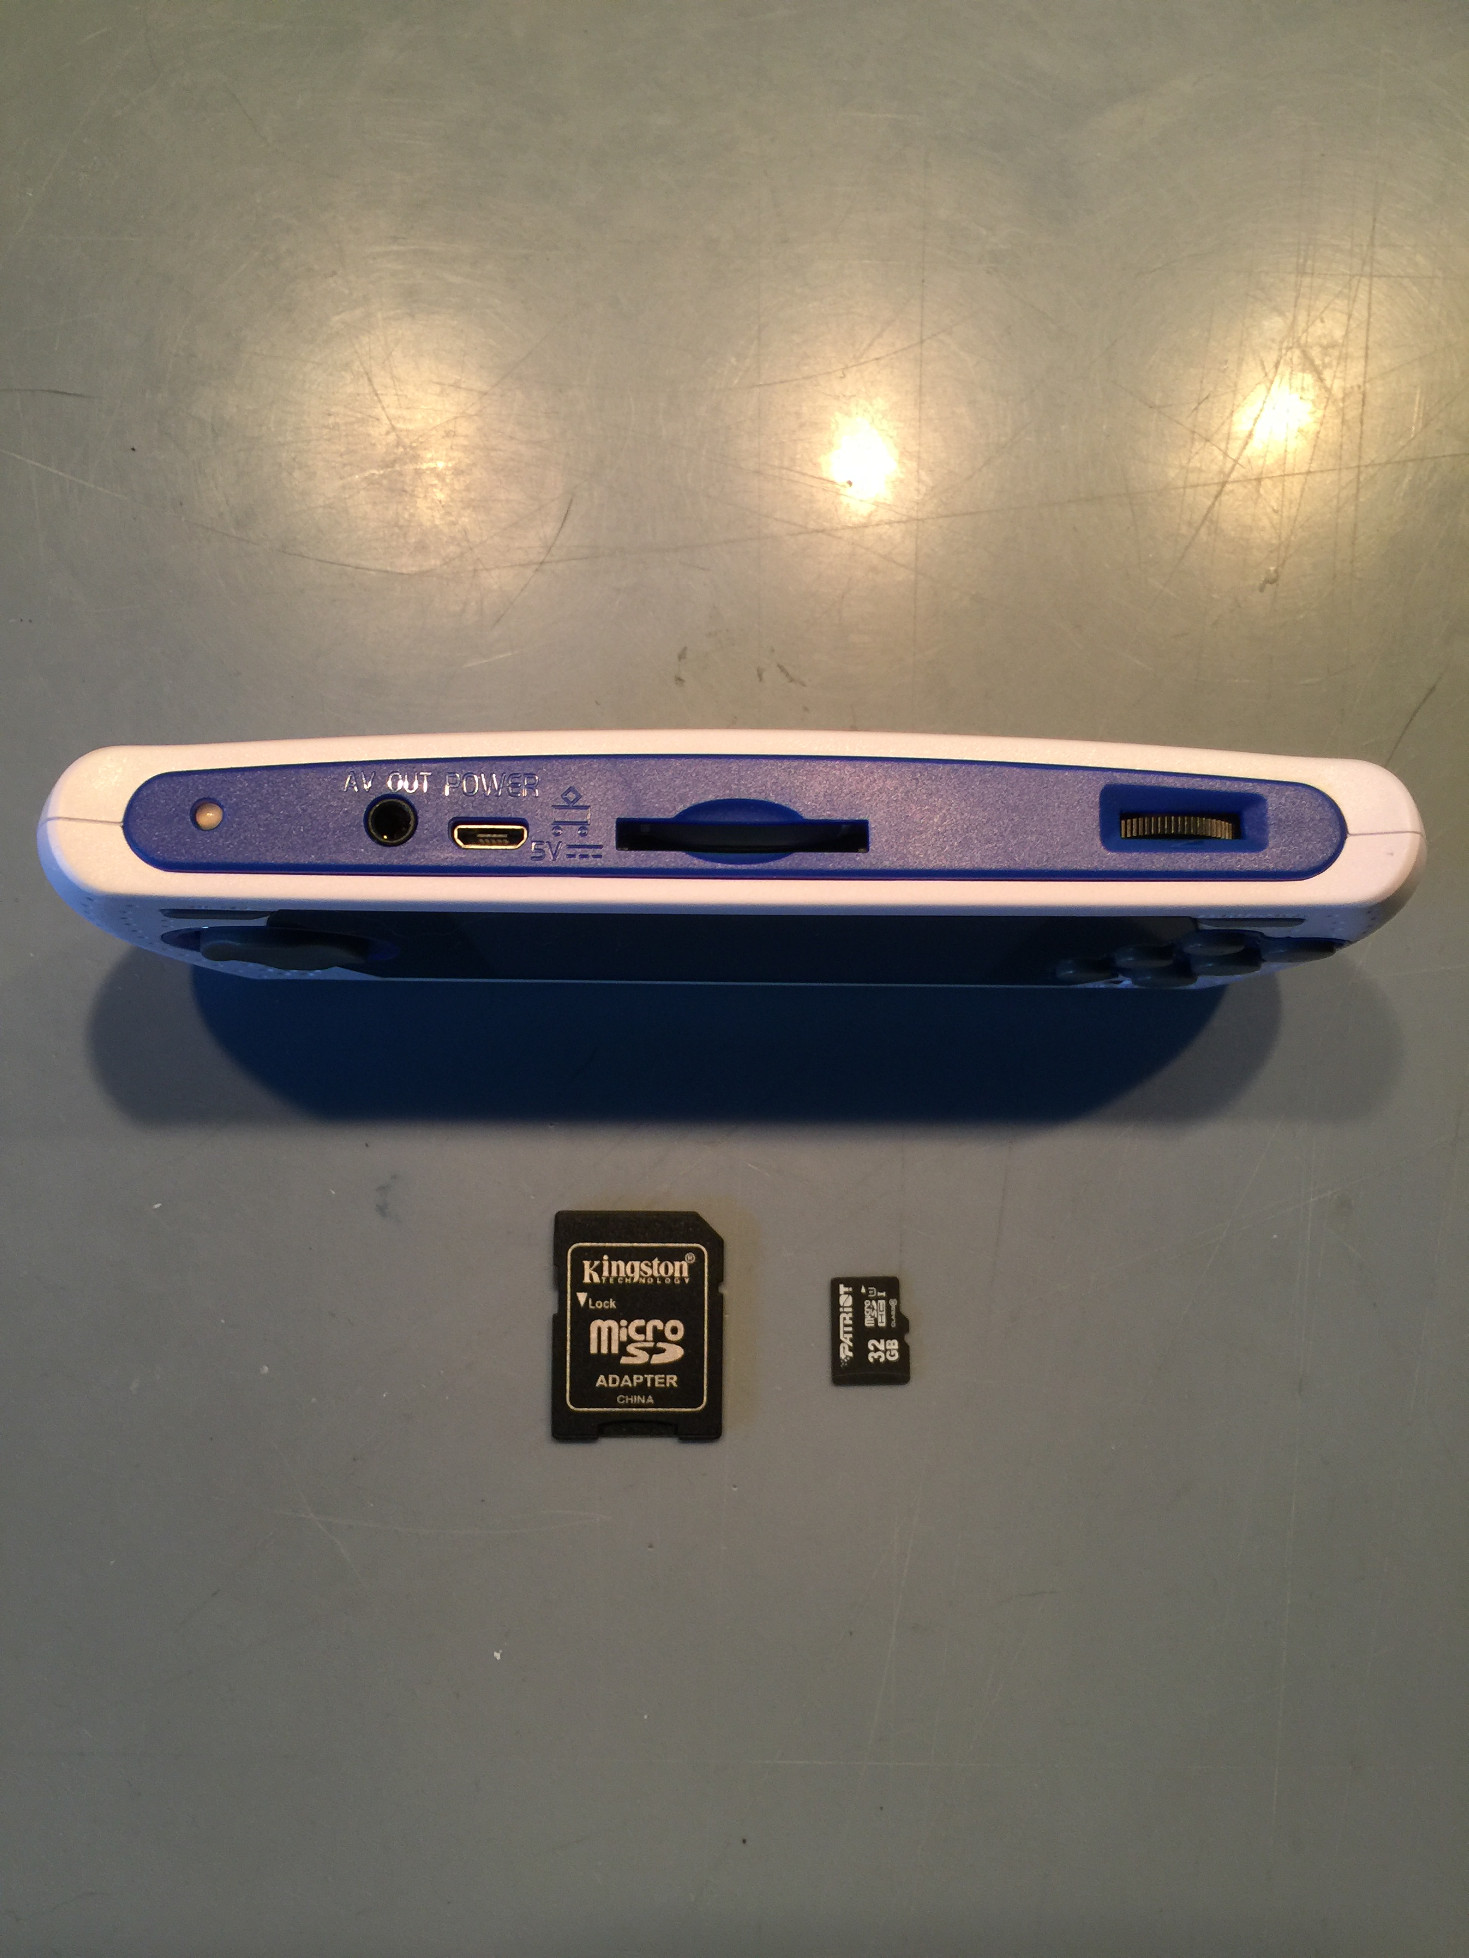
For this little project we'll need an AtGames Sega Genesis handheld with an SD card expansion slot, depicted below. We'll also need an SD card of some kind. Here we are using a micro SD card with SD card adapter. An SD card reader will also be required. Here we are using a dual SD/micro SD card to USB reader.
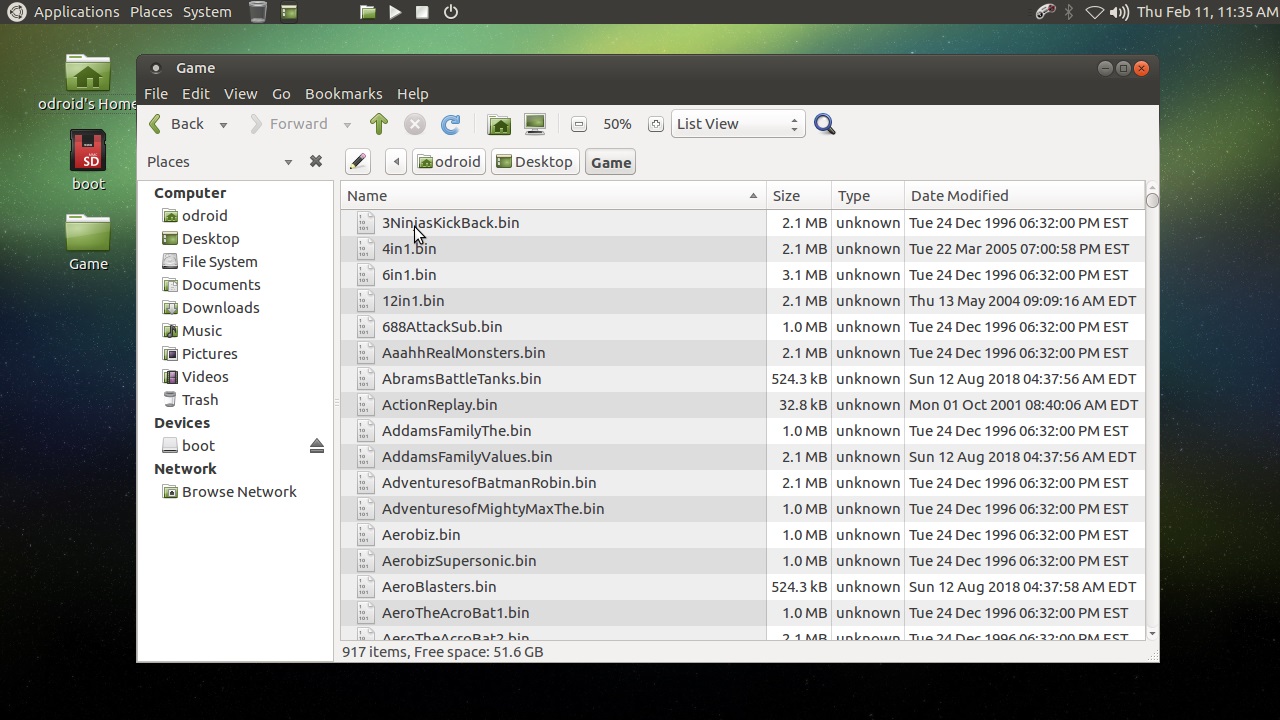
Get a copy of your Sega Genesis ROM collection. You'll need to make some changes to the way the files are named. The game ROMs should be copied into a folder on the root of the prepared SD card named Game. The game ROMs should have a .bin file extension and should be named camelCase with any non alphanumeric characters and spaces removed.
Plug your SD card and SD card reader into your ODROID device. If the SD card as a recognized file system, you should see a new icon appear on the desktop. Ignore it for now. If you don't have GParted installed, please run the following commands. Open the mate terminal at this menu location: Applications -> System Tools -> MATE Terminal.
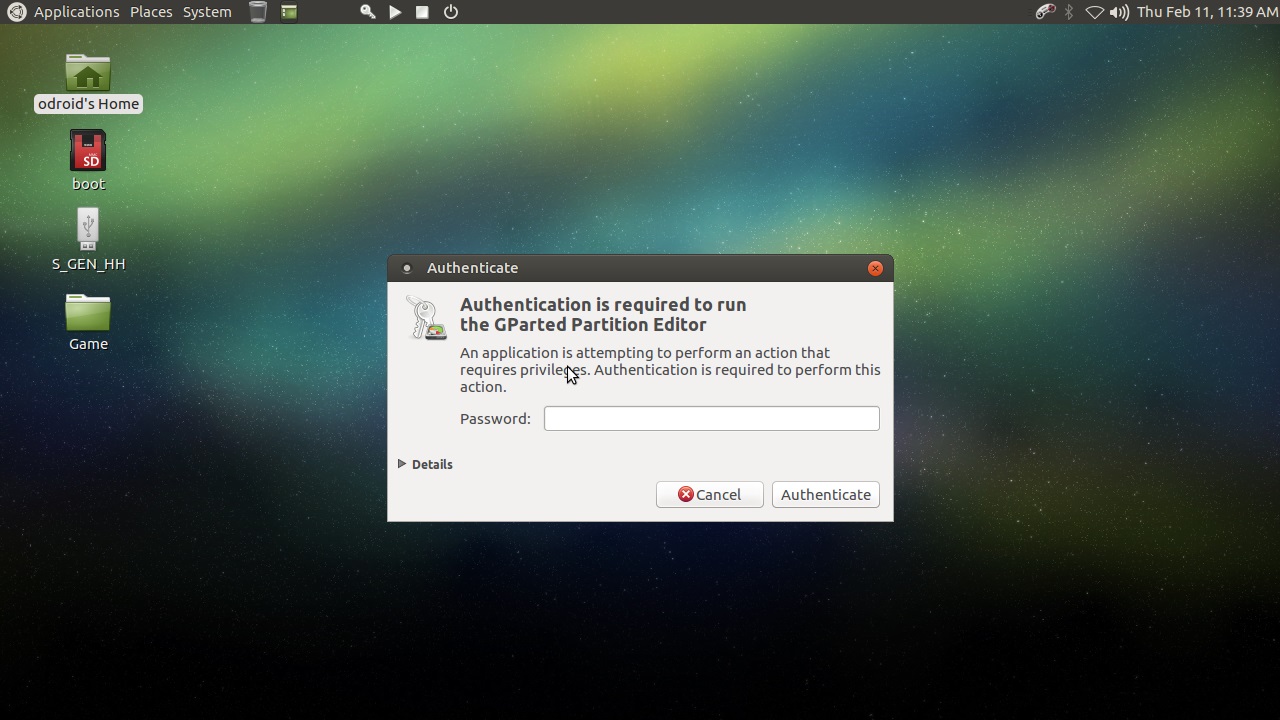
$ sudo apt-get install gparted -yNext, run GParted. Open this menu location: System -> Administration -> GParted. An application like the one depicted below should appear. If you are prompted for a password, enter the default root password, odroid, or the password you are using.
Select your SD card from the drop down list in the top right-hand corner of the application window. Double check to make sure you are referencing the new SD card and not the one the ODROID is running off. Right-click on any partitions that you see listed for the SD card and select Unmount. Right-click again and select delete. Do this until no partitions are available--only unallocated space.
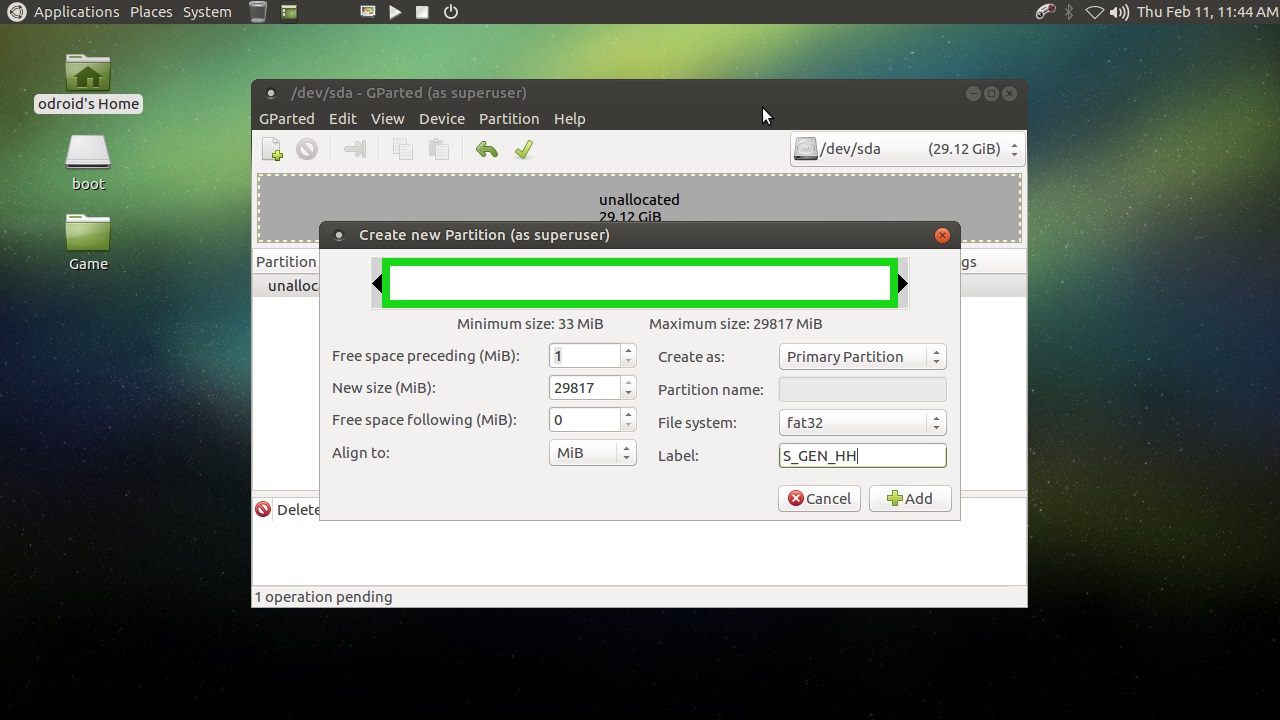
Create a new primary partition with the settings depicted in the screenshot below. Set the following options.
Free Space Preceding: 1
New Size: maximum available
Free Space Following: 0
Align To: MiB
File System: Fat32
Create As: Primary Partition
Label: S_GEN_HH
GParted has logged the changes we're planning to make to the partitions on the new SD card, but hasn't done anything yet. In order to execute the steps we've outlined, you must click the ‘Apply All Operations’ green checkbox at the top of the window, as depicted below. The steps will be executed and we'll end up with a single unmounted partition with the settings listed above.

Wait for the process to complete, then click the Close button. Close GParted, then disconnect and reconnect the SD card to get it to mount again cleanly. You can now copy the ROMs into the Game directory on the SD card you just created.
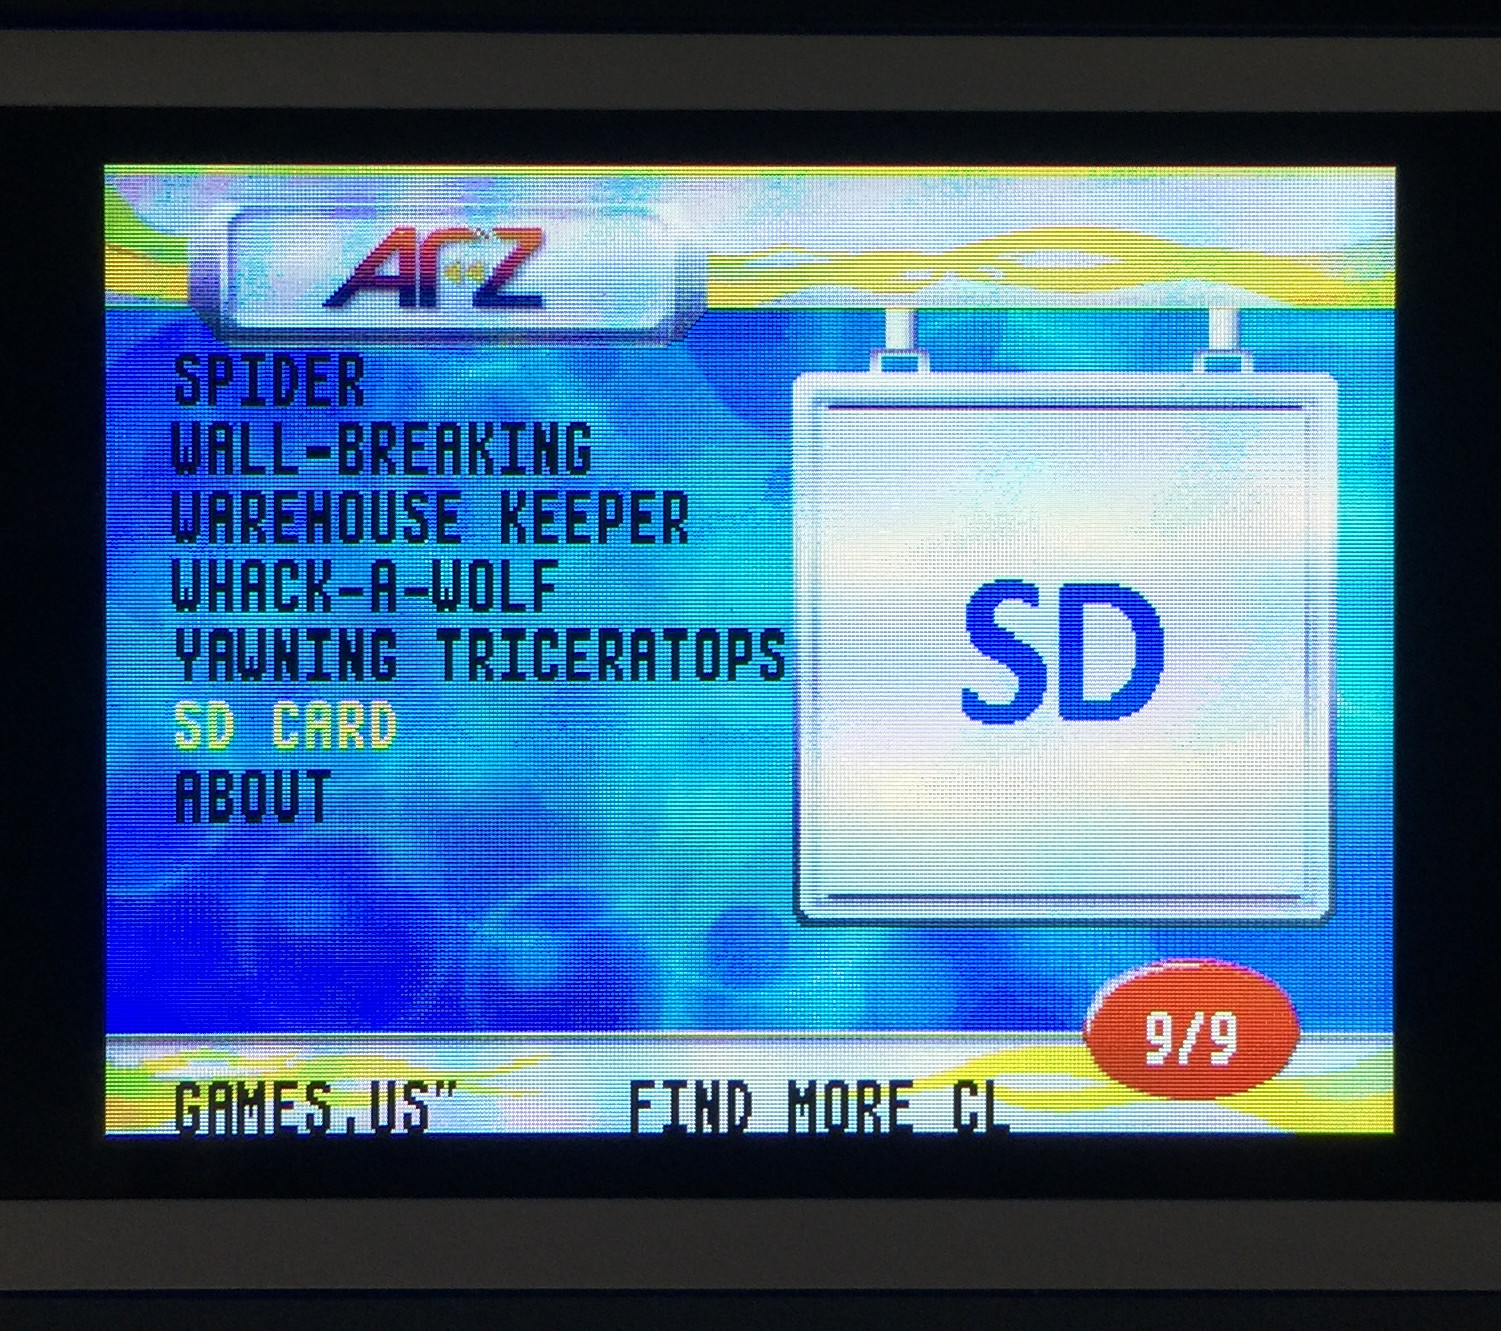
Pop the SD card into your device and turn it on. Select the SD Card option from the built-in menu system: it'll be on the last menu screen. Once you’ve selected it, you should see a ‘Searching For Games…’ message.
You can now play any Sega Genesis ROM on your AtGames Sega Genesis handheld device thanks to your ODROID. Enjoy the fun!
Be the first to comment