

Have you ever wondered about using the eMMC module capability on your ODROID device but thought, naah that looks too complicated. It can be down right scary if you are new to these devices. Besides, how do you use one? What tools do you need? Am I going to mess it up and be out $30? Maybe I should just stick with the SD card slot, right? Well if you are like me you might have had similar thoughts. This is the tutorial for you. It is short and sweet and I will cover using eMMC modules for an ODROID-XU4, from start to finish. You can take that knowledge and apply it to any of your other devices that support eMMC modules.
To follow along with your own hardware, you will need an ODROID-C1+, C2, or XU4. The tutorial specifically focuses on an ODROID-XU4. Let us face it - the ODROID-XU4 is awesome, it is super powerful and gives any SBC out there a run for its money. So, why not upgrade it and push it to the next level with an eMMC module as the boot drive? You will also need an eMMC module, an eMMC adapter, and a microSD adapter. Now there are eMMC adapters that go right to USB but since I use so many microSD cards I just decided to use an adapter I had and got an eMMC to microSD adapter instead. The base parts excluding the ODROID device will run you about $38. That includes a dual microSD, SD to USB adapter, an eMMC to microSD adapter and a 32GB eMMC module. Now, if you already have a microSD to USB adapter that brings the price down to around $27. Not bad at all. The 32GB unit gives us plenty of space for the operating system, its upgrades, etc. The enhanced performance will mean the unit will boot faster and function quicker all around. What is not to love?
Needed items
The following items can be obtained from the Hardkernel store (https://www.hardkernel.com/product/) or a local/regional distributor:
- A Monku Retro 1,2,3 / ODROID-C1+, C2, XU4 - Double check and make sure that you have the correct eMMC modules for your device
- A compatible 32GB eMMC Memory Module
- A microSD to USB Adapter
- An eMMC to microSD Adapter
Preparing the eMMC Module
Let us take a look at the parts we will be working with. The following image shows the 32GB XU4 eMMC module and an eMMC to microSD adapter.

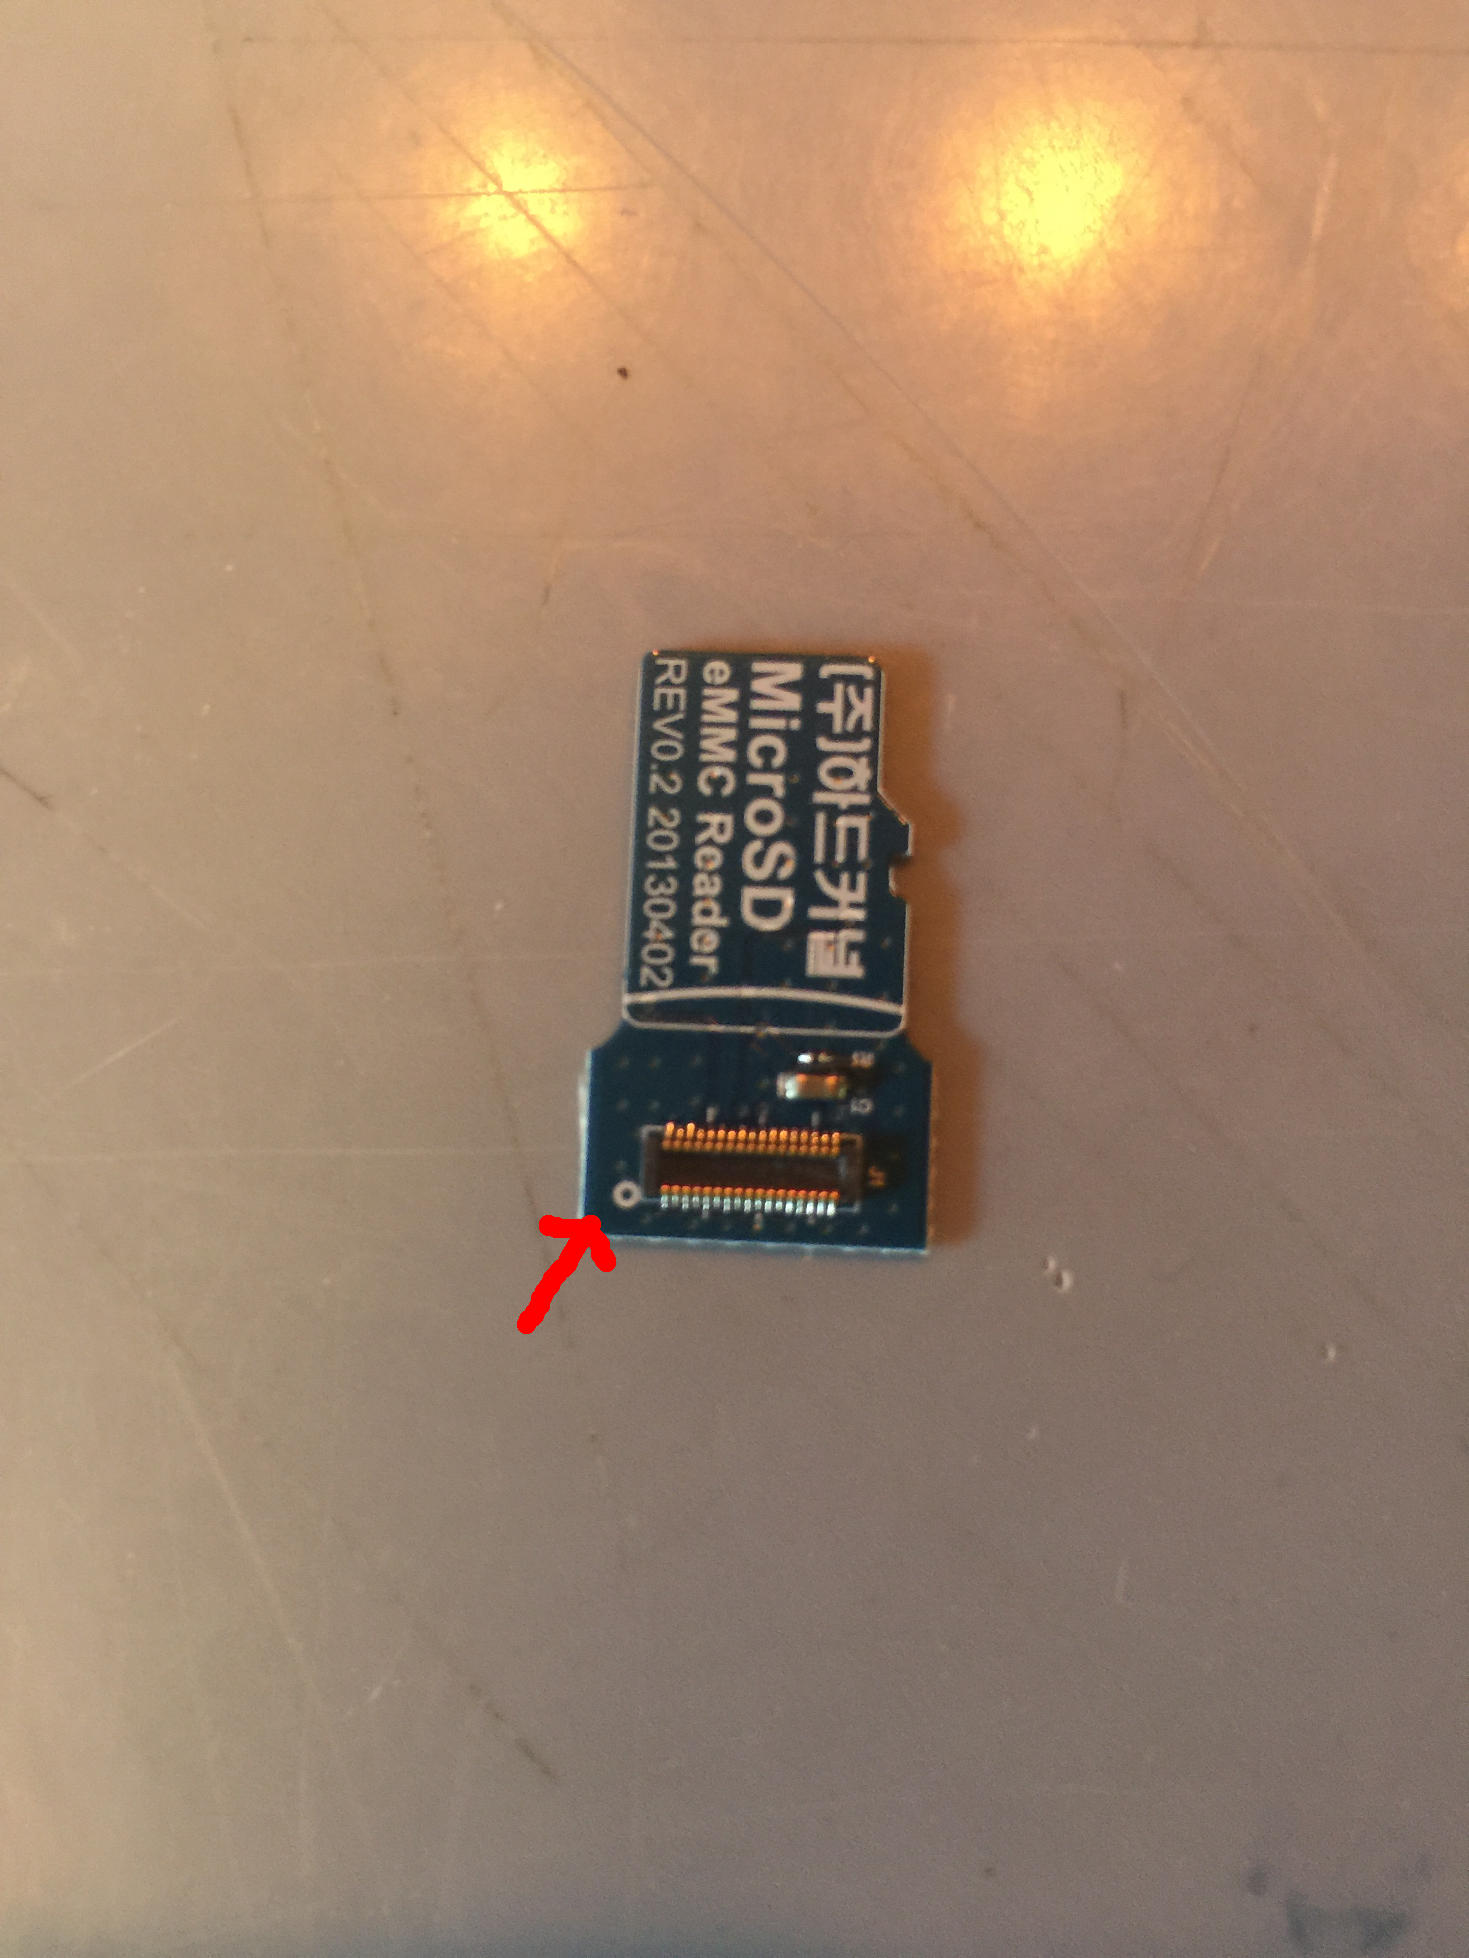
Take a moment to inspect the eMMC to microSD adapter. Notice the little white circle on one corner of the connection pins? The image below shows the circle next to a red arrow.
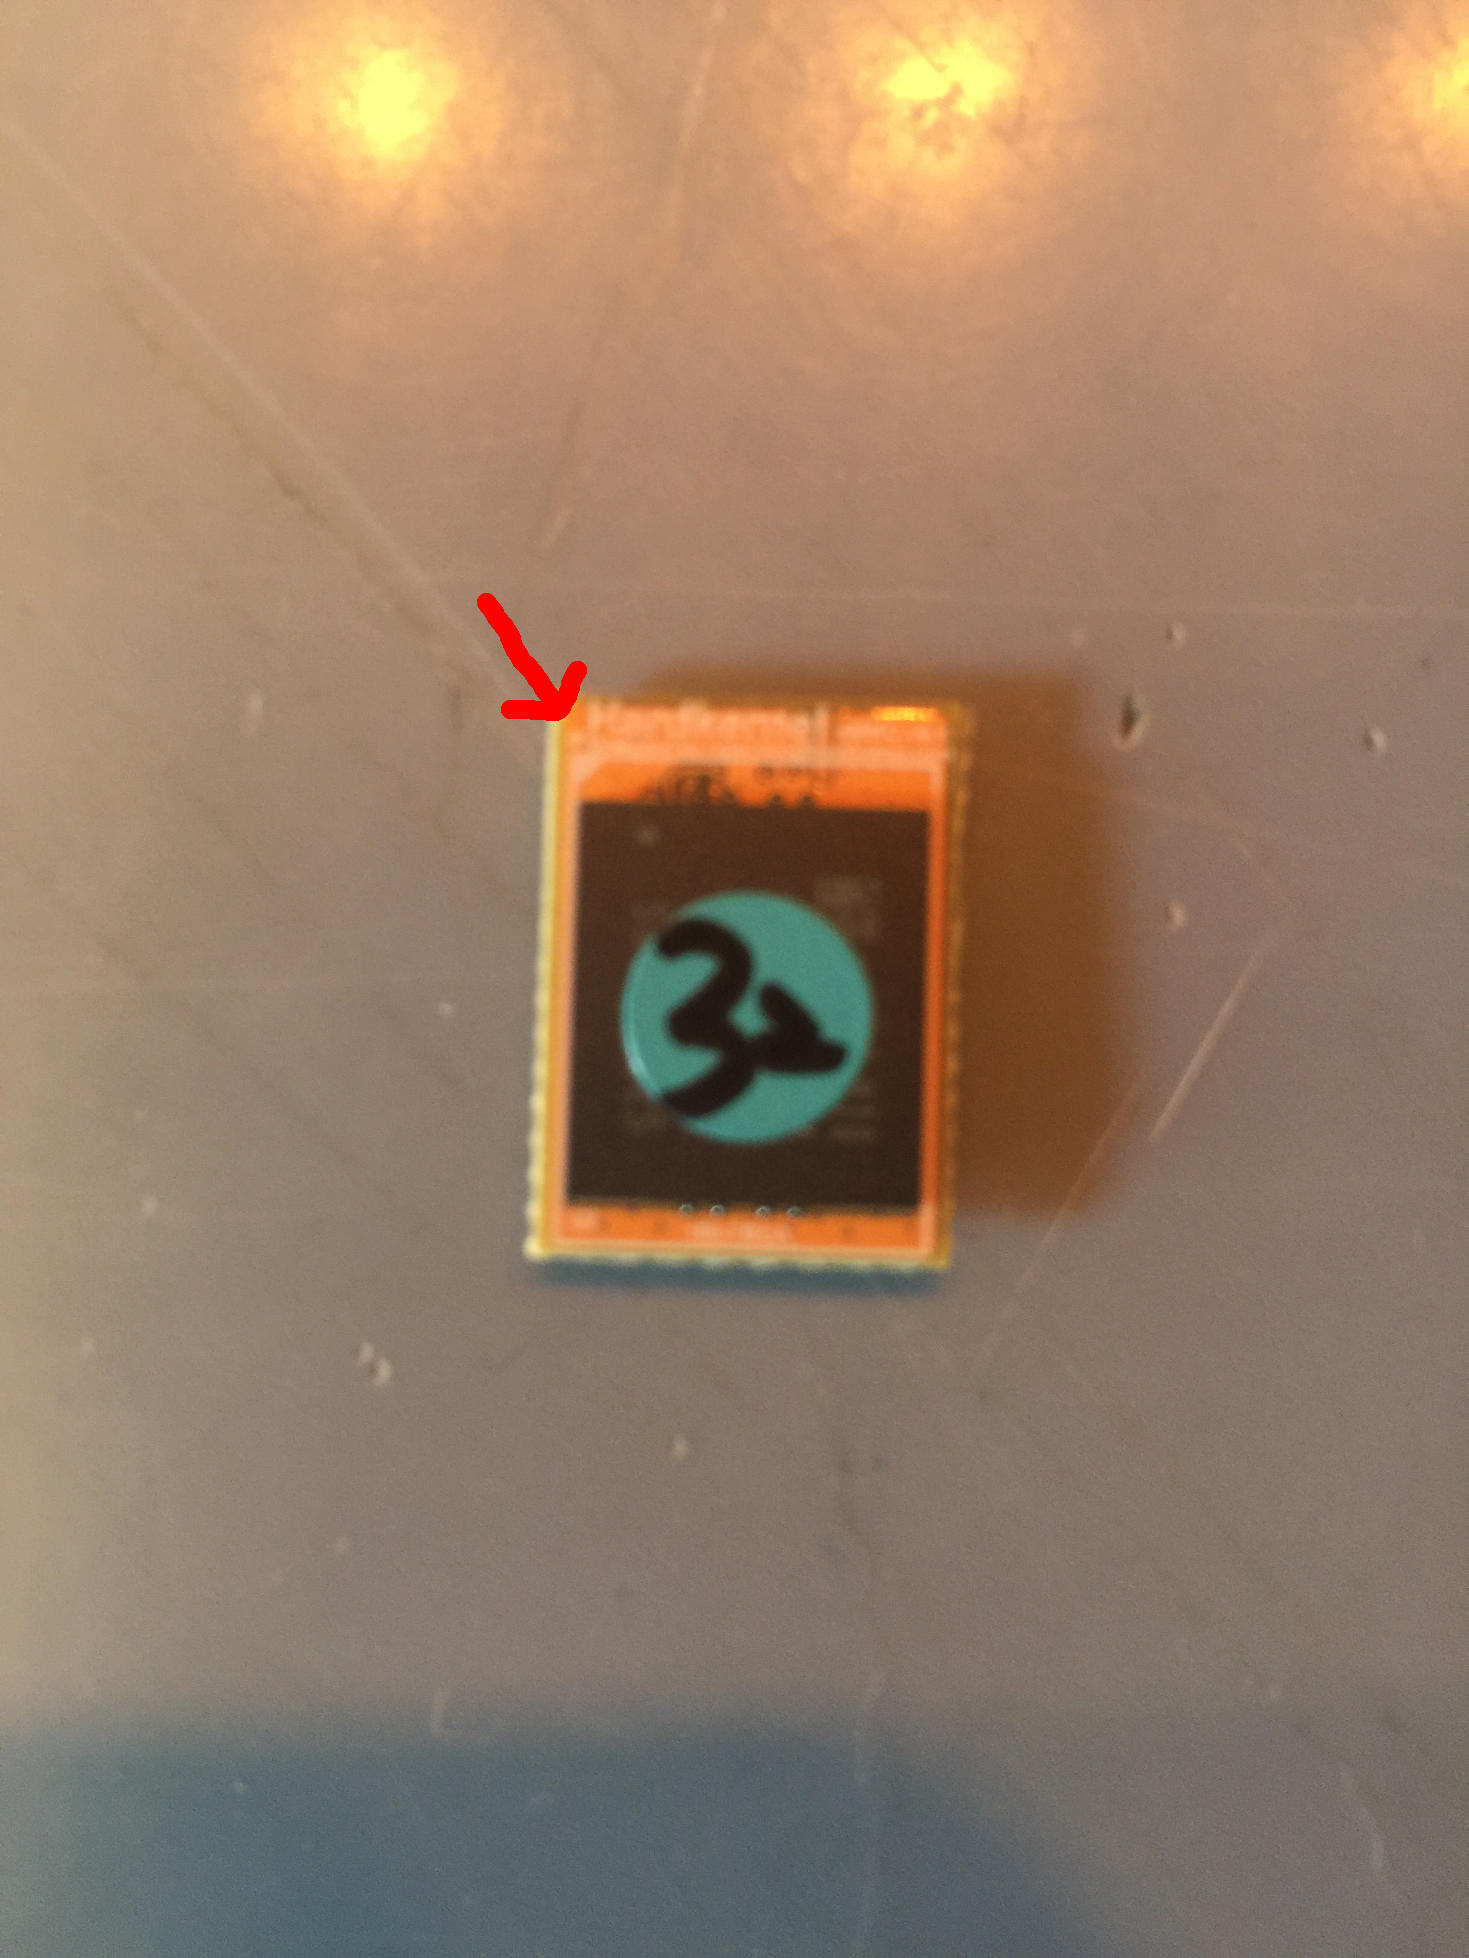
Now take a look a the eMMC module itself. Notice the little white triangle on one corner of the module? I will post an image below. The white mark in question is next to the red arrow.
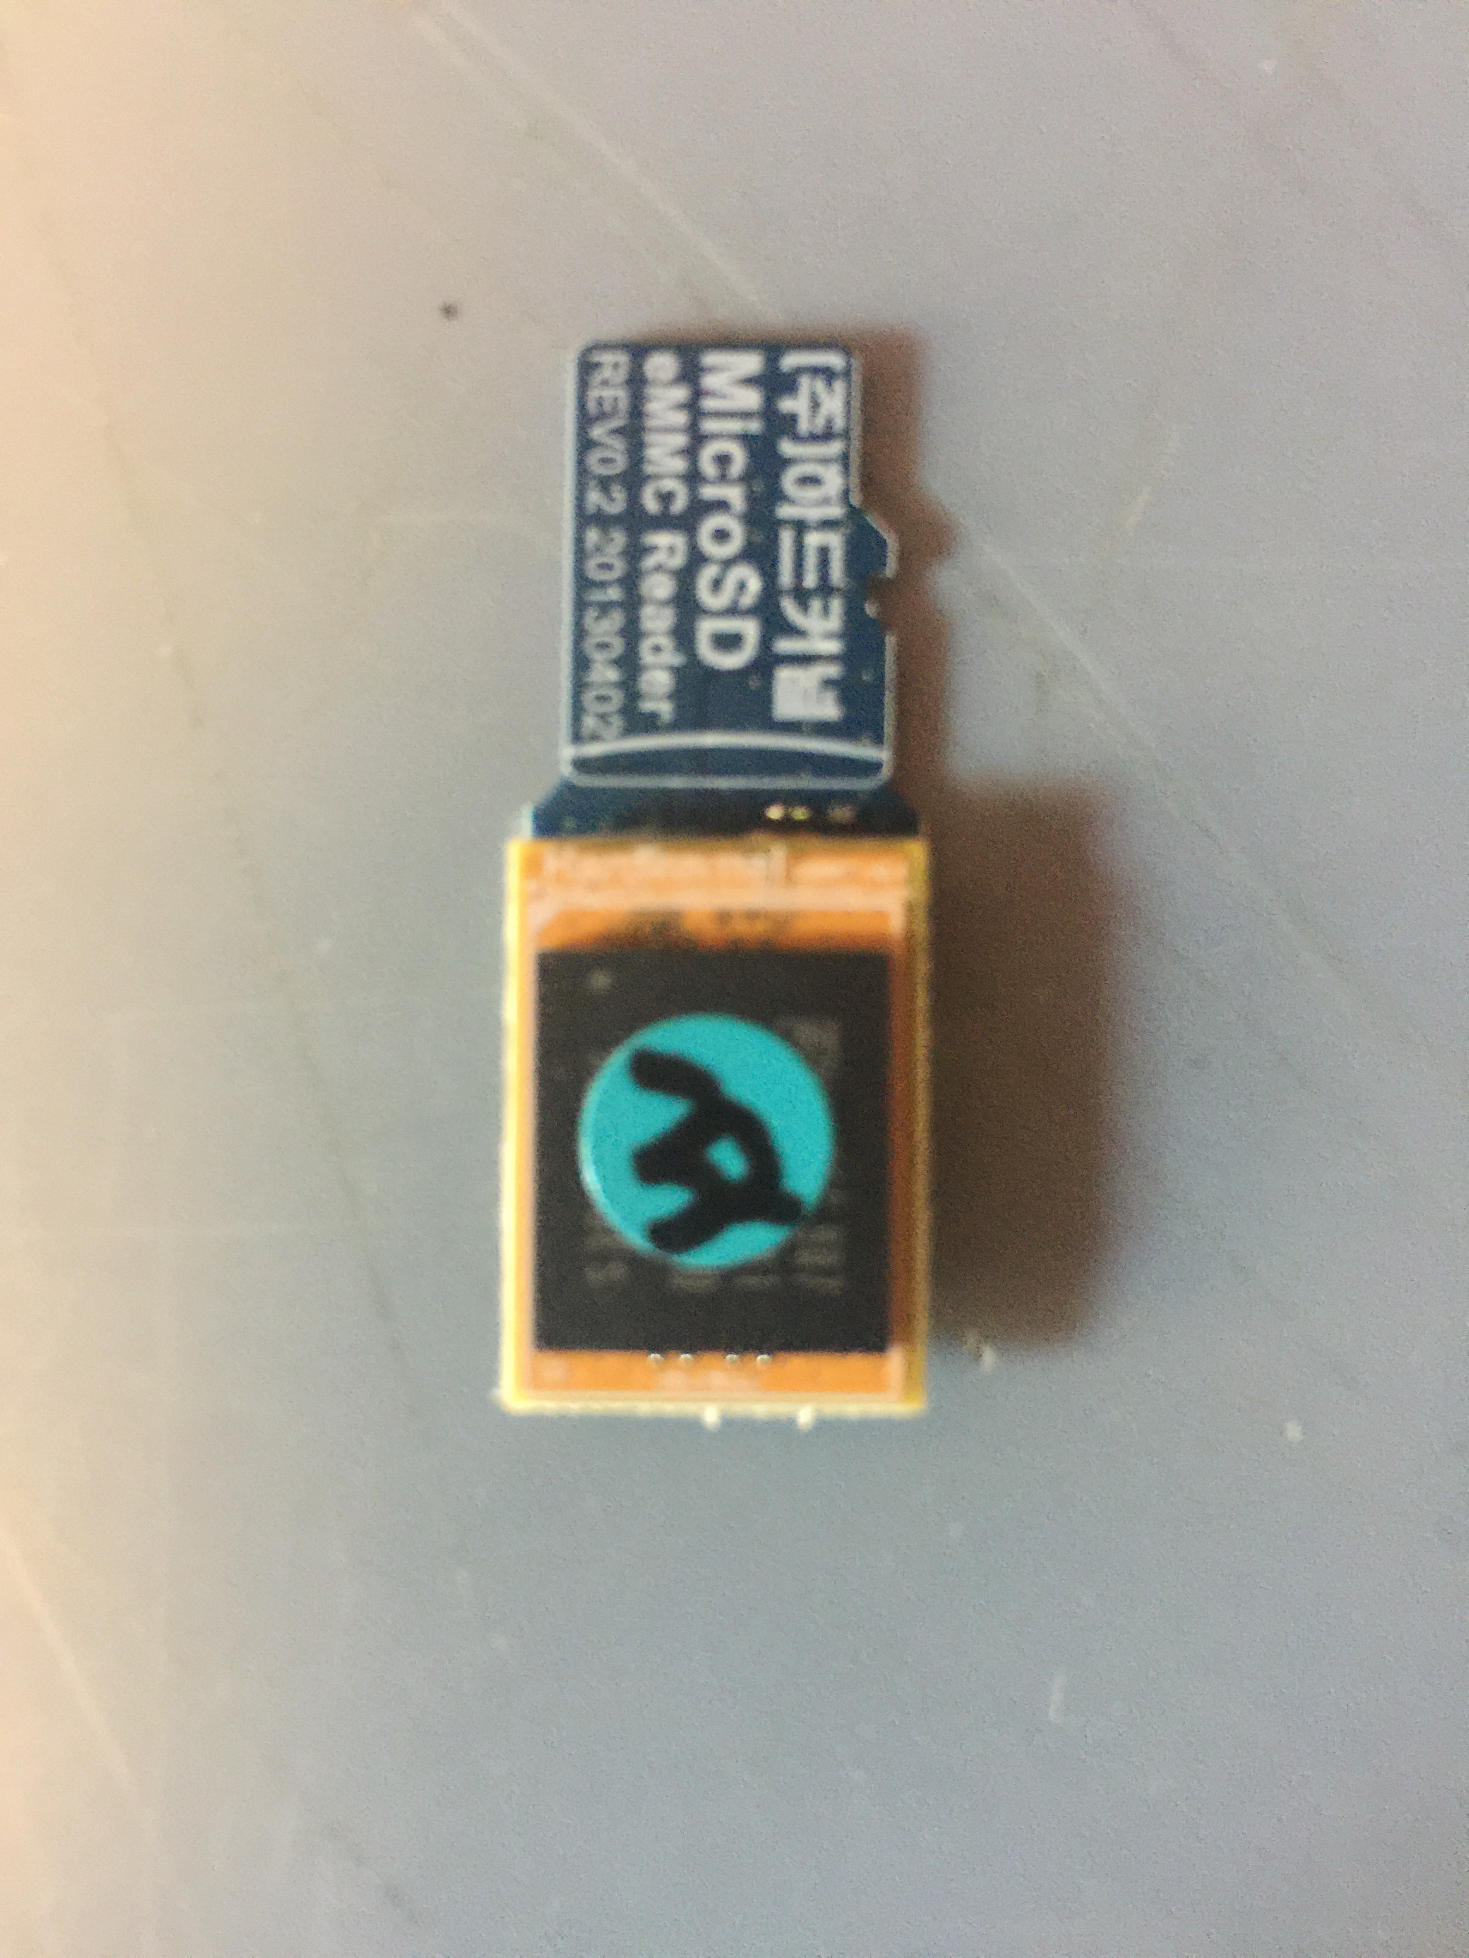
What we are going to do now is attach the eMMC module to the microSD adapter. You will want to line up the white triangle and the white circle so that they are on the same side of the connector pins. They will not be on the same corner, at least with the parts I have, but they will be on the same side. You will want to keep both items at an angle and let the connector pins meet then slowly and gently push them together. You can almost roll the eMMC module onto the adapter's connection pins. There will be a satisfying, though slight, sort of click once they are properly connected.
We are ready to flash our eMMC module. In the next step we will flash it with an OS image from the ODROID site.
Flashing the eMMC Module
Now that we have our eMMC module prepped and ready to flash let’s head over to the ODROID site that has all the different OS images. We will be focusing on Linux OS images for this tutorial.
The direct link for XU4 images is https://bit.ly/32GnmQi and the general link for XU4 images is https://bit.ly/2v6FYcV.
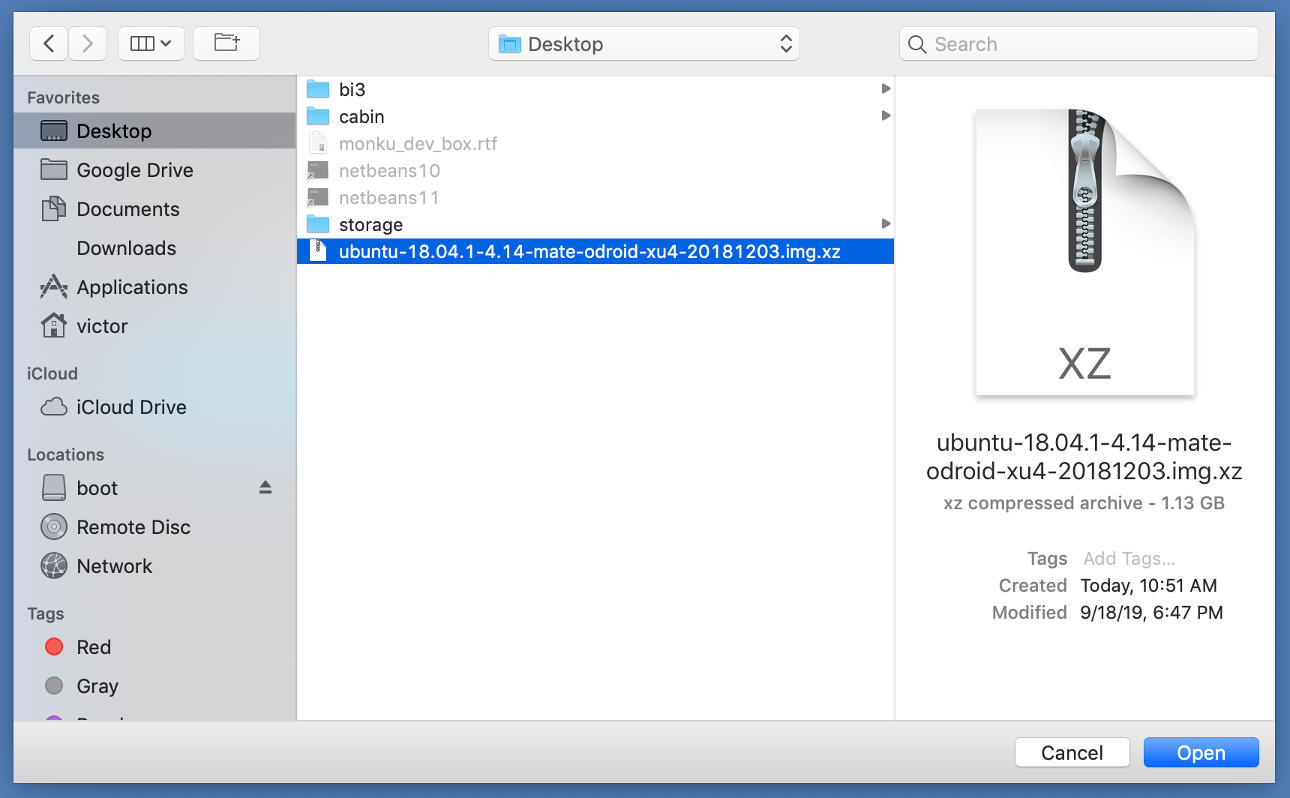
You can use the second link to find images for other devices like the ODROID-C1+ or C2. Just locate the device on the left hand pane of the site. We will be using a slightly older Ubuntu 18.04 image, but it is one I have used before so I am comfortable with it. The image I downloaded for my XU4 eMMC test is the ubuntu-18.04.1-4.14-mate-odroid-xu4-20181203.img.xz image file.
Once you have got your image ready it is time to download some software that you can use to flash the eMMC module. If you are using a Mac I recommend getting Balena Etcher. It works great and I highly recommend it. If you are using Windows you can grab a copy of Win32 Disk Imager. Though not as pretty as Balena Etcher, Win32 Disk Imager gets the job done.
For Linux users you will have to perform the following steps. Don’t worry, it is not too bad.
- 1. Insert your SD card into your computer.
- 2. Locate the device, by running sudo fdisk -l. It will probably be the only disk with the right size. Note the device name; let us suppose it is /dev/sdx. If you are in any doubt, remove the card, run sudo fdisk -l again and note what disks are there. Insert the SD card again, run sudo fdisk -l and it is the new disk.
- 3. Unmount the partitions by running sudo umount /dev/sdx*. It may give an error saying the disk is not mounted - that is fine. Copy the contents of the image file onto the SD card by running
sudo dd bs=1M if=your_image_file_name.img of=/dev/sdxOf course, you will need to change the name of the image file above as appropriate.
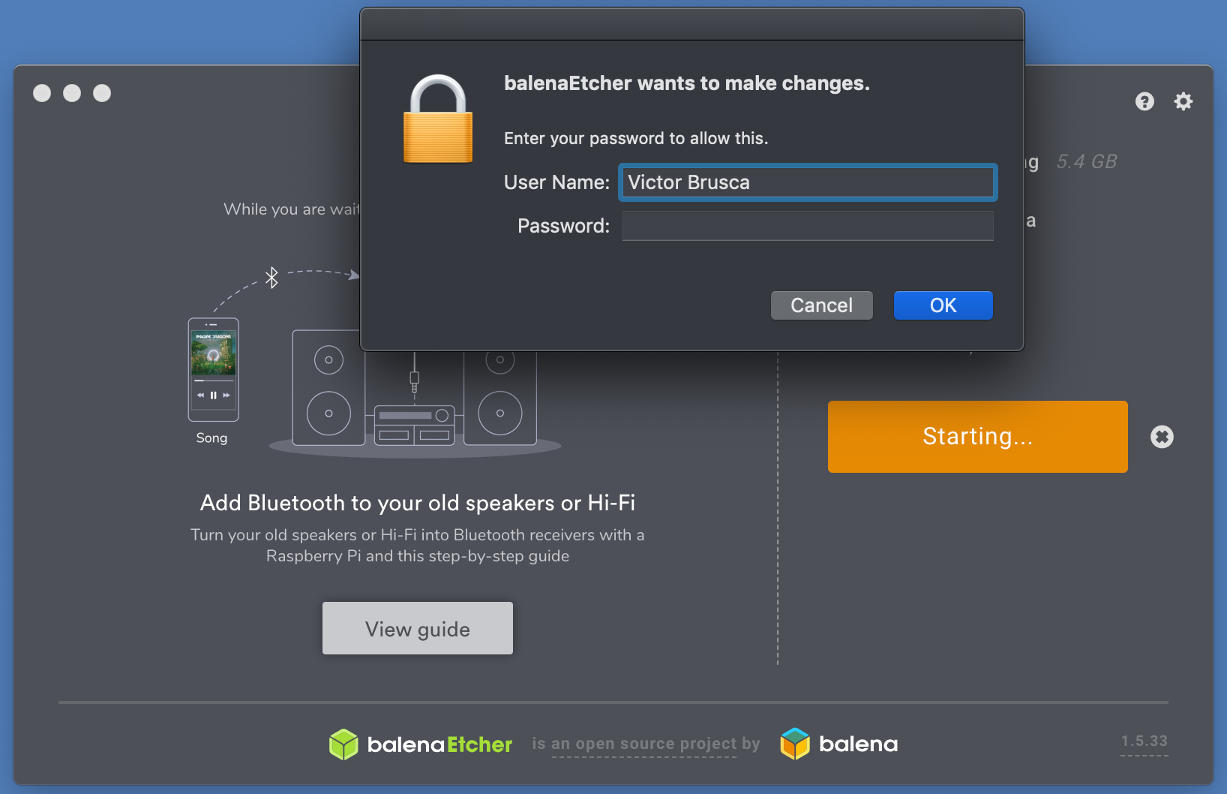
Double-check the drive, device, drive letter you are flashing. Make sure you are not overwriting another important drive. I will include images of the process as it looks on a Mac. You may be prompted to gain admin privileges on Mac and Windows.
Select the image file that you want to flash the eMMC module with after inserting into a USB slot on your Mac; or, however, you intend to access the module.
Answer any prompts for admin privileges.
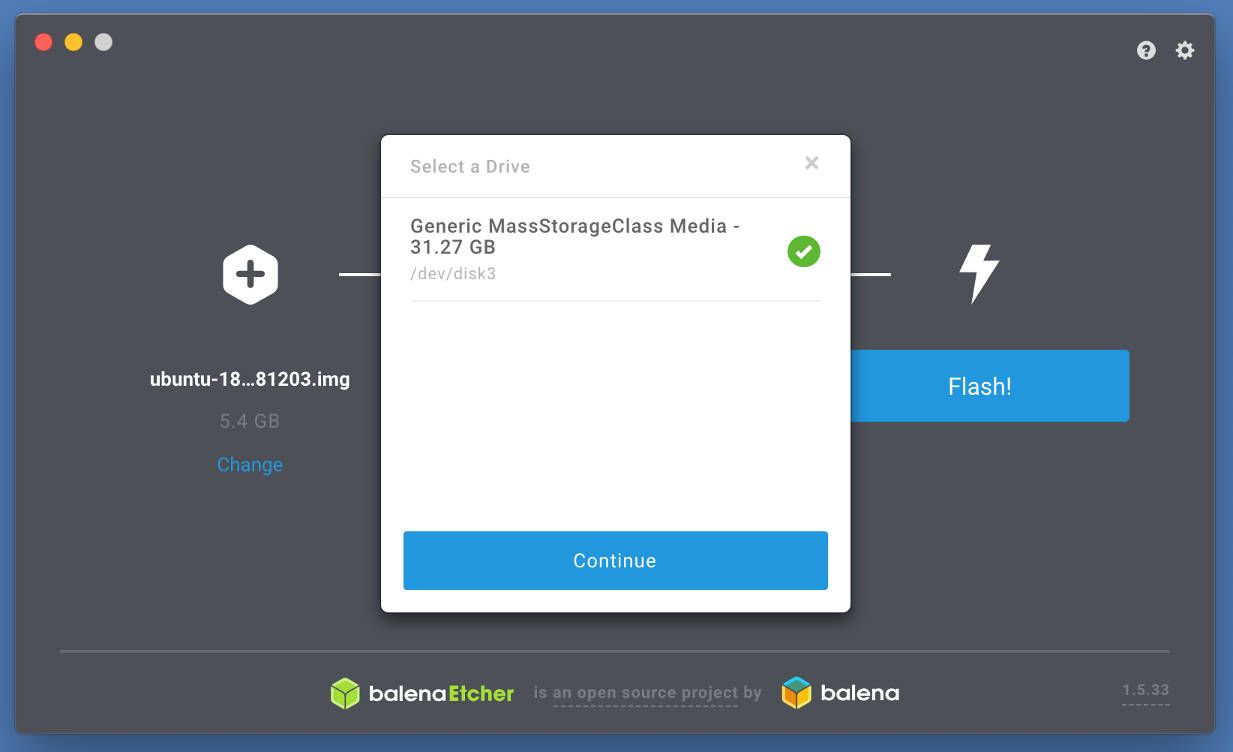
Double-check that you are indeed flashing the correct device and that it is the correct size.
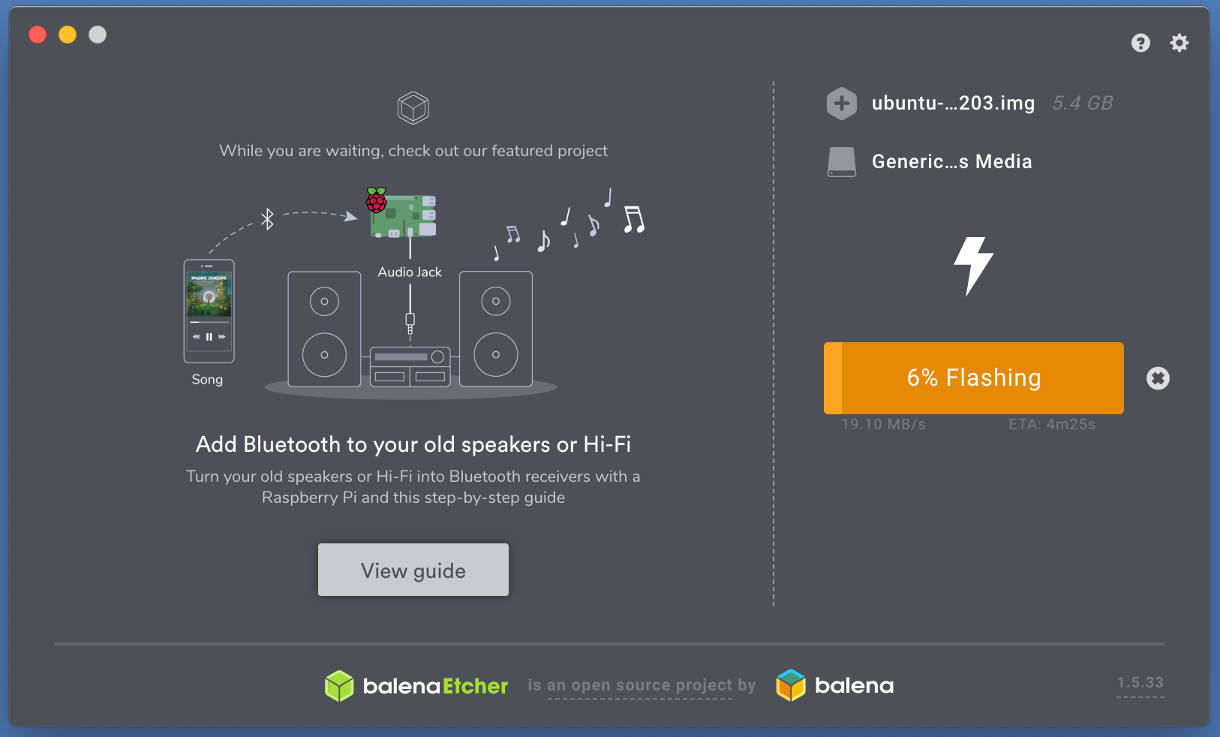
Start flashing the device and wait for the process to complete.
In the next part we will install the eMMC module and make sure that it is functioning properly on our device.
Installing the eMMC Module
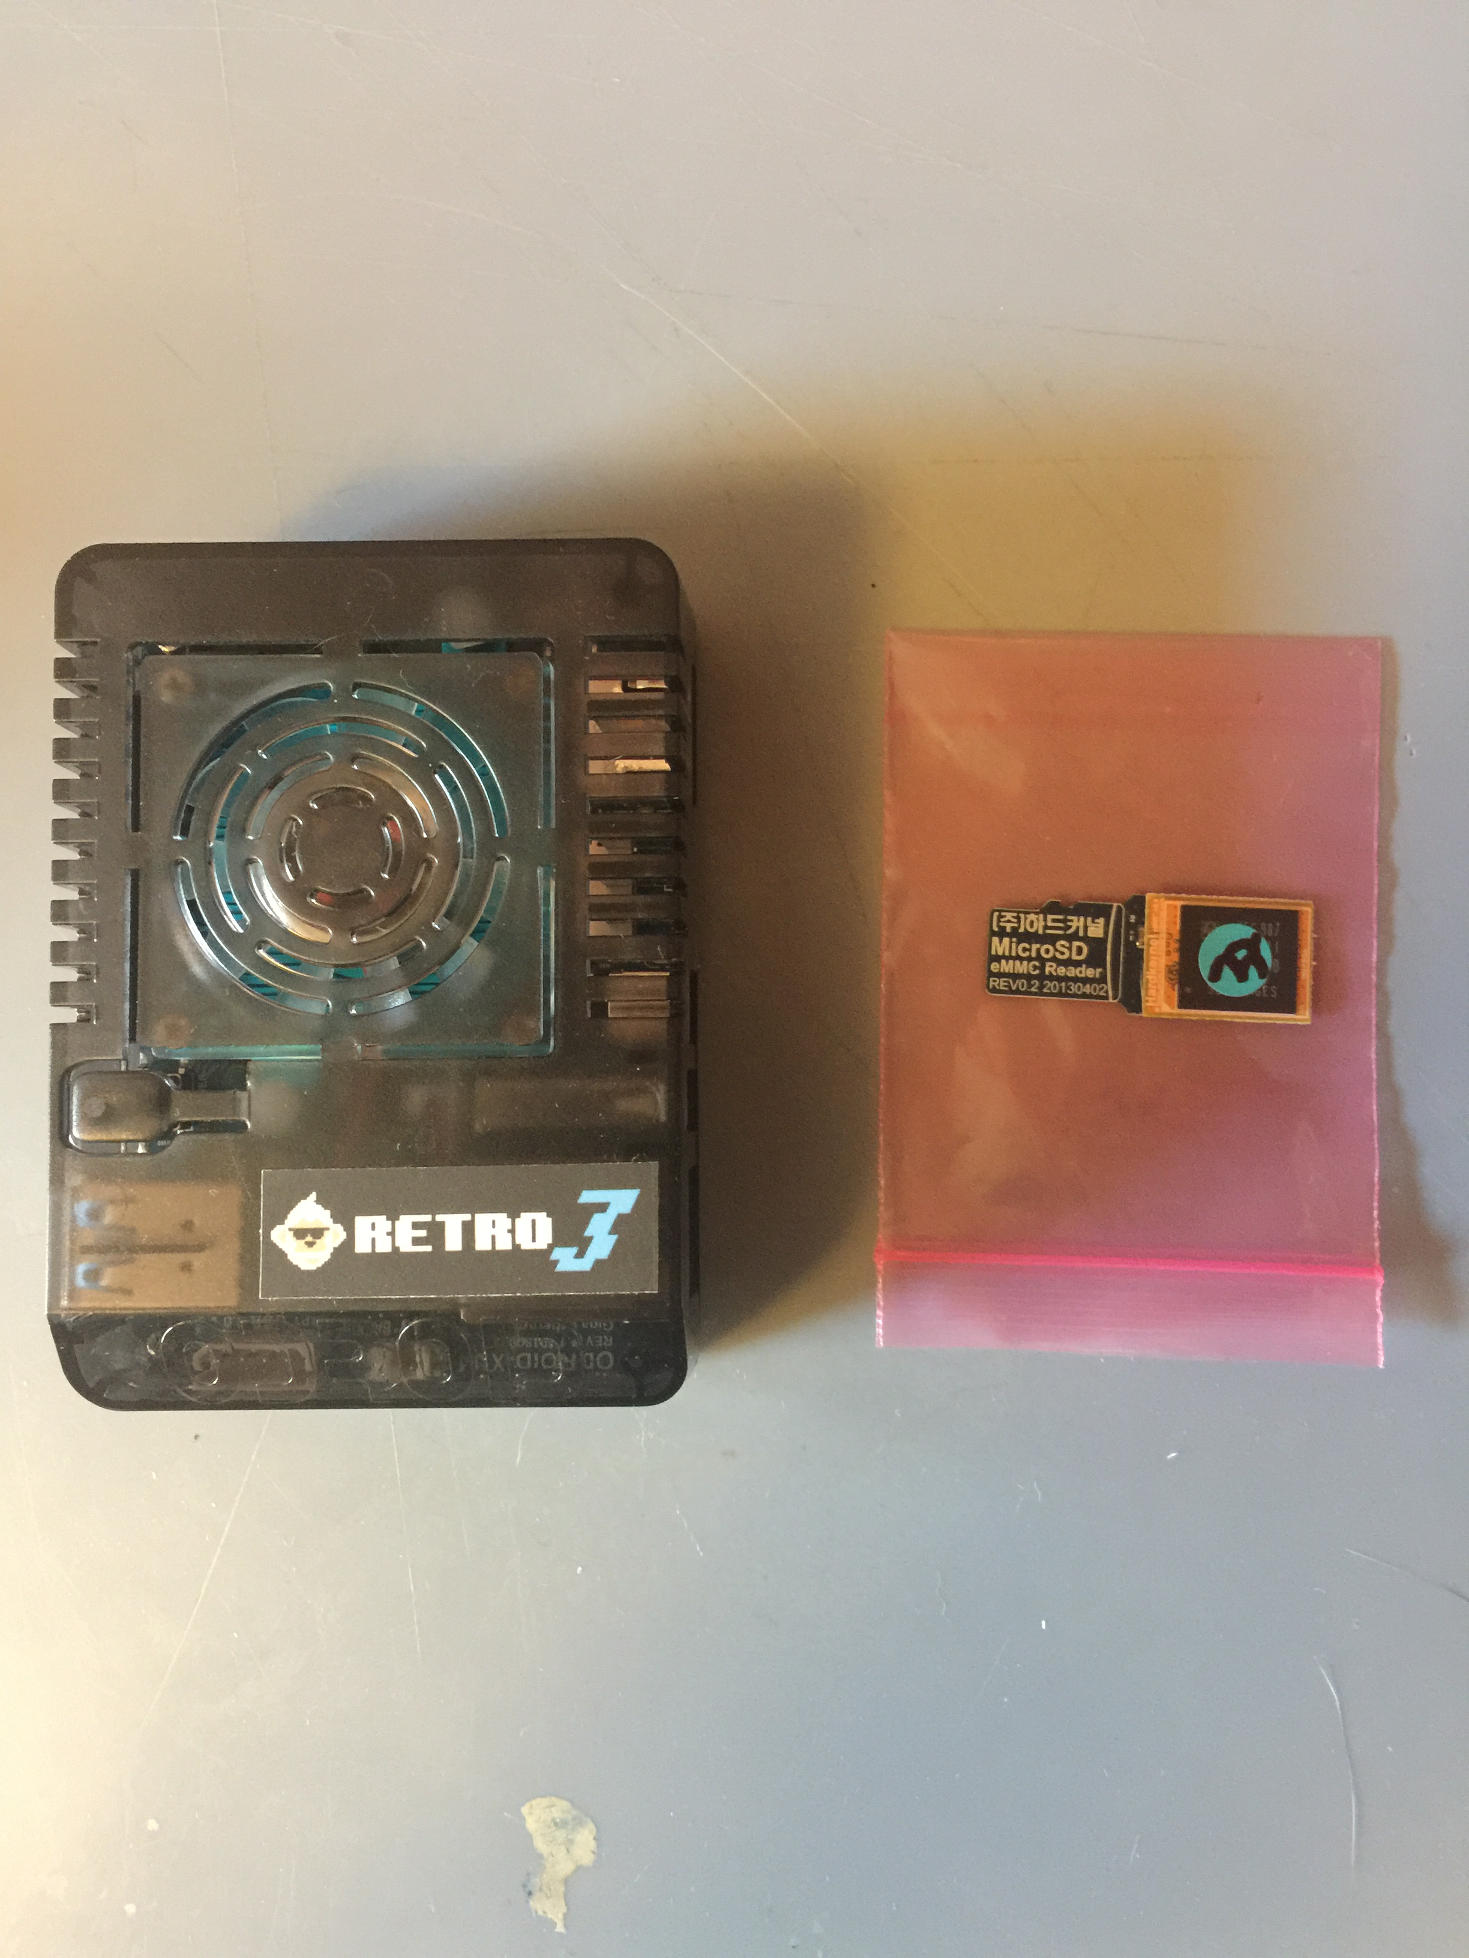
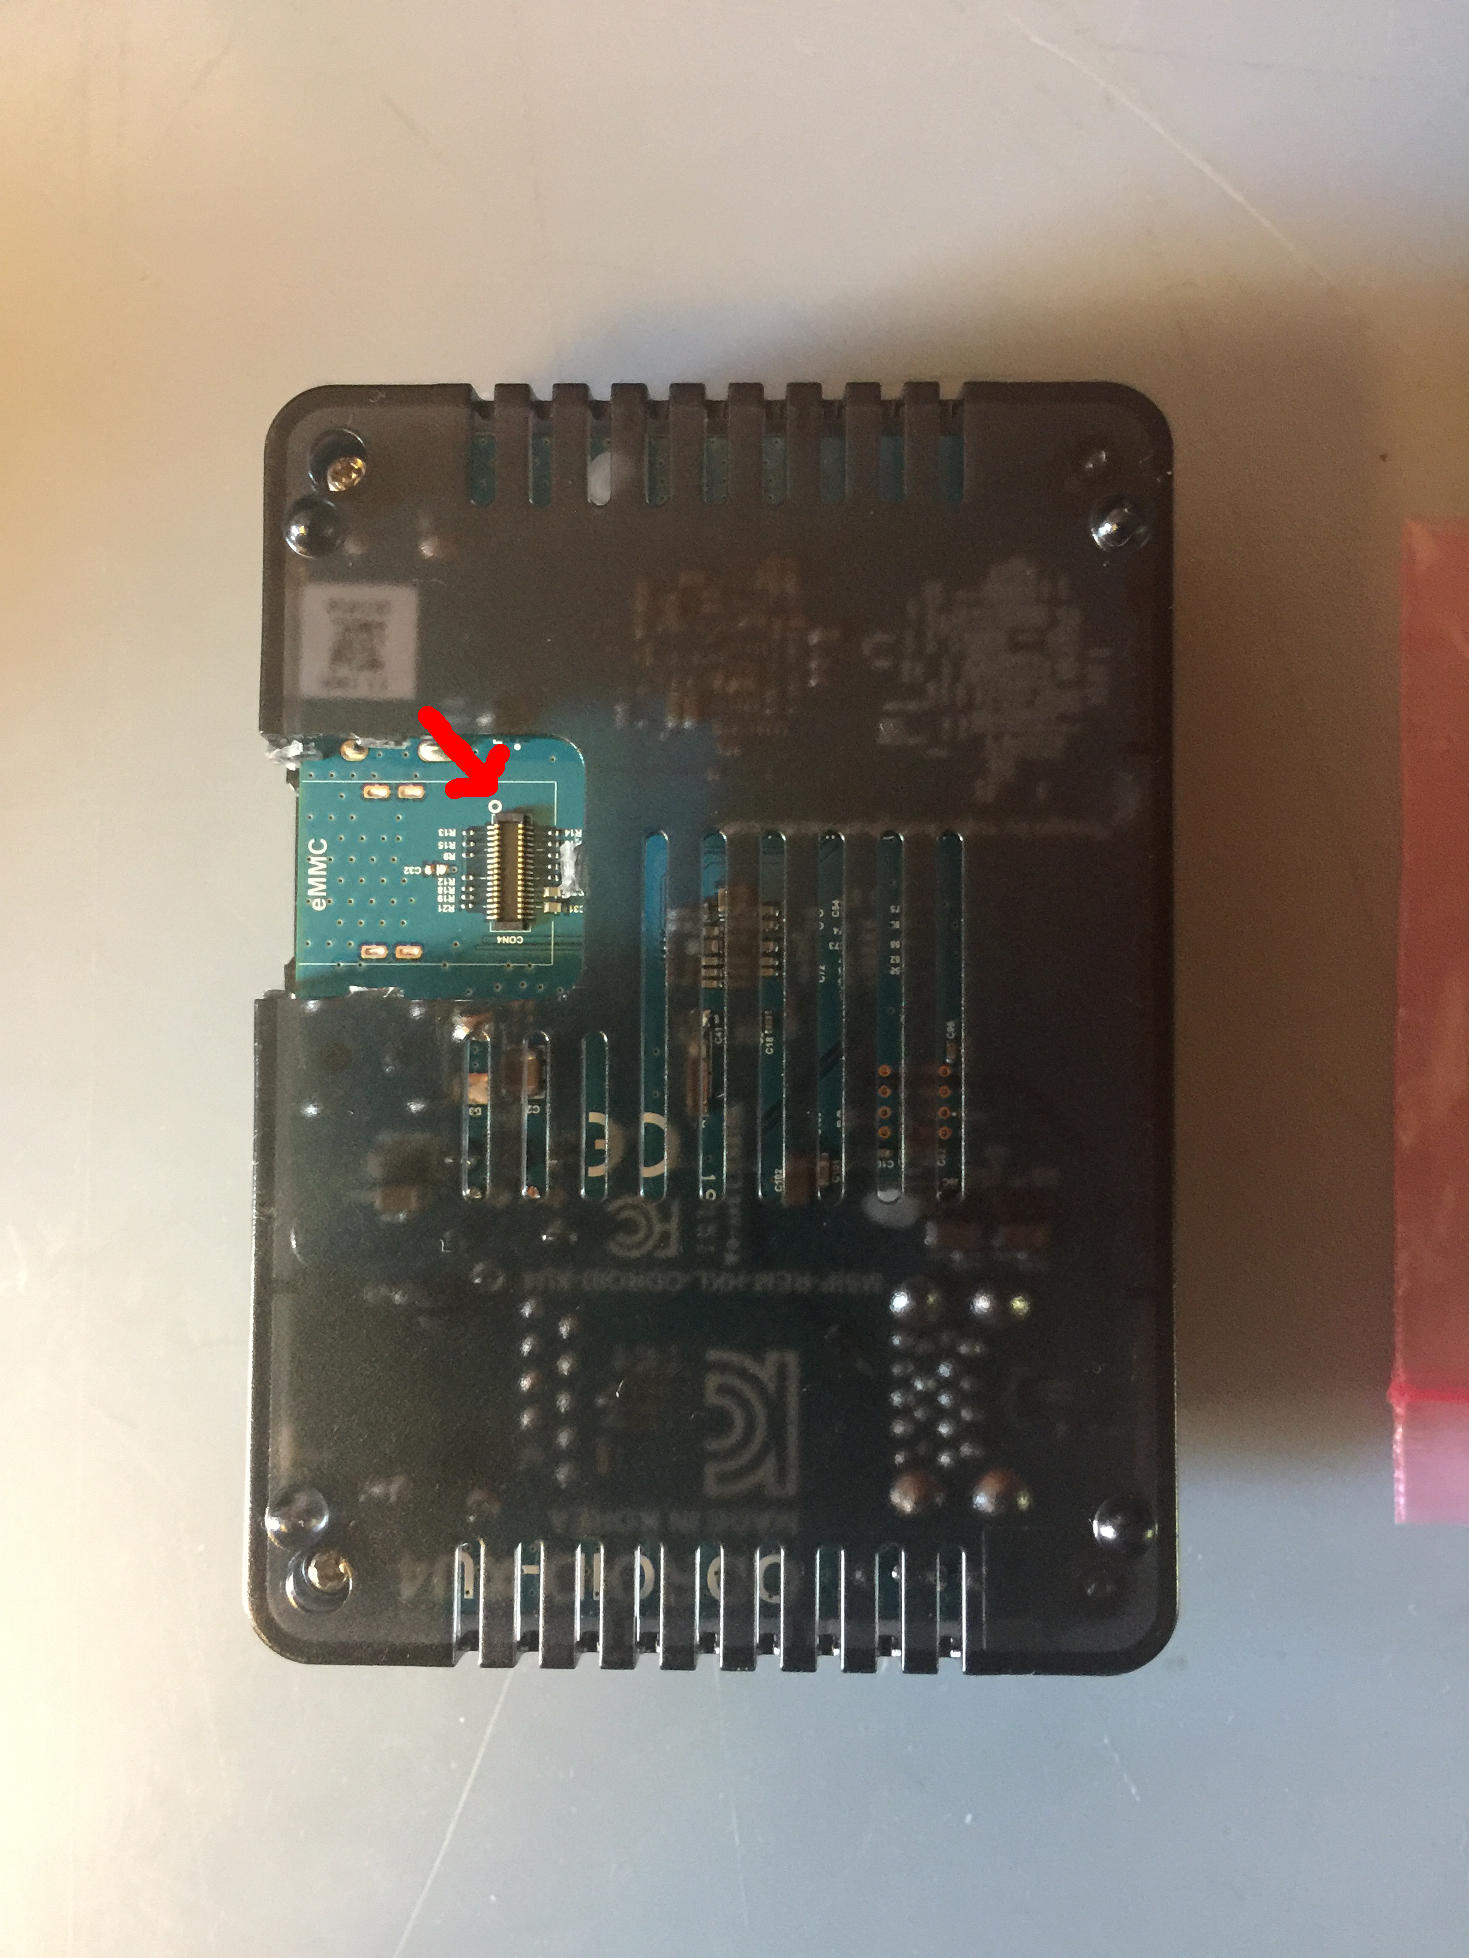
So if you have followed along this far you should have an eMMC module all flashed and ready to boot! Let’s take a look at our ODROID-XU4 and the eMMC module. Note the module is still connected to the eMMC/microSD adapter.
Take a closer look at the spot on the ODROID-XU4 where the eMMC module goes. It requires that you either take apart the case, or that you have cut out the eMMC module door from the case. If you are working on a test unit I recommend taking a sharp razor and scouring the eMMC door connections until the plastic separates. Then you have direct access to the eMMC module's connector. It makes things much easier especially if you plan on frequently changing eMMC modules. Again notice the little white circle on the board, it's next to the red arrow.
It is still a little small, let us zoom in a bit more.
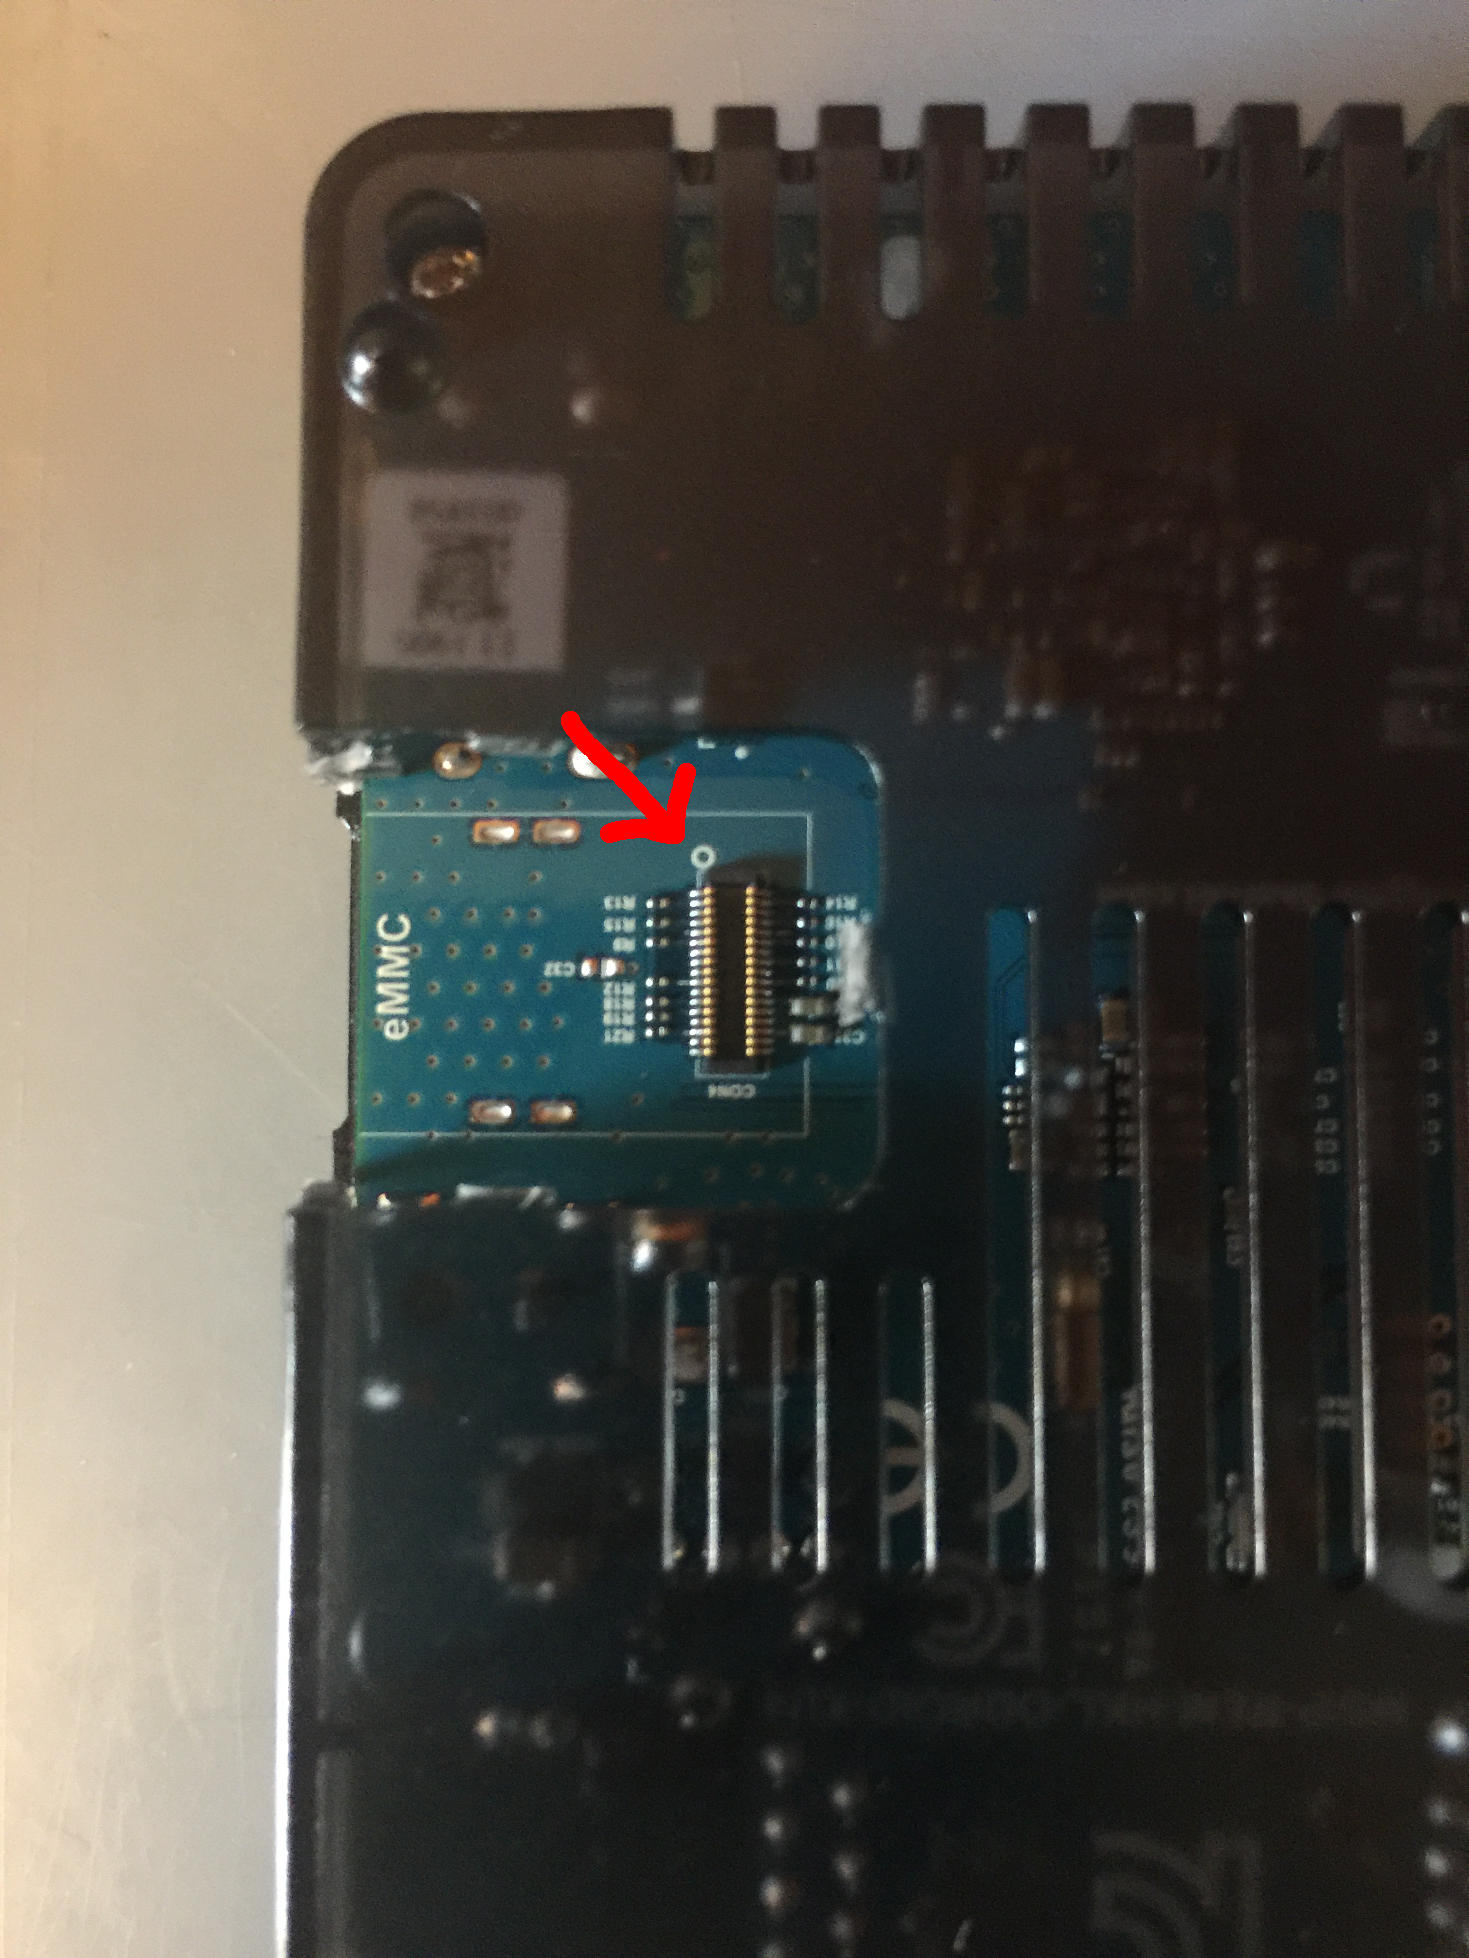
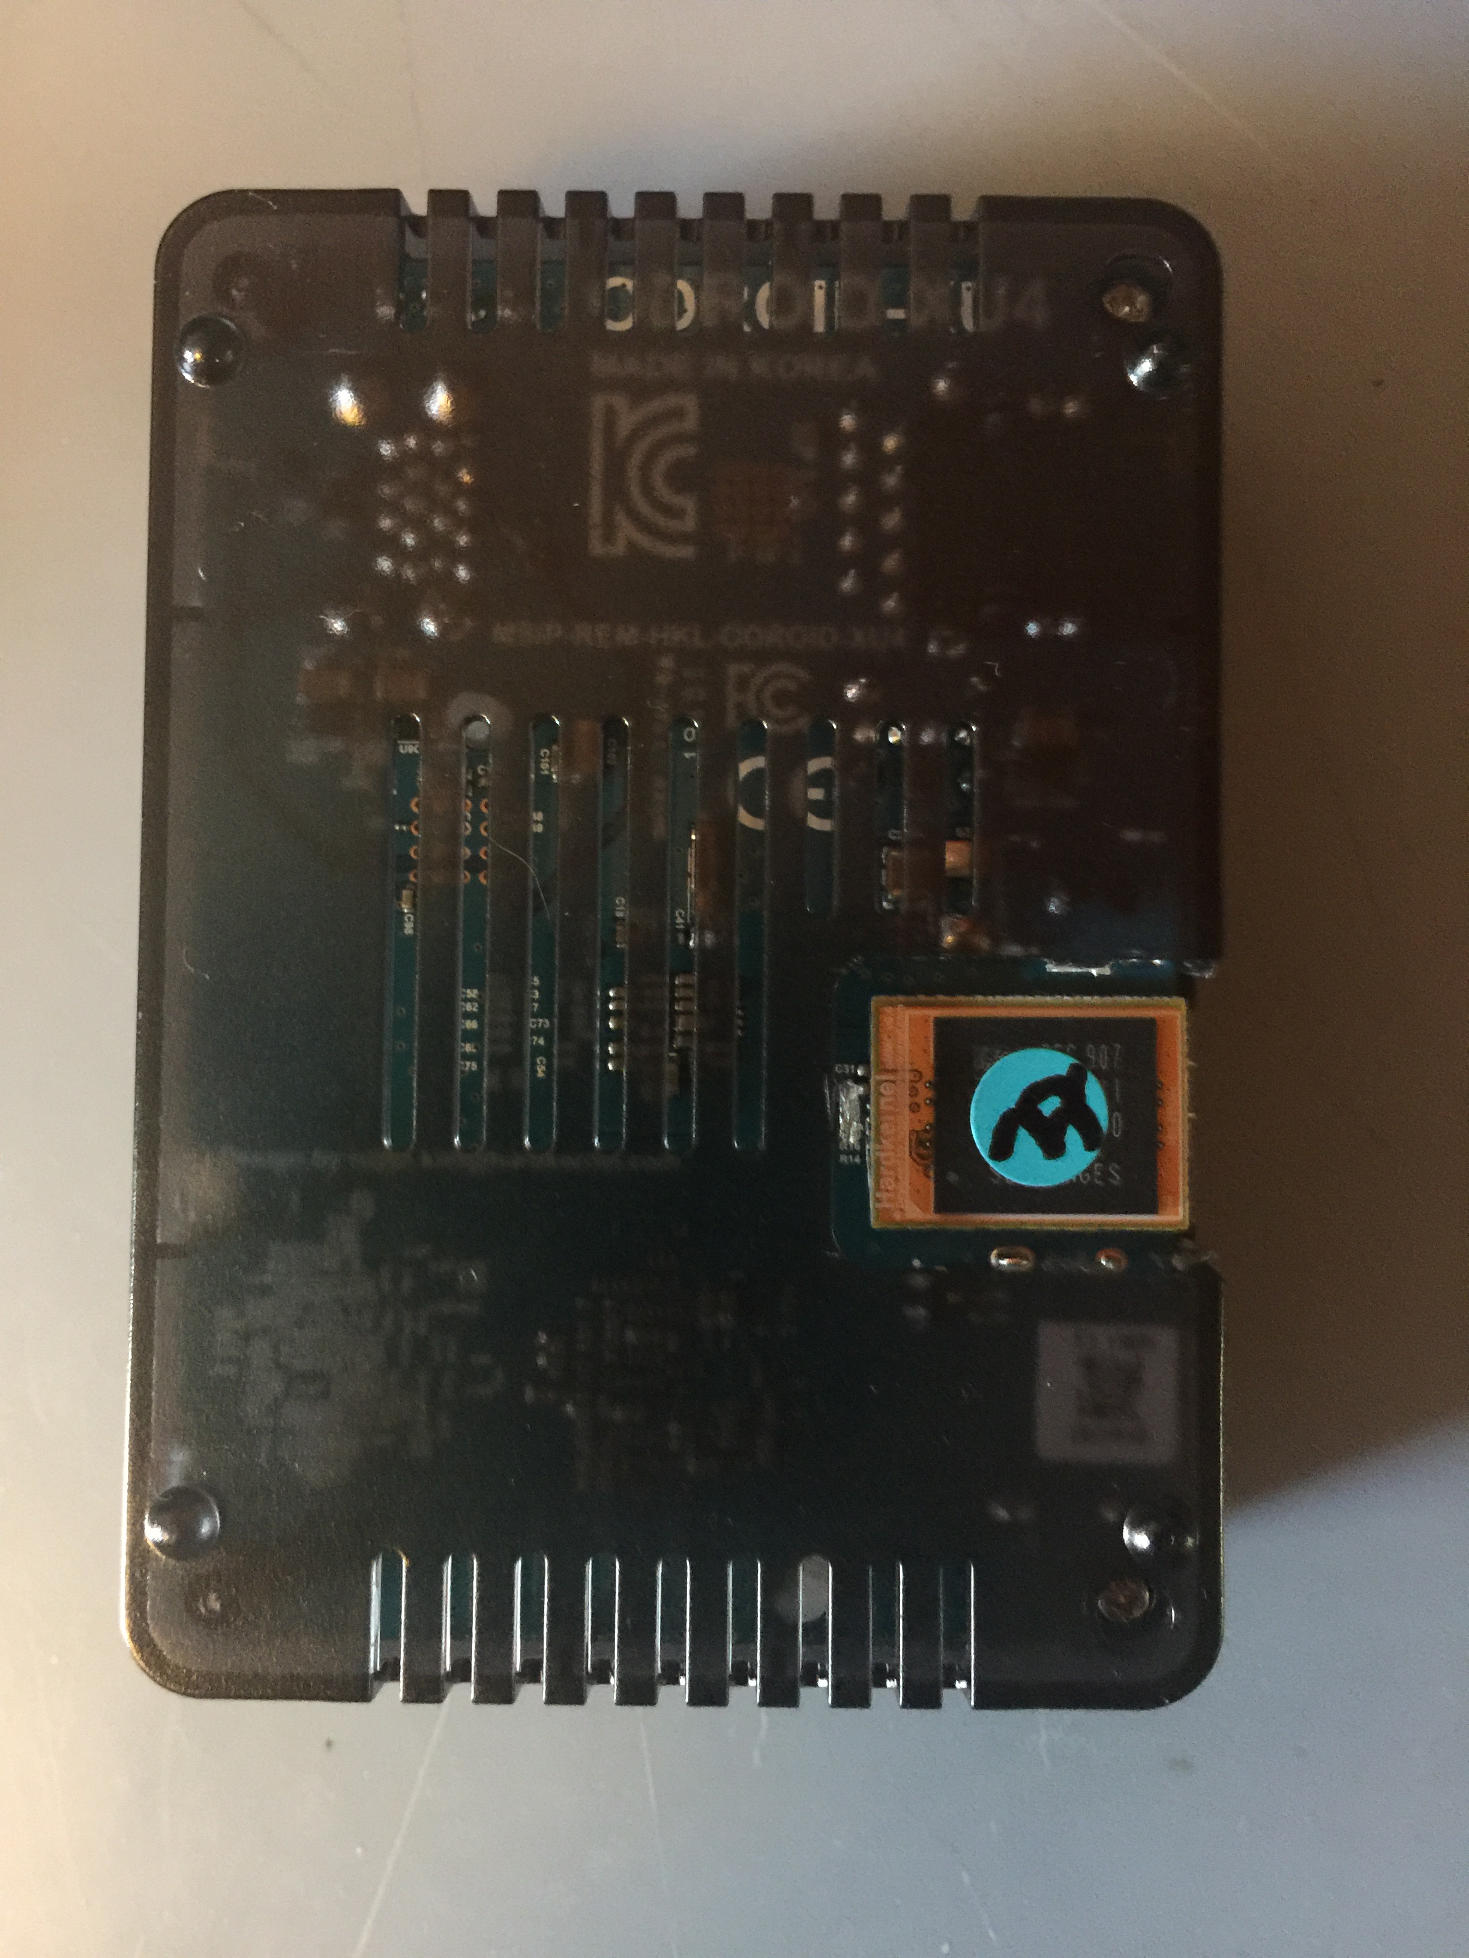
Carefully line up the white circle and the white triangle so that they are on the same side. Use the same angled approach to let the connectors meet then sort of push them together with a rolling motion. If you are using an eMMC adapter door, meaning you still have the case on, be careful not to let the eMMC module slip into the case. Once you have the chip connected you should have something similar to the following.
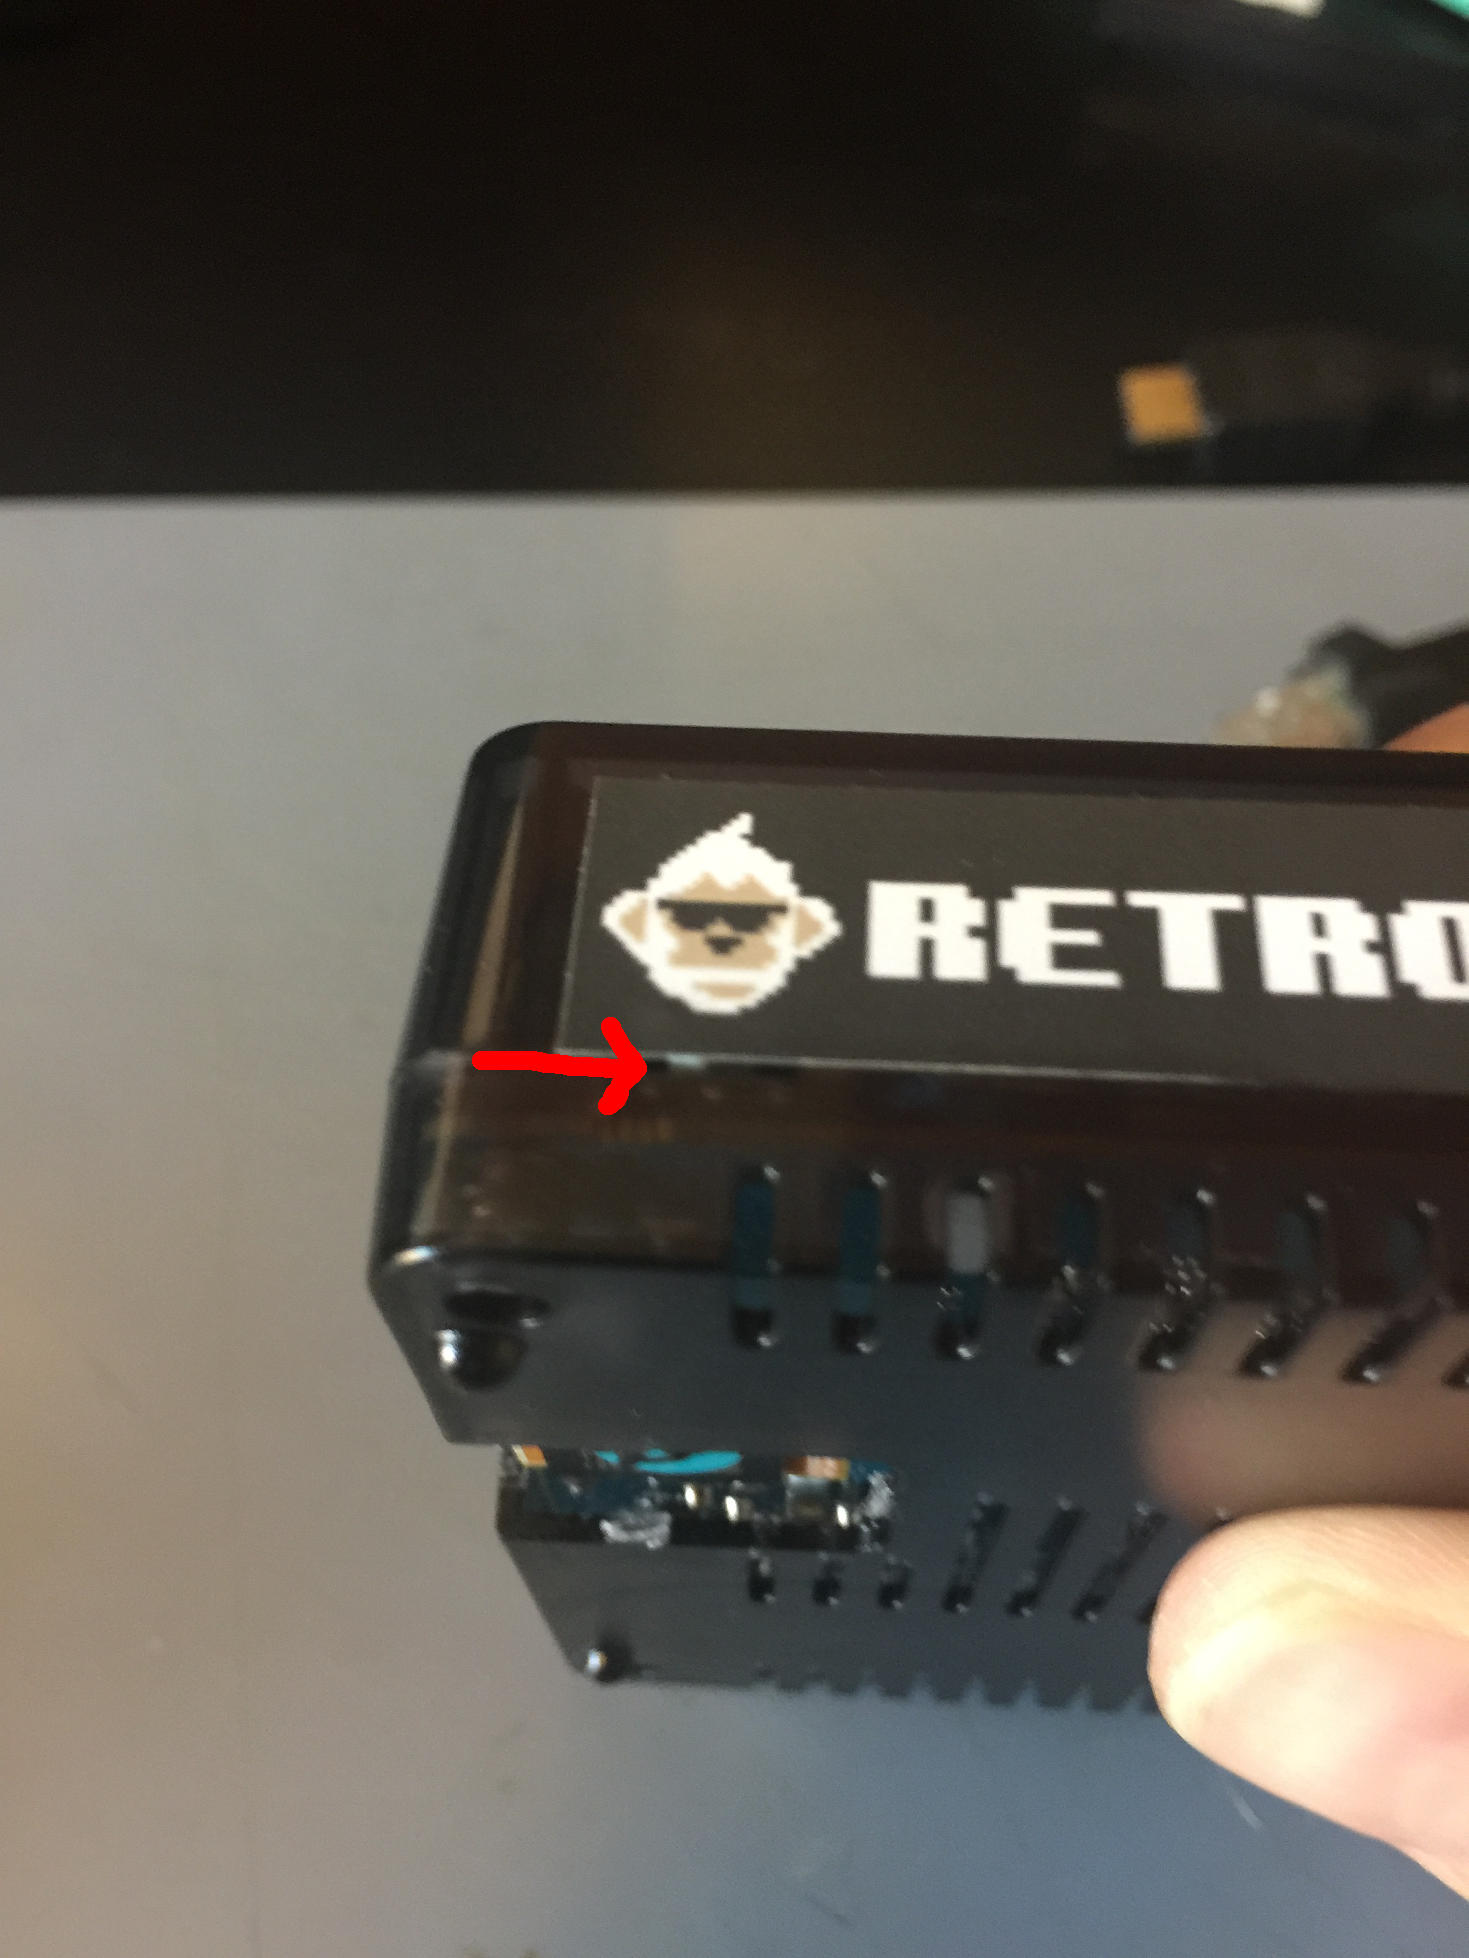
We are almost done. You will have to check how your particular device interacts with eMMC but on the ODROID-XU4 you have to set the boot mode selector switch. Notice the little white switch on the back of the case? Use a paperclip to push the switch to the position farthest from the edge of the case. In other words towards the middle.
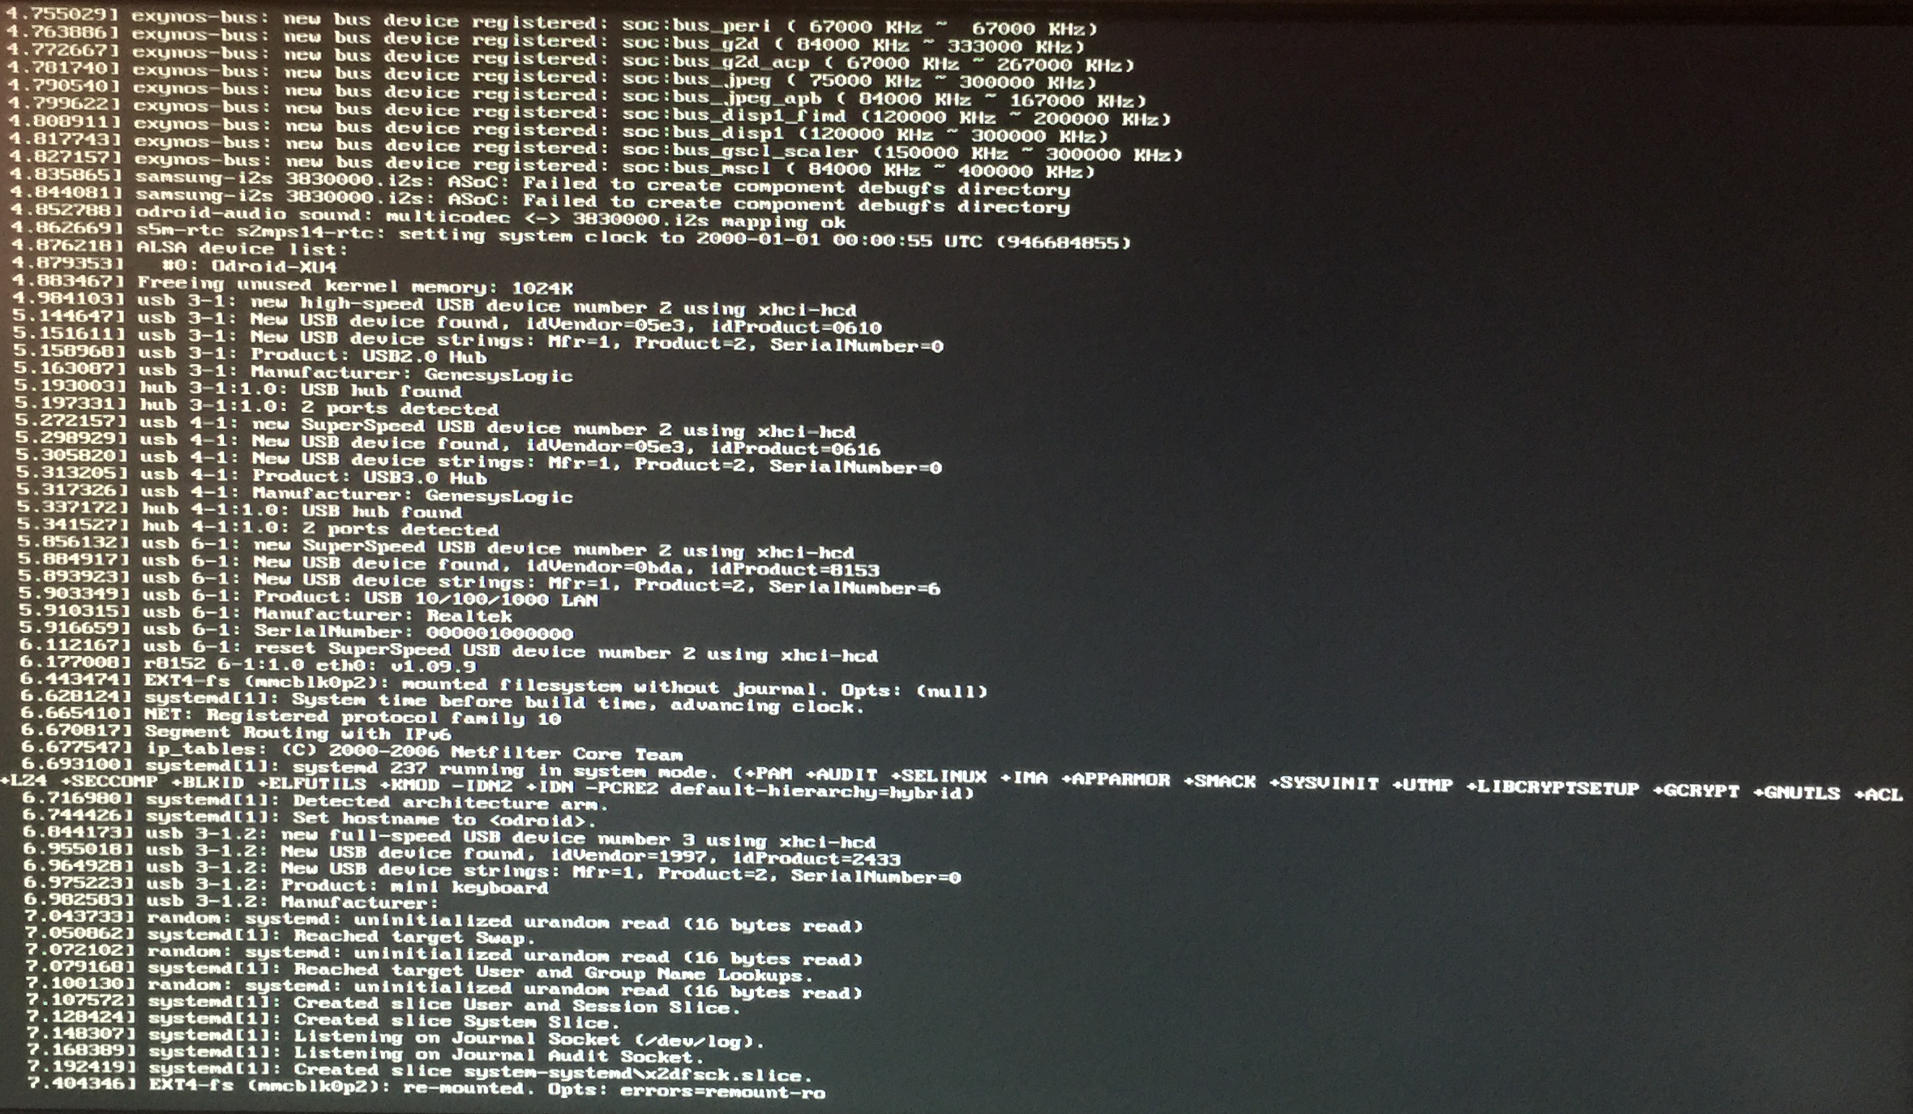
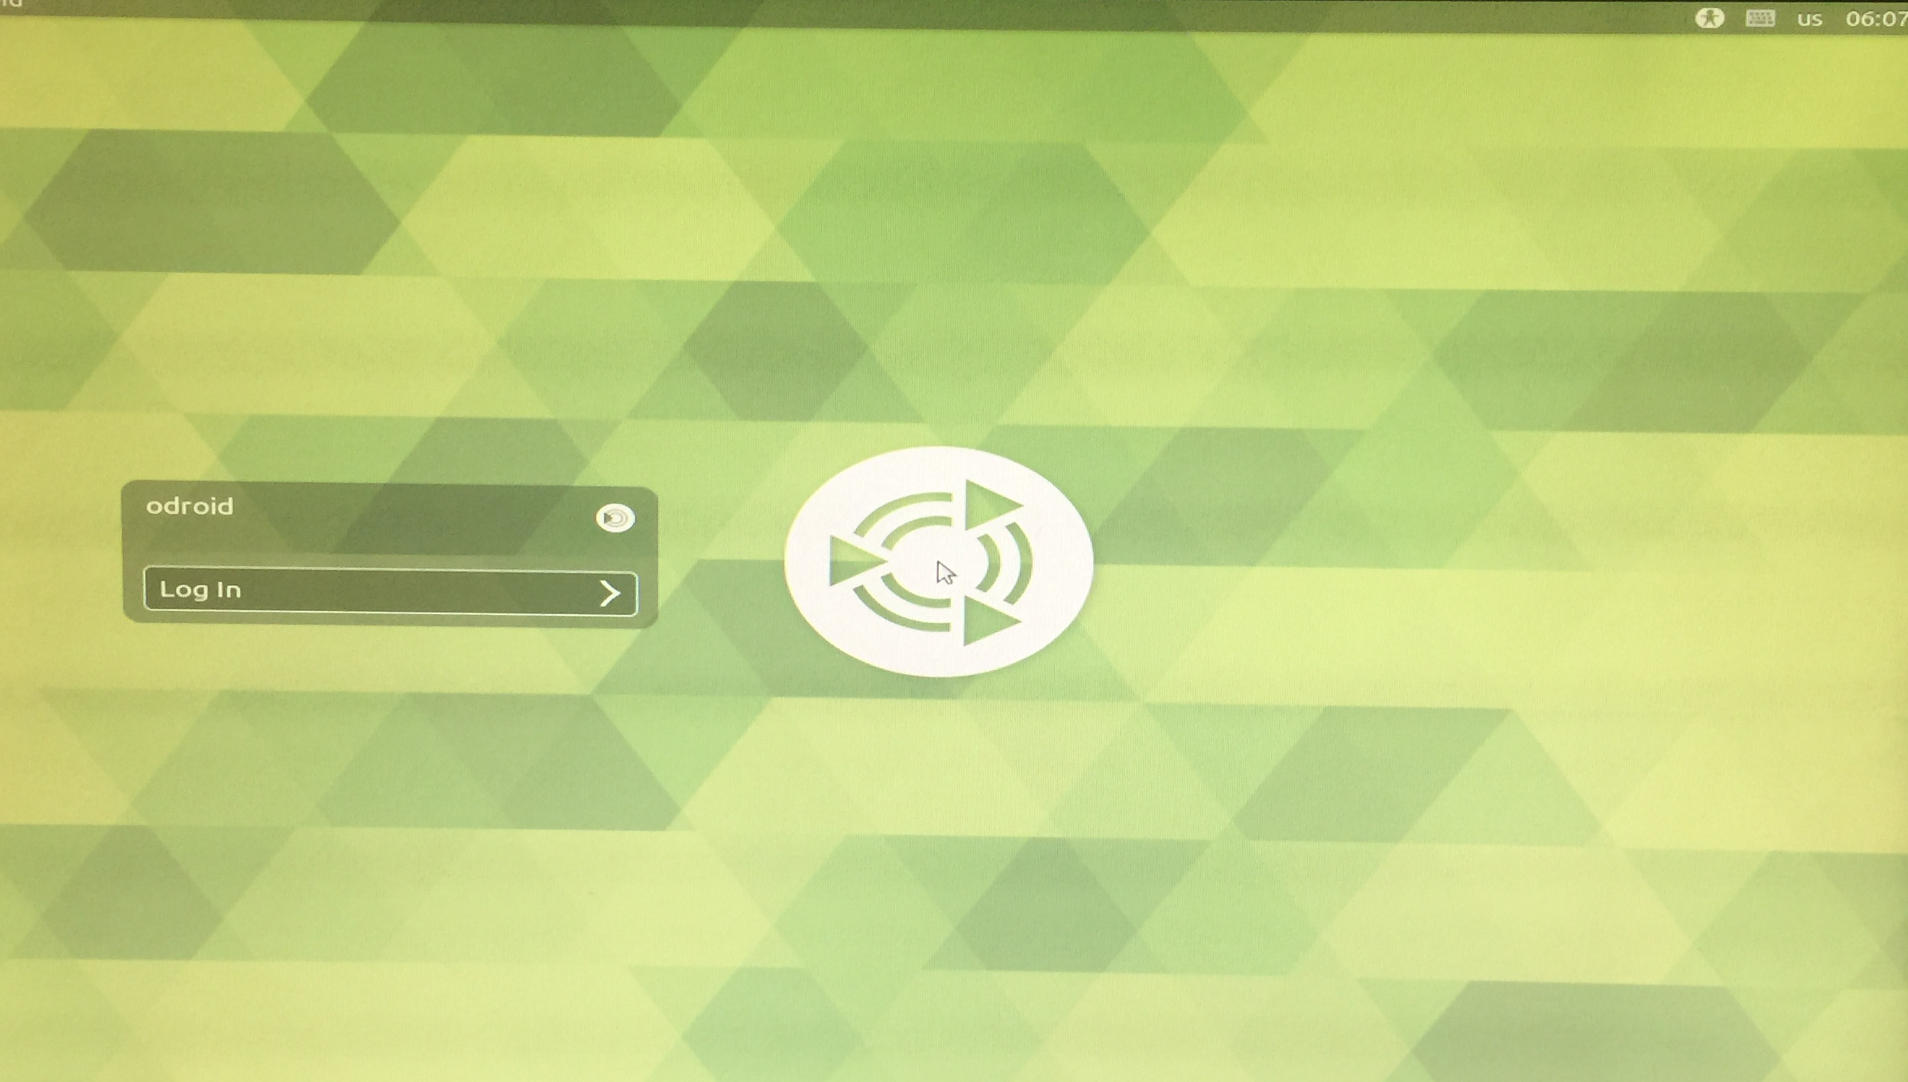
Now it is time to test things out. You should get a boot, possibly followed by a quick reset or shutdown. Do not worry some versions of Ubuntu will do a partition resize then shutdown on their first boot. As long as you see something post to the screen you are golden.
Well, that is it. Enjoy using eMMC modules without fear and I hope you enjoy the performance upgrade! For comments, questions, and suggestions, please visit the original article at http://dev.middlemind.com/tutorials/odroid_go/emmc.html.
Be the first to comment