

There are lots of tutorials on how to make an awesome digital photo frame with a Raspberry Pi. Unfortunately, the Raspberry Pi does not support 4K resolution. The ODROID-C2 can easily handle 4K resolution, but none of those Raspberry Pi tutorials work for the C2 unit. It took me 30+ hours to get where I am today. You can buy one from Memento (mementosmartframe.com) for $900 USD for a 35 inch, 4K frame, or a Samsung frame TV for around $1300 USD. Building your own, costs half the price as the Memento.
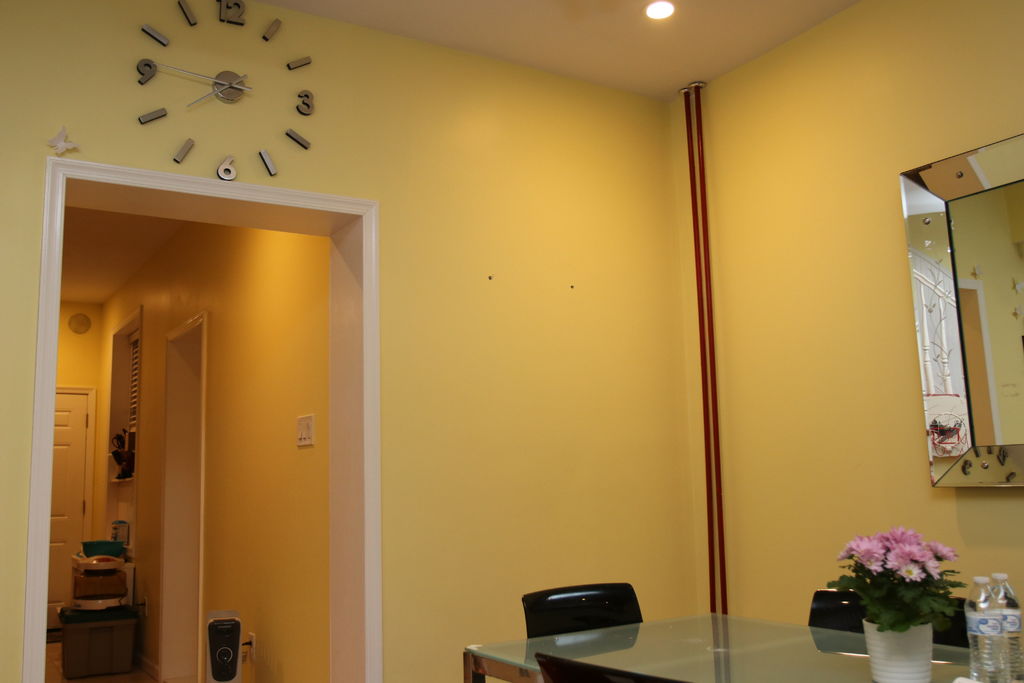
I wanted to have a nice poster or backlit display, but those are costly and can only display one photo at a time. After a bit of a wait, a 55 inch 4K TV was available at Walmart for $260 USD. Add $26 USD for a three year warranty and taxes, and the out-the-door cost was $306 USD.
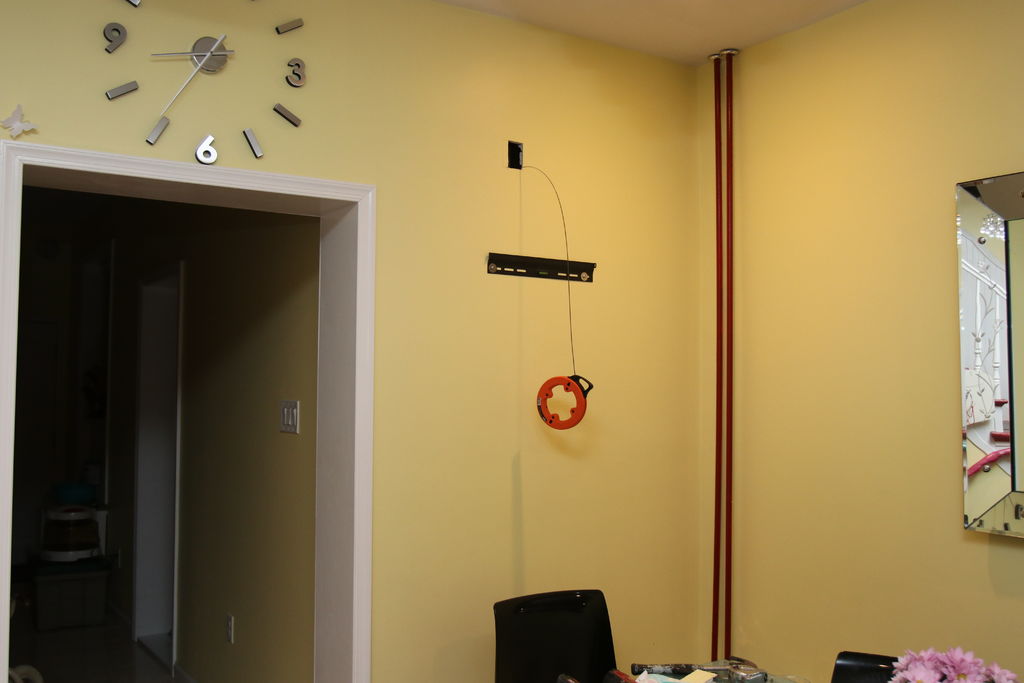
I was able to fish a Romex 12 gauge wire from a nearby outlet. Be sure to turn off the electricity before doing this work! There are detailed tutorials available on YouTube for installing an outlet. I actually forgot to take photos and videos while I installed my own. Sorry!
Gather All the Materials You Will Need
- 4K TV 55 inch Sceptre from Walmart, $260 USD as of April 30th, 2018.
- ODROID-C2 with barrel plug power adapter, $65 USD with 4 day shipping in USA. Do not use the micro USB cable to power, it is not good enough. I bought my unit and power cable from Ameridroid.com
- High speed HDMI cable from Monoprice.com, $5 USD. Certified to work with 4K 60hz 4:4:4 chroma
- 32GB flash drive to hold photos, $15 USD.
- 8GB microSD card, $4 USD.
- Wireless USB and keyboard combo, $30 USD.
- Optional USB WiFi adapter, $10 USD.
All prices subject to change. My costs were actually lower because i got some items used or already had on hand for other projects.
Install Ubuntu mate from https://wiki.odroid.com/odroid-c2/os_images/ubuntu/v2.4. Burn your downloaded ISO image onto the microSD card using Win32disk imager. Insert your microSD card into the ODROID-C2. Connect the HDMI cord from the C2 to the TV. Turn everything on and make sure all the materials are connected to the ODROID-C2. You can skip connecting the USB drive and USB WiFi for now. Let Ubuntu initialize and finish everything. Once all done, it will ask you to log in.
User ID: odroid Password: odroid
Enable auto login so you don’t have to manually log in each time. Go to menu Applications/System Tools/Mate Terminal and type in:
$ sudo nano /usr/share/lightdm/lightdm.conf.d/60-lightdm-gtk-greeter.confIf it asks for a password, type “odroid”. Type in the autologin line. so the final file should look like this:
[Seat:*] greeter-session=lightdm-gtk-greeter

autologin-user=odroid
Press CTRL+X to exit, or Y to save file. Install FEH to view photos. In the same terminal window, type the following commands, typing Y to confirm, if it asks:
$ sudo apt-get install fehMy photos are edited to be 4K resolution at 3840 x 2160 pixels. Copy your photos to a USB drive and insert into the ODROID-C2. Use your mouse to navigate to the directory /home/odroid and right-click to create a Create Document/empty file. I named it pixx.sh, but you can name it whatever you want. Open pixx.sh, add these codes in:
$ sleep 15

$ feh --quiet --fullscreen --borderless --hide-pointer --randomize --slideshow-delay 30 /media/odroid/38C1-602E/*
Your USB drive name will be different from mine. In my case, the drive is named "38C1-602E." To find your USB name, just navigate to media/odroid and you will see. Change the slideshow delay value of 30 seconds to whatever you want. Save the file and close. Right click on pixx.sh to view its properties. Make it "executable" in one of the options.
Add pixx.sh to autostart menu. Go to the menu System/Preferences/Personal/Startup Applications and click on Add:
- Name=slideshow
- Command=(choose the pixx.sh file wherever you saved it)
- Comment= slideshow autostart, click on Add and close
Disable the screensaver by going to System/Control Center and choosing Look and Feel, and then ScreenSaver. Disable "Activate Screensaver" and anything else that would trigger idle mode. I’ve forgotten all the settings, but they are all here. Go back to the terminal window and type:
$ sudo rebootThis will reboot the C2. Once rebooted, it should automatically login, wait for 15 seconds, and then start playing photos from your USB drive. Hit ESC on your keyboard to exit FEH if you need. I leave mine running nonstop. I only turn off the TV as needed.
Optional Steps
Add more photos to the USB flash drive by copying and pasting into the USB drive manually or via FTP. To upload via FTP--so you don’t have to physically disconnect the USB drive--make sure the USB WiFi adapter is plugged in. Go to the upper right hand corner of Ubuntu menu and connect to your WiFi network. Download FileZilla and connect to the ODROID via SFTP protocol, not FTP protocol. Enter your C2 IP address in host field:
user: odroid password: odroid login type: normal
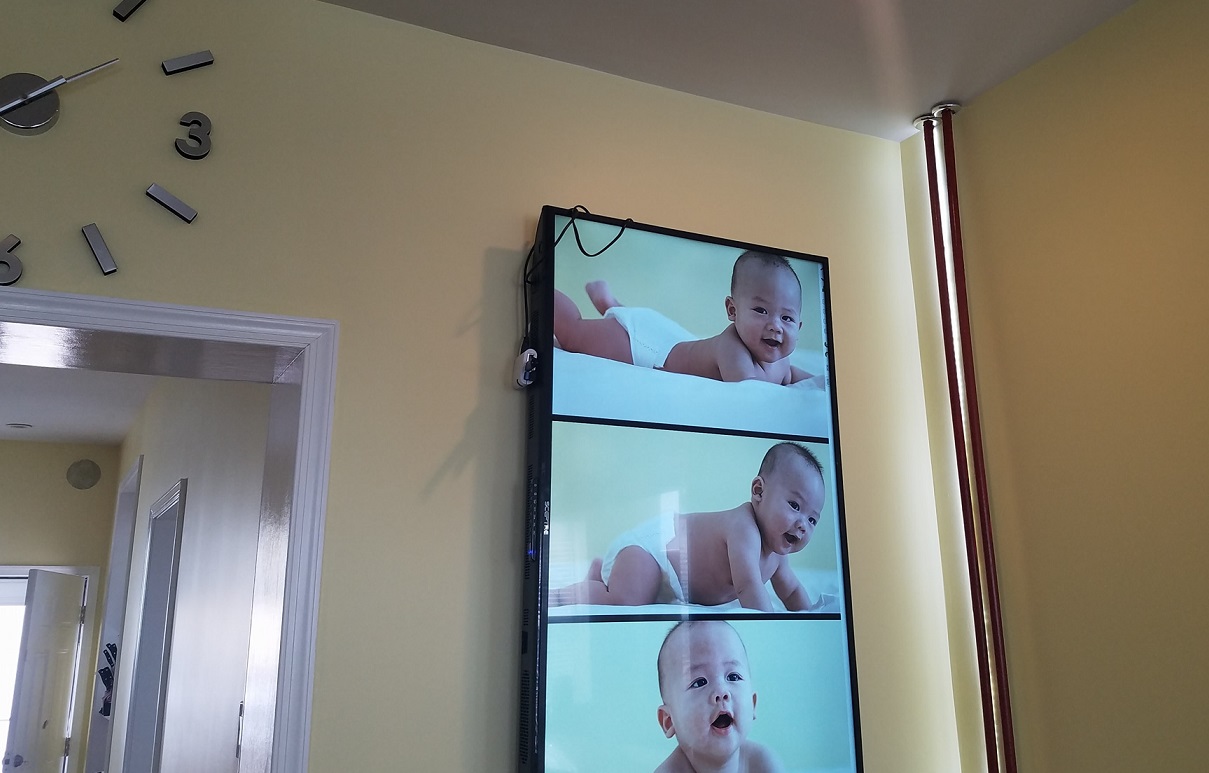
Upload to your media/odroid/usb drive name and reboot the C2 for FEH to load the new photos into memory. To rotate the display screen into portrait mode, go to the terminal and type in:
$ sudo nano /etc/X11/xorg.confAdd in this line:
Option "Rotate" "CCW"So the end result looks like this:
Section "Device"
Identifier "Mali FBDEV"
Driver "fbturbo"
Option "fbdev" "/dev/fb0"
Option "Rotate" "CCW"
Option "SwapbuffersWait" "true"
EndSection
Exit and save, then reboot the computer:
$ sudo rebootOnce your TV has loaded up again, the display should be rotated into portrait mode.
Troubleshooting
- Ubuntu rebooting itself There is not enough power. Don’t power up the C2 unit via the micro USB port. Power the C2 unit via the barrel plug that Ameridroid.com sells for around $7 USD. I spent at least 20 hours on troubleshooting this.
- TV shows blank screen or no signal Try another HDMI cable or Try another power cable for the C2.
- TV shows no signal Did you turn off Ubuntu sleep or screensaver mode?
For comments, questions, and suggestions, please visit the original post at http://www.instructables.com/id/55inches-4K-Digital-Photo-Frame-Display/.
Be the first to comment