

The Arduino for ODROID-GO Coding Camp, includes two projects among others: Tetris and I2C interface experiments. Before getting started with these projects, it is advisable to work on the Arduino Setup and Hello World projects listed in the reference section below.
Tetris
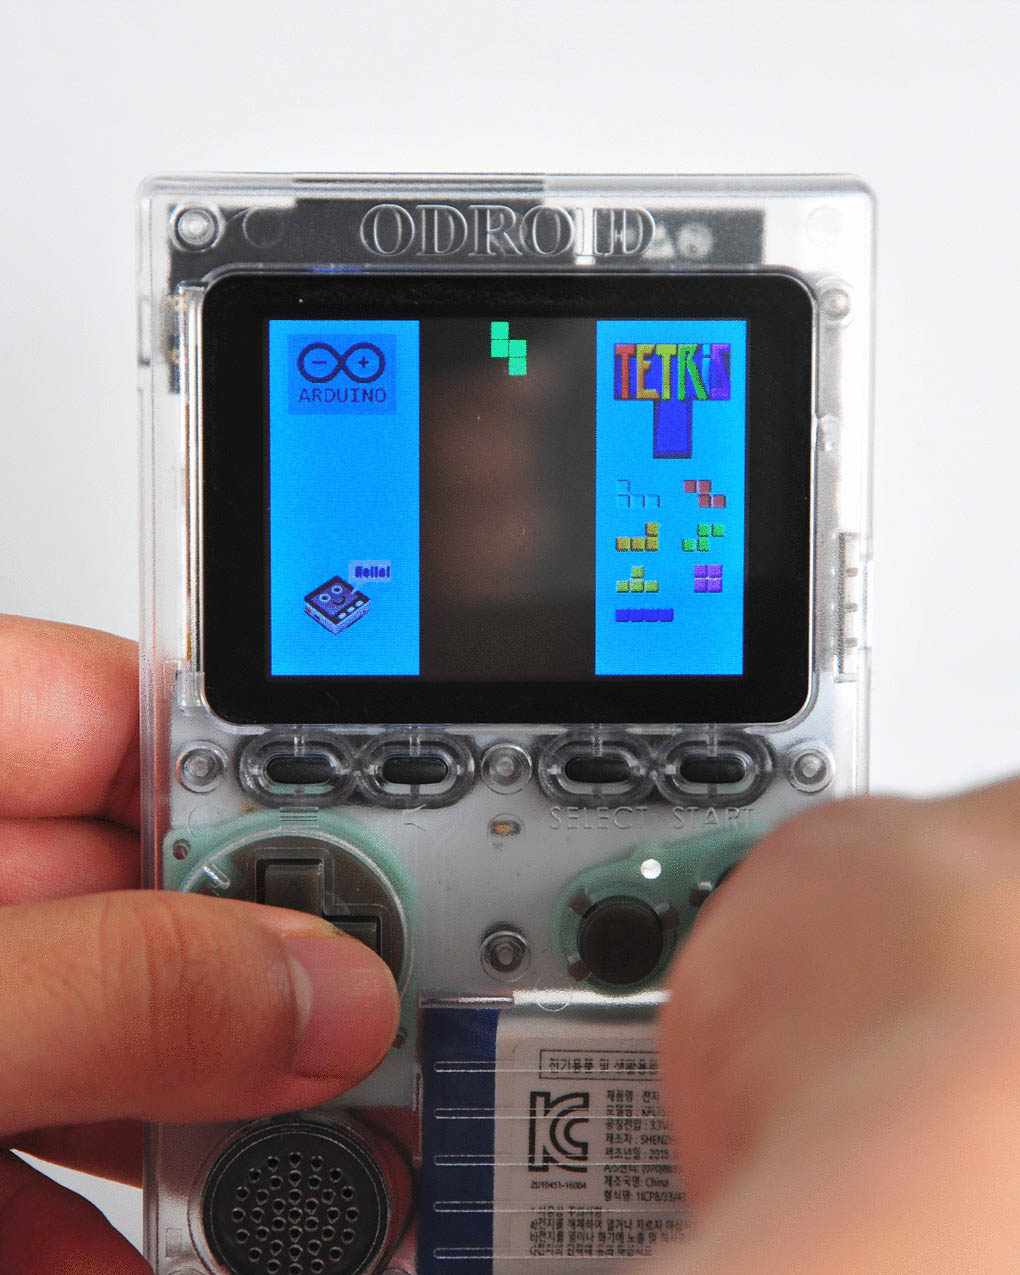
You can import, compile and upload the latest version of the game to ODROID-GO by selecting the following menu options in the Arduino IDE: Files → Examples → ODROID-GO → Applications → Tetris. Then enter the key-combination: CTRL-U to compile and upload.

After uploading is complete, the following message is displayed:
Hard resetting via RTS pin…
I2C Interface
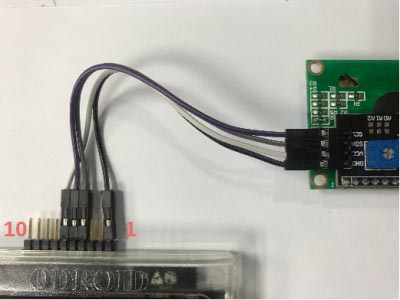
Let us learn how to use I2C interface on the ODROID-GO IO expansion port. First, you will have to connect the 16×2 LCD to your ODROID-GO's P2 (expansion connector) as follows:
P2 on ODROID-GO 16x2 LCD
GND (pin #1) GND
IO15 (Pin #4) SDA
IO4 (Pin #5) SCL
P3V3 (Pin #6) VCC

The next step involves importing the needed library. Depending on your host operating system, the steps are slightly different:
For MS Windows, open a terminal and enter the following commands:
c:\> cd $USERPROFILE/Documents/Arduino/libraries
c:\> git clone https://github.com/marcoschwartz/LiquidCrystal_I2C
In Linux, open a terminal and enter the following commands:
$ cd ~ && mkdir go-proj && cd go-proj
$ git clone https://github.com/marcoschwartz/LiquidCrystal_I2C \
~/Arduino/libraries/LiquidCrystal_I2C
To use I2C on ODROID-GO, the ESP32’s Wire library is useful. This library can be used via the Arduino IDE. We know that the ports used for I2C communications include #15 for SDA and #4 for SCL. Define a pre-processor and use the Wire.begin() function to include the code below. You can pass only 2 parameters to the function: the pin #s for SDA and SCL listed above.
#define PIN_I2C_SDA 15
#define PIN_I2C_SCL 4

void setup() {
// put your setup code here, to run once:
Wire.begin(PIN_I2C_SDA, PIN_I2C_SCL);
}

void loop() {
// put your main code here, to run repeatedly:
}
We need to add code to setup the LCD. Include the LiquidCrystal_I2C.h header file from the library to show a message on that easily. Create an instance for controlling the LCD with using the statement, which takes the LCD_ADDR, columns and rows parameters relevant to the 16×2 LCD:
LiquidCrystal_I2C lcd(LCD_ADDR, 16, 2Invoke init(), turn on the backlit with backlight(), set cursor to specify a point to write down with setCursor() and print using a call to print():
#include

#define PIN_I2C_SDA 15
#define PIN_I2C_SCL 4

const uint8_t LCD_ADDR = 0x3f;
LiquidCrystal_I2C lcd(LCD_ADDR, 16, 2);

void setup() {
// put your setup code here, to run once:
Wire.begin(PIN_I2C_SDA, PIN_I2C_SCL);

lcd.init();
lcd.backlight();
lcd.setCursor(0, 0);
lcd.print("Hello, ODROID-GO");
}

void loop() {
// put your main code here, to run repeatedly:
}
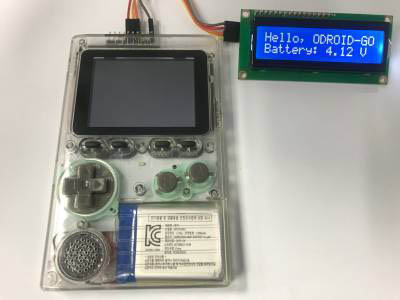
Press CTRL-U to compile and upload the sketch to show a message on the LCD.
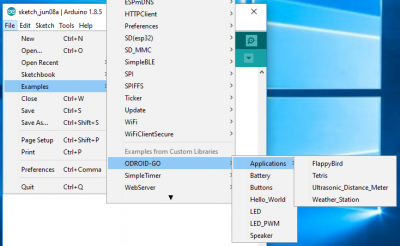
We have prepared a more advanced version of this project. It can be imported using the menu options: Files → Examples → ODROID-GO → 16x2_LCD_I2C, then enter the key-combination: CTRL-U to compile and upload.
References
https://wiki.odroid.com/odroid_go/arduino/01_arduino_setup https://wiki.odroid.com/odroid_go/arduino/02_hello_world https://wiki.odroid.com/odroid_go/arduino/33_game_tetris https://wiki.odroid.com/odroid_go/arduino/09_16x2lcd_i2c https://github.com/espressif/arduino-esp32/tree/master/libraries/Wire
Be the first to comment