

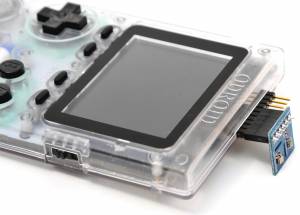
Let us learn how to access various weather data and share it with your mobile devices via WiFi connectivity. Note that the Weather Board 2 is additionally required (https://wiki.odroid.com/odroid_go/arduino/30_weather_station).
Before we begin, this Coding Camp will use a web browser to show weather information. To make things go smoothly, make sure you have the following two bullet points meet. Make sure that you've followed the Arduino setup guide.
Requirements
Make sure that you have these products:
- ODROID-GO
- Weather board 2
- A MicroUSB cable
Setup the development environment for Arduino on your system. Before proceeding with this guide, attach Weather board 2 to ODROID-GO and connect it to the PC via micro USB cable.
Setup SPIFFS
SPIFFS stands for SPI Flash File System. You can visit https://github.com/me-no-dev/arduino-esp32fs-plugin to see full documentation about SPIFFS. ODROID-GO has a small (but enough to use) flash memory which you can upload data by using this tool. Download a compressed file from this link (ESP32FS-v0.1), then extract the ESP32FS directory to one of the following directories, depending on your operating system:
- Windows: %USERPROFILE%\Documents\Arduino\tools
- Linux: ~/Arduino/tools

(Figure 2 - Arduino Tools directory)
Create the tools directory before extracting if it doesn't exist. Open Arduino IDE, and you can see the Tools → ESP32 Sketch Data Upload menu.
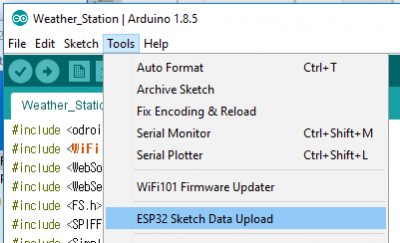
(Figure 3 - upload the sketch)
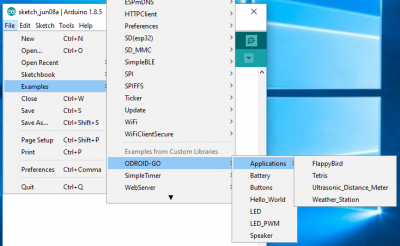
Import the sample to the IDE
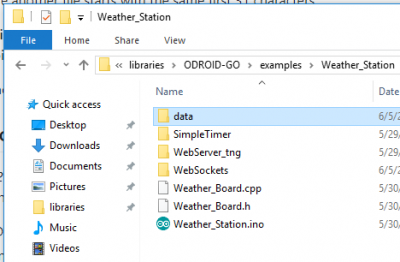
Click the Files → Examples → ODROID-GO → Applications → Weather_Station menu to import the Weather station example.
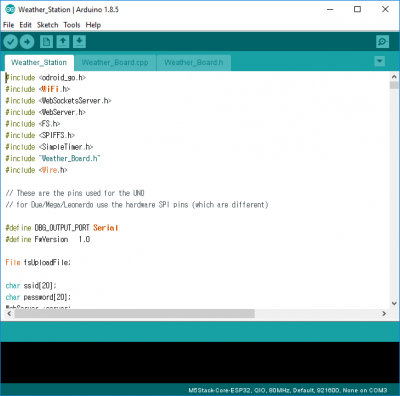
Then, you will see a new window with the example code appear.
Compile and upload the binary
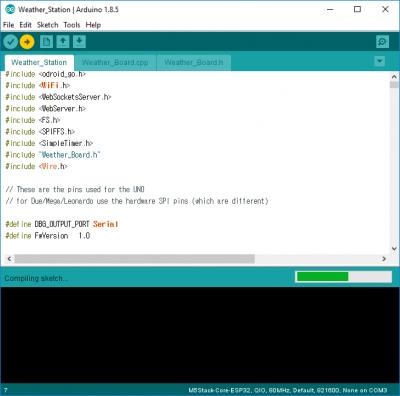
This guide assume that the port number is COM3. It might be different from yours. Verify and compile the sketch by clicking Sketch → Verify/Compile menu, or by pressing the CTRL-R shortcut.
If the compiling completes without any issue, upload the compiled binary by clicking Sketch → Upload or by pressing the CTRL-U shortcut.
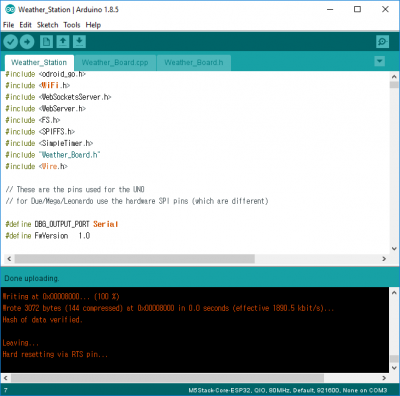
You can omit the compile process since its done automatically when you just upload without doing a compile before. You will know the uploading is complete when the message: “Hard resetting via RTS pin…” appears.
Upload the data
This example has a web server program to serve measurements via a web page. To see that page, you have to upload the web page data to the ODROID-GO's flash memory. SPIFFS lets you do that. If you click the Tools → ESP8266 Sketch Data Upload menu, SPIFFS utility will find the data directory in the current library and send it.
Click the menu to upload.
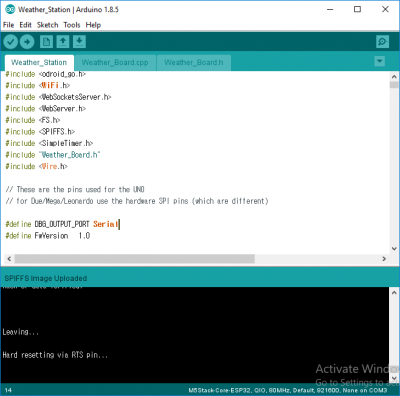
The uploading is completed when the message “Hard resetting via RTS pin…“ is displayed.
Testing
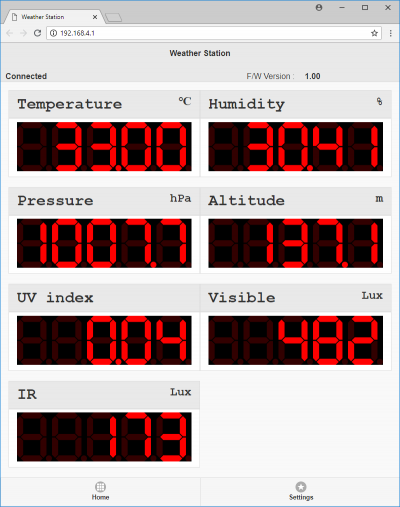
After the upload completes, the ODROID-GO reboots automatically. The screen showing each data measurement appears on the ODROID-GO, and after few seconds, the blue LED in the middle of the board turns on.
Visit with your device - PC / mobile
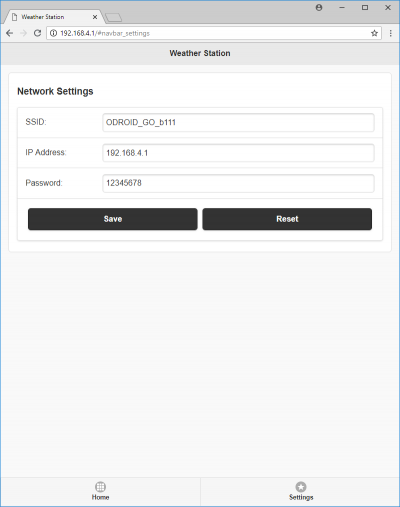
The blue LED indicates that the web server on the board is ready so that you can connect to it and read the data from the ODROID-GO's access point. Find the Wifi AP named ODROID_GO_**** and connect to it (the default password is 12345678). Open a web browser and navigate to 192.168.4.1. This IP address is set by default. You will see the web GUI showing each measurement, and the blue LED now keeps blinking after the socket communication starts. Using the Network Settings web page, you can set the Wifi configurations such as SSID, IP address, and password.
Be the first to comment