

In this article, you will learn how to download and install Arduino IDE and ODROID-GO specific libraries and examples. There are official step-by-step guides for the supported platforms which are maintained by community members.
Install ODROID-GO libraries
Windows Execute a Git Bash program from the Start Menu and enter the following commands:
$ git clone https://github.com/hardkernel/ODROID-GO.git
$ USERPROFILE/Documents/Arduino/libraries/ODROID-GO
Linux Open a Terminal by pressing CTRL-ALT-T and enter the following commands:
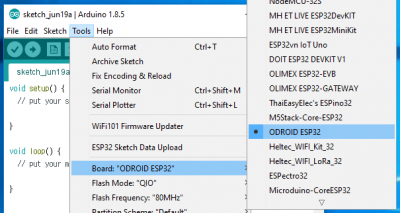
$ git clone https://github.com/hardkernel/ODROID-GO.git ~/Arduino/libraries/ODROID-GOSelect a target device Arduino IDE has to know which board will be used for compiling and sending a data.
Select Tools → Board → ODROID-ESP32.
Select a proper serial port Arduino IDE has to know which port the device is connected to. The port number depends on your system. You might need to install CP2104 VCP drivers on your host computer if you can't open the serial port.
Windows
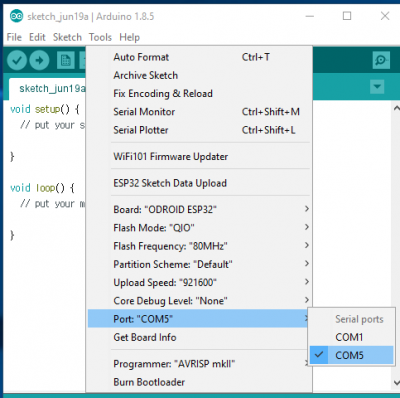
Select Tools → Port: “COM#” → COM#.
Linux
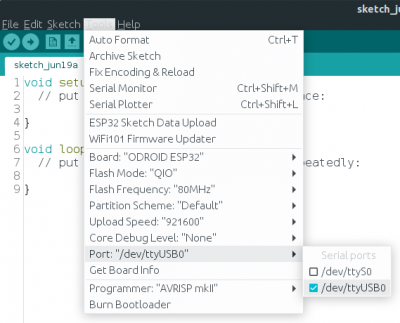
Since ODROID-GO always connects to the host PC via USB cable, select a USB device file.
Select Tools → Port → /dev/ttyUSB#.
Let's code with ODROID-GO Now you're ready to write your source code. To learn how to write source code, refer to Part 2 of the Coding Camp series in this issue. For comments, questions, and suggestions, please visit the original article at https://wiki.odroid.com/odroid_go/arduino/01_arduino_setup.
Be the first to comment