

The reason why we want to use the larger OGST case is because it comes with an expansion board that allows you to add power and reset buttons to the case and a place to hold an external USB harddrive. This will allow you to increase the available storage space on your harddrive size. This tutorial will show you how to quickly and easily assemble the case and secure the harddrive to the case. Needless to say, if you are building a retro gaming console this really opens up the door for storing a ton more games.
Parts Needed
- A Working Monku Retro 3 / ODROID-XU4: https://bit.ly/3658Jrp - An OGST ODROID-XU4 Case: https://bit.ly/2Q6maC9
Tools Needed
- Small Screwdriver Set - Velcro® Strip Permanent or Removable Velcro Strip - External USB 3 Hard-drive
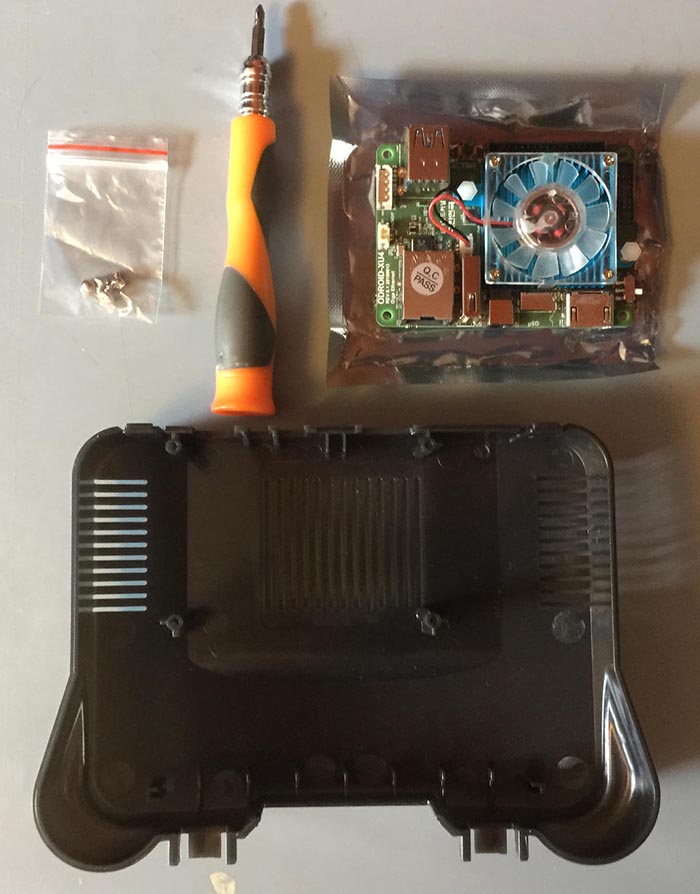
Reviewing the Parts
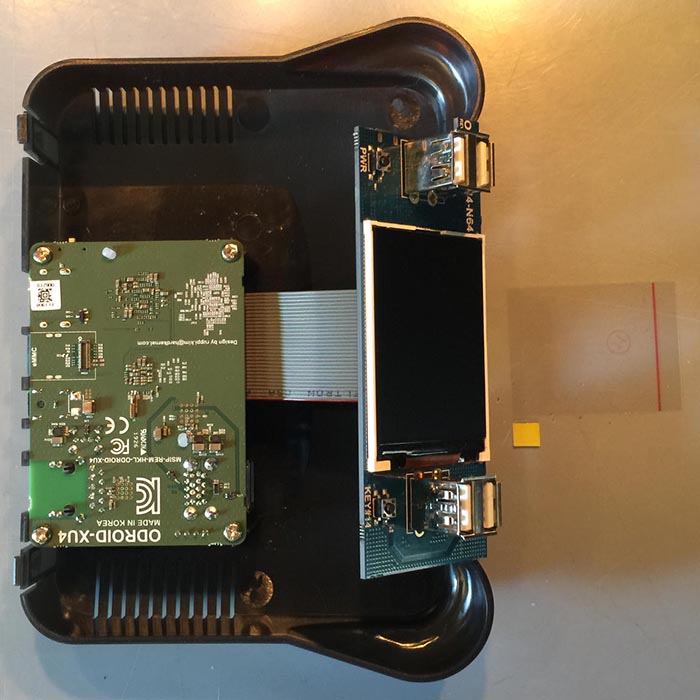
Let us take a look at the parts we will be working with. The following image shows the hardware needed for using the ODROID-XU4 with OGST as a retro gaming case.
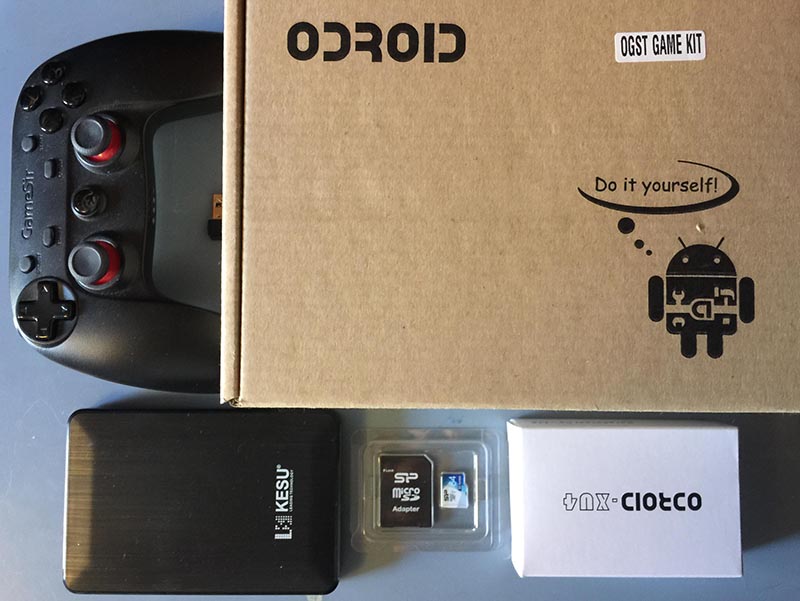
The setup I will be working on, shown above, during this tutorial is an ODROID-XU4 running Lakka. You can actually use any setup you want on your ODROID-XU4. If you want more storage space then the OGST and this tutorial are for you. A wireless Game Sir controller. A 64GB micro SD for the boot drive. A KESU external USB 3 harddrive with 250GB of storage. Now I could have gone bigger but the drive is $40, so this is the perfect setup for the retro console builder on a budget. I will post some links for ODROID-XU4 building tutorials and parts below.
- Wired Game Sir Wired Controller (Hard Kernel) $17 - Wired Game Sir Wired Controller (Amazon) $17 - Wired Game Sir Wireless Controller $17 - KESU 250GB USB 3 External Hard-drive $37
Now to hold the drive securely in the case we need some Velcro® strips. This will give us a secure but easily detachable way to store the harddrive in the case. You have two options, super strong permanent strips or strong but removable strips. If you want to potentially reuse the hard-drive without having Velcro strips on it, then you might want to go for the second option. Here are the links for the two types of strips.
- Heavy Duty Velcro Strips $3 - Removable Velcro Strips $3
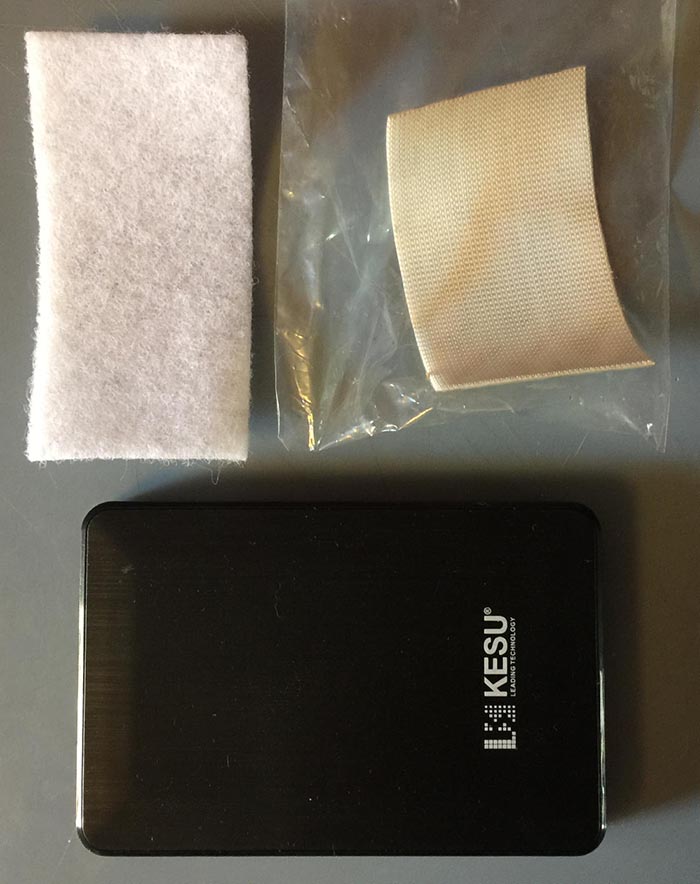
Once you have got that all sorted out you will be ready to build your advanced case. Remember you can always go bigger on the harddrive. As long as it has a similar size to the link provided above it will fit in the case fine. I chose to use the super strong version of the Velcro tape because I wanted the drive to be firmly held in place and have very little chance of coming off. I also do not intend to use the harddrive for something else as it was purchased solely for this console project. Next let us open up our OGST case and see what is inside.
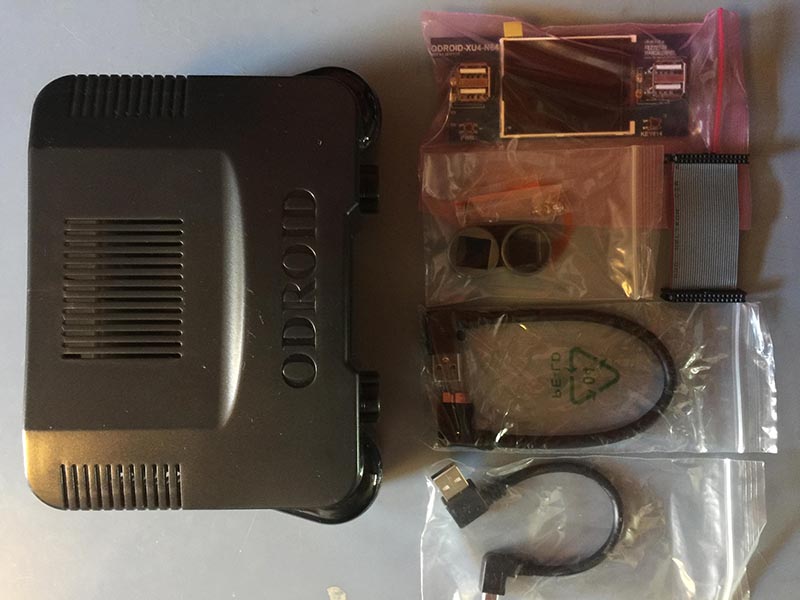
In the case you will find an expansion board with a small screen. A set of plastic caps, a ribbon cable, 2 USB cables, and some screws; oh and, of course, a case. The cables are important! They USB A to USB Micro B cable is perfect for the external USB drive. 7 It has a 90 degree connector that will make it much, much easier to house the drive in the OGST case. Let us take a look at our ODROID-XU4 hardware.
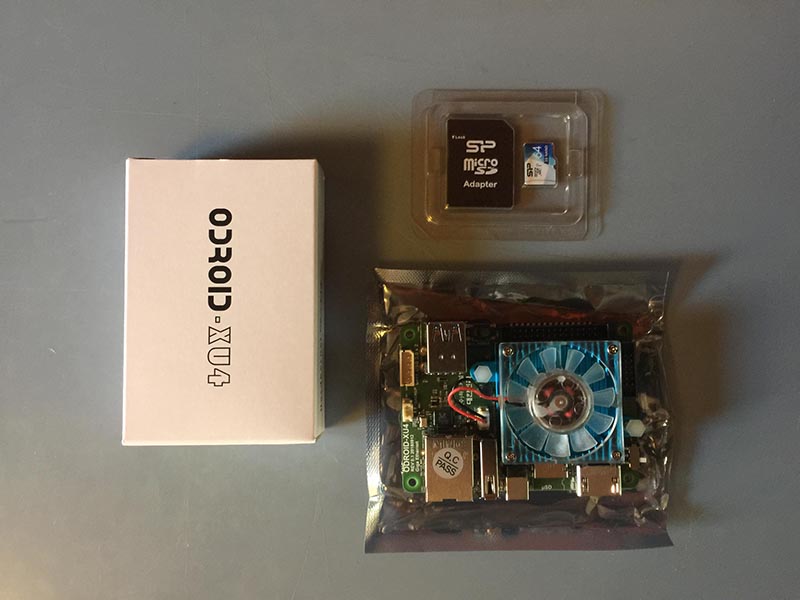
Again, we are using the ODROID-XU4 with a 64GB micro SD card. You will need a screwdriver at this point. A standard electronics screwdriver set should do the trick. Now if you do not know how to setup your ODROID-XU4 with an OS you can follow the links below.
- Munku R3/ODROID-XU4 Ubuntu with Retroarch Multi-use Console - Tutorial Part 1 - Munku R3/ODROID-XU4 Lakka Retro Gaming Console - Tutorial Part 1
From this point on, I will assume you have your ODROID-XU4 device all setup. Because I am building this case for a retro gaming console and I want to use every last drop of the device's resources for emulation I decided not to setup the second screen on the expansion board. If you want to set yours up, this may depend on the OS you are using on your device. You can find more information at these links:
- OGST Case Second Screen Info (https://bit.ly/2tdvwTl) - OGST Case Second Screen Info (https://bit.ly/2MCbNDP)
Prepping The Case Top
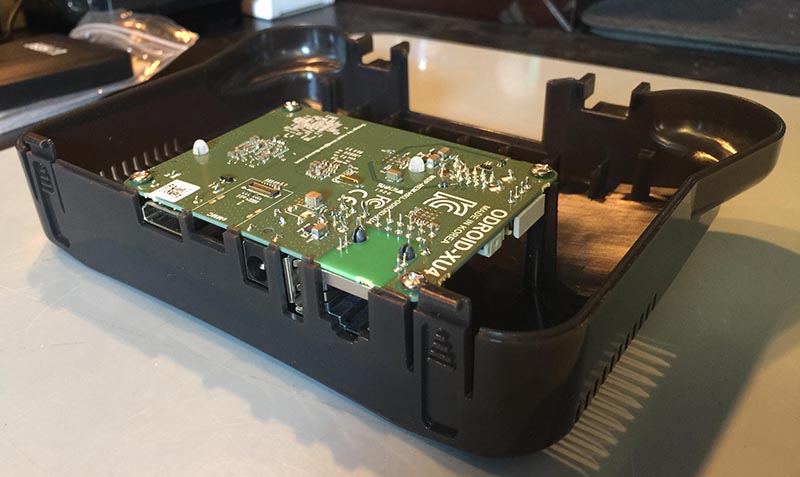
The board mounts upside down on the top side of the case. This is perhaps a bit unusual but as you will soon see the case is wonderfully designed and very easy to use. The two pictures below depict the mounted ODROID-XU4 board on the top side of the OGST case. TIP: Take your time with the screws. The fit is a little strange due to the larger threading on the screws. Just take your time and carefully tighten them until the board is secure. Try not to over tighten them. The picture shows the ODROID-XU4 board, screws, case top, and the screwdriver I am using.
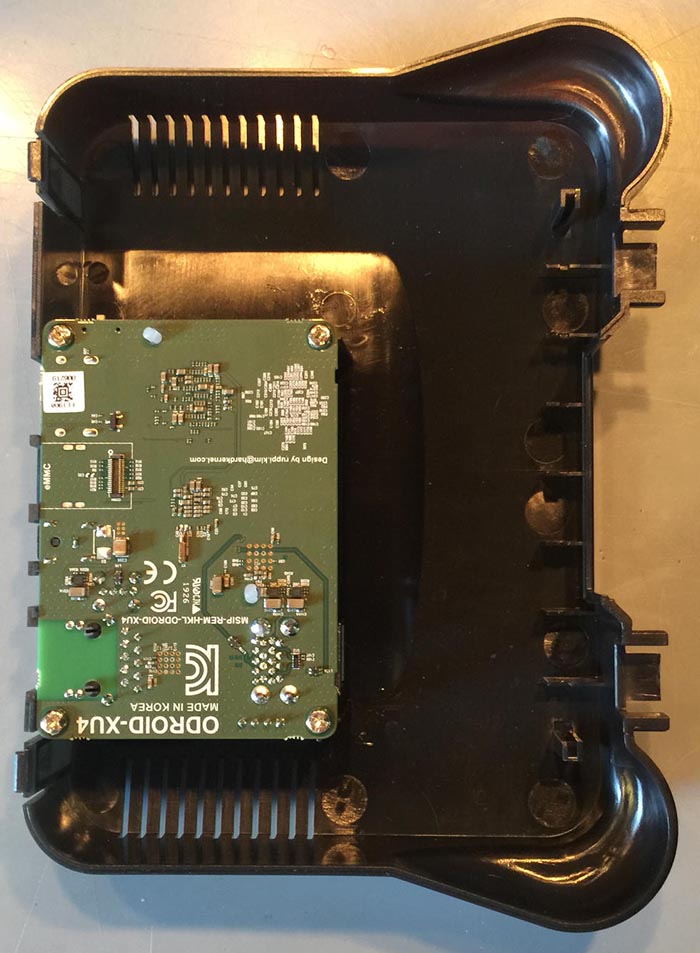
The following pictures depict the board in position and properly screwed into the case top.
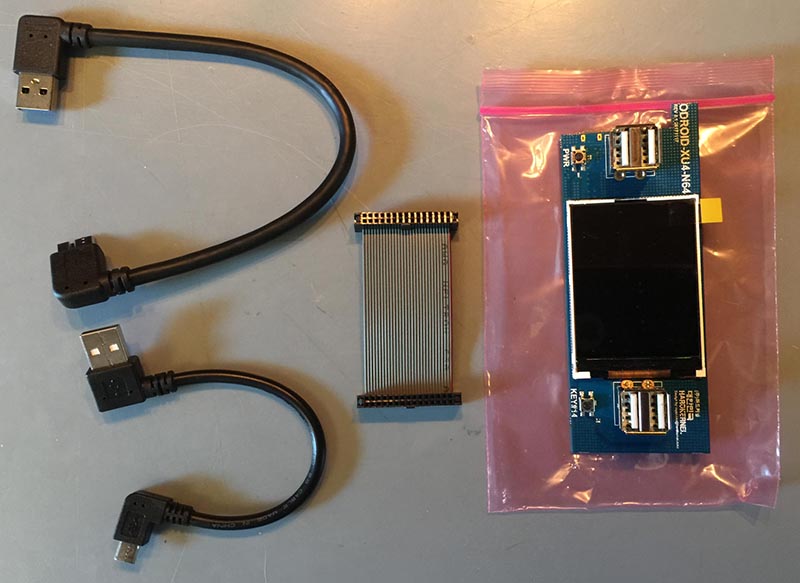
Next up we will be setting up the expansion board and ribbon cable. The picture below depicts the parts you will need for this step.
We want to connect the ribbon cable to the mounted board first. Make sure you have the direction marker facing the correct way. The marker requires a slot in the ribbon cable connector. Line up the slot on the ribbon cable connector with the mark on the cable itself. Carefully make sure that the ribbon cable is all the way into the connector. You may need to take your time and push it down evenly. TIP: Do not put too much pressure on the board when you are attaching the ribbon cable.
Next you will want to attach the expansion board. Again make sure the ribbon cable mark is properly aligned with the slot on the ribbon cable connector. Be extra careful when attaching the ribbon cable to the expansion board as it is very easy to end up pressing on the screen and potentially cracking it. After the ribbon is connected take off the screen protection sticker and let the screen sit in the two guide slots built into the case as shown below. Do not push it all the way into the case top just yet.
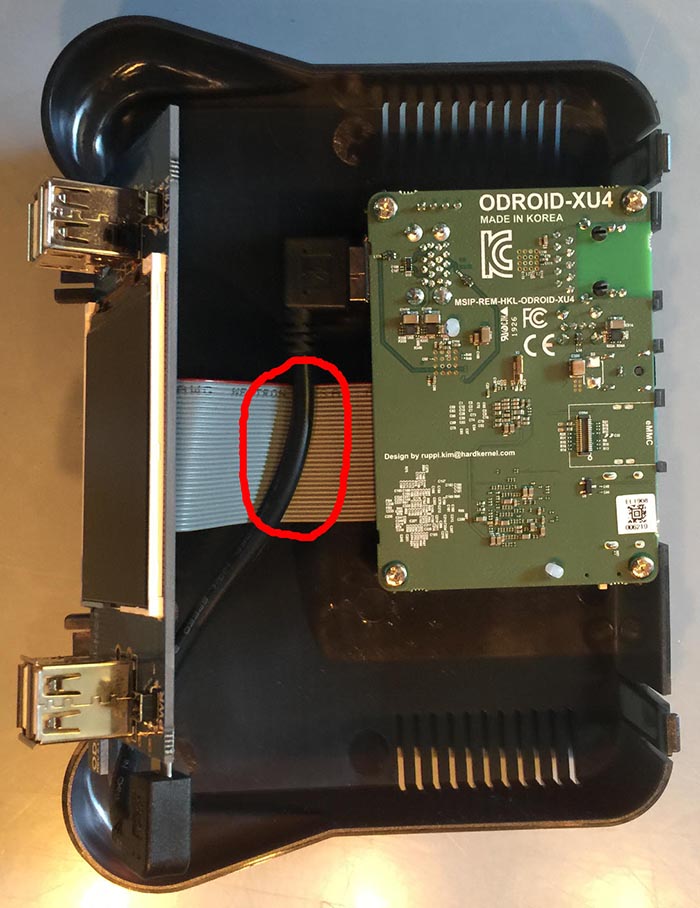
Now we want to connect the USB-to-USB cable. This splits one USB port on the ODROID-XU4 board into 4 USB ports that are available on the front of the OGST case. Notice that we want the USB cable to sit on top of the ribbon cable as shown below. We are working on the top of the case so everything we are doing will be flipped upside down when we are done. The USB cable should be below the ribbon cable this will make it easier to access in case you want to take apart the case.
Finishing Up
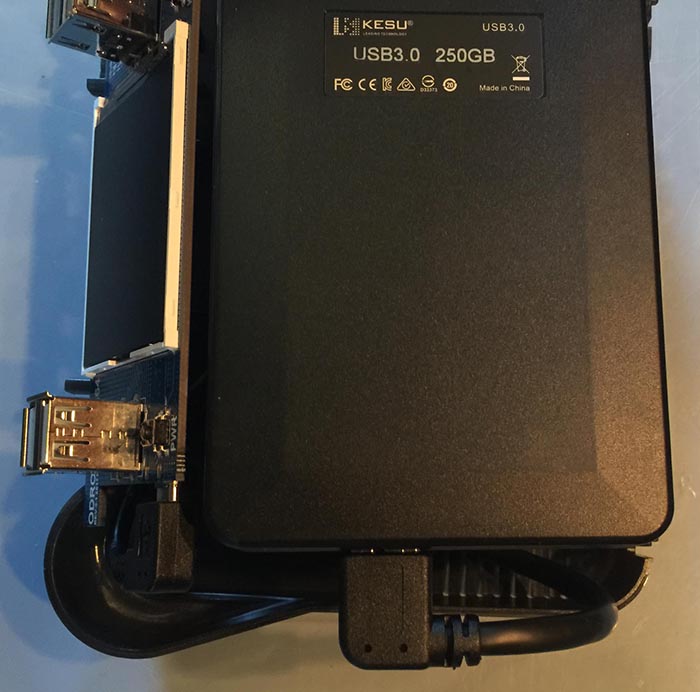
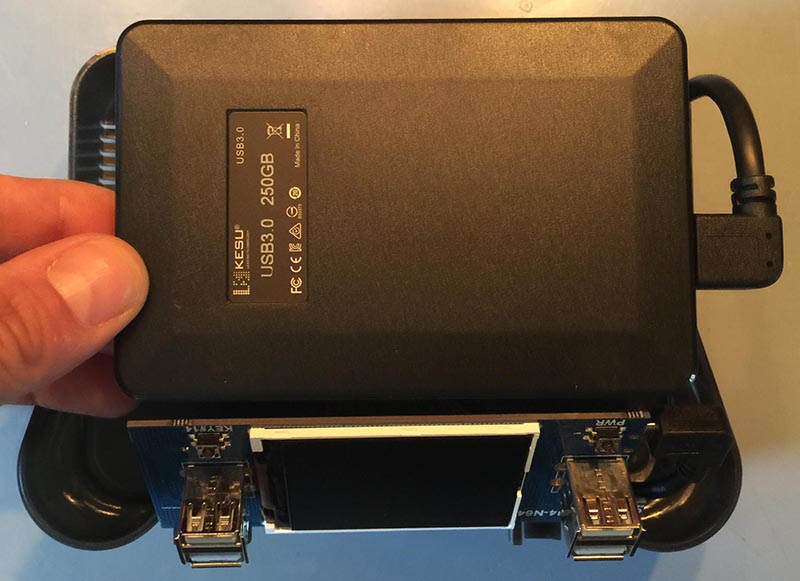
Now we are going to prepare the harddrive. Holding the harddrive upside down use the included drive USB cable to connect the harddrive to the expansion board. Notice that we are bending the cable and sort of visualizing how the harddrive will sit in the case. This is a good time to make sure that the drive can fit and that the cables all behave nicely. Take a look at the picture below. In this shot I'm double checking how the cable works with the drive's cable connection. It looks like it will play nicely with the case.
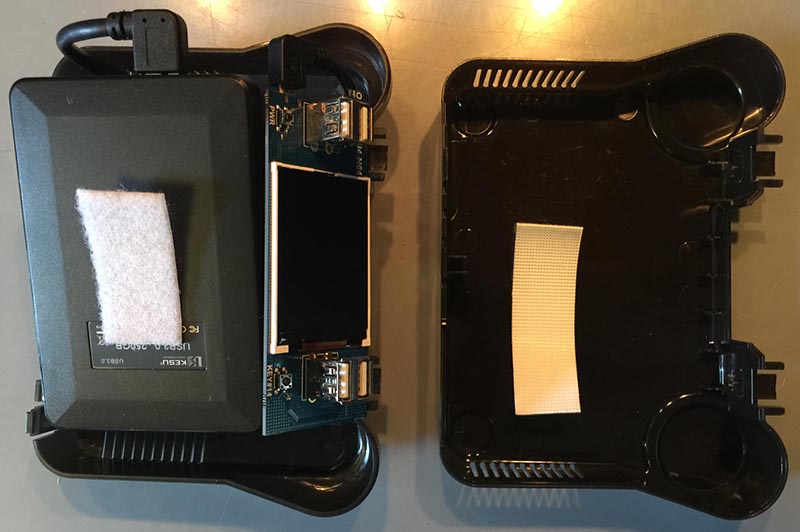
Ok, so we still have not put anything together yet. We need to do a little more work to make sure the drive sits on the bottom of the case properly. While leaving the top of the case as is, put the bottom of the case next to it and place, but do not adhere, the Velcro strips where you want them. I usually put the loop part on the drive. You can set it up any way you like. If you use wider strips the hold will be stronger and you will have more flexibility in how you place the harddrive on the bottom of the case. The photo below shows my first attempt at placing the velcro strips. I eventually doubled up on the strips to make the contact surface bigger. TIP: Make sure that the drive's cable is taken into account when setting up the Velcro strips on the case bottom.
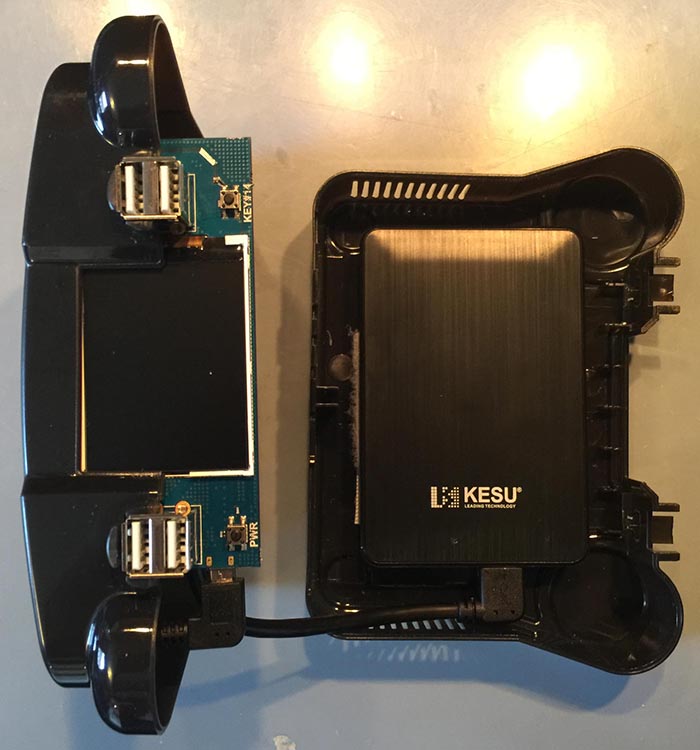
Next up you will want to set the expansion board firmly in place. Be careful to make sure it goes in evenly. If one side is farther down the plastic guides you will not be able to seat the board properly. Resist the urge to apply a lot of pressure during this step. Just apply enough force to get it set properly. Now you can place the top of the case vertically on your work surface and place the drive and the bottom part of the case next to it with the USB drive cable attached as shown below. This should be the final check before we begin to close up the case.
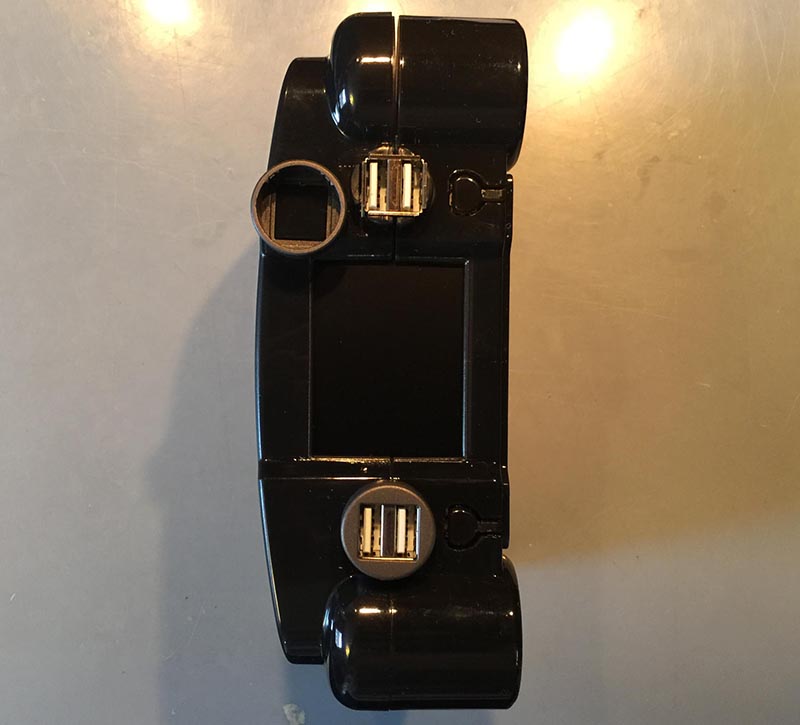
Finally, it is time to close the case! Bring the two sides together. Make sure the USB cables are below the expansion board's ribbon cable. Make sure the harddrive's USB cable is looped and set properly and that the drive is secured with Velcro strips. Close the case and put the two grey plastic caps over the front USB ports. TIP: Make sure to align the two small ridges on one side of the cap. These line up with small ridges on the case itself.
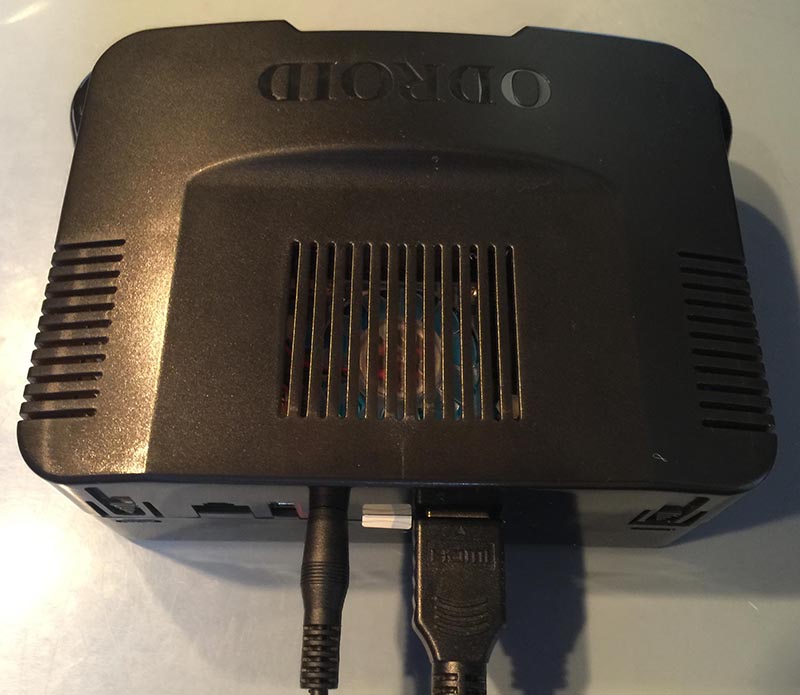
Congratulations! You are done. You have now added larger drive storage to your ODROID-XU4 build! The pictures below depict the completed setup. Enjoy!

Be the first to comment