

Hiding in plain sight in the powerful Hardkernel single board computer (SBC), the unassuming ODROID-C0. Slightly larger than a 3,000 mAh battery pack yet powered by a power-sipping Amlogic S805 System-on-a-Chip (SoC) featuring 1Gb of RAM, dual USB (2.0) ports, an eMMC interface, and a microSD storage card socket, this SBC is the best-kept secret in the ODROID world.
Most of the more common attributes of the ODROID-C0 are well known and well documented: it can be powered by a 3.7V battery, there is an on-board charger for a battery, most of the main interface ports can be soldered onto the SBC(via the separately sold Connector Pack) on an “as-needed” basis, and an external monitor can be driven through an available HDMI port. What you might not know about the ODROID-C0, however, can be learned only by studying the schematic diagram for this SBC.
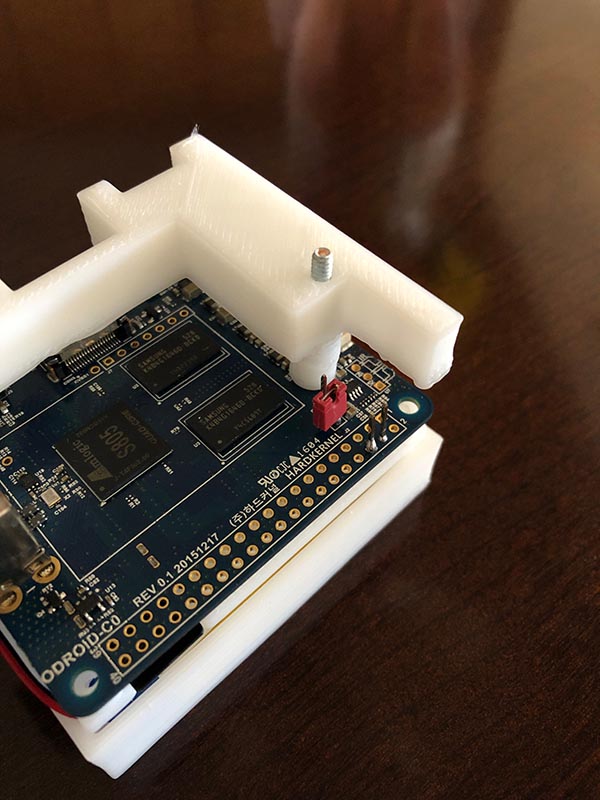
Reading this schematic diagram reveals that jumper J1 can be used for selecting either the eMMC or the microSD card interfaces for booting the ODROID-C0. Furthermore, the general purpose input/output (GPIO) pins feature a 5V power source. These are two incredible, hardware gems that can be exploited for building a dual booting ODROID tablet for less than $100.
Parts
Note: the parts for this project can be purchased either from Hardkernel or ameridroid.com
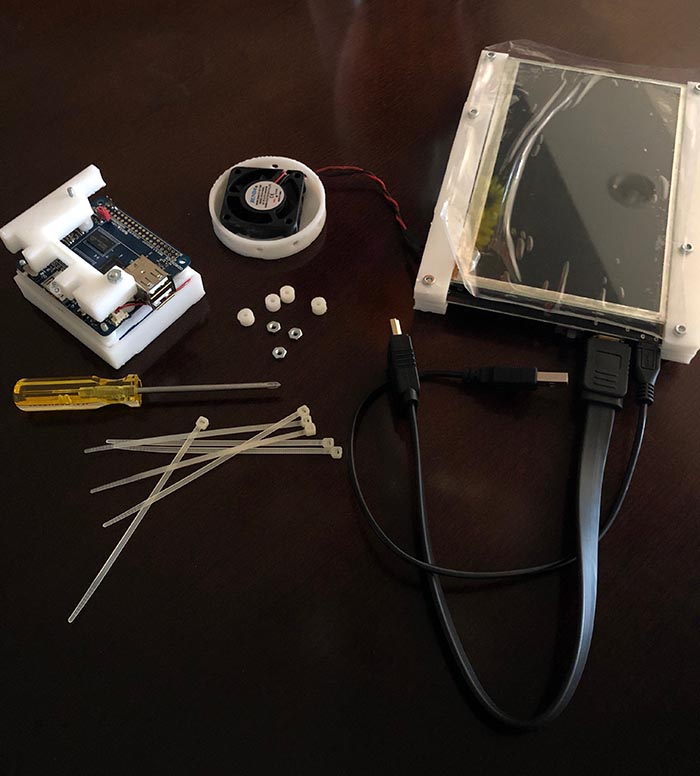
ODROID-C0 ODROID-VU7 RTC Backup Battery 16Gb eMMC C1+/C0 Android Module 16Gb microSD C0/C1 Linux Card 3,000 mAh Battery Connector Pack for ODROID-C0 40x40x10-mm USB Cooling Fan (Optional) (1) 2-Pin Header with Jumper (this can be purchased from BGMicro.com) (1) 2-Pin Header (2) Female Jumper Wires
Step-by-Step
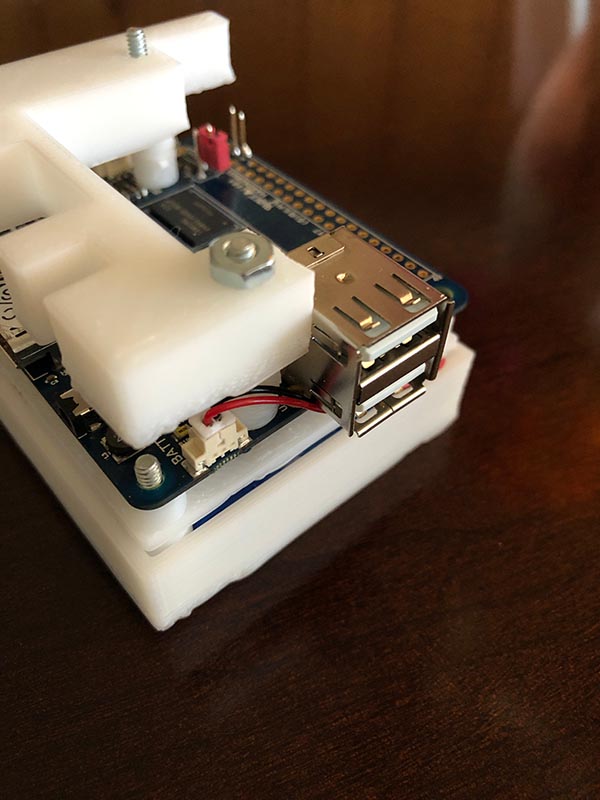
1. Solder the dual USB port, from the Connector Pack, to the ODROID-C0.
2. Solder the 2-pin header with jumper to port J1 on the SBC printed circuit board (PCB).
3. Solder the other 2-pin header to pins 4 and 6 on the PCB GPIO interface. Please note: you might need to increase the temperature of your soldering iron to 365 Celsius (690 Fahrenheit) for making a solid connection to these pins.
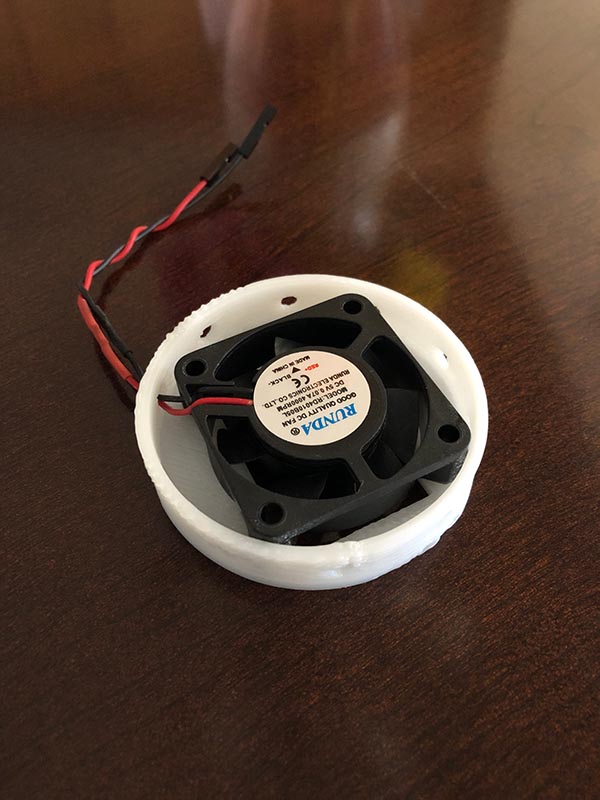
4. Snip off the USB plug from the fan exposing the red and black wires and solder the two female jumper wires to these red and black wires.
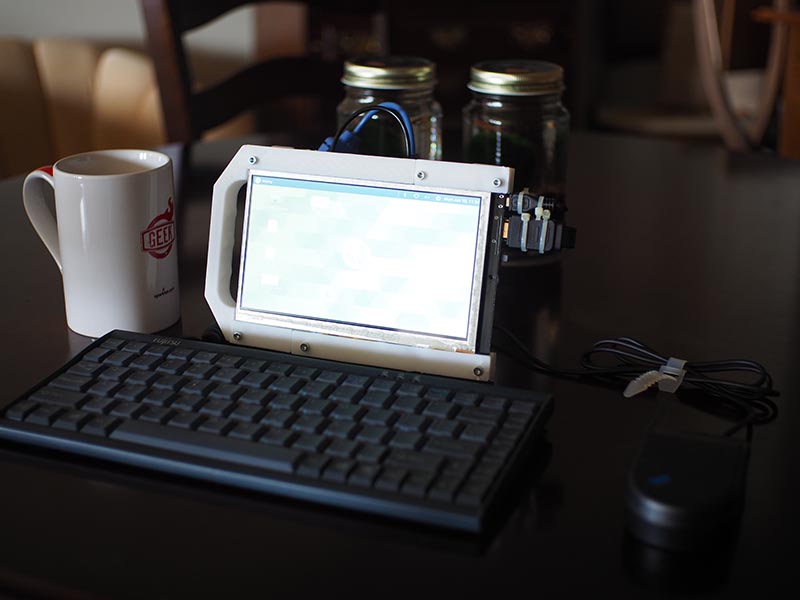
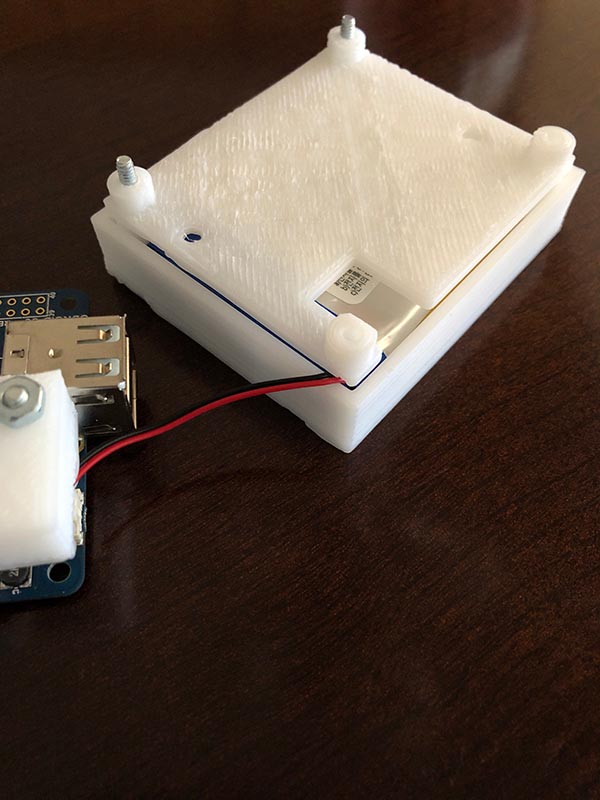
5. Optionally, you can build a simple frame with your preferred fabricating material (e.g., wood, plastic, 3D prints, LEGO, etc.) for holding the ODROID-VU7, ODROID-C0, RTC battery, main power battery, and fan.
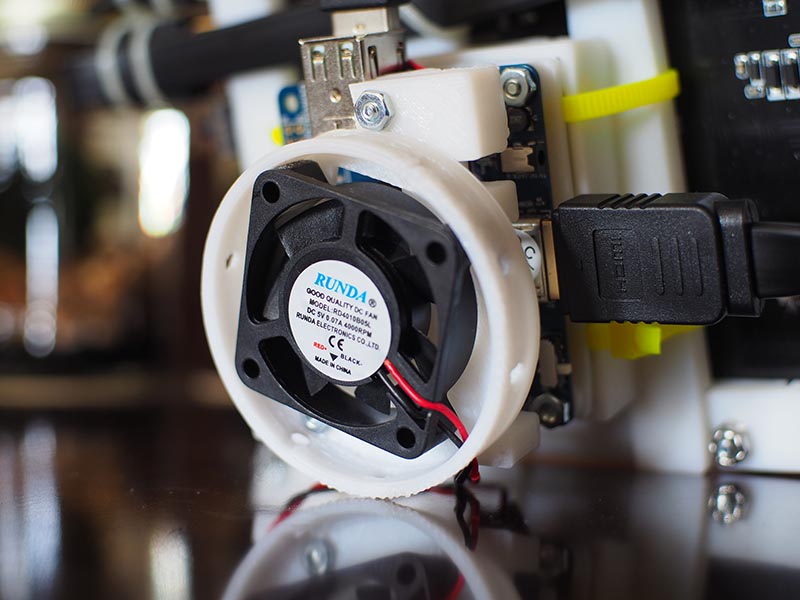
6. Assemble the tablet’s components: connect the RTC battery, main power battery, fan, and J1 boot jumper. Placing the jumper over BOTH J1 pins will boot from the microSD card. While removing the jumper will boot the ODROID-C0 from the eMMC interface. Also, plug the red (+) wire from the fan into pin #4 on the GPIO and the fan’s black (GND; -) wire into pin #6.
7. Connect the ODROID-VU7 to the ODROID-C0. Use the provided HDMI cable and USB micro-to-Type A cable.
8. Insert a pre-configured, boot Linux OS microSD card into the card socket and plug a pre-configured boot Android OS eMMC module into its interface.
9. Adjust jumper J1 to your preferred boot OS. Ensure that the ODROID-VU7 USB and HDMI cables are plugged into the ODROID-C0. Verify that the fan’s red wire is firmly connected to GPIO pin #4 and the black wire is firmly connected to GPIO pin #6.
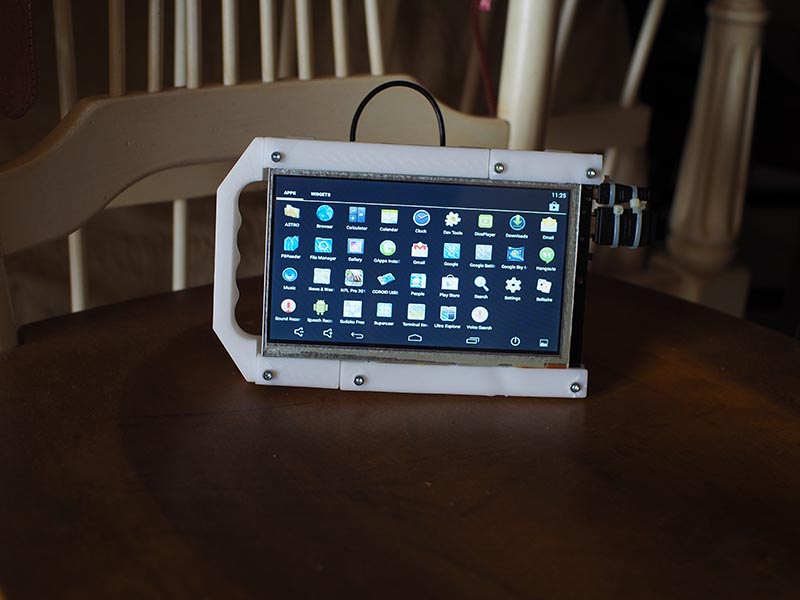
10. Switch the ODROID-VU7 display to ON and set the ODROID-C0 power switch to ON.
Enjoy your hardware-controlled dual booting ODROID tablet.
Fun Facts About the ODROID Tablet
When running the sysbench prime number “stress test” with 10,000 prime numbers, the ODROID-C0 tablet will finish in about 45.9 seconds.
During this “stress test,” when using the cooling fan, the SoC temperature will spike to 54 degrees Celsius (129 Fahrenheit) then quickly cool to 44C (110F).
The resting temperature, without the cooling fan, of the Amlogic S805 is about 47 degrees Celsius (116 Fahrenheit). Enabling the cooling fan lowers this temperature to 38 degrees Celsius (100 Fahrenheit).
Booting from the microSD card, Linux takes about 53.65 seconds.
A freshly-charged 3,000 mAh battery will run the microSD-based Linux OS for approximately 94 minutes.
Spare 3,000 mAh batteries can be swapped on the tablet. The tablet MUST be turned off before swapping batteries, however.
Using the optional fan could cause a power consumption issue with an optional WiFi dongle. If you notice a power loss when connecting to your router, just disconnect the fan from the GPIO power pins.
Be the first to comment