

I am a web developer and I have been amazed with Multiboot environments, especially on System On a Chip (SoC) devices. I started this journey with a Raspberry Pi 2 device and a bootloader called: “Berryboot” (I am not its developer) that actually is still active and supported by the Raspberry Pi community.
Then I heard about this amazing device called ODROID-C2 more powerful than a Raspberry Pi 2 device and actually the same price, so more power more fun, right? A couple of weeks later I had a ODROID-C2 device in my hands and the tests started. I tested Ubuntu (Xenial at that time), Android, LibreELEC, Recalbox, Lakka and few more operating systems. Later I found out that someone (@loboris) in the ODROID Forum (https://forum.odroid.com) had developed bash scripts to make multiboot images on ODROID devices including the ODROID-C2, after a couple of days and a few tests, it worked. Since that moment, I have generated by myself, multiboot images out-of-the-box and ready to boot for ODROID-C2.
You can download more multiboot images and standalone images for ODROID-C2 from here (https://berryboot.alexgoldcheidt.com/odroid-c2/). I run that web site by myself and I’ll be glad to hear all your suggestions, resolve issues and take image requests. Recently, I generated the Multiboot Image (Ver. 4) for ODROID-C2 with the following OS's preinstalled:
- Android 6.0.1 [2019-01-17]
- Ubuntu MATE 18.04 Bionic LTS [2018-06-21] (Linux in the boot menu)
- LibreELEC RR 9.1 [2019.04.24] (OpenELEC in the boot menu)
I want to show you how you can generate this multiboot image by yourself, so I’m sharing these files and steps as a reference how-to guide. First, what is LibreELEC RR? Well, this version of LibreELEC includes EmulationStation, RetroArch and Pegasus. More information about this build here https://bit.ly/30Aifjw. With this amazing, build one can avoid installation of additional images like: RetroPie, Lakka, or Recalbox. It worked very well in my case. Android and Ubuntu also work well as previous multiboot images.
What you will need
- Linux (I have used Debian with Xfce desktop environment). You can download it here (https://www.debian.org/CD/http-ftp/#stable), and just select the right architecture for your ODROID or you can download any Live version (no install required) like Ubuntu MATE, that can be downloaded here (https://ubuntu-mate.org/download/). Again, just select the right architecture for your ODROID.
- Internet Connection.
- ODROID-C2 Device.
First, start with the multiboot base image. I have used @sdip custom repo because that repo fixes a couple of issues from the original repo of @loboris. Additional information can be found here: https://bit.ly/2Hs1obf. You can generate the base image by yourself or download the base image ready-to-boot here: https://bit.ly/2ZnJwbL. Once the download is complete, unpack it and flash it onto a microSD card or eMMC module. I recommend the supported eMMC module.
OS #1: Android. Download Android Daily file here: https://bit.ly/2Nxxczg. Once the download is complete, rename it: update.tar.gz and put that file onto a USB drive with a fresh single EXT4 partition format.
OS #2: Ubuntu. Download Ubuntu MATE 18.04 Bionic LTS here: https://bit.ly/2Nwt4zr. Once the download is complete, unpack it and rename it: linux.img and put that file onto the same USB drive with the Android file.
OS #3: LibreELEC RR. Download LibreELEC RR v9.1 here: https://bit.ly/30zIrLp. Once the download is complete, rename it: oelec.tar and put that file onto the same USB drive with the Android and Ubuntu files.
Now insert the microSD card or the eMMC module with the base image and plug the USB drive (containing Android, Linux and LibreELEC) into your ODROID-C2 device and turn it on. Once you see the multiboot main screen, follow these steps:
- Press “I” (Prepare the card for MultiBoot, Install OS's).
- Change partitions sizes as you wish.
- Once again, press “I” to start the installation.
- When this process is completed, reboot the device.
In case you are not sure about which sizes do you need to use on partitions, these are my suggestions: use at least 9GB to 10GB on the Ubuntu partition since that is the biggest OS in the multiboot image--Ubuntu raw image size is around 7GB. Also, make enough space on the LibreELEC partition if you are planning to storage game ROMs.
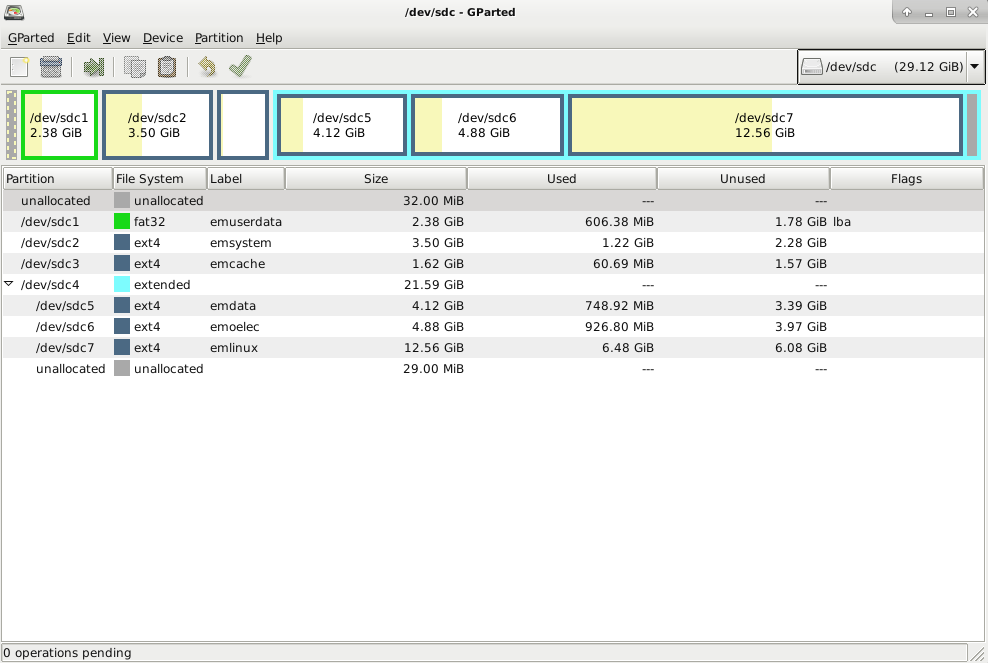
Now, at this point you will be able to boot Android & Ubuntu without any extra steps, to boot LibreELEC RR you need to follow the steps listed at: https://bit.ly/324hcJi from (and thanks to) @malomehi. As reference, I will share my current multiboot directory from my eMMC module in case you want to compare or download files at your end. You can see these files here: https://bit.ly/30yAI04. Be aware that if you compare my boot files (from the eMMC module) with the microSD card, you have to change partitions labels. For example: emuserdata is used on eMMC modules but on the microSD card sduserdata is used instead. Also, in my boot files I have set up a 1360x768p60hz resolution for Android and Ubuntu since that is the max resolution of my displays. You may need to change this resolution to fit your display. If you made it this far, congratulations, you now have a multiboot image featuring the three most popular operating systems in this world. If, for some reason, something goes wrong before, during, or after the installation process, let me know it here: https://bit.ly/2zic1Jk. I can take a look at the problem and try to address it.
Known issues
After a Ubuntu full upgrade
apt upgrade -y; apt dist-upgrade -ythese files: Image, meson64_odroidc2.dtb and uInitrd are updated outside of the multiboot directory. All you have to do is go to the boot partition: emuserdata on eMMC modules or sduserdata on SD cards, append .linux to the file names (example: Image.linux) and move them to the multiboot directory (you can overwrite them).
Lastly, I want to thank @loboris, @odroid, @dimitris_c, @barturblits, @luffyman, @sdip and @malomehi from ODROID Forum for making this possible. I am honored to be part of this community and do my best to make it better.
Be the first to comment